We encourage all DIYers to know their own limits when they take on projects. This tutorial uses power tools that could cause serious harm if operated incorrectly, so please be safe, be smart, and hire a professional if needed.
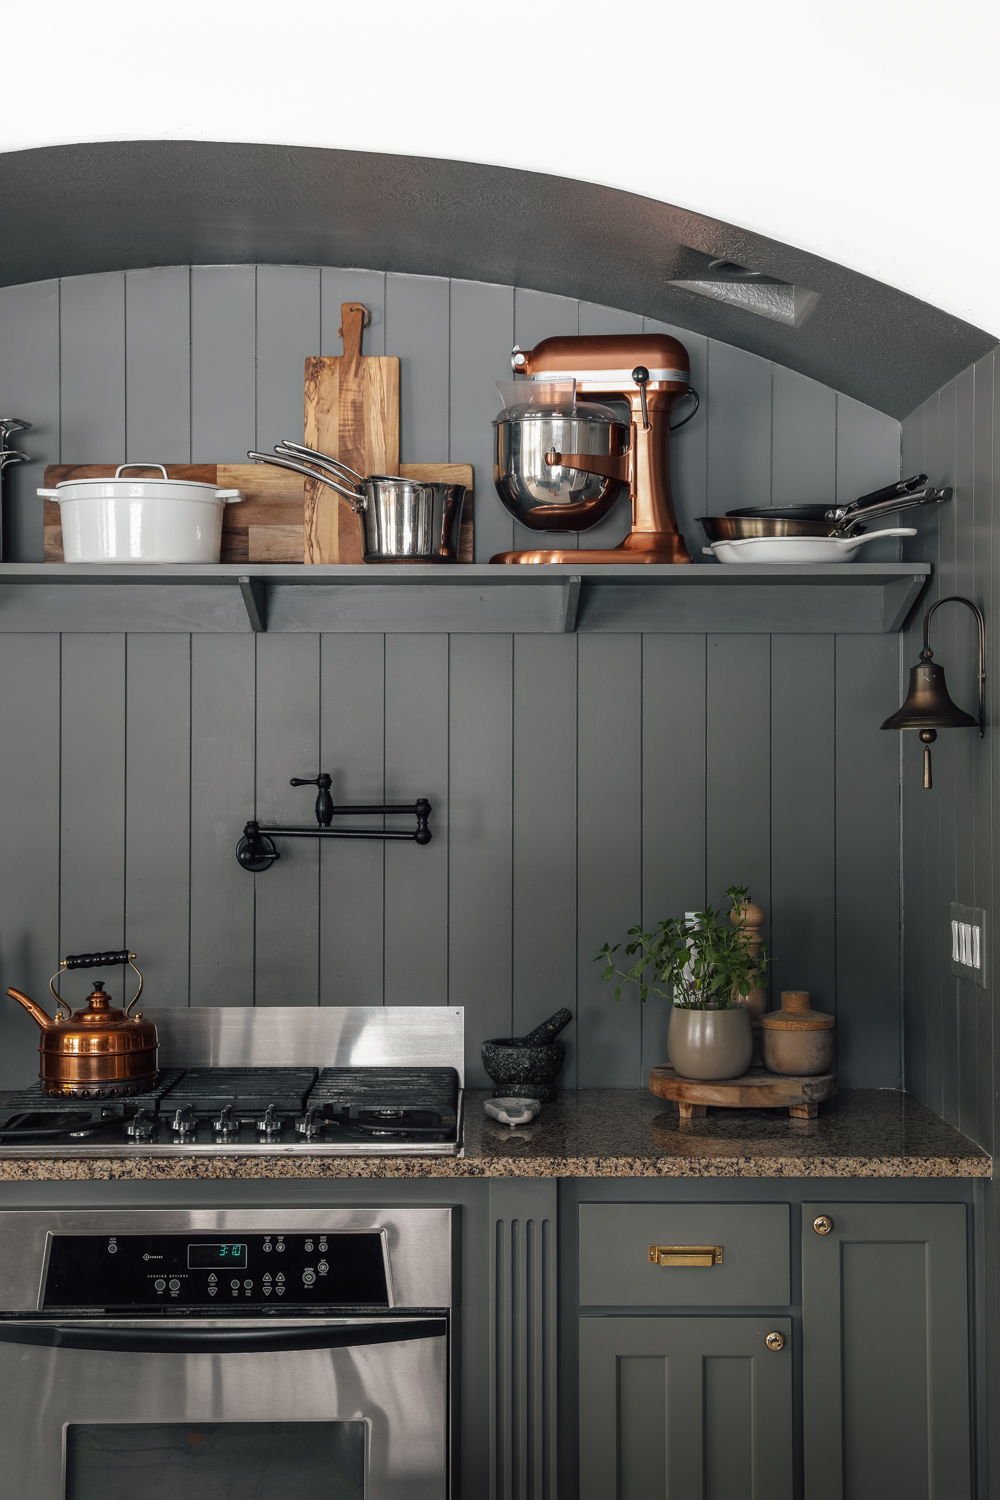
After posting our kitchen phase 1 update, we’ve had so many requests to share how we built the shelves we added to the kitchen. Remember these ones?:
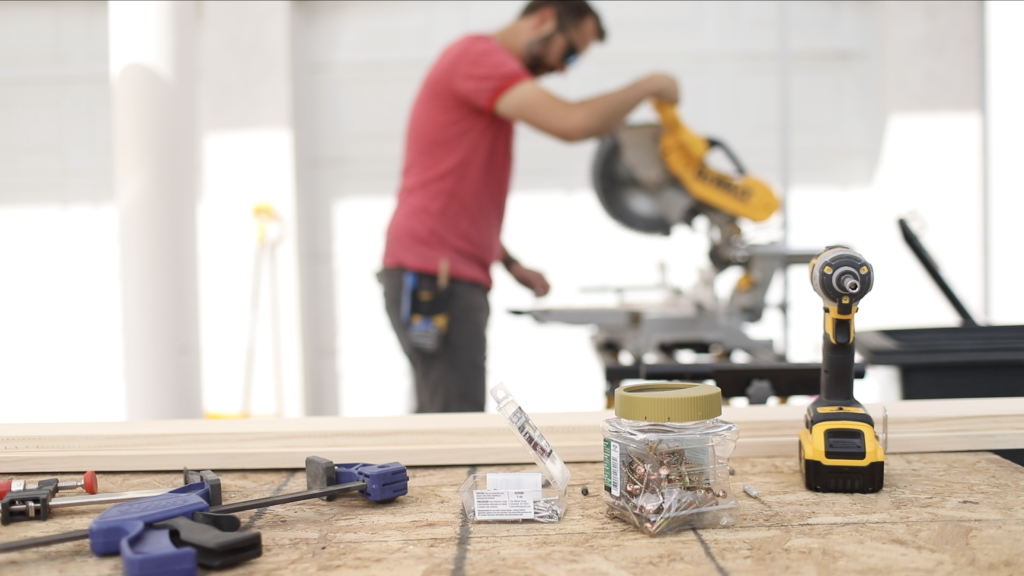
With minimal tools, materials and 30 minutes you can build your own shelf and have it hung in your own home. Here’s your shopping list:
Tools
• Saw (miter saw preferably, but you could get by with a circular saw or jigsaw and steady hand)
• Impact driver
• Clamps (if working with crooked or warped lumber)
Materials
• One 1×4 board (I used pine in an 8ft length – choose a length that is long enough for your shelf, plus some extra to make the support brackets
• One 1×8 board (or 1×12 if you prefer a deeper shelf – also make sure you choose a length long enough for the shelf, but you won’t need extra)
• 1 5/8in trim screws
• 2 1/2in cabinet screws
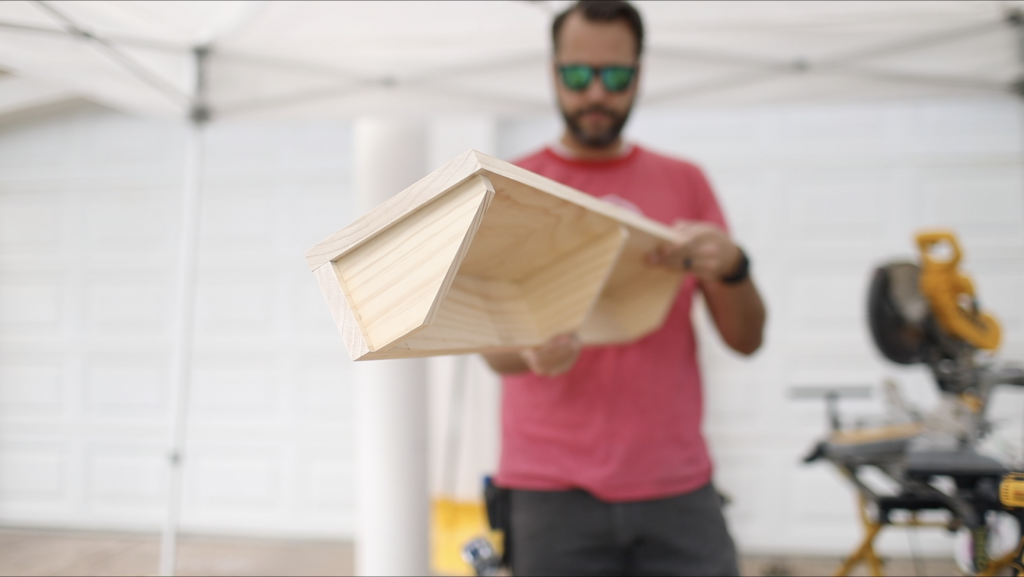
To show how simple building these shelves really is, we filmed a quick video you can watch below.
Pine works great on a project like this if you will paint the wood (good idea to prime raw wood before painting!), whereas a hard wood like oak would be better if you plan to stain. But either way, these shelves are sturdy, easy to make and are a quick project that can be tackled in less than an hour.
Our wood grain Shaker cabinet fronts were designed for busy, high-traffic homes like ours. Clad with durable textured thermofoils, this line is compatible with Sektion, Akurum, Godmorgon, and Besta cabinets from IKEA. It's the perfect, practical way to add the warmth of wood to all the rooms of your home.
We have teamed up with Loloi to create a line of rugs that are as affordable as they are beautiful. This collection houses a great mix of traditional and modern rugs, in cottage-y colorways, as well as vintage-inspired beauties that you’ll want to roll out in every room.
We partnered with Stuga on a line of hardwood floors — The Ingrid is really livable, and the color is very neutral. It doesn’t lean warm or cool, it’s that just right in-between. We have really loved putting it everywhere in our house. It’s the best jumping-off point for design, no matter your interior style. In addition to being beautiful, Ingrid is really durable — we have three kids, and we always have a home construction project going on. Ingrid stands up to it all.
SHop all
Looking for our favorite things? A place to shop our home room by room, or just catch up on what Julia's wearing / loving right now? Browse the CLJ shop.
Befores, afters, mood boards, plans, failures, wins. We’ve done a lot of projects, and they’re all here.
We have a long-standing relationship with DIY, and love rolling our sleeves up and making it happen.
Even when you don’t want to rip down a wall, you can make that space in your home better. Right now.
The next project we’re checking off our 2023 project list is the mudroom! This used to be the laundry room until we built out a much bigger, better laundry room upstairs. So, in the meantime, this space has been exclusively Cricket’s room. Cricket will still have a special space here, but we’re transforming this dingy […]
We've been doing this since 2009 and we've posted a whopping 24145+ blog posts and counting. You might need a little help searching, huh?
Another way for us to stay in touch! Joining our weekly newsletter gives you access to exclusive content, never-before-seen photos, your questions answered, and our favorite DIYs. Sign up below!
Welcome to our online community where we've posted home, DIY, style, renovations, and family since '09. Renovating our #cljmoderncottage in Idaho and headed for new adventures in Raleigh, NC. #cljfam #cljtransformations
Links
Get Around
Make yourself right at home
Portfolio
Design
Casual Friday
Projects
Lifestyle
Gift Guides
All Posts
Shop
Thank you share This article is very informative and I feel like you are reading my mind.
What depth shelves did you use for your kitchen?
Did you find out where your studs were in the wall prior to building the shelves? I ask because I’m thinking that my studs would likely be right behind one of my shelf supports.
shelf supports are skinny enough, if you screw in at an angle you should be good!
I might have missed something, but how did you figure out what angle to cut the support pieces?
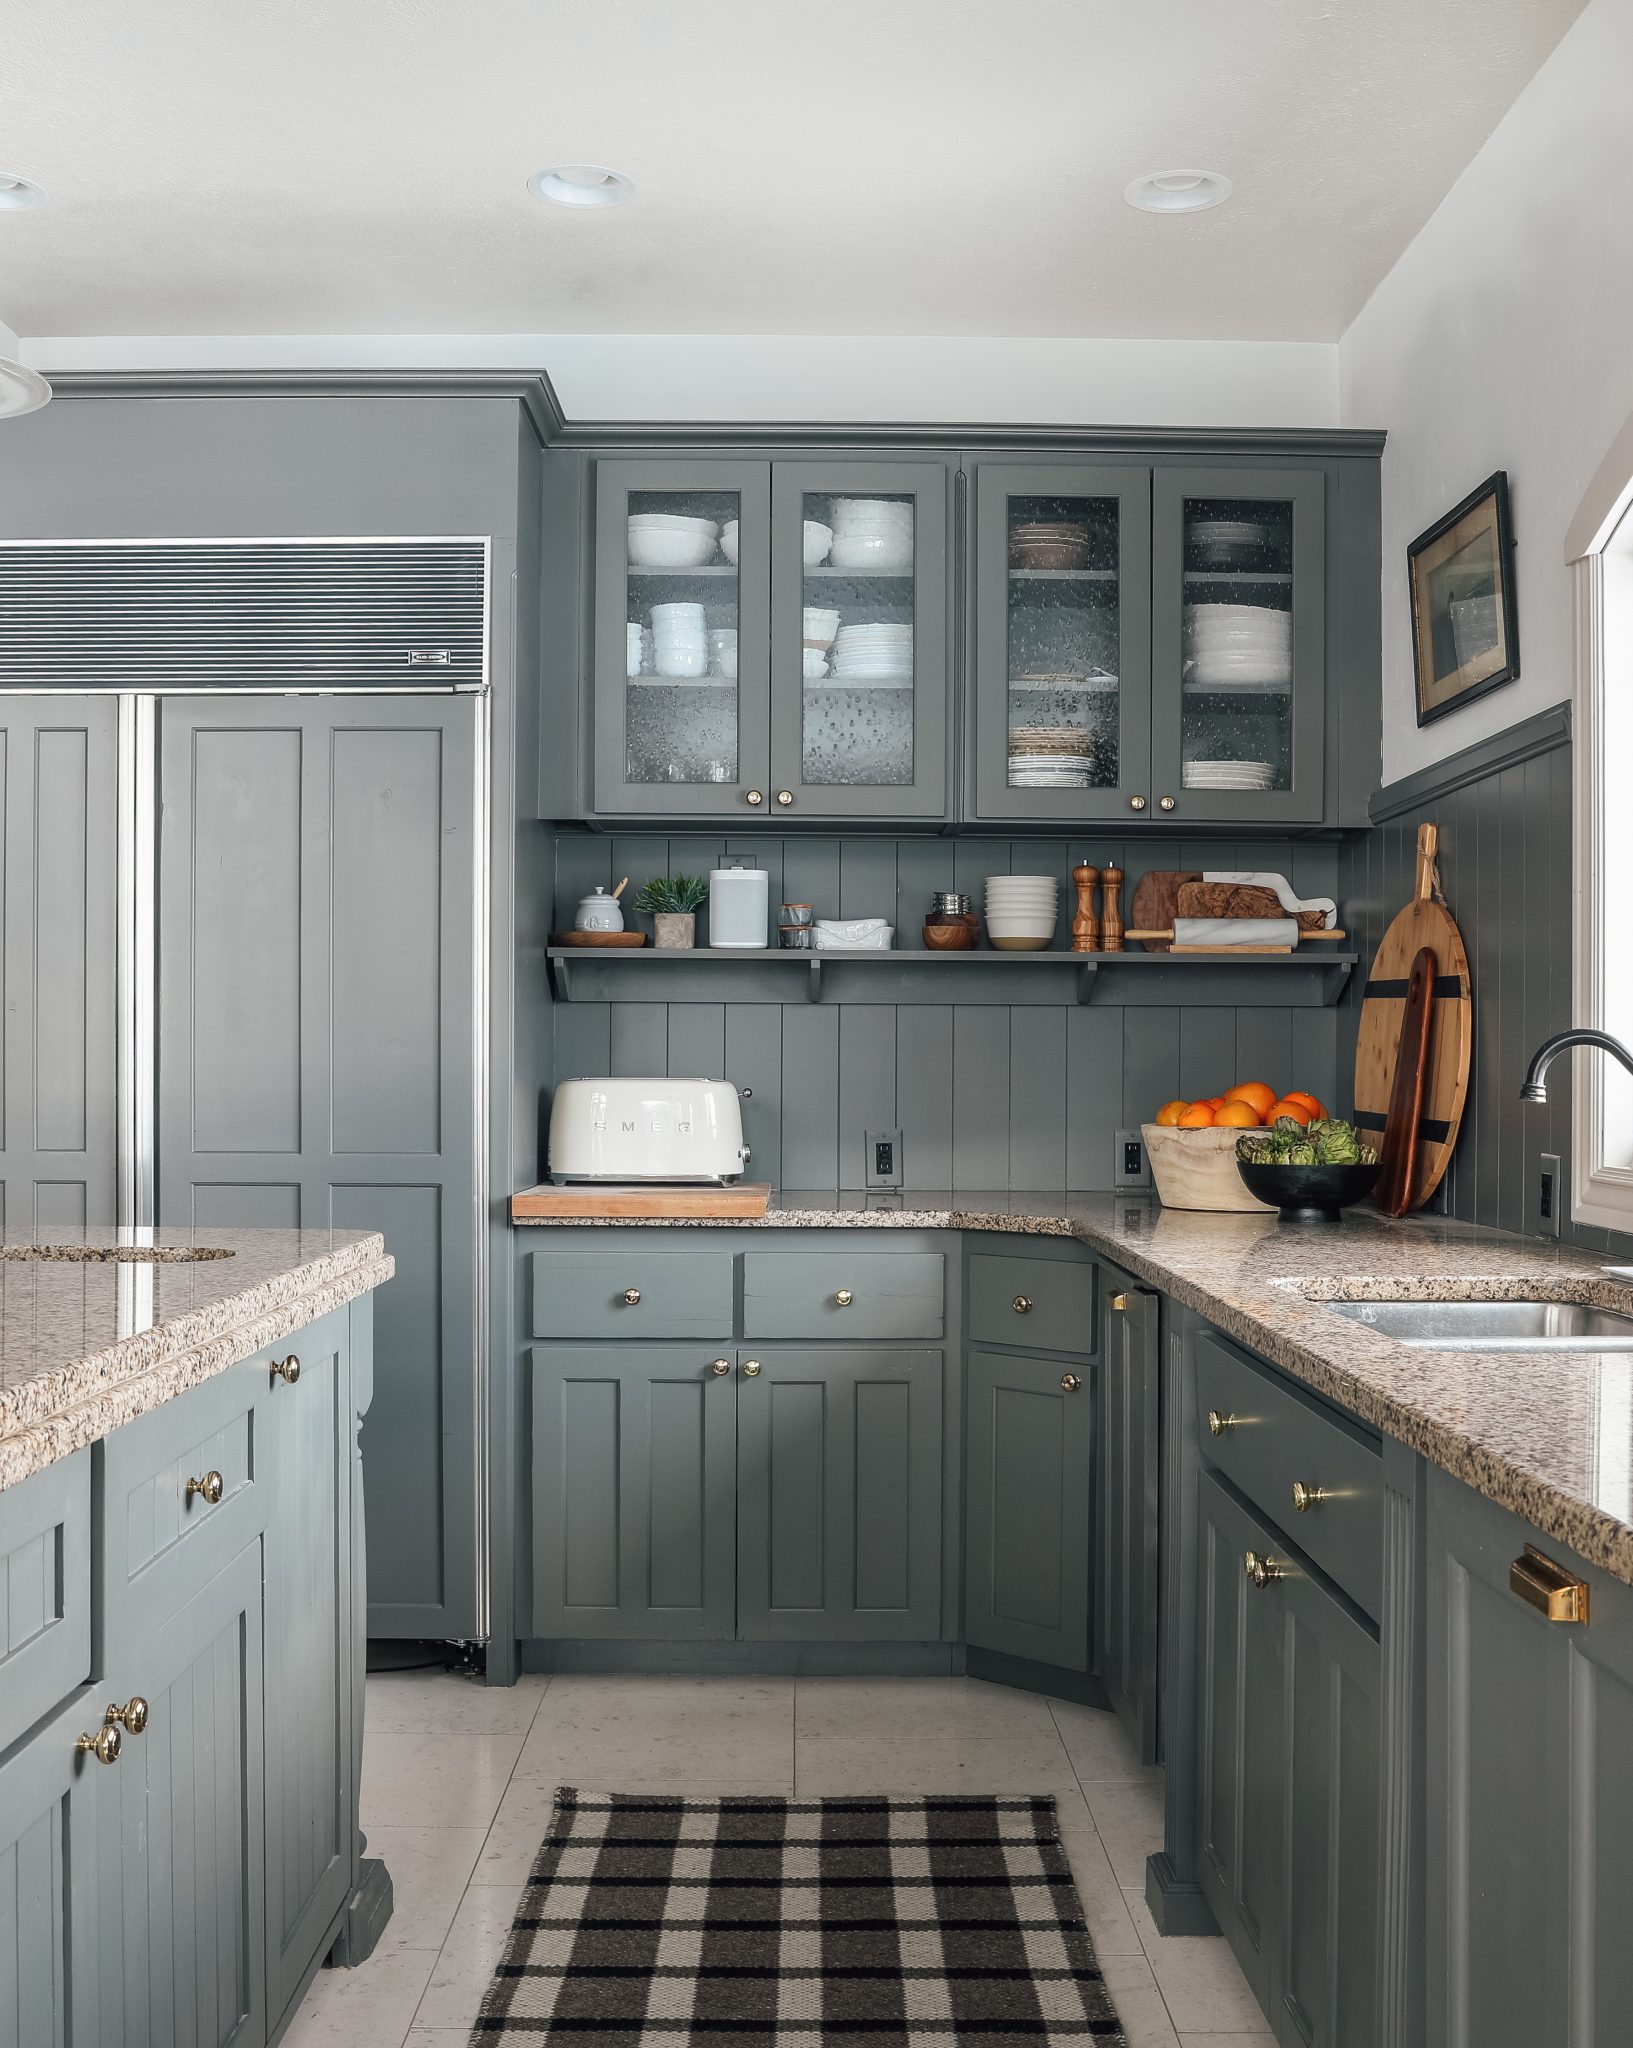
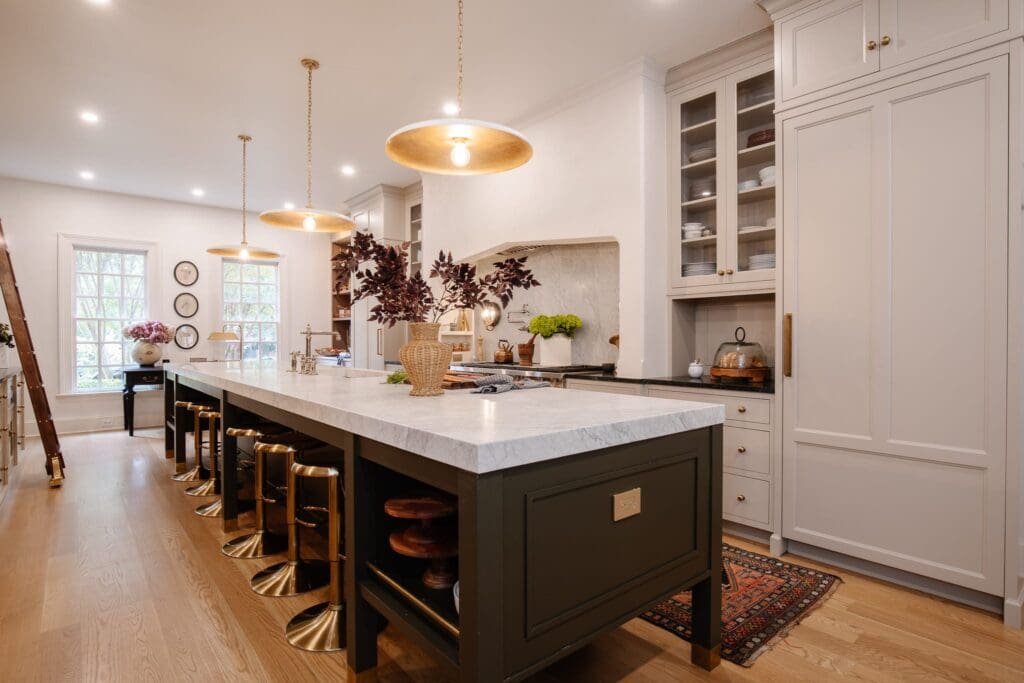
I would love to know what color the cabinets are painted! Beautiful!
I was one of the people requesting a tutorial :) Thank you!!!
Thank you.
Looks lovely, and also practical! I asked my contractor to do something similar and was told that building code did not allow a wooden shelf over a stove top. I ended up going with a commercial grade stainless -additionally, we could not put stove in front of a window for similar code issues!!!!! I seem to live in a town with stricter codes than most !
I think you misunderstood your contractor. IRC M1901.1 “Freestanding or built-in ranges shall have a vertical clearance above the cooking top of not less than 30 inches (762 mm) to unprotected combustible material. Reduced clearances are permitted in accordance with the listing and labeling of the range hoods or appliances.”
Some towns may not follow the irc, or could make amendments to the code.