This project is sponsored by Lowe’s.

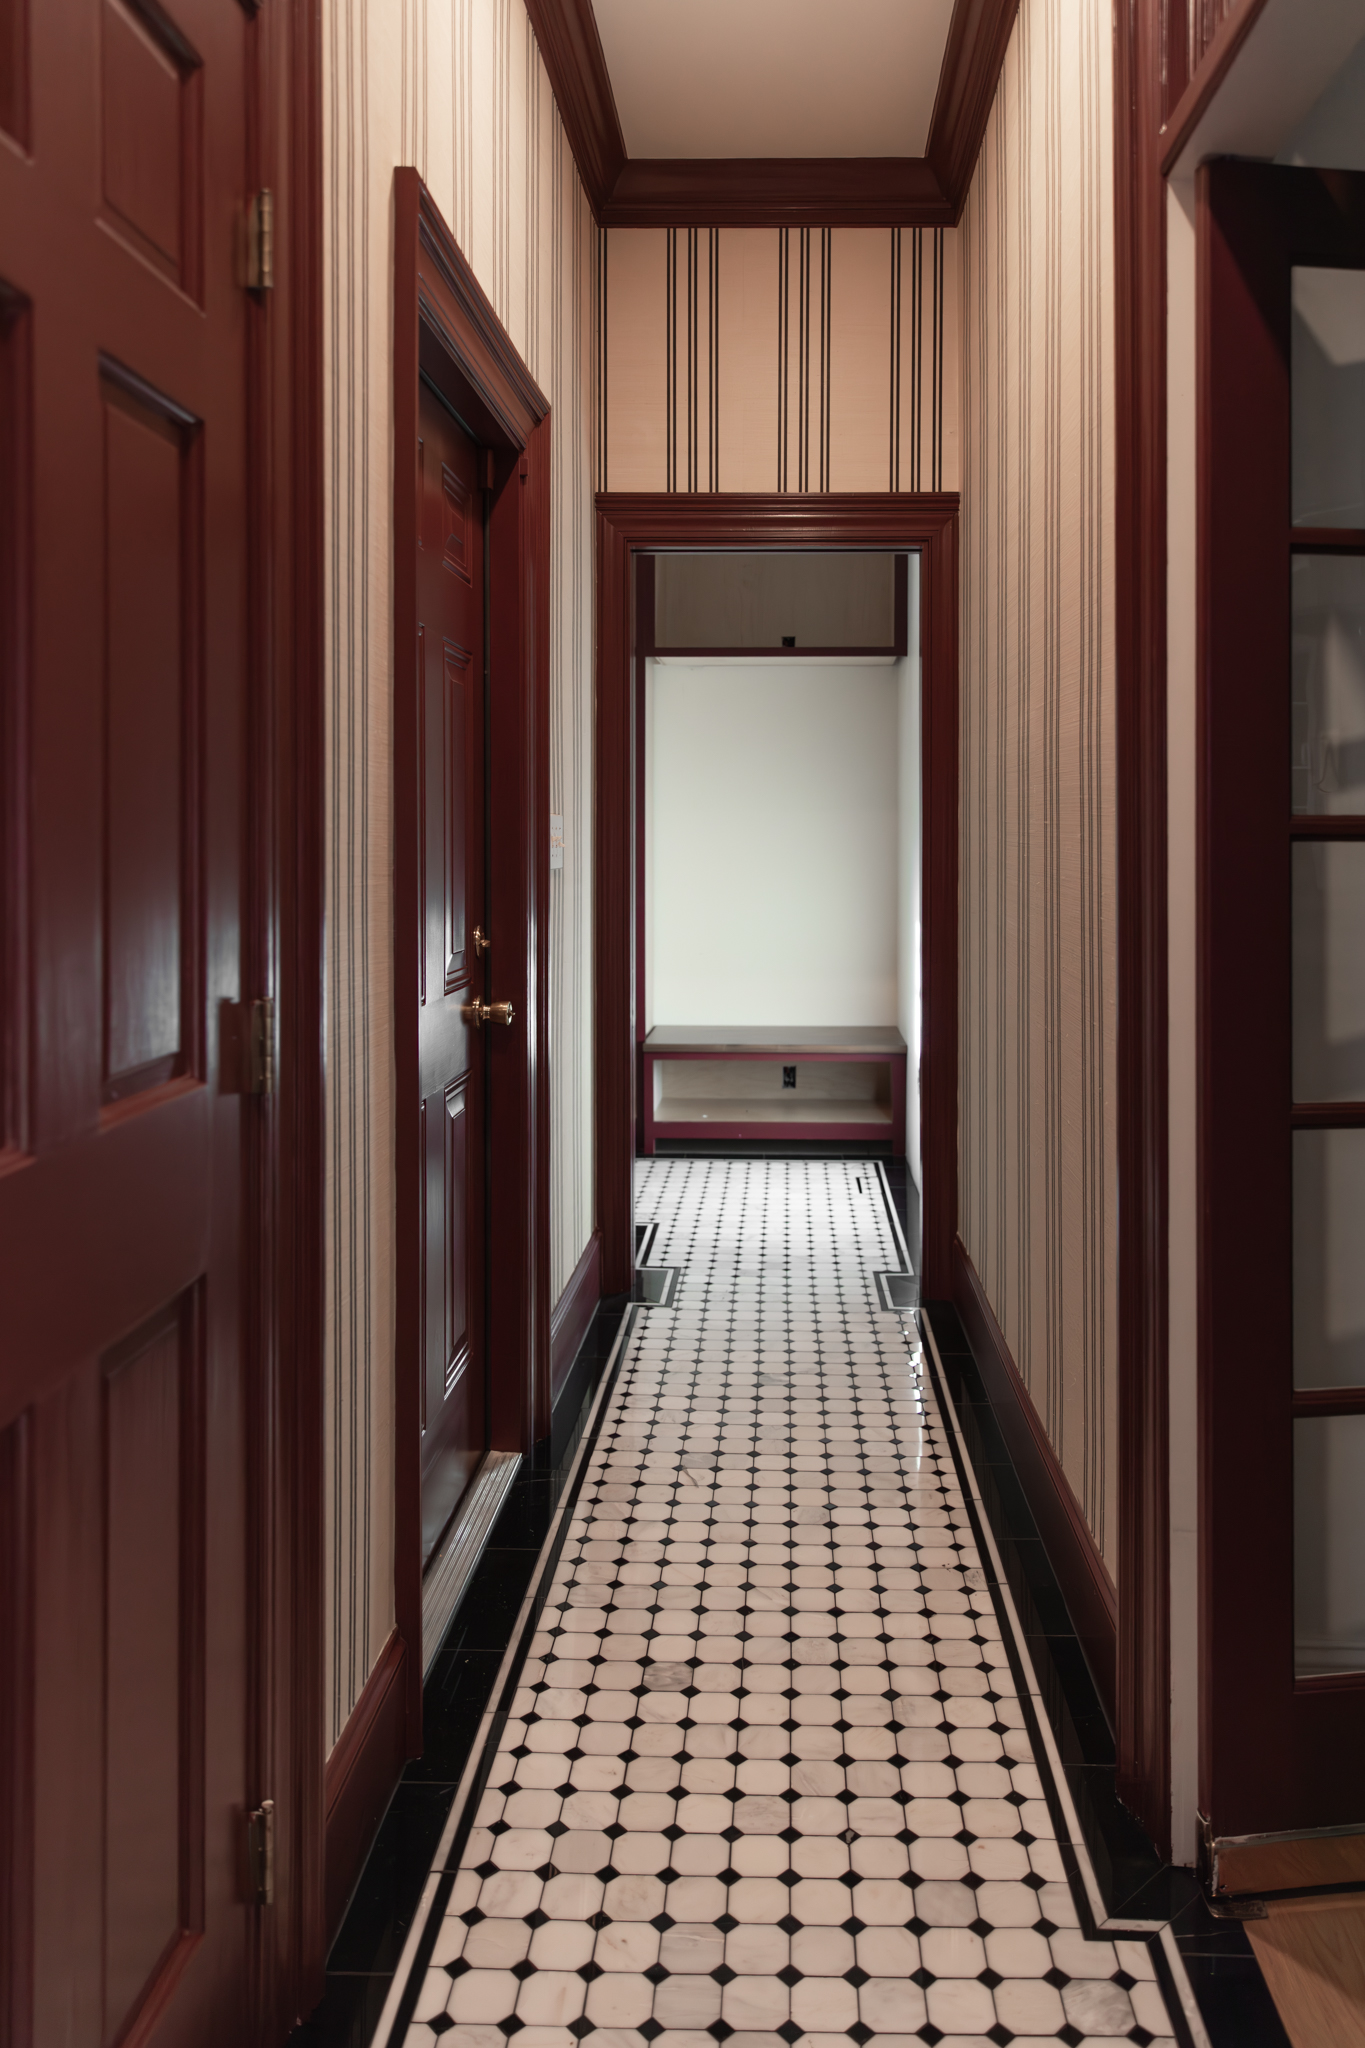
The tile is officially laid in the laundry room and I’m so in love!
Let’s see it from one more angle because why not? Floors this beautiful deserve to be shown off!

Look at how much difference a checkered tiled floor can make! This new flooring is giving the room a whole new personality and I am here for it.

And let’s take it even further back to remember what the space looked like before we divided it and turned half of it into a laundry room!

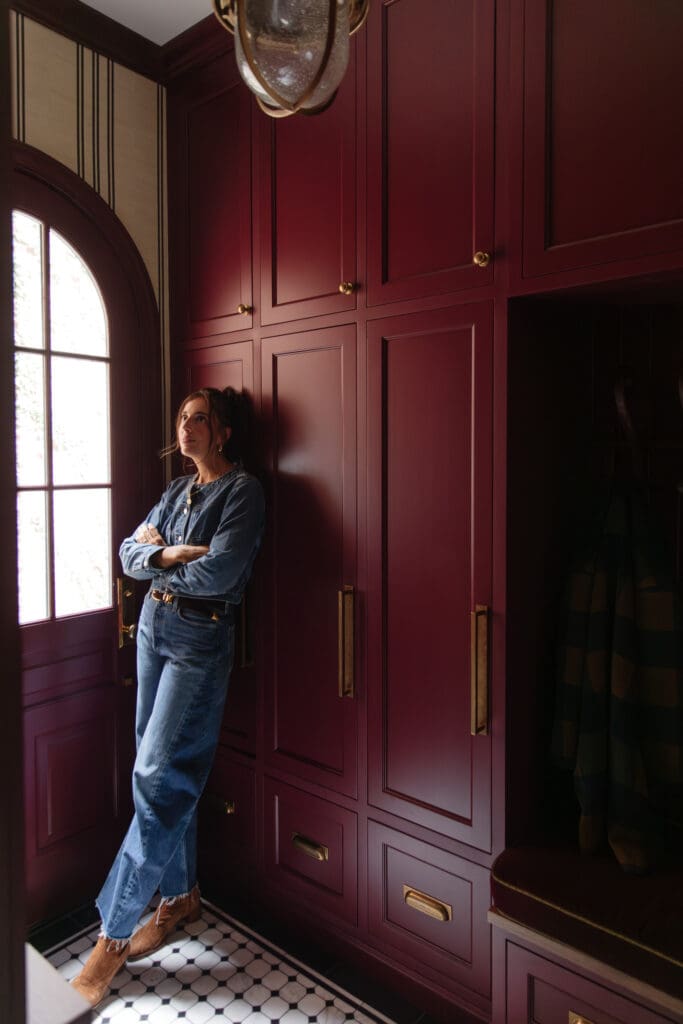
At one point we thought it would be a theater room (which now we know would be way too small). It has also lived a life as a playroom, until we decided to change the function of it entirely and make one side a laundry room, and the other side a bunk room.
Now I can’t imagine it ever being anything other than a laundry room. Before seeing the tile dry laid, I thought for sure I would lay them diagonally, making a callback to the home gym and the outside pavers. I did not expect to love them laid straight as much as I did, which made me question everything.
If they’re straight is it going to feel disjointed from the other diagonal layouts? On the other hand, if I choose diagonal am I literally putting myself in a box, and everything from this point on has to be diagonal? I love diagonal, but I’m not sure I want to be married to it.
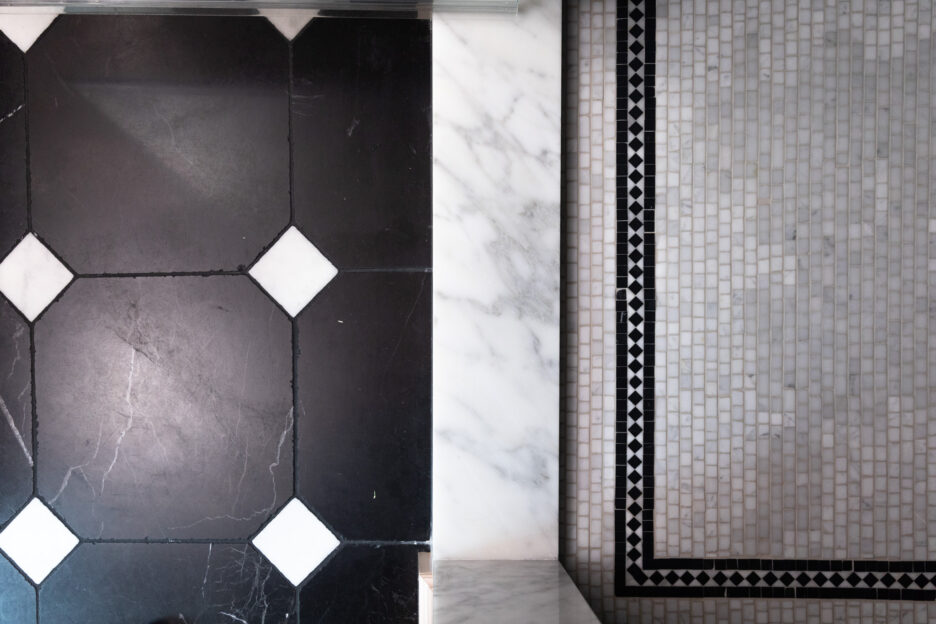
Before polling all of you in our Love Letter I knew where my heart was, but I was curious what you preferred. As a refresher let’s look at the diagonal lay which was in the Love Letter.

I actually hoped I wouldn’t be going against the majority, but here I am. 68% of you voted diamond but my heart wanted checkered.

The thing that really tipped the shelf was holding up the wallpaper next to the tile. I’m not sure if you remember the wallpaper, but it actually has a subtle diamond pattern. Which I felt made the diagonal tile layout a bit too redundant. It also has lots of curves and is pretty busy so I felt the room would look best with some straight lines. Plus, square tile is such a classic aesthetic and a little utilitarian which I knew would be perfect for a laundry room.
And so here we are and I’m so happy I trusted my gut.
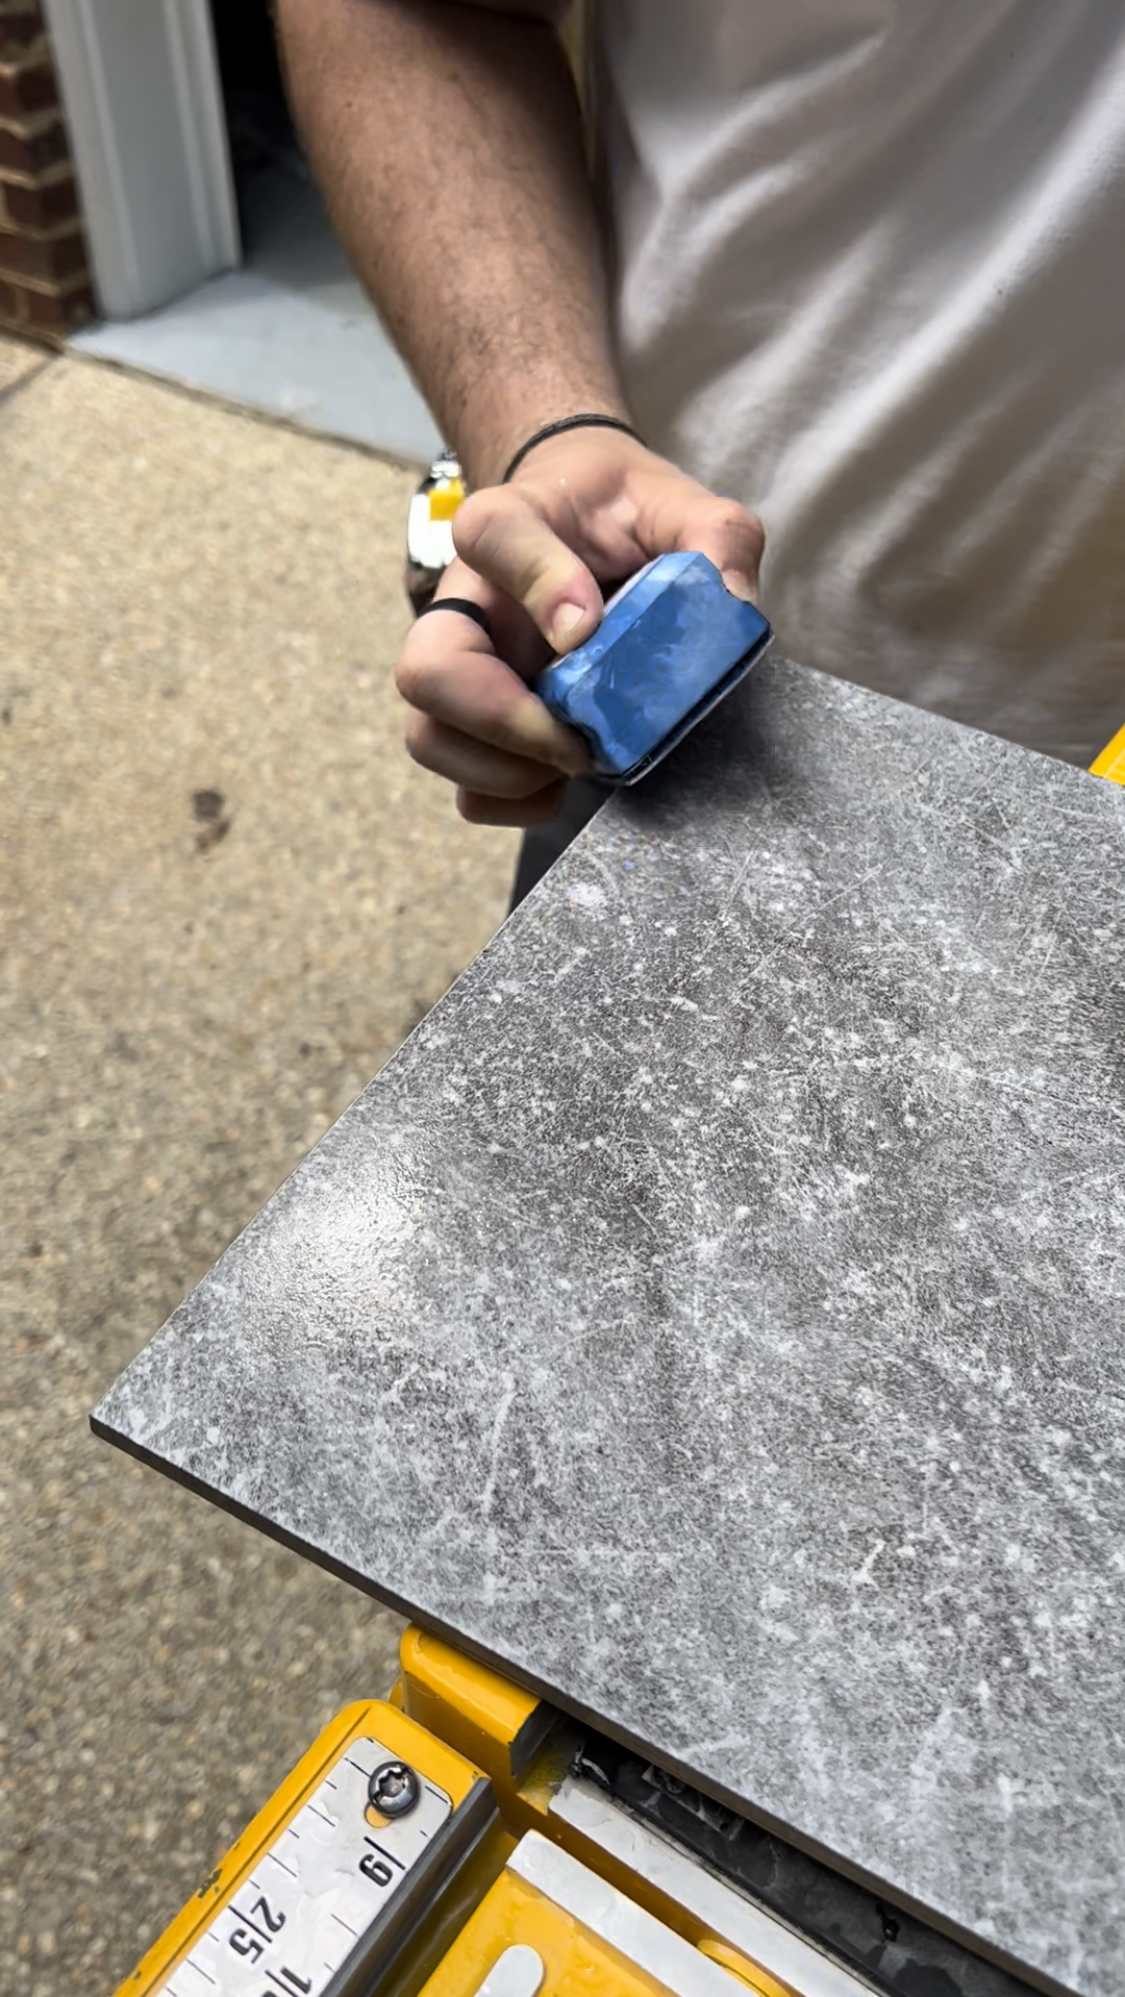
Cutting the tile 😅
Before I got a chance to order the tile in my original mood board (from our Floorpop collection), you guys sold the tile out–a mistake I’ve made before, and I guess I’m still learning the hard way! So I returned to the drawing board and found some tile at Lowe’s that I loved even more in two different colors. BUT, the dimensions were 12″x24″. Since I already had my heart set on square, we improvised a bit.
The original plan was to cut the tile in half so each would be a perfect square. But we ended up running into two roadblocks. The first was that the darker tile came a little bigger than the lighter, so when we went to dry lay, the dark tiles were noticeably a little bit bigger, which would mess with the pattern if we went ahead and laid it.
The second problem was the factory edge bevel. When someone says “factory edge,” it just means that is how it came from the factory, straight out of the box. Also, a bevel is a slightly angled edge. Since we were cutting the tiles in half, 1 out of the 4 edges of the tile was now not beveled. The problem with that is that it would mess up the grout joints. So back to the drawing board we went!

We decided to cut all the factory edge bevel off so that every side would now be straight instead of one side straight and the others still beveled. That also meant we were recutting every single piece of tile (three more times!) that we had just cut which ended up being quite a bit of extra work. But once they were finally all cut, we were set to lay.
I would not necessarily recommend doing this just because of how labor-intensive it was, but at least it turned out beautifully in the end! And really we were only able to make this work because the tile was from the same brand and they were the same thickness.
Materials used
Tools used
- Impact Driver
- Grinder (To cut the backer board)
- Tile Saw
- Diamond Sanding Pad
- Putty Knife
- Trowel
- Knee Pads
- Tile Spacers
- Tile Levelers
- Tile Space Tensioner
- Sponge
- Grout Flout
- Chalk Line
- 5 gal Bucket
- Tape Measure
Cutting and installing tile tutorial

- First, measure the short side of the tile and then mark that line so when you cut the 12”x24” tile it will be a square.
- Then make the cut. Slow is fast and fast is slow when cutting tile, especially porcelain tile because it will always chip when being cut.
- After that cut, go around on each side of the tile and cut the factory edge bevel off.

- Porcelain tile will always chip a little bit so after you cut it, you have to use a diamond sanding pad to smooth out that cut edge.
- Once all of your pieces are cut you can stage them just outside the room you are working in.

- The first step to laying tile is to find the center of your room. Find and mark the middle of each wall and then use a chalk line to snap two lines. Where those lines intersect is where the middle of the room is.
- Now you need to make sure that your lines are perfectly square. Use the 3-4-5 triangle rule (middle school math). Measure 3’ from the intersect down one line, then 4’ down the other line. Then measure from point to point and if your lines are perfectly square, the distance between them will equal 5’.
- After you’ve determined your layout lines are perfect square, lay the first 4 tiles in the center and let them cure. Make sure they are perfectly square and level because they set the tone for the rest of the floor.
- After they dry, pick one of the quarters of the room and work out from the center. Making sure to carefully follow your layout lines. Work in a staircase manner, so that you don’t tile yourself into a corner. Once you finish one quarter, move on to the next until you find yourself tiling right out the door.
- We used these cool spacers that help your tiles stay level as you go. Once you have the four tiles in around the spacer, you place this disk on top and use the tensioner tool to tighten it down.
- What we did is we laid all of the full pieces that we could one day and then came back after they dried to cut and lay the border pieces.
- After the whole floor is dried, break off the spacers and do a quick sweep to clean up any debris. Then you’re ready to grout.
- Pick your grout color, we used the Silver Acrylic Premix Grout from Lowes. (We went with a dark gray color so it’ll look cleaner over time.) Working in 3’x5’ area use a grout float and squish the grout from both directions into all of the joints. Once you applied the grout to all of the joints in the 3’x5’ use a sponge to wipe down the tiles. Then on to the next area until you have grouted and cleaned the entire floor.
- After your grout has dried you can use a sealer. However, with the grout we used we actually didn’t need sealer! So, project finished. 😎


Since this project ended up being a doozy I probably would not recommend cutting tile for beginner DIYers, but if you show this tutorial to a contractor they should be able to do something similar if needs be. I also have another DIY tutorial for laying penny tile which is great for any level of experience! In the meantime, I’ll be swooning over this project for many weeks to come.


Wow. That turned out amazing. Probably a bit out of reach for the average DIYer, but you killed it. I mostly work with contractors doing bathrooms for my tile company, but might have to offer some laundry rooms. Great idea!
My tile guy called me with this exact problem last week. I thought we’d cut 12×24 tiles in half easy peasy… but no. We are not doing DIY (new build home) so the tile guy (and my wallet) are not into cutting 3-4 times per piece. I was reading this with such hope that you had some other solution for me… I will continue my hunt for tiles that come factory cut square to do my checkerboard!