Nearly 2 years have passed since our honed Carrara marble countertops were installed, and (*confession) we haven’t done a thing to keep up maintenance besides wiping them daily with a little dish soap and water. I know, I know, the cleaning gatekeepers would be ashamed, but hey, I’ve never claimed to be a perfectionist over the small things. Scratches and stains here and there don’t bother me, and we knew from the beginning that Carrara marble is prone to a few. But, with how much use this kitchen gets, they were well overdue for some TLC. Here’s what the marble countertop restoration process looked like!
All of the kitchen sources can be found here!
But first, let’s revisit our decision to go with Carrara marble countertops in the kitchen and answer the question, “What does ‘honed’ even mean?”
Why Carrara marble?

Brass Barstools | Wood Bowl | Faux Artichokes | Brass Knobs
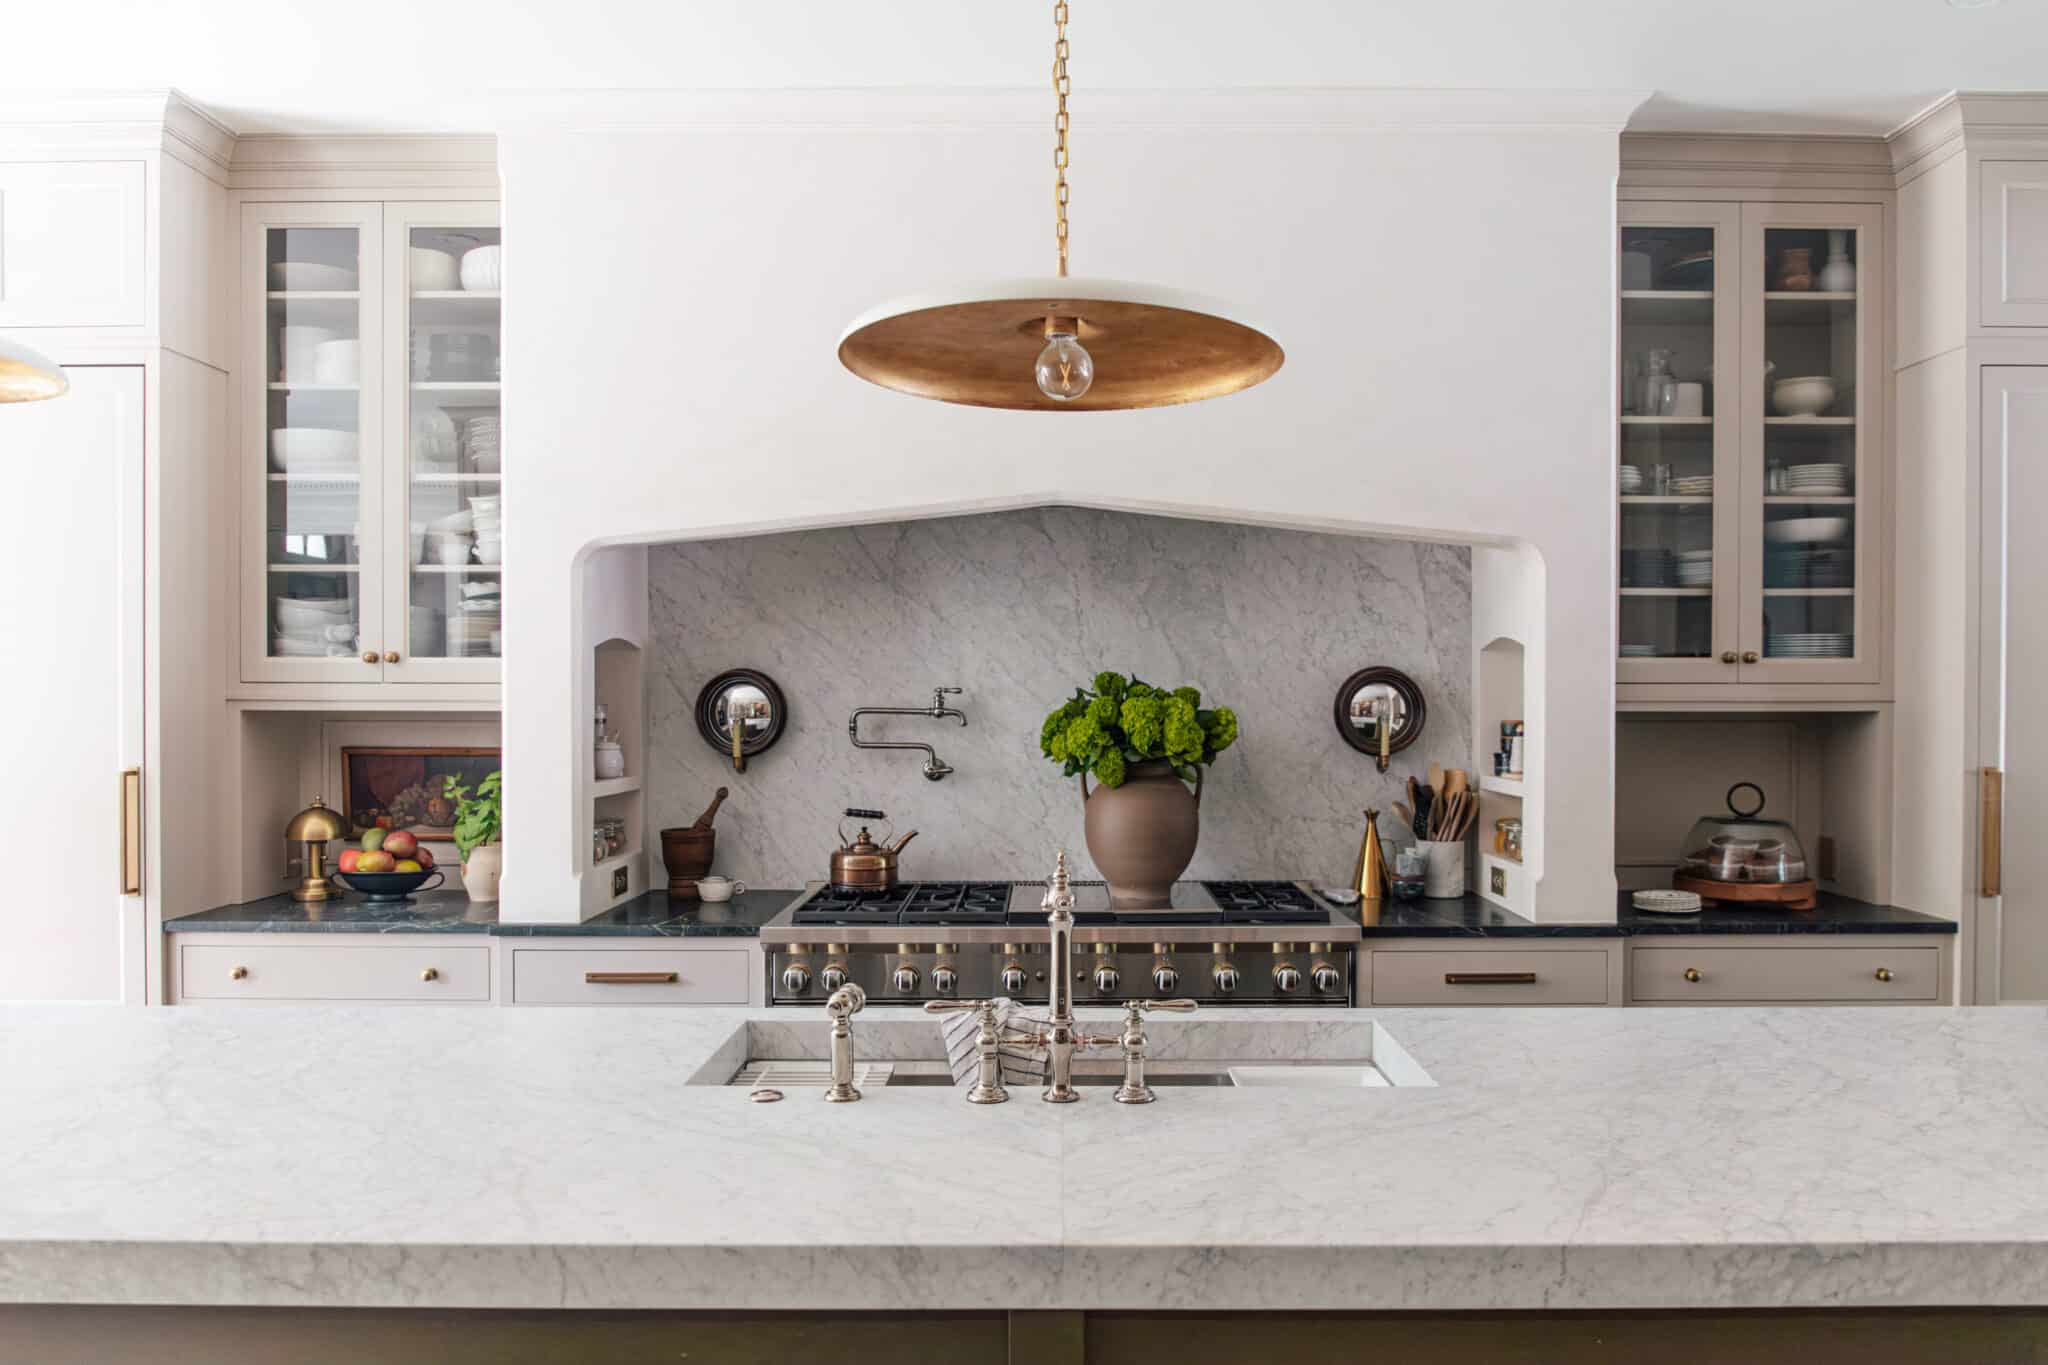
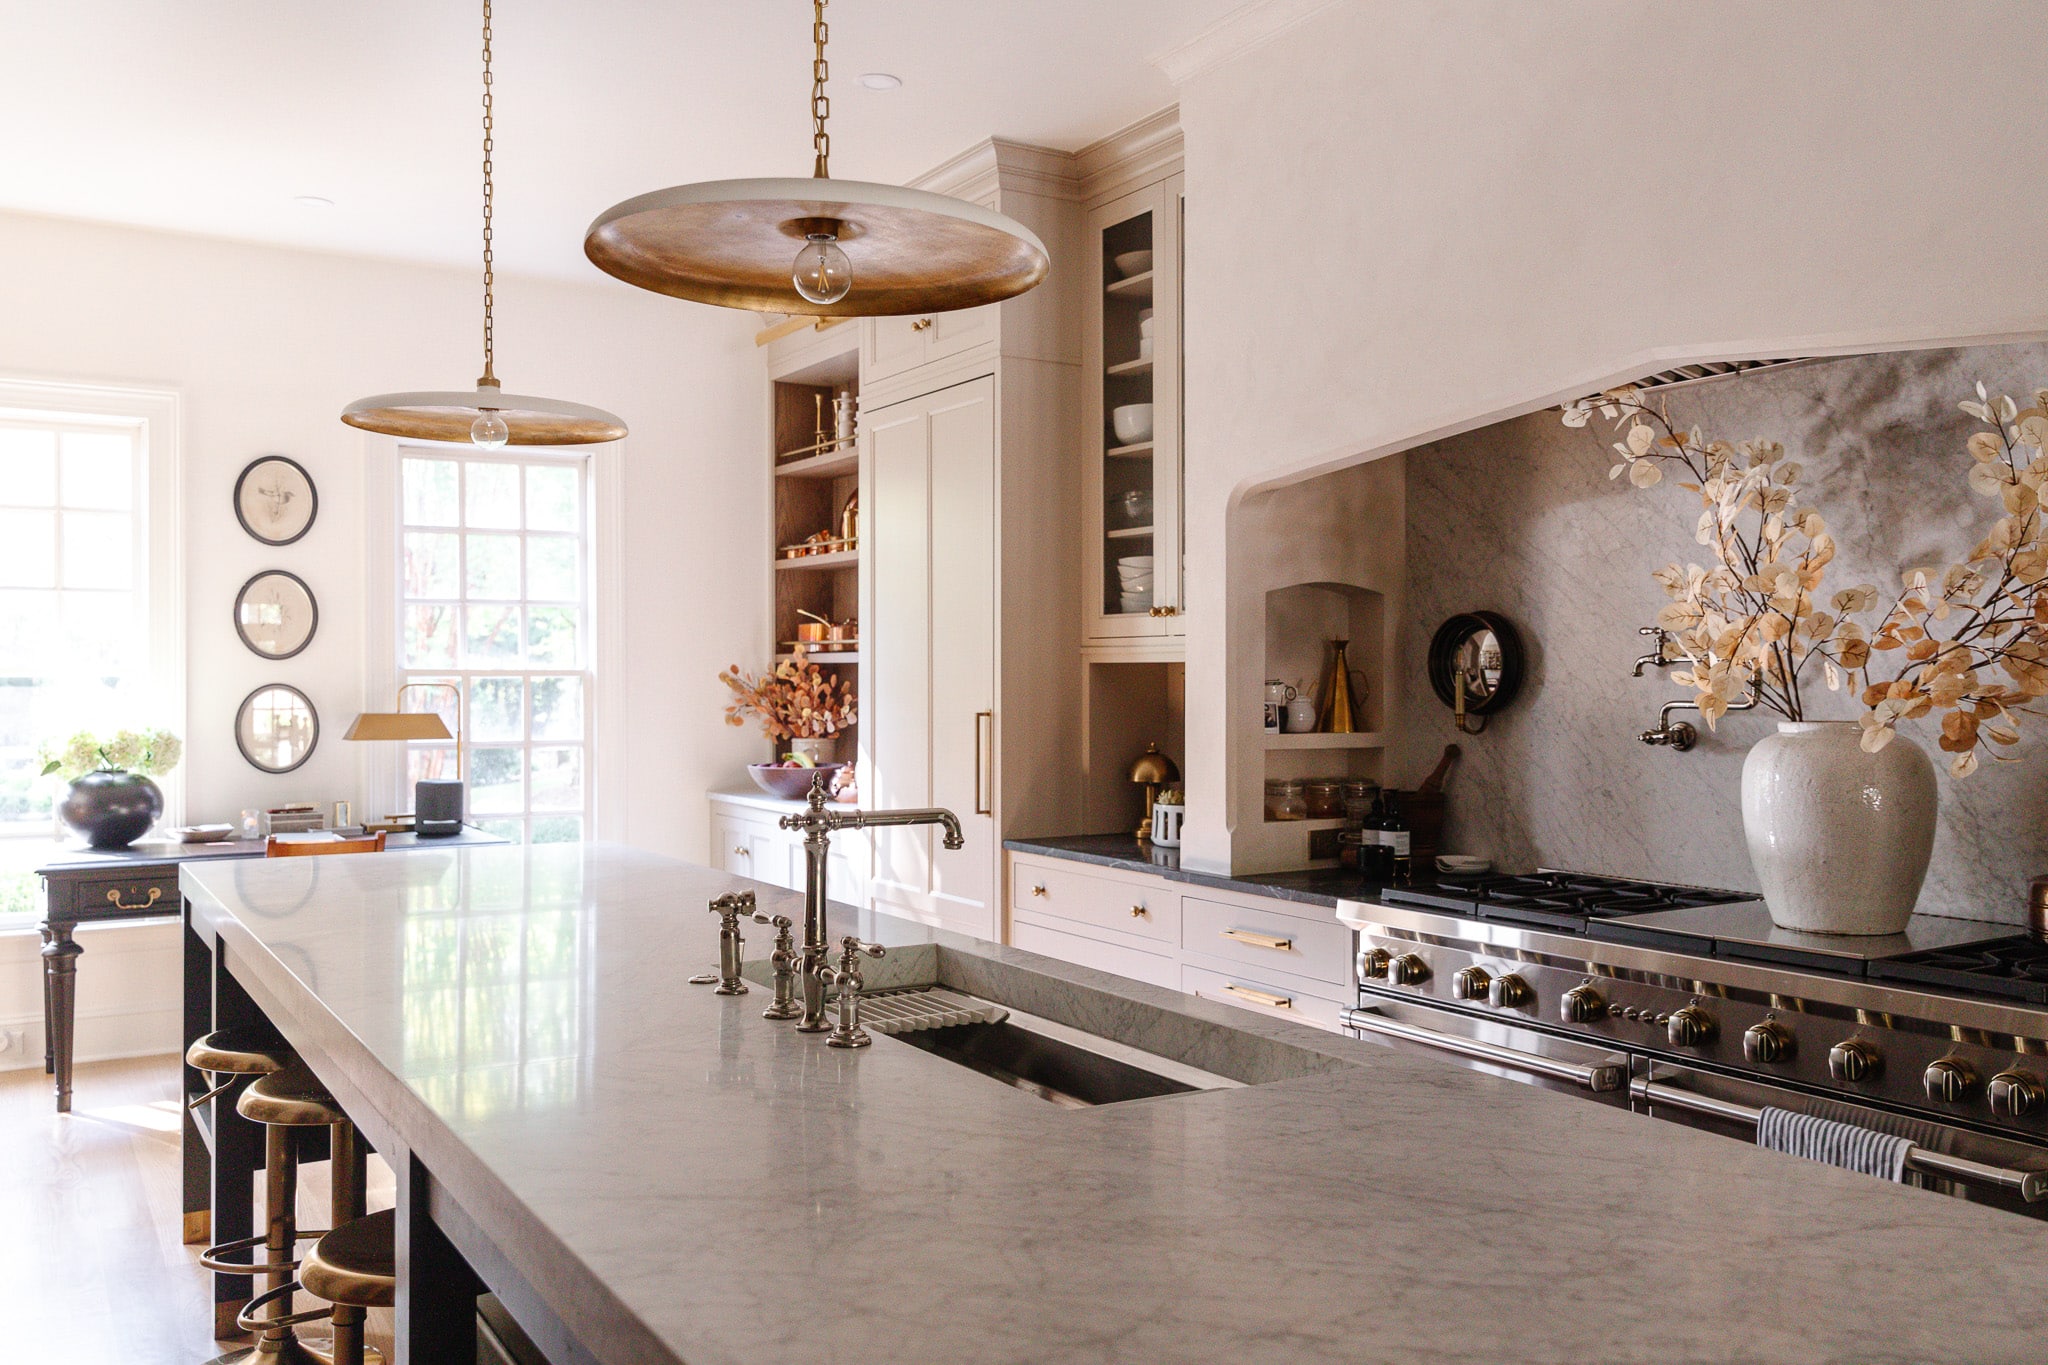
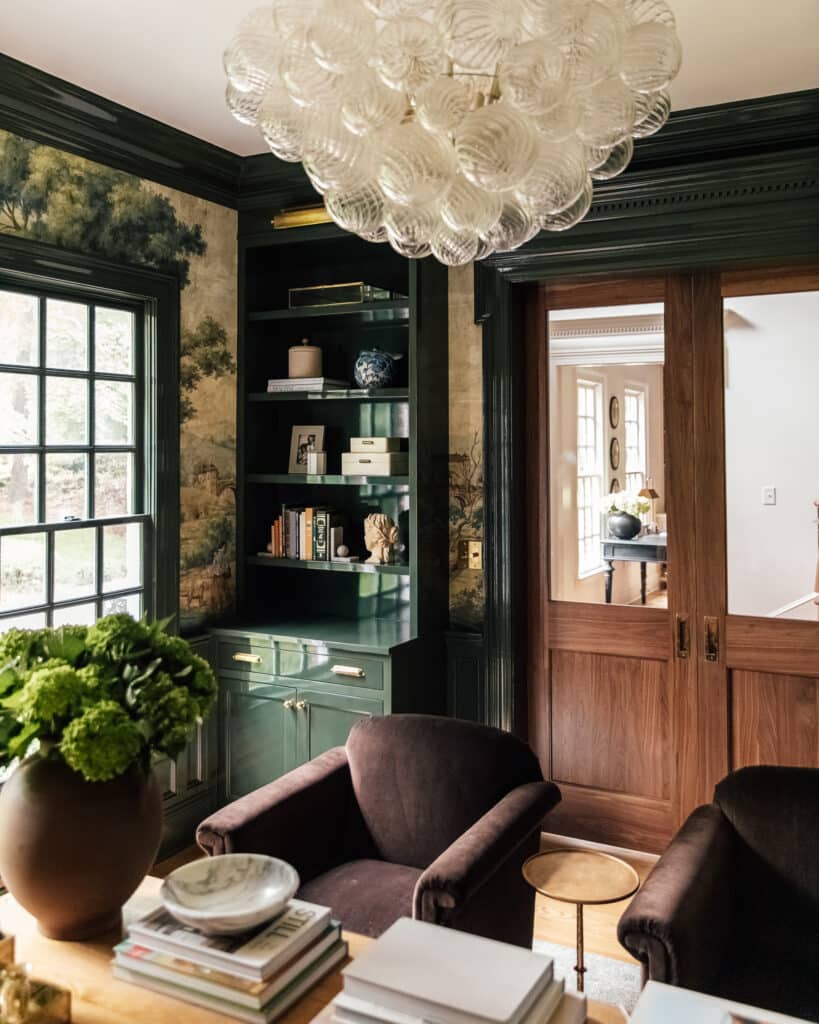
When Chris and I set out to select the countertops for our kitchen, we knew we wanted marble. It wasn’t until we were in the stone yard, standing in front of the slabs, that we fell in love with Carrara marble. We were instantly captivated by the delicate blue-grey veining set against the milky whiteness. Carrara marble comes from, well, Carrara, Italy, and it’s basically the Ferrari of marble varieties. It’s a stone that not only screams luxury but also has this timeless quality that can endure trends.
As covered in our “Comparing 10 Popular Countertop Materials” post, marble is considered one of the softer stones, which means it’s vulnerable to scratches and etching when it comes in contact with more acidic foods like citruses, sauces, and certain cleaners. It’s also a porous stone and needs regular resealing (whoops) to protect it against moisture and staining.
In other words, it’s a pretty penny to spend on a countertop that requires more maintenance than others. And if you’re stressed about staining and durability, then marble might not be for you. I’m just not that type of person.
What is honed marble?

Kitchen Faucet | Workstation Sink
Honed marble refers to marble that has undergone a specific finishing process to achieve a matte or satin surface rather than a high-gloss, reflective finish. During the honing process, the marble is sanded with abrasive pads or diamonds, leaving the surface smooth but not shiny. This results in a more natural, velvety look.
We initially chose the honed finish because we loved its matte, organic feel. It’s also less maintenance and exudes a certain lived-in elegance that I absolutely adore. Plus, the honed finish has been a bit more forgiving with daily wear and tear.
The decision to hire pros
We initially reached out to Marblelife of Raleigh (not sponsored) to get a quote on simply “resealing” our countertops. It had been on our to-do list for far too long, and we felt it would be best to just have someone else come take a look. Most of the surface etching was minimal and only noticeable in certain lighting and angles, except for one very big splatter on the very edge of the island.
Before restoring

Horrible, right? You could only see it from this specific angle, but it was pretty bad. When the pros over at Marblelife came to take a look, they recommended we restore/refinish the entire surface, which would totally buff out this appalling etching, plus all the tiny ones. And wow, were they right…
After restoring

Our countertops are brand new. Hiring professionals was certainly the correct decision.
How to restore marble countertops?
On the day of countertop restoration, one person did the job from start to finish in just two hours. Let me walk you through everything he did:
Step 1: Tape off and protect other surfaces
Prep work always takes more time than you think (and is the most boring step), but it should never be skipped. Refinishing marble can get messy!
Step 2: Clean
The surface must be cleaned to remove any debris, grease, or dirt that could interfere with the restoration process. They used their own pH-neutral cleaner, but a drop of dawn dish soap with a warm, wet microfiber cloth will do the trick.
Step 3: Honing
Next came the honing process, where he used an abrasive pad, stripping away a tiny layer of the marble to reveal a new surface underneath.

To prevent dust from filling the air, he first sprayed the surface with water before running the polishing machine over it. He continued to wet it down as it would dry. The polishing pad is “diamond-impregnated” with an abrasive grit of about 200. If we wanted the marble to have a glossier finish, he would have worked his way up to a 400-grit polishing pad. But we wanted a honed finish, so he stopped after 200.
If you want to try this yourself, see if you can rent a stone polishing machine from your local hardware store. However, be so careful not to create craters by buffing too much in certain areas.

4. Seal the marble
The final step is sealing! Carrara marble is porous, so a sealant is essential to protect it from staining and etching. This is especially important for a honed finish, as the open pores are more exposed than in a polished finish. With a rag, he rubbed the sealant all over the surface and then buffed it out with a dry cloth.
That’s it!
I will say I think our countertops look brand new, but I would say they’ve been polished to more of a satin finish rather than a honed finish. They seem much shinier now than before, and I’m overall very happy, but I’m crossing my fingers they dull a bit over time.
How frequently do marble countertops need to be sealed?
Shop the kitchen

After all this work, we promise we’ll be better at regularly sealing our countertops! A general rule of thumb is to seal marble countertops every 6 to 12 months, and we could totally do this step ourselves. We’re going to give this product a try!
How much does it cost to restore marble countertops?

The question of all questions is, “How much did it cost?”. Here’s a list of everything they did and how much it cost:
- prep
- clean
- hone kitchen island
- apply sealant to kitchen island
- apply sealant to perimeter marble countertops
All of this for the shockingly low cost of $449. While the restoration did cost more than a DIY job would have, the results were undoubtedly worth it. We now have countertops that are ready to withstand the trials and tribulations of daily life.
How do you clean marble countertops?
As I mentioned earlier, you can use a soft, damp cloth and a few drops of dawn dish soap. You can also use this daily stone cleaning spray, followed by thoroughly drying the countertop with a soft, dry towel. Remember to steer clear of acidic or abrasive cleaners like vinegar or lemon juice, and always tackle spills immediately to prevent staining. I found this stone stain remover for those emergency situations, which we’ll definitely be using! If you want to put in a bit more elbow grease and make those countertops really shine on occasion, I would recommend using this stone polish cleaner.

Maybe next time, I’ll talk all about our soapstone countertops! ;)


Need an estimate on marble countertops refinishing
In our area, it’s around $4 to $20 per square foot, with labor included. Depends on the contractor.
We had polished Calicatta Gold for about a decade – we had fabricators cut a few pieces of excess slab and polish the edges – put some felt pads underneath and whenever we needed work area, we used the small slabs. Saved a lot of nicking and scratching. Of course, there were times when tomato/lemon juice spilled and we ended up with some etching. After about 7 years, we had them repolished – got most of the erched out, but not perfect. Overall, I really liked marble. My SO isn’t as keen, so want to try honed next time – I think it’s a better look (softer), and hopefully easier to live with.
This post is incredibly helpful for anyone considering marble countertops. Your detailed breakdown of the restoration process, including honing and sealing, is really insightful. It’s great to see how professional restoration can rejuvenate well-used surfaces. For others looking to maintain their marble countertops, here are a couple of tips: 1) Regularly seal your countertops to prevent staining, and 2) Clean spills promptly to avoid permanent damage. Thanks for sharing your experience!