


Now I don’t want to get anyone in trouble, but we have worked with FloorPops several times in our own home and possibly done things differently than recommended. So we wanted to do our own FAQ about our FloorPops, because we’ve installed them now several times without issue. Here you’ll find answers to your questions in our own voice with our own experience. You can see the official FAQ for FloorPops here.
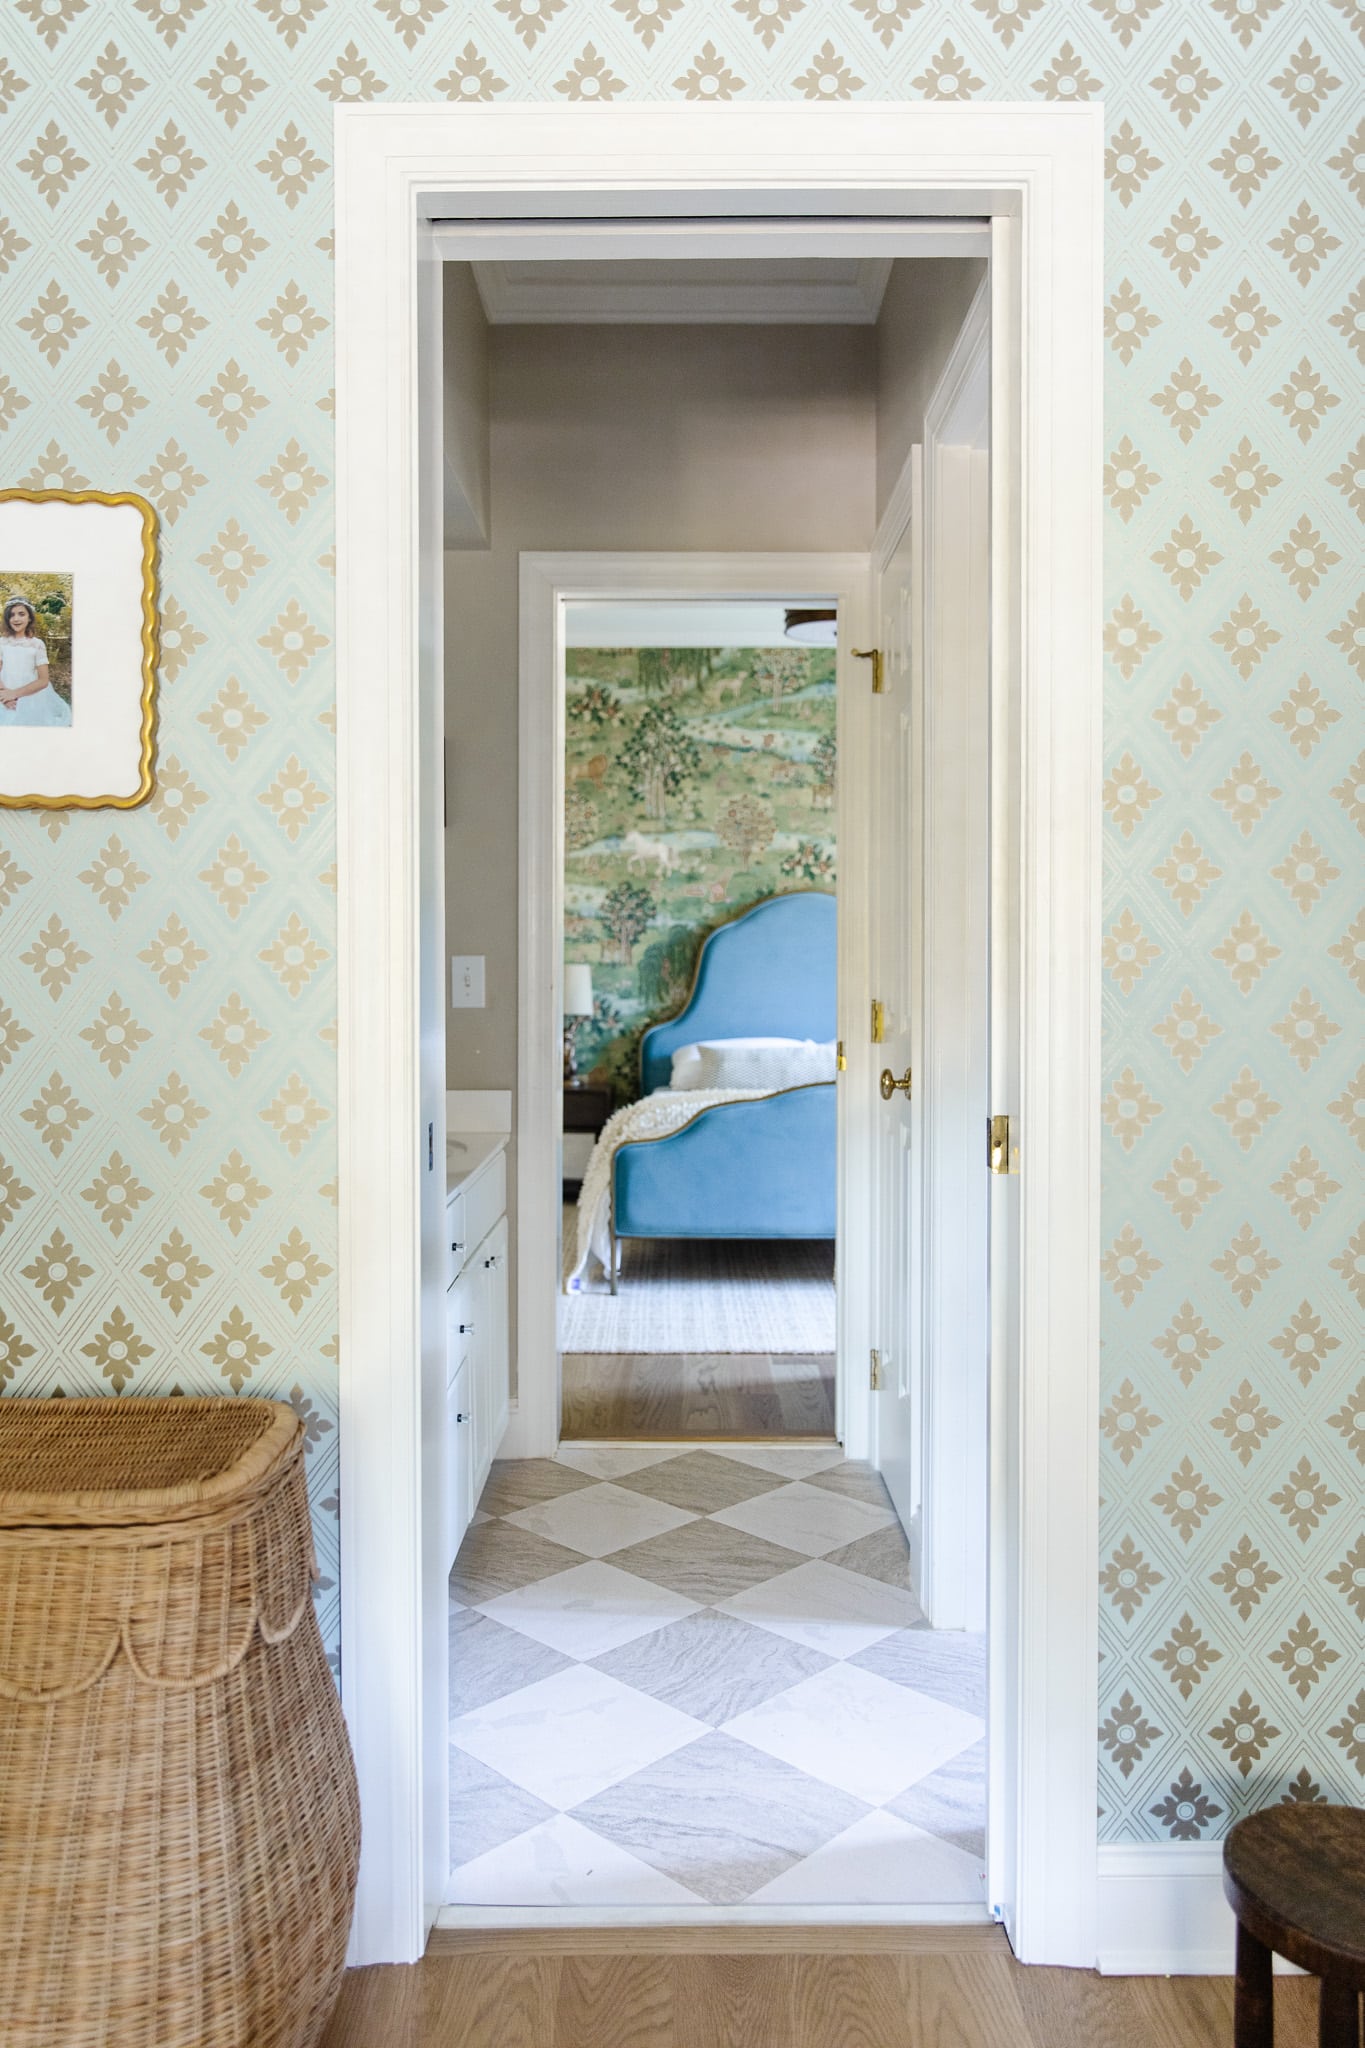
FloorPops Bonneville Beige | Scalloped Rattan Hamper | Wave Gallery Frame | Geometric Wallpaper | Polly Straw/Ivory | Bed | Mural Wallpaper
“Why FloorPops and not tile?”
Budget and ease of installation. This is a project that can be done in a day for many small spaces, and it only requires a razor blade knife, a square, and a pencil.
“What material are they made from?”
They are vinyl tiles with a low-luster finish and strong adhesive.
“Where do you use FloorPops in a house?”
Shop Our FloorPops

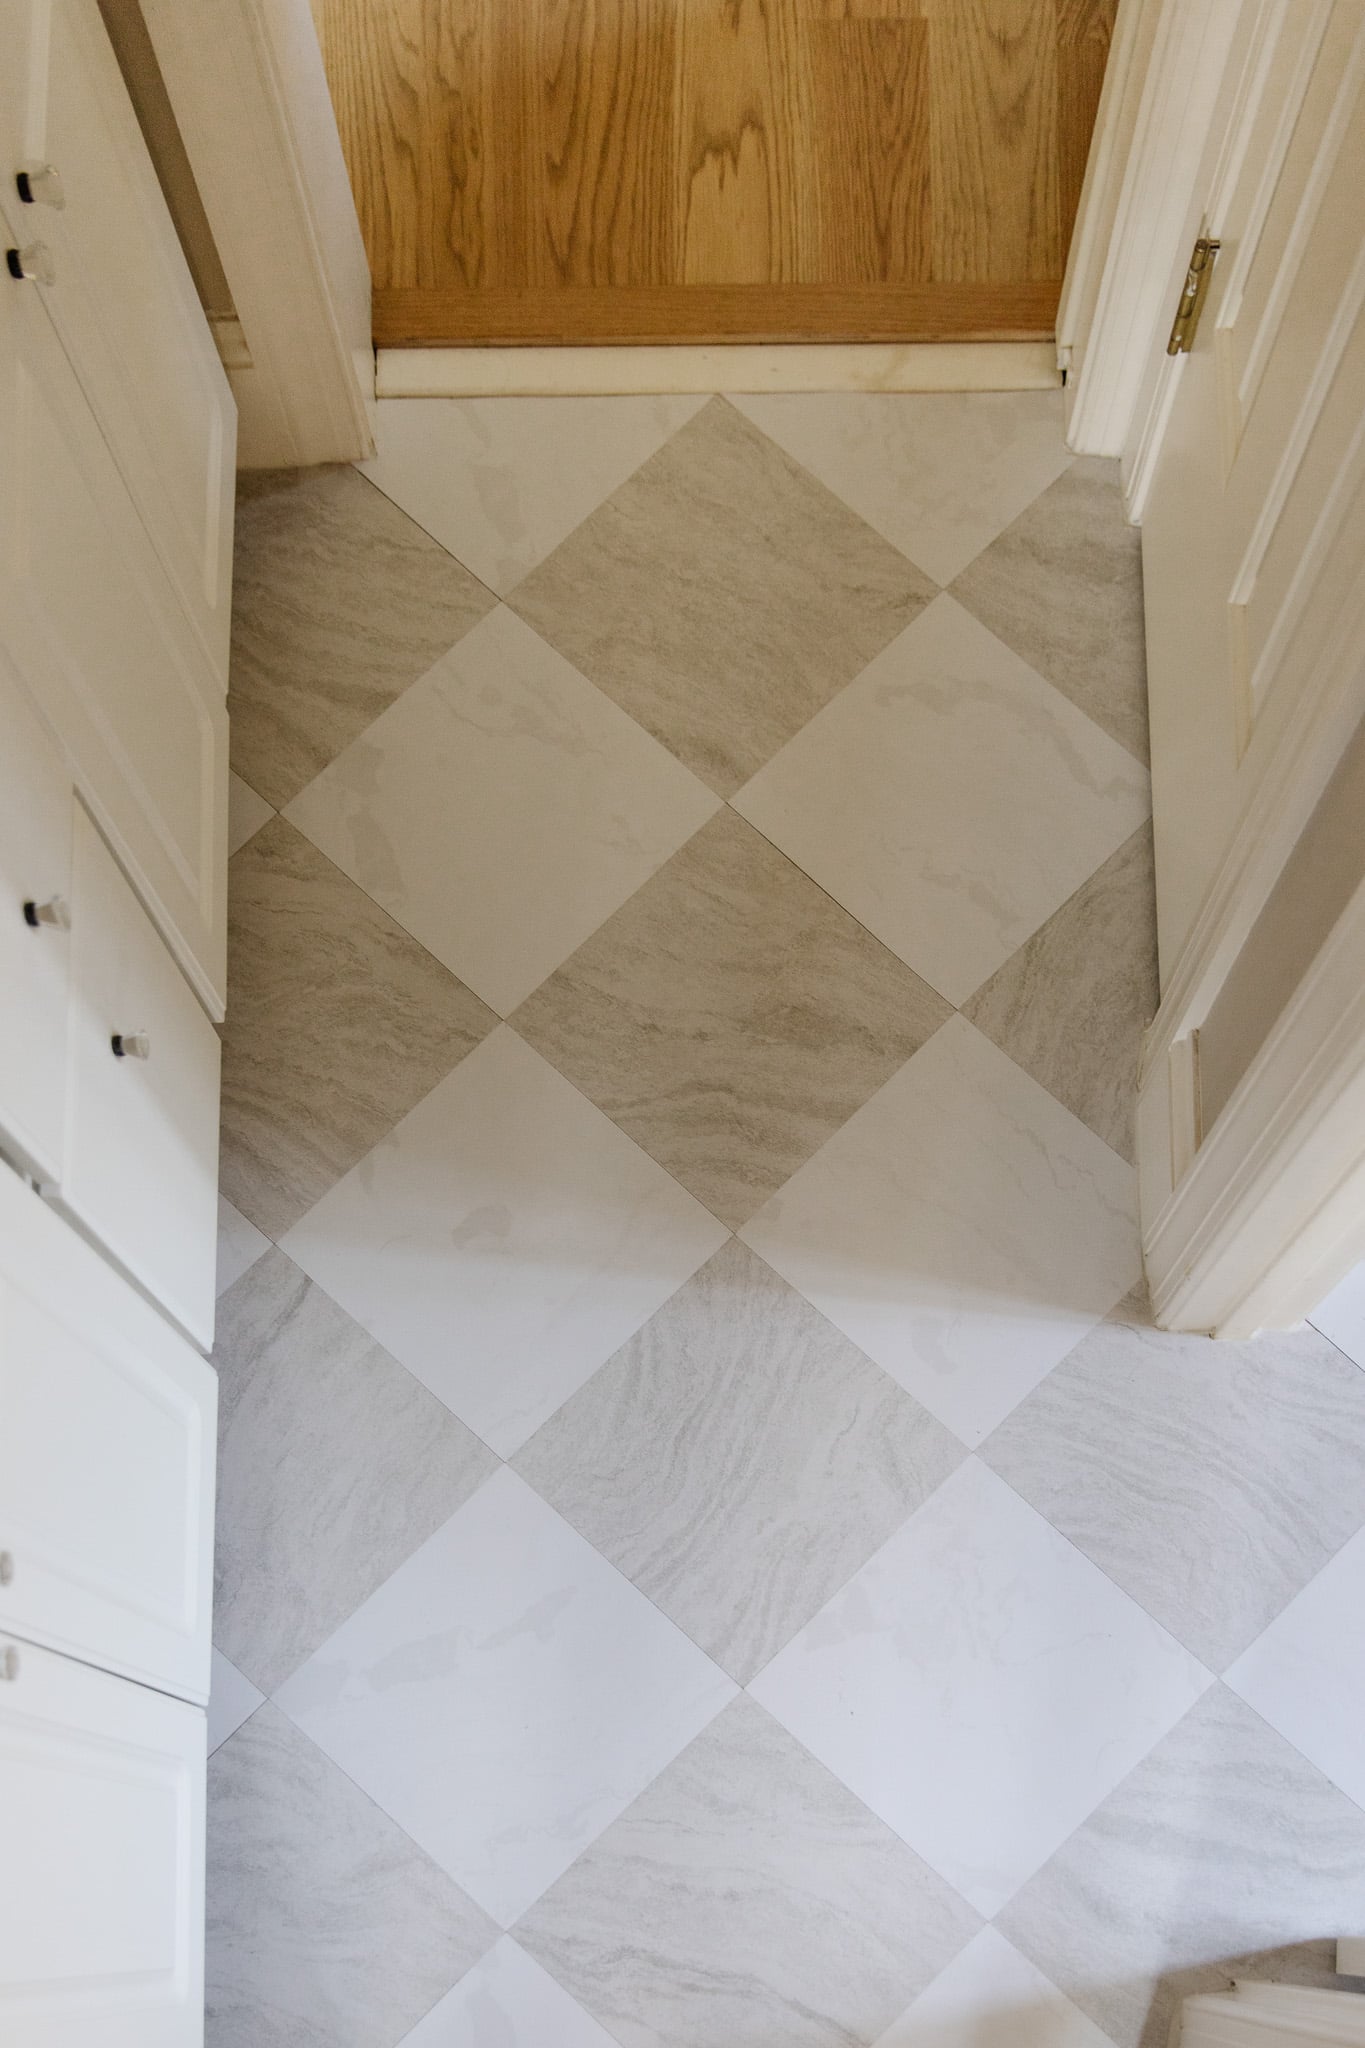
Bathrooms, laundry, kitchen, mudroom, utility rooms – anywhere that could use a quick improvement, really. We have them in our home gym, the playroom bathroom, and our girls’ bathroom pictured above.
“What surfaces can they be applied on?”
These are for interior use only, so concrete, smooth wood and sub-floor is great. We’ve installed over tile many times. FloorPops recommends that you don’t use then on unprepped ceramic or slate tiles, laminate, old vinyl, rough wood, outdoor or vertical surfaces, or heated floors (which would loosen the adhesive).
“Can FloorPops be used as flooring in a new construction?”
Sure, just be sure to install on a subfloor or recommended surface.
“What do you think about using them on a shower wall? Are they waterproof?”
Not going to work, unfortunately. They’re not meant to be used vertically. Also they’re water-resistant but not waterproof for constantly wet spaces.
“Can you put them in an unheated patio, covered porch or enclosed sun room?”
You can use the tiles on concrete, but indoors only.
“Are they waterproof? Does water seep through the seams?”
They are water-resistant, but not waterproof. We’ve had no trouble with them in the girls’ bathroom.
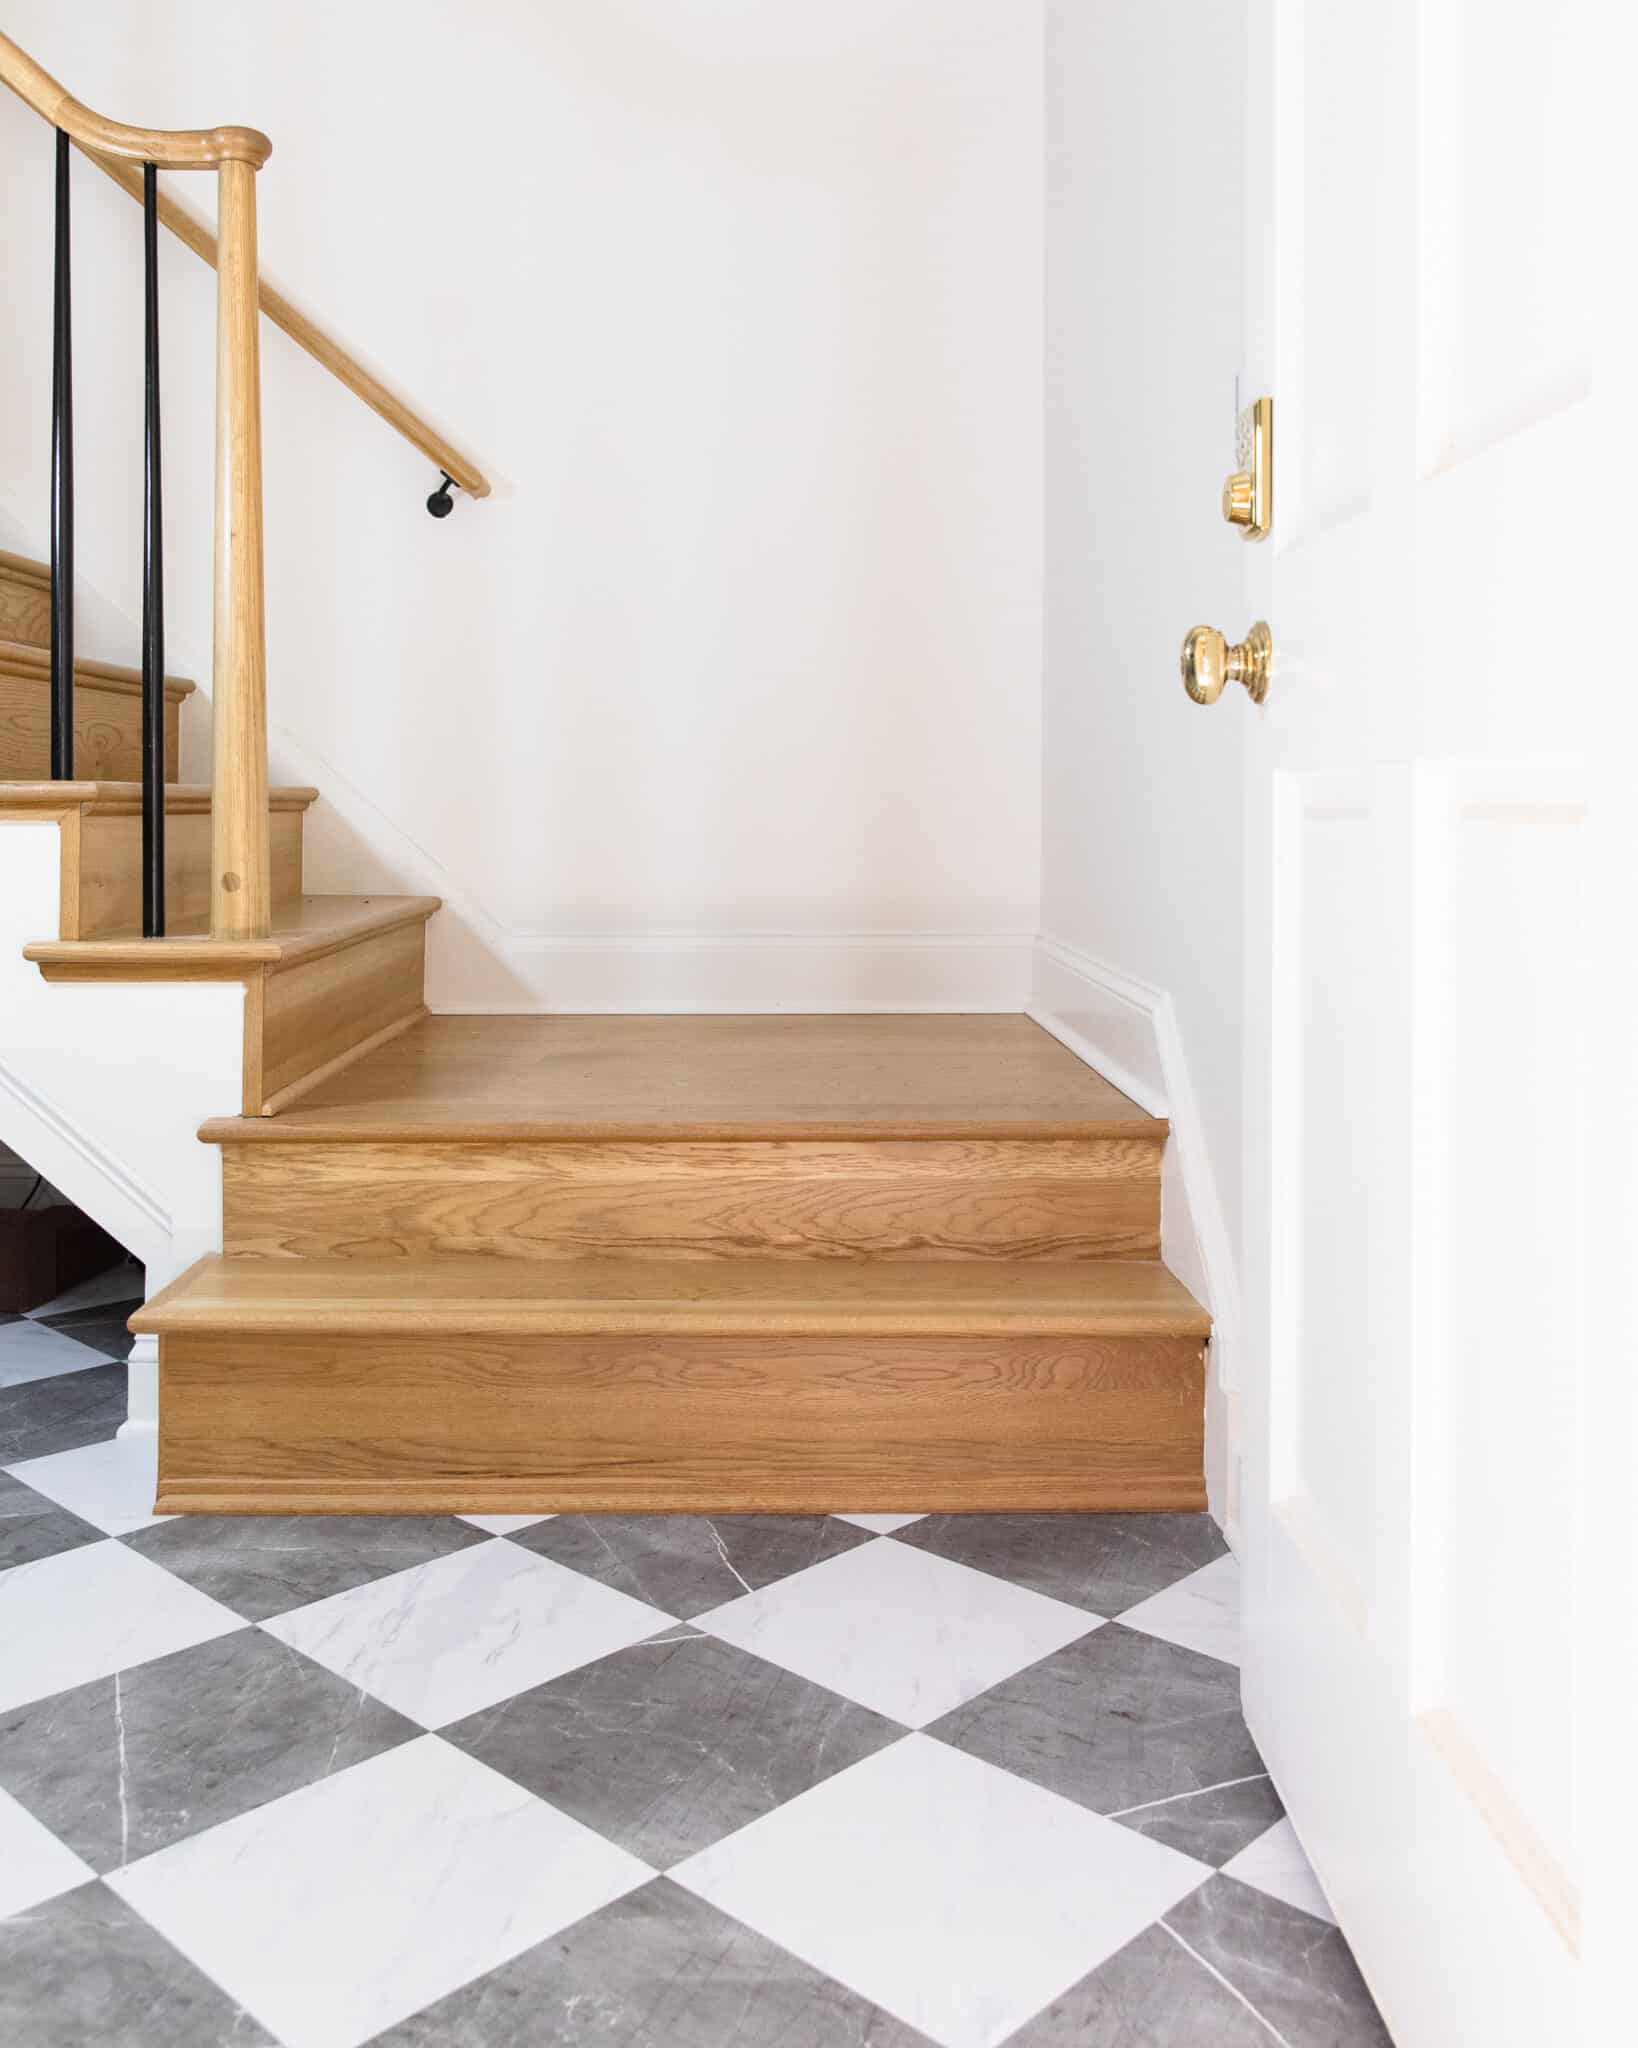
“How much do FloorPops raise the overall floor level? How thick are they?”
They’re about ⅛ inch thick – very little raise on the floor.
“What about installing FloorPops over the same size tile?”
When dealing with the same size tiles as the FloorPops, 12″ x 12″, you could grout them right over top, which could have a nice finished look to it.
“Can you put FloorPops over different sized tiles?”
Yes, you can, but it’s best to not match the seams with your grout lines. Try to stagger them to create a smoother surface.
FloorPops Bonneville Grey & White
“How do you prep the floors?”
We have a post about this! You can clean the floor really well and we applied a self-stick tile primer for good measure.
“How do we measure for how much we need?”
FloorPops has a handy calculator on their website under each product page. You just need to know the floor length and width.
“Where do you start laying FloorPops first? Middle of the room or the edge?”
It’s best to start centered on the room’s primary entrance, so the first thing you see is centered.
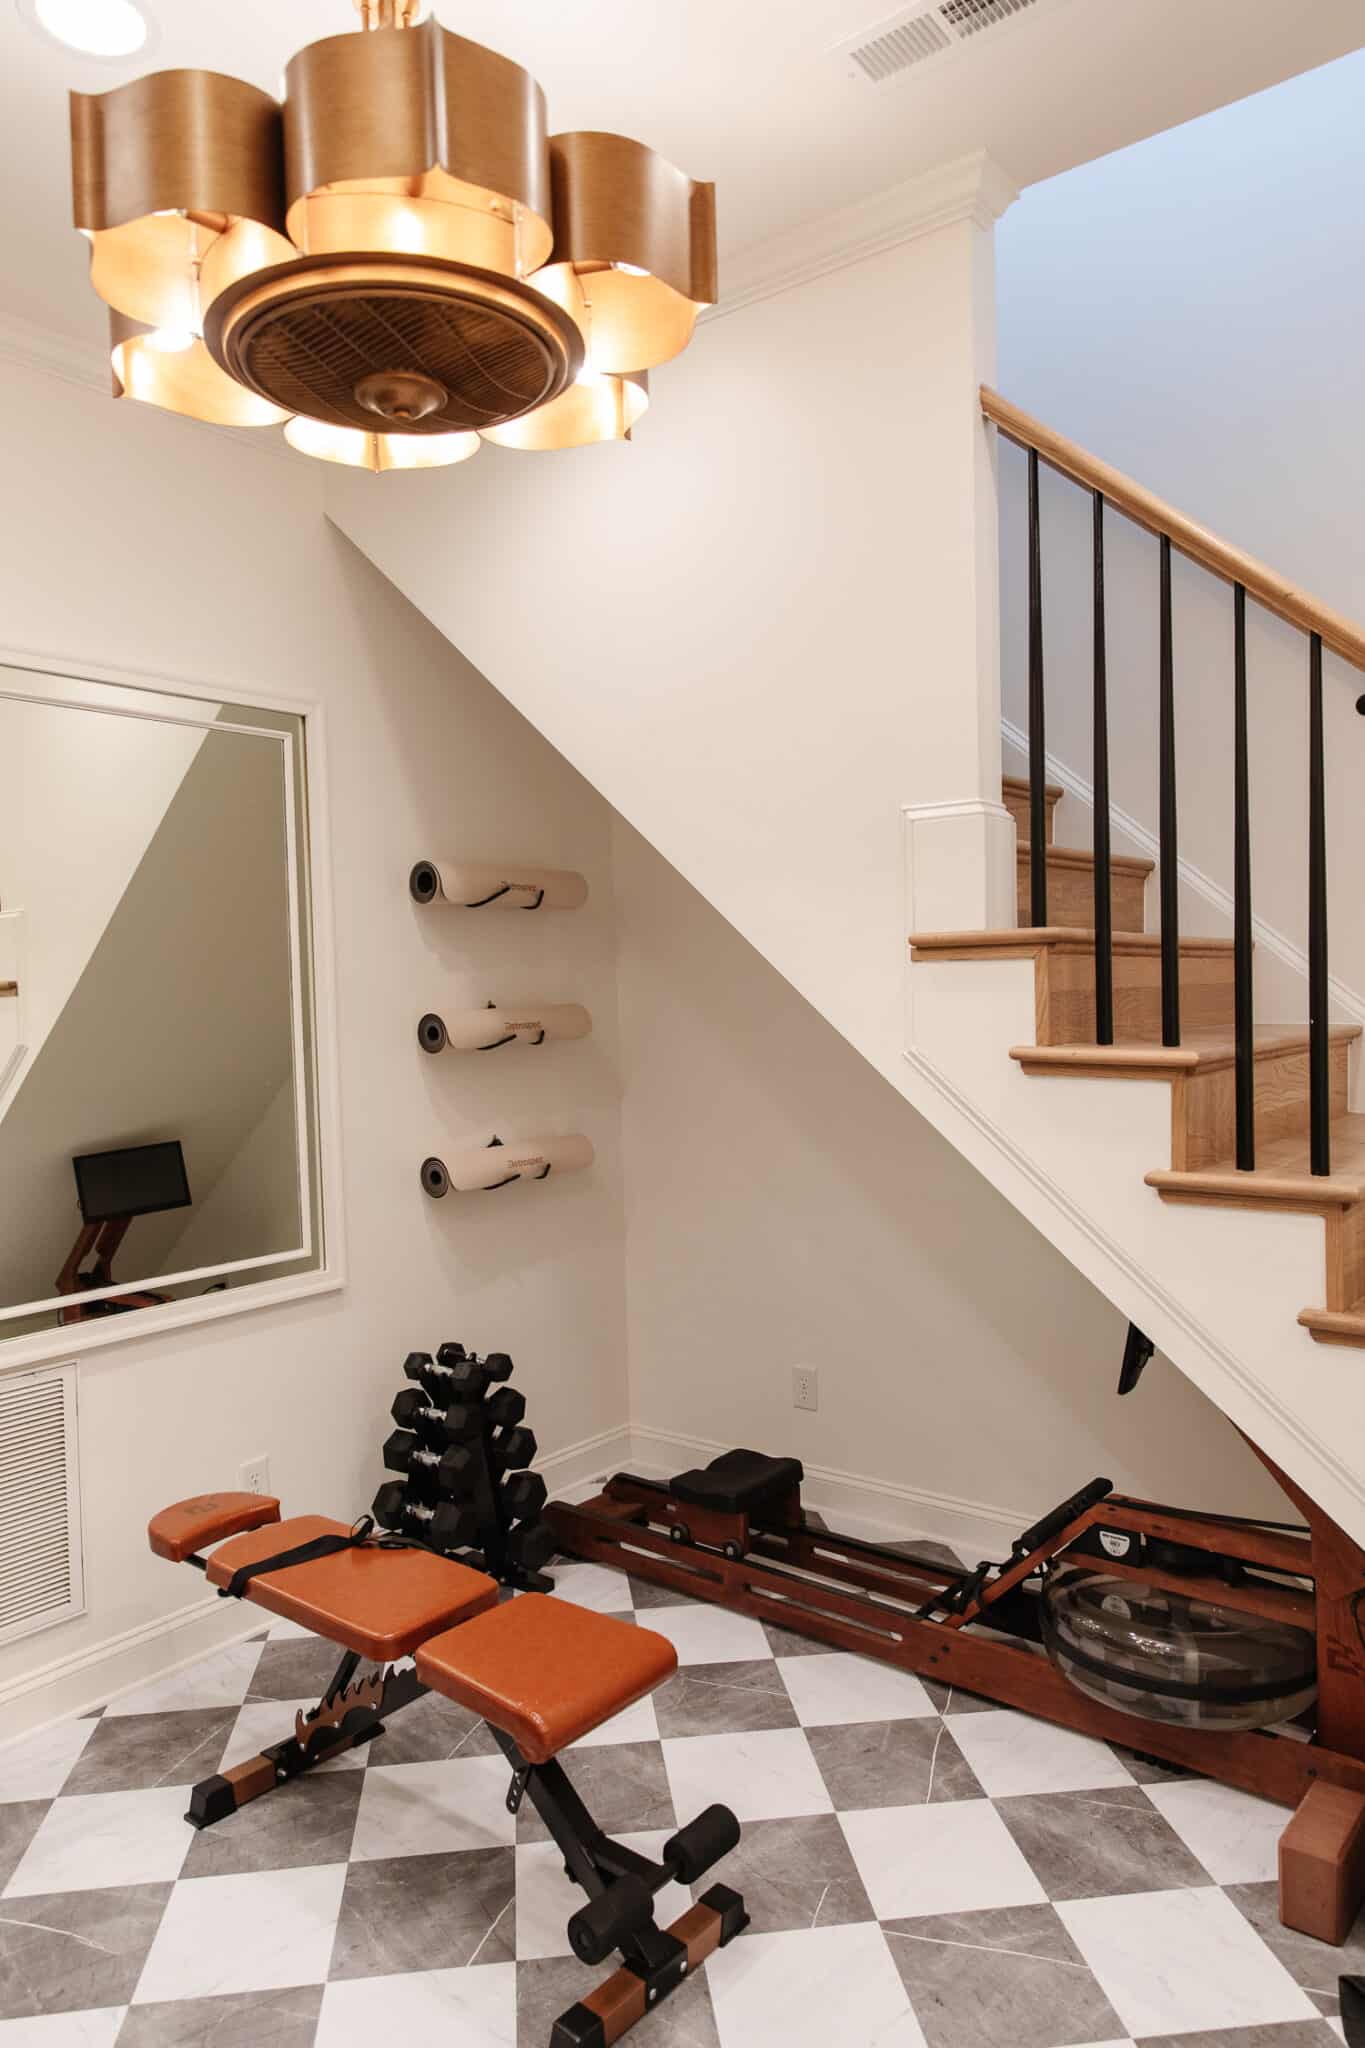
FloorPops Bonneville Grey & White | Ceiling Fan | Rowing Machine (similar) | Dumbbell Rack | Yoga Mat | Yoga Mat Wall Rack
“Will grout lines underneath eventually show through? Does it go over grout lines well if you want to change the pattern of the floor?”
I can’t say they “never” will, but I can say that so far for us they never have. FloorPops recommends you fill in grout lines with a thin set mortar to avoid this. Changing the pattern of the floor is also something I suggest. You’re more likely to have cupping on the corners if every edge is sitting over a grout line. Stagger them so the FloorPops tiles don’t perfectly align with the tile underneath.
“Do you have to grout in the tile lines during installation?”
We have never filled in grout lines and have never had any issues at all, but that is up to each person. Sometimes the tile we have in our house has more of a wavy edge. So how do we address adding FloorPops over top? We butted them up against each other; basically we rotated the FloorPops to a 90-degree angle so they’re laying on top of the floor tiles, covering the grout lines for a smooth look.
“What grout would you use to ensure no water could get trapped underneath?”
I wouldn’t use grout with this product personally. Fit the tiles as close together as possible, and caulk the edges around the walls. If the tiles get wet within 24 hours of laying, dry it up ASAP or they could pull up. Once they’re really stuck down – after a week or so – it takes a lot to get them to come up. Even still, don’t let wet stuff or puddles of water sit on them for too long.
“What type of transition strip do you use? Does it match the FloorPops?”
We’ve only ever butted the tiles up to transition strips already in place, and it looks great. If you don’t have one in place, use either a light marble transition (to match the FloorPops) or something that matches the material of the adjacent flooring.
“Do you have to take off the baseboards to install FloorPops?”
This depends. If there’s space to sneak them under, then no. If you feel confident you can cut your edges really tight to the baseboard, then also no. But if your cuts are wide and crooked and not caulkable, you may need to either remove the baseboard or add a quarter round shoe mold along the base of the wall overtop the new flooring.
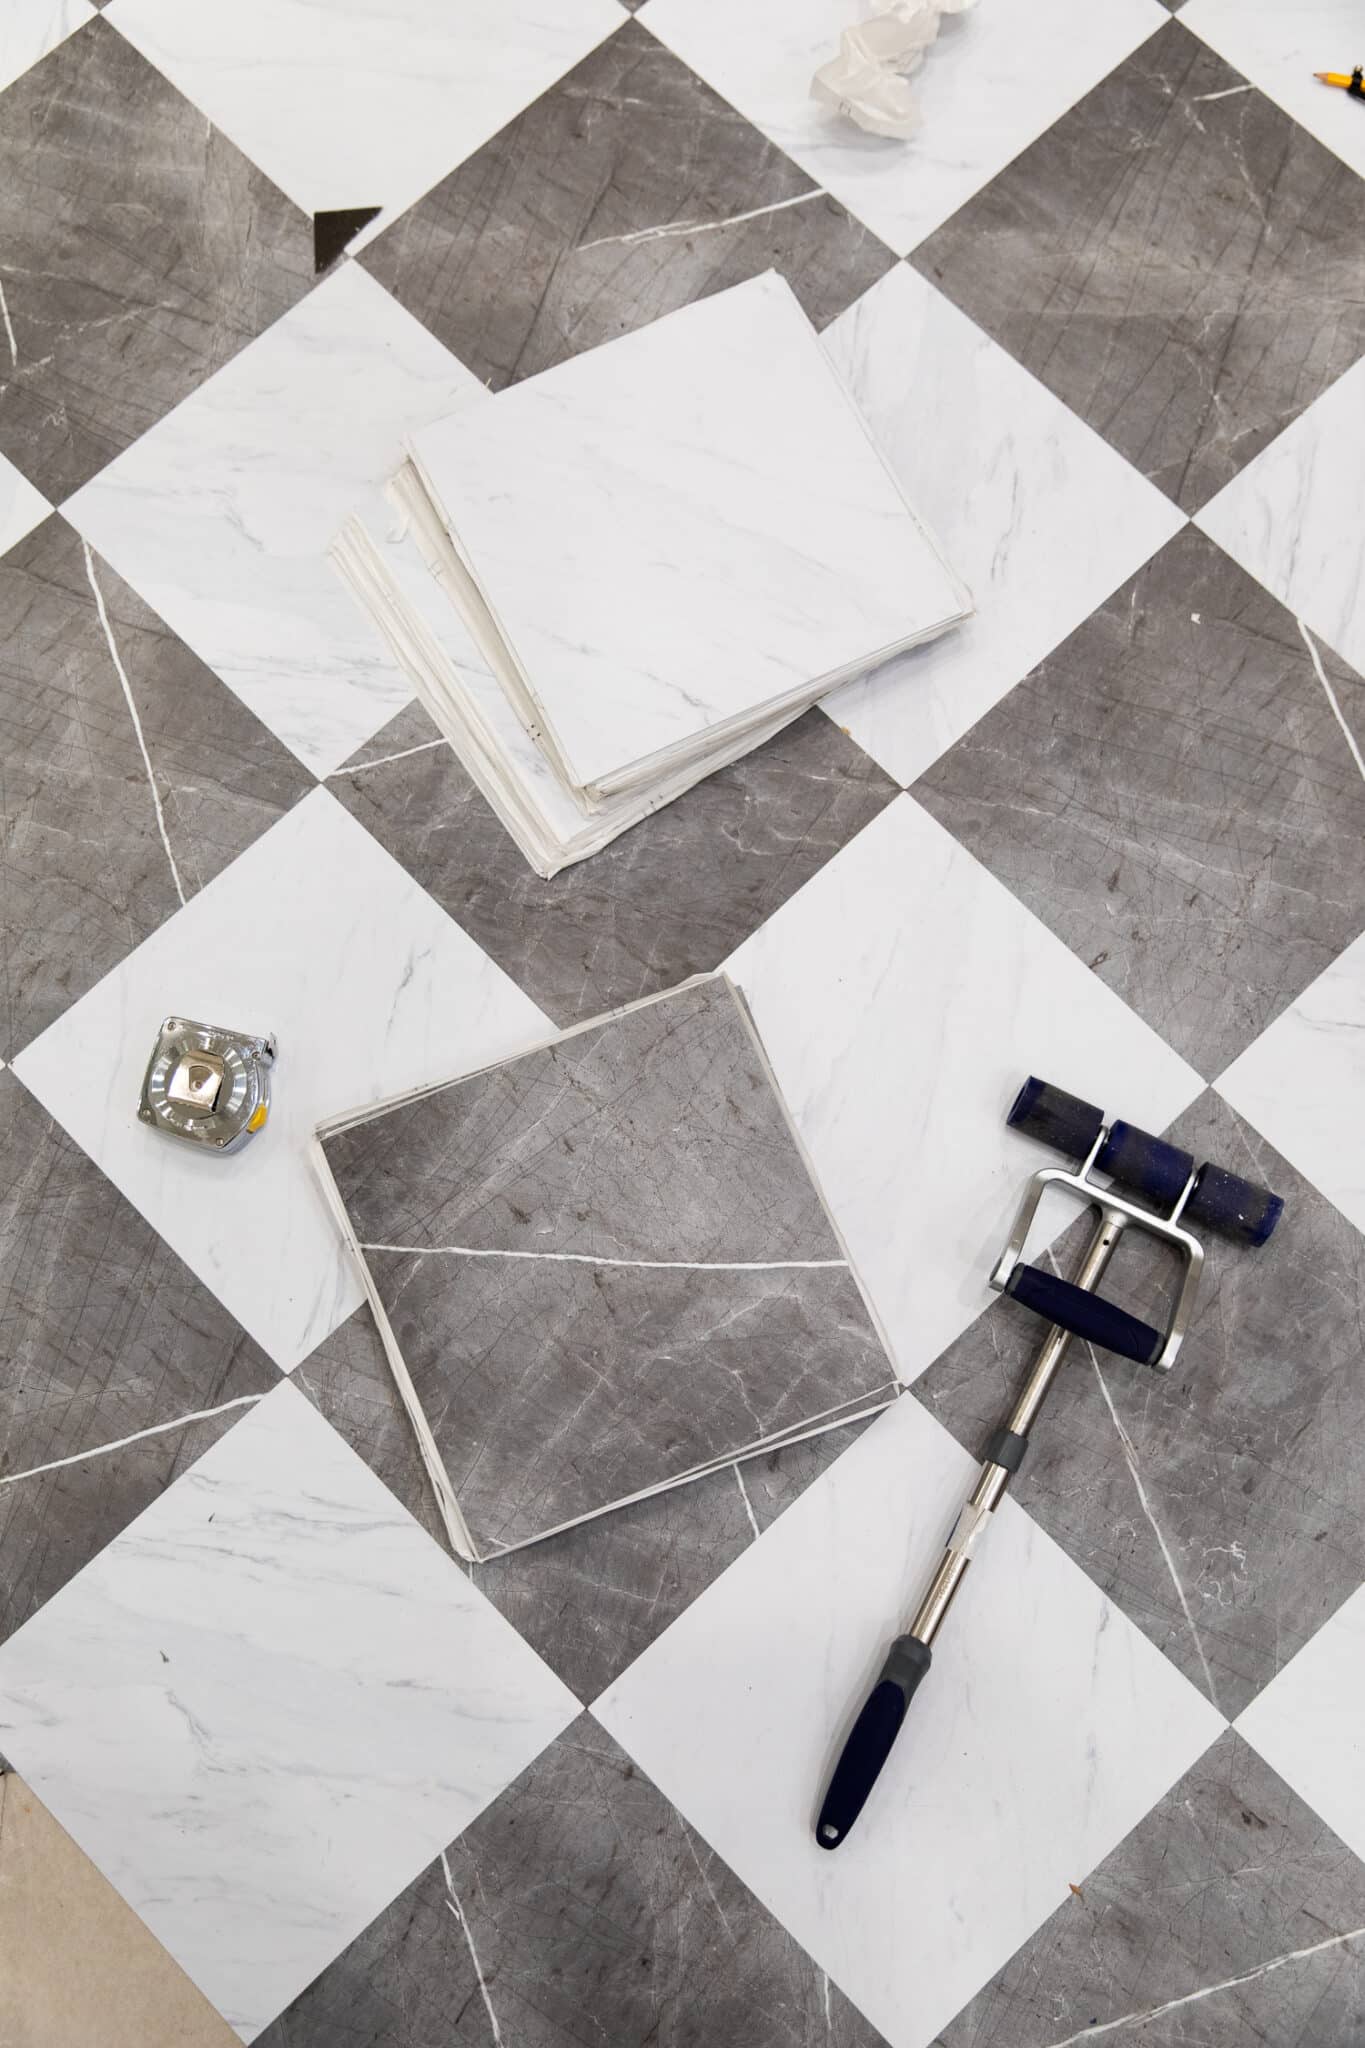
“What tools do I need to easily cut FloorPops to size?”
Only tools needed are a razor blade knife, square, measuring tape (possibly), a pencil, and a scrap piece of wood or something to cut on.
“Are there any special care requirements?”
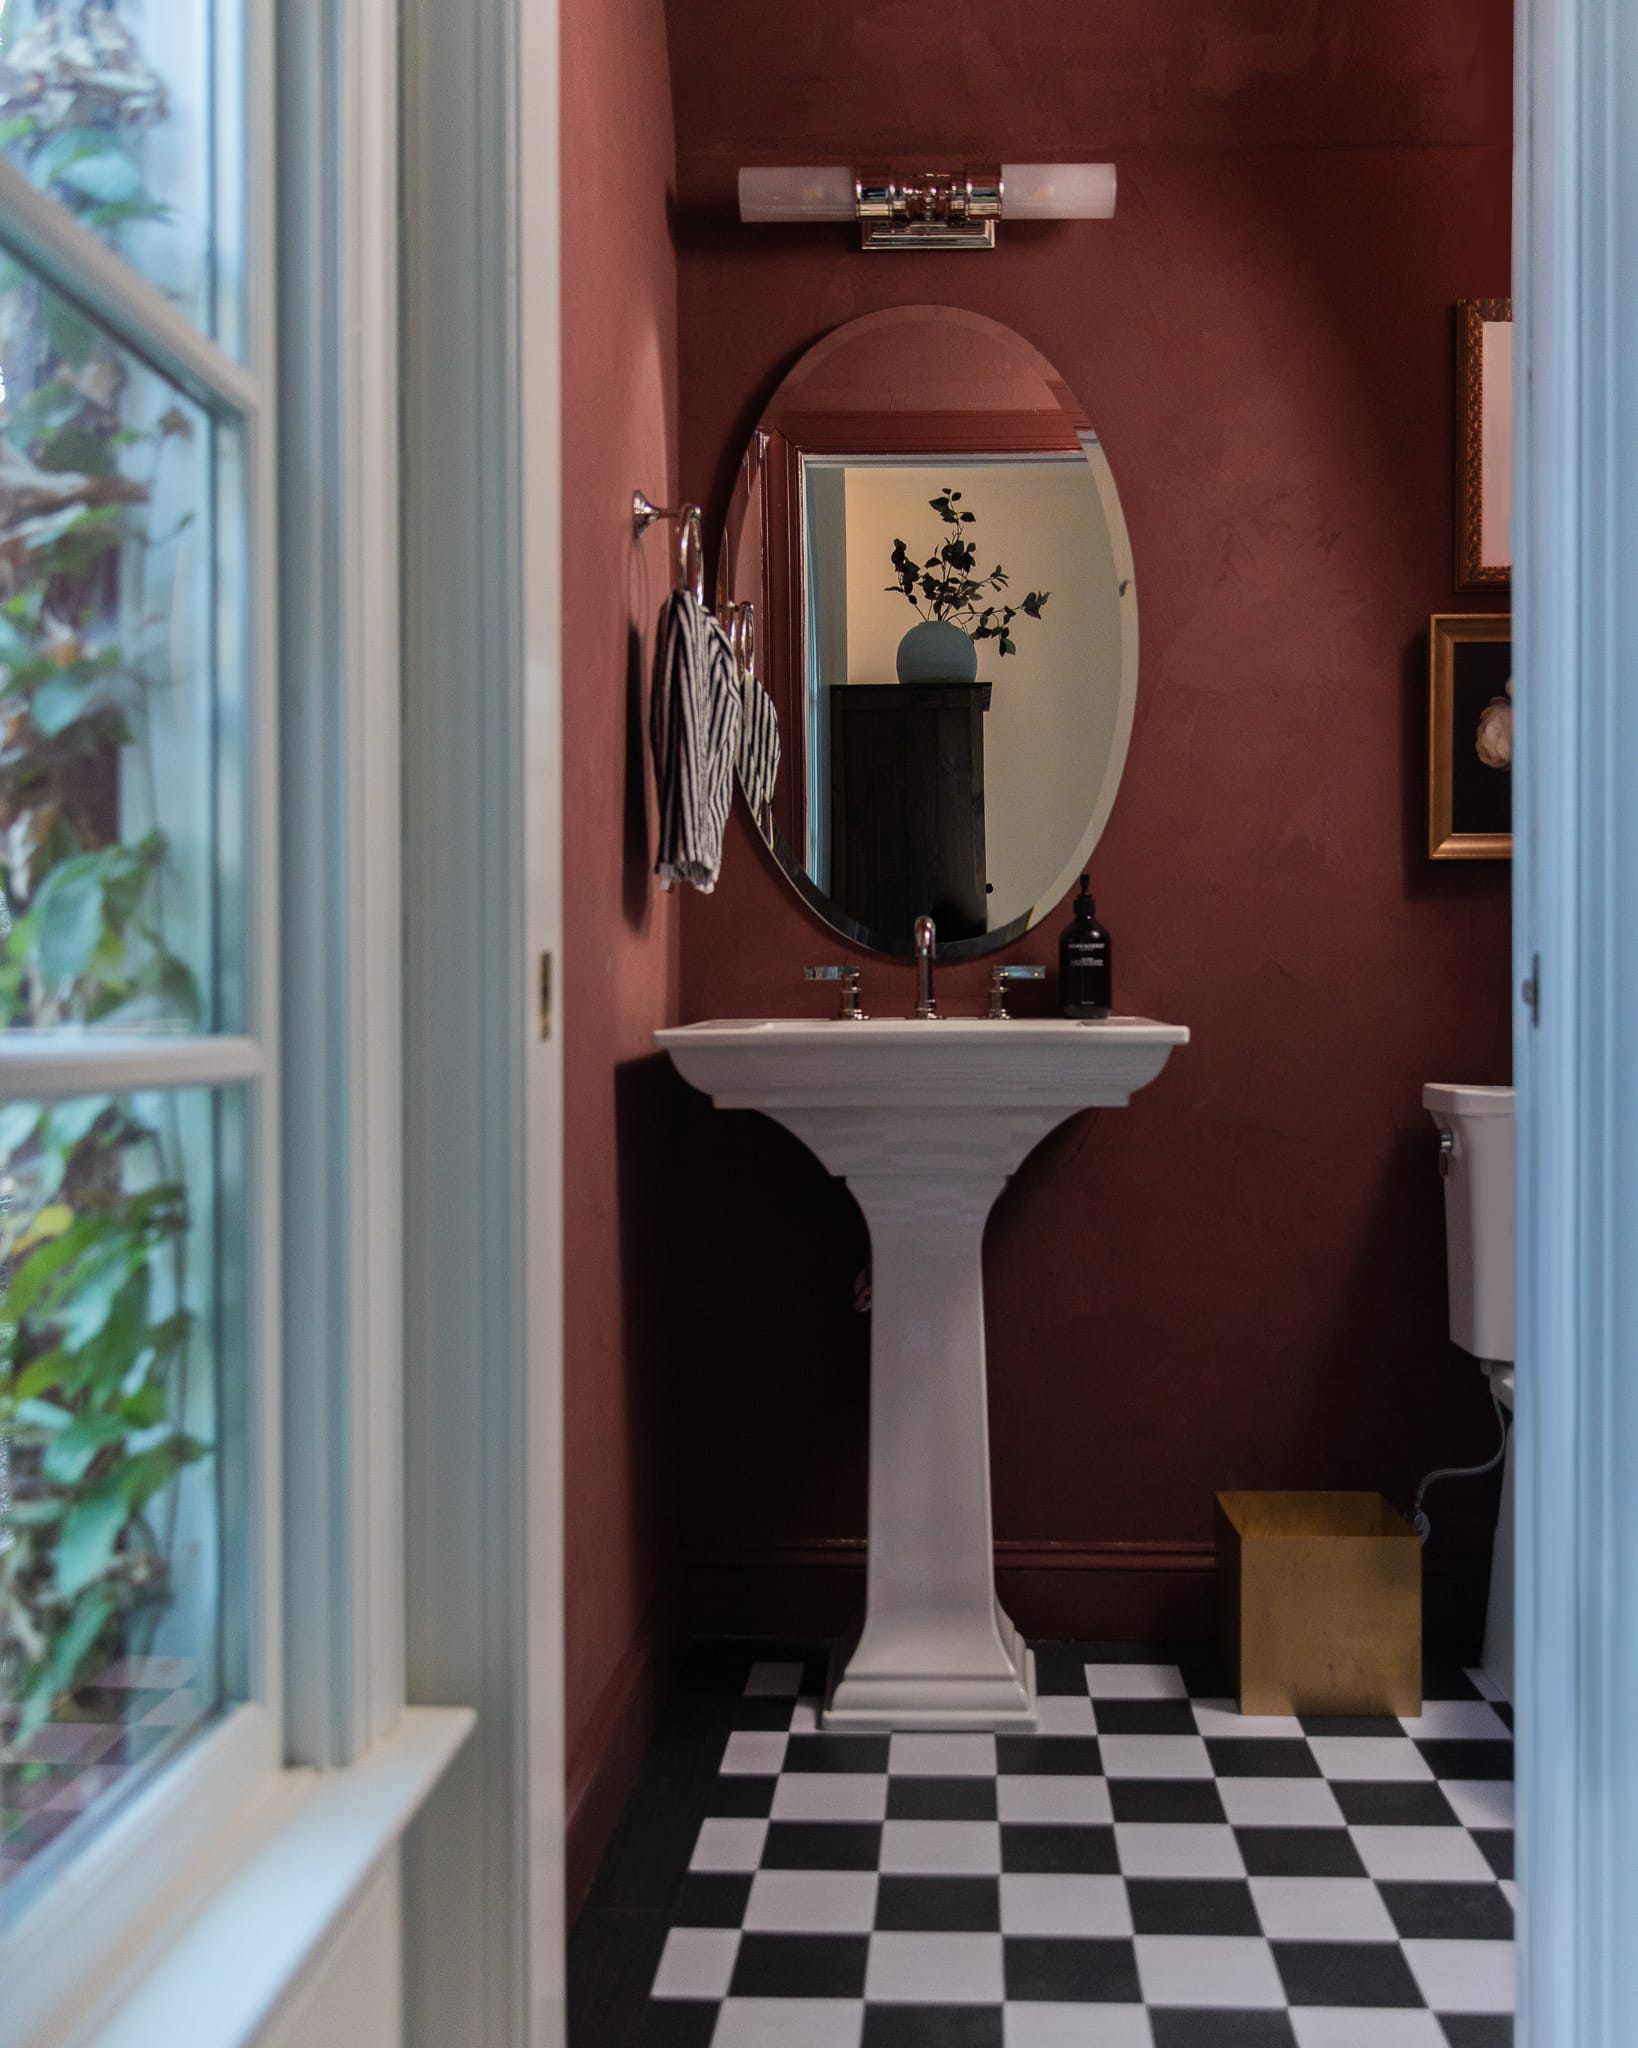
FloorPops Lawrence | Sink Bowl | Sink Pedestal | Faucet | Towel Ring | Double Sconce | Brass Trash Can | Gold Vintage Frame | Toilet
They’re so low-maintenance that it makes it easy to clean. We just use a Swiffer Wet Jet and just mop it right up. We don’t do anything special.
“Do FloorPops feel sticky on the seams or attract dirt?”
Not if the seams are tight. You should be good there!
“Is there anything to help them not be slippery?”
There are DIY paint-on abrasive anti-slip floor coatings that are available commercially, like SparkleTough.
“Are FloorPops pretty durable?”
Extremely durable, and you can swap individual tiles out if needed. That’s helpful in case one gets dented from a sharp object dropping on it.

“How are your FloorPops holding up? How long do they last?”
No obvious wear! They still look new. When installed properly, they can last for years.
“Are FloorPops removable without damage? Considering for a rental.”
I recently tried to remove a few tiles in the girls’ bathroom to reinstall after our toilet overflowed, and it took me 10 minutes per tile to peel them up. So I would say that they’re really not very removable!
“Are they available in the UK or Canada?”
Right now they’re available in the United States and Canada.
“Will you ever come out with more FloorPops designs?”
Absolutely! We can’t share any details yet, but we’re very excited about the new looks. It’s also great that our check patterns are so classic, they will never go out of style!
FloorPops Bonneville Beige | Shower Curtain (similar) | Rattan Vase
If we missed your question, drop us a comment below!
Leave a Reply
What do you think?
Previous Post
Next Post


all the latest
Semihandmade
Our wood grain Shaker cabinet fronts were designed for busy, high-traffic homes like ours. Clad with durable textured thermofoils, this line is compatible with Sektion, Akurum, Godmorgon, and Besta cabinets from IKEA. It's the perfect, practical way to add the warmth of wood to all the rooms of your home.
Collaborations
learn more

next
Loloi
We have teamed up with Loloi to create a line of rugs that are as affordable as they are beautiful. This collection houses a great mix of traditional and modern rugs, in cottage-y colorways, as well as vintage-inspired beauties that you’ll want to roll out in every room.
Collaborations
learn more

next
STUGA
We partnered with Stuga on a line of hardwood floors — The Ingrid is really livable, and the color is very neutral. It doesn’t lean warm or cool, it’s that just right in-between. We have really loved putting it everywhere in our house. It’s the best jumping-off point for design, no matter your interior style. In addition to being beautiful, Ingrid is really durable — we have three kids, and we always have a home construction project going on. Ingrid stands up to it all.
Collaborations
learn more

next


SHop all
What We're Right Now
What We're Right Now
Looking for our favorite things? A place to shop our home room by room, or just catch up on what Julia's wearing / loving right now? Browse the CLJ shop.
Loving


Portfolio


Design
Befores, afters, mood boards, plans, failures, wins. We’ve done a lot of projects, and they’re all here.
BROWSE BY CATEGORY
let's break this thing up
We have a long-standing relationship with DIY, and love rolling our sleeves up and making it happen.
Projects
Even when you don’t want to rip down a wall, you can make that space in your home better. Right now.
read more
read more
read more
02
01
03
looking for inspiration?
A reader recently asked me if I’m starting to fully embrace traditional style and whether we still consider our house to be a “modern Colonial” and why. It was a really great question and so timely — I had really just been thinking about my approach to this home and how my style has changed […]


SEARCH THE BLOG
We've been doing this since 2009 and we've posted a whopping 24145+ blog posts and counting. You might need a little help searching, huh?
looking for something?
find stuff like:
")
Can We Send You Our Love Letter?
Another way for us to stay in touch! Joining our weekly newsletter gives you access to exclusive content, never-before-seen photos, your questions answered, and our favorite DIYs. Sign up below!
Follow Along on Instagram
Welcome to our online community where we've posted home, DIY, style, renovations, and family since '09. Renovating our #cljmoderncottage in Idaho and headed for new adventures in Raleigh, NC. #cljfam #cljtransformations
@chrislovesjulia


Links
Get Around
Make yourself right at home
Portfolio
Design
Casual Friday
Projects
Lifestyle
Gift Guides
All Posts
Shop
Love where you live.
Social
RivrLinks
Links
Get Around
Make yourself right at home
Portfolio
Design
Casual Friday
Projects
Lifestyle
Gift Guides
All Posts
Shop
Love where you live.
Social
RivrLinks
Will the gray/white tiles come back in stock? I ordered a bunch a month ago but want to add more area because they look so great… and they’re gone!
We spoke with the supplier, and they’re working to get more in stock! No timeline yet, but hopefully soon.
Are they available / will they become available in rectangular sizes ?
Not yet, but we’re going to be coming out with more designs, so stay tuned! :)
How easy are these to clean? I have vinyl tile in a bathroom that needs replacing. It is very hard to clean bc of a slight texture.
They do have a little bit of a texture to them, but I’ve had no trouble cleaning ours with a Swiffer WetJet.
Hello!
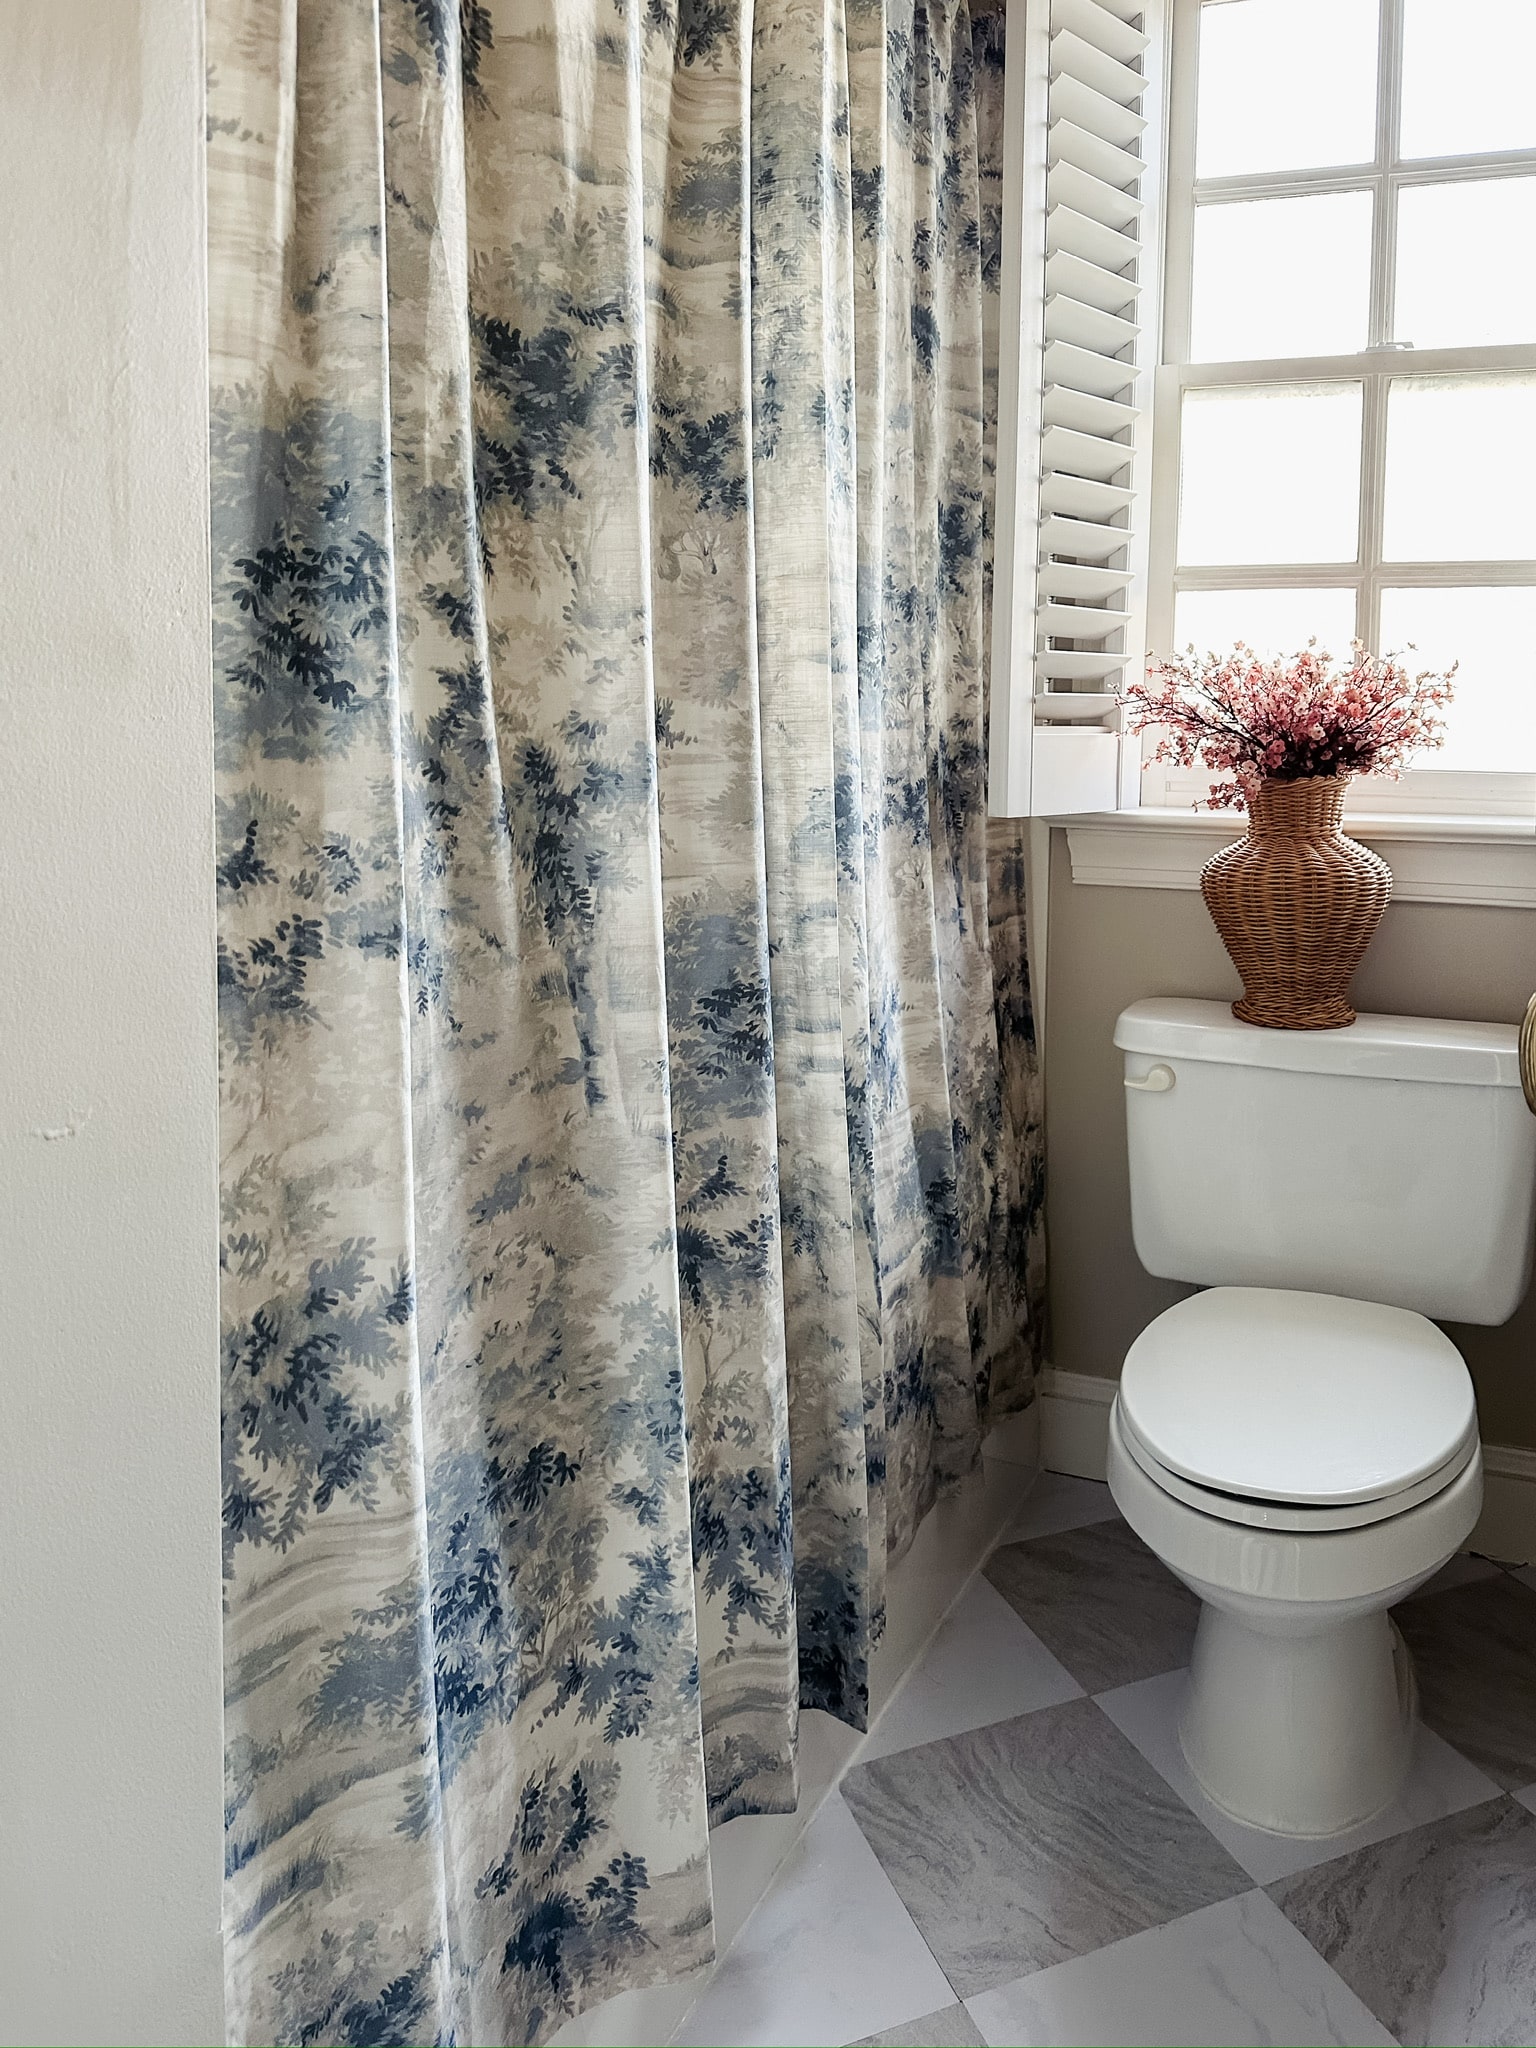
How easy are they to install around toilets and sinks? Do they need to go under?
Thanks!
To go around a toilet you can use a profile gauge to get the lines right (which is I used in the playroom bathroom) or remove the toilet and install underneath it then put the toilet back in place (which is what I did in the girls’ bathroom). If there’s space to go under the vanity, then I would allow for an extra 1/4 inch underneath. Otherwise, you can simply cut as close to the edge as possible.
What about on a single step? We have a an 80×40 step in our entry that I want to floor pop but not sure how the seam would look on the step part.
Since they can’t really wrap the edge of the step, I don’t know if that would be the best option for that space since the seam would show.
I’m considering ordering these for my guest bathroom, but the current flooring is vinyl. Would these adhere properly?
I checked with FloorPops and they said that installing over old vinyl flooring isn’t recommended, so it’s best to remove that first.
I had the hardest time cutting/shaping around edges and toilet area. Any advice? Tips or tricks? My cuts were not clean at all.
It’s a bit tricky! For the toilet you can use a profile gauge to get the lines right (which is I used in the playroom bathroom) or remove the toilet and install underneath it then put the toilet back in place (which is what I did in the girls’ bathroom).
Did you use any caulk over the edges by the bath or toilet in your girls bathroom? I’m afraid of moisture getting underneath! If so, what kind? I just started laying these in my guest bathroom today actually! Good timing!
I did caulk around them just with a standard white bathroom caulk. You got this!
Hello! I have a 100+ year house and kitchen/bathroom floor is tile. I painted it with floor paint, but hate it. The person who laid the tile did not do even mortar so there’s areas that aren’t even. Until I completely renovate the kitchen and bathroom can I use these tiles on my floors that aren’t 100% even and have been painted?
These should be fine to cover painted tiles, but you may want to consider adding a layer to level the floor. There are products labeled “floor patch” or “self-leveler compound” that could help.
Any recommendations for laying on a subfloor that previously had carpet on it and is not 100% smooth? There’s an area where two subfloor boards come together and there’s a bit of a ridge. I’ve considered lay self-leveling cement first, then floor pops on top??? :/
I think your solution sounds like a good one. You’ll want the floor to be mostly even.
Just chiming in to say I bought these for my foyer after seeing the CLJ gym reveal. They are really lovely irl and look high end. I have a 1920s English-cottage style house and I wanted something I could DIY to cover up some old linoleum in the entry that had seen better days, and we’ve got a lot of work to do on this old house so I didn’t want to pay my contractor a few grand for the improvement right now. Basically, I spent less than 200 bucks ordering a few boxes of these squares and dry-fit them. I then secured them into position without any special prep directly over the old linoleum and cut the edges with kitchen scissors when I got to the sides. It took me a few hours, I’m not a pro DIY-er by any means, and it looks really, really good. They’ve been down a few months, and no issues whatsoever with lifting etc. I really can’t say enough good things about them. People think it’s marble and compliment me when they come over. Couldn’t be happier.
That’s so good to know that they do well over old linoleum even though FloorPops doesn’t recommend it. One of our bathrooms has that and it’s like 30 years old. Pulling it all up would be a nightmare. I’m not planning to undertake that until we replace the floors in our entire house. Thanks for sharing your experience!
Hi! When installing in a bathroom, do you have to remove the toilet and then re-caulk around the toilet after the FloorPops are installed? I bought some a while back and have been so scared to install them because of not knowing how to handle them around the toilet. Help!
It’s probably best to remove the toilet and then re-caulk for the most professional-looking installation, but you can use some sheets of paper to create a basic pattern to follow as you cut the FloorPops around the toilet. One tip is that you can tuck the FloorPops slightly under a toilet for a more seamless look.
Do you think they would work over very thin, tight weave carpeting?
Unfortunately the adhesive isn’t designed to adhere to carpet.
No question, but I request/suggestion/idea… It would be cool if you had a curated collection of colors that could be mixed and matched to make a checked pattern. For example, Smoky blue, mudroom red, olive green, tan, cream… sold in single color packages, so we could choose our own adventure. I’d love a low contrast cream and beige check, but imagine smoky blue and olive! Anyhow… Looking forward to seeing what’s next!
i second the suggestion to provide a single color way to do custom checkerboards!!
Does your workout equipment dent the Floor Pops? I’m considering using them in the spare bedroom where I workout- I don’t have equipment , just weights . Would weights on the floor dent them? I do a lot of Walk at Home workouts- running in place, jumping, etc. Think they would hold up to that?
We haven’t had any trouble in our home gym. FloorPops says it’s unlikely that equipment could leave an imprint, but to be extra cautious, you could use a pad underneath any heavy equipment. Weights should be fine if you’re not dropping them!