


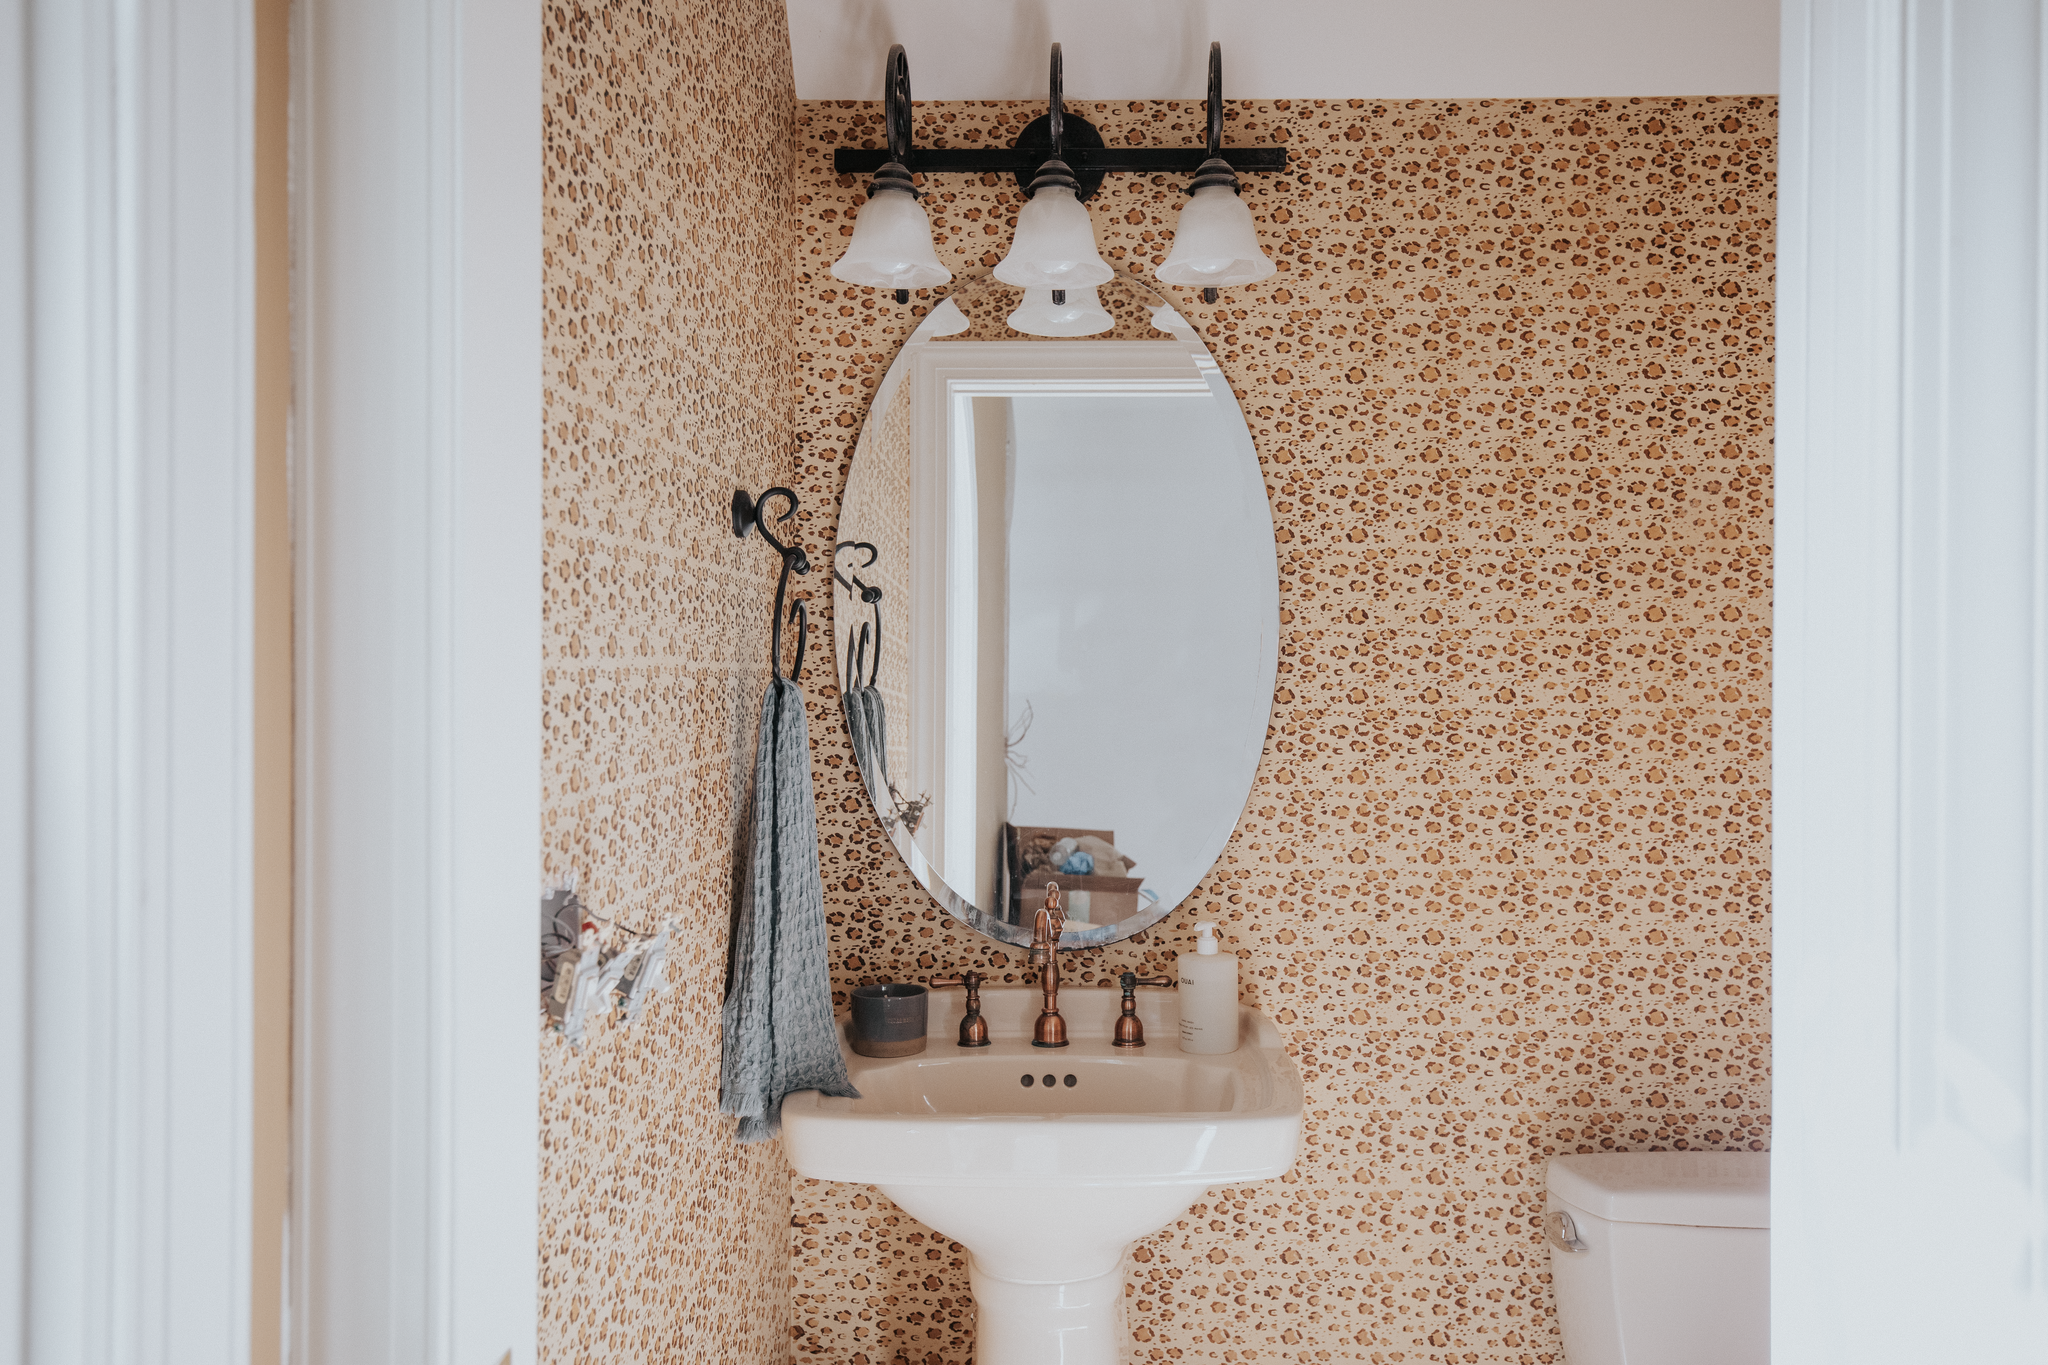
We have been tinkering in the small bathroom in the playroom for a few days now. Anytime I want to try something new, I generally like to give it a test run in a small space and this powder room, that was stenciled with leopard print by the previous owners, seemed like the perfect place to try Roman Clay for the first time. And spoiler alert, I’m glad we started small. Here’s how it went…
I’ve been really crushing on the texture and depth roman clay and lime wash bring to the table lately. In my research, I was lead to Portola paints, who sells limewash, roman clay, and traditional paint. I think that I meant to buy limewash, to be completely honest, but I was so drawn to their reddish roman clay swatch called “Meritage.” I bought primer, 5 kilos of Roman Clay and what’s closest to a pint of traditional paint in a semi-gloss sheen for the trim.
The result is *drooooollllll* but I learned a lot along the way and it’s so far from perfect.
Something about me is I tend to get really excited when trying something new or starting a new project and this was no different. I pried open the container of roman clay, grabbed a giant bristly brush and started brushing it on. Something. was. off. It was impossible to spread with a brush. The texture was like peanut butter or joint compound. Pretty quickly I was corrected by our instagram audience (I was sharing the process in real time over there) that I should be using a spackle knife and not a brush (like you would for lime wash).
Once I switched, it was much smoother and I was getting the hang of it. An arm workout, for sure. But also, addictingly satisfying. It went on light and dried much darker. After I was halfway through my first wall I realized in my excitement, I hadn’t laid down proper floor covering OR primed! Ack!!! I went down to the garage to grab a tarp, which I couldn’t recommend more–even if you’re an expert painter, this is so so different and very messy. I skipped the primer and kept going on the roman clay until my arm gave out.
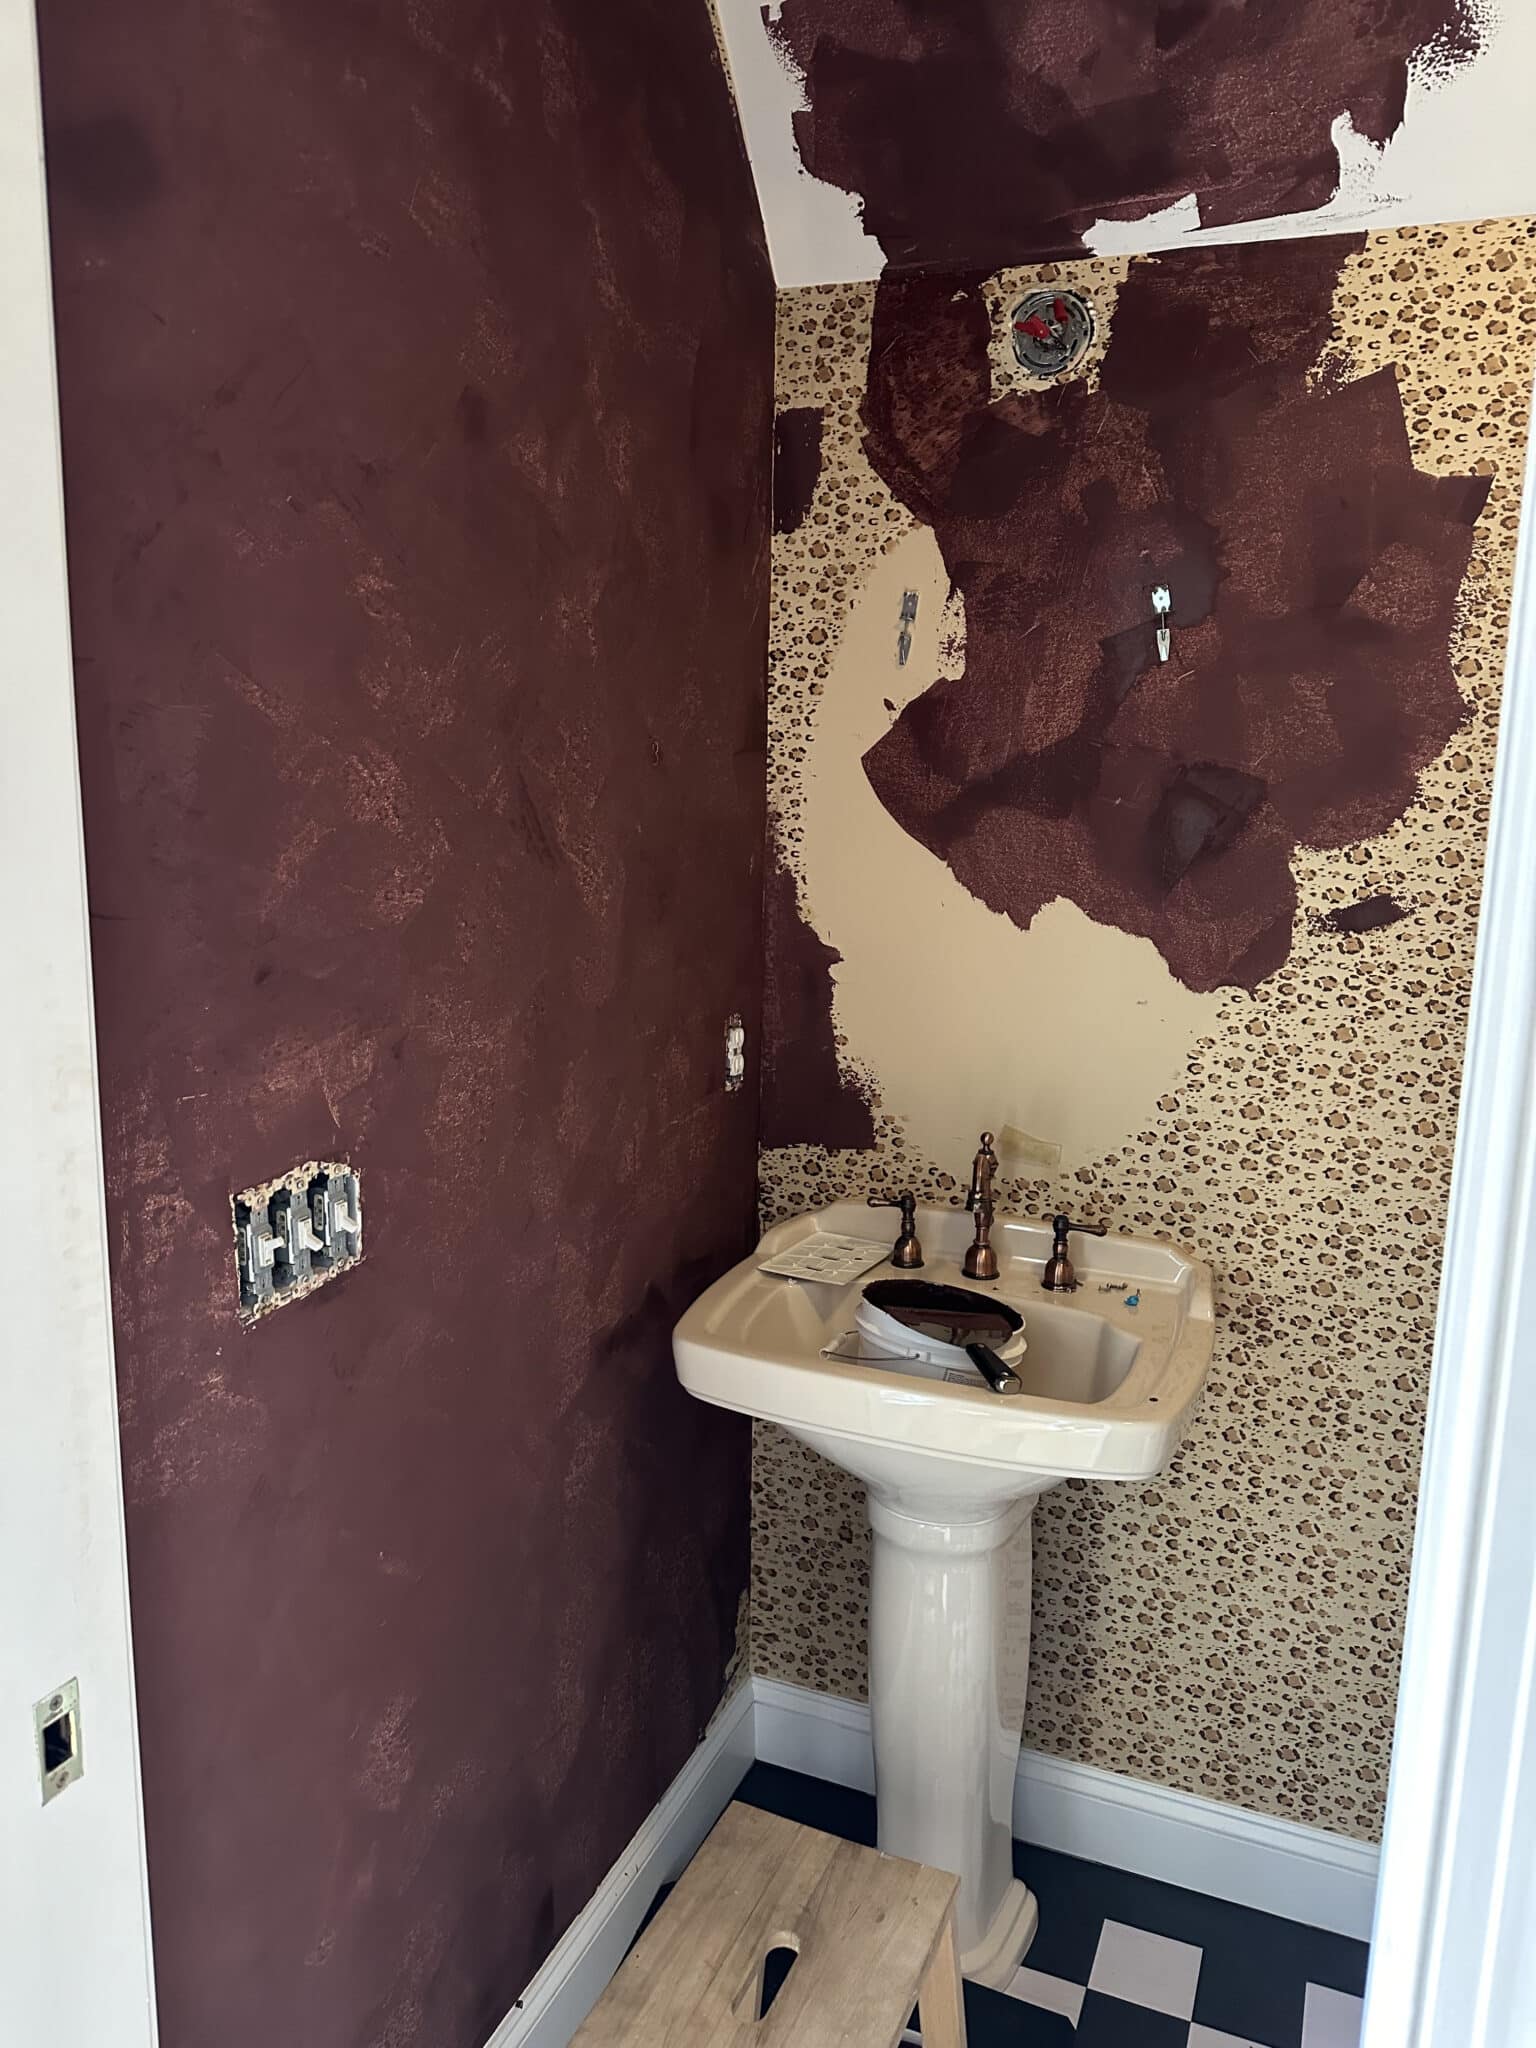
Below you can see how it looked after the first coat. Pretty…terrifying. But I read that was expected. And the leopard print was still popping through in some spots.
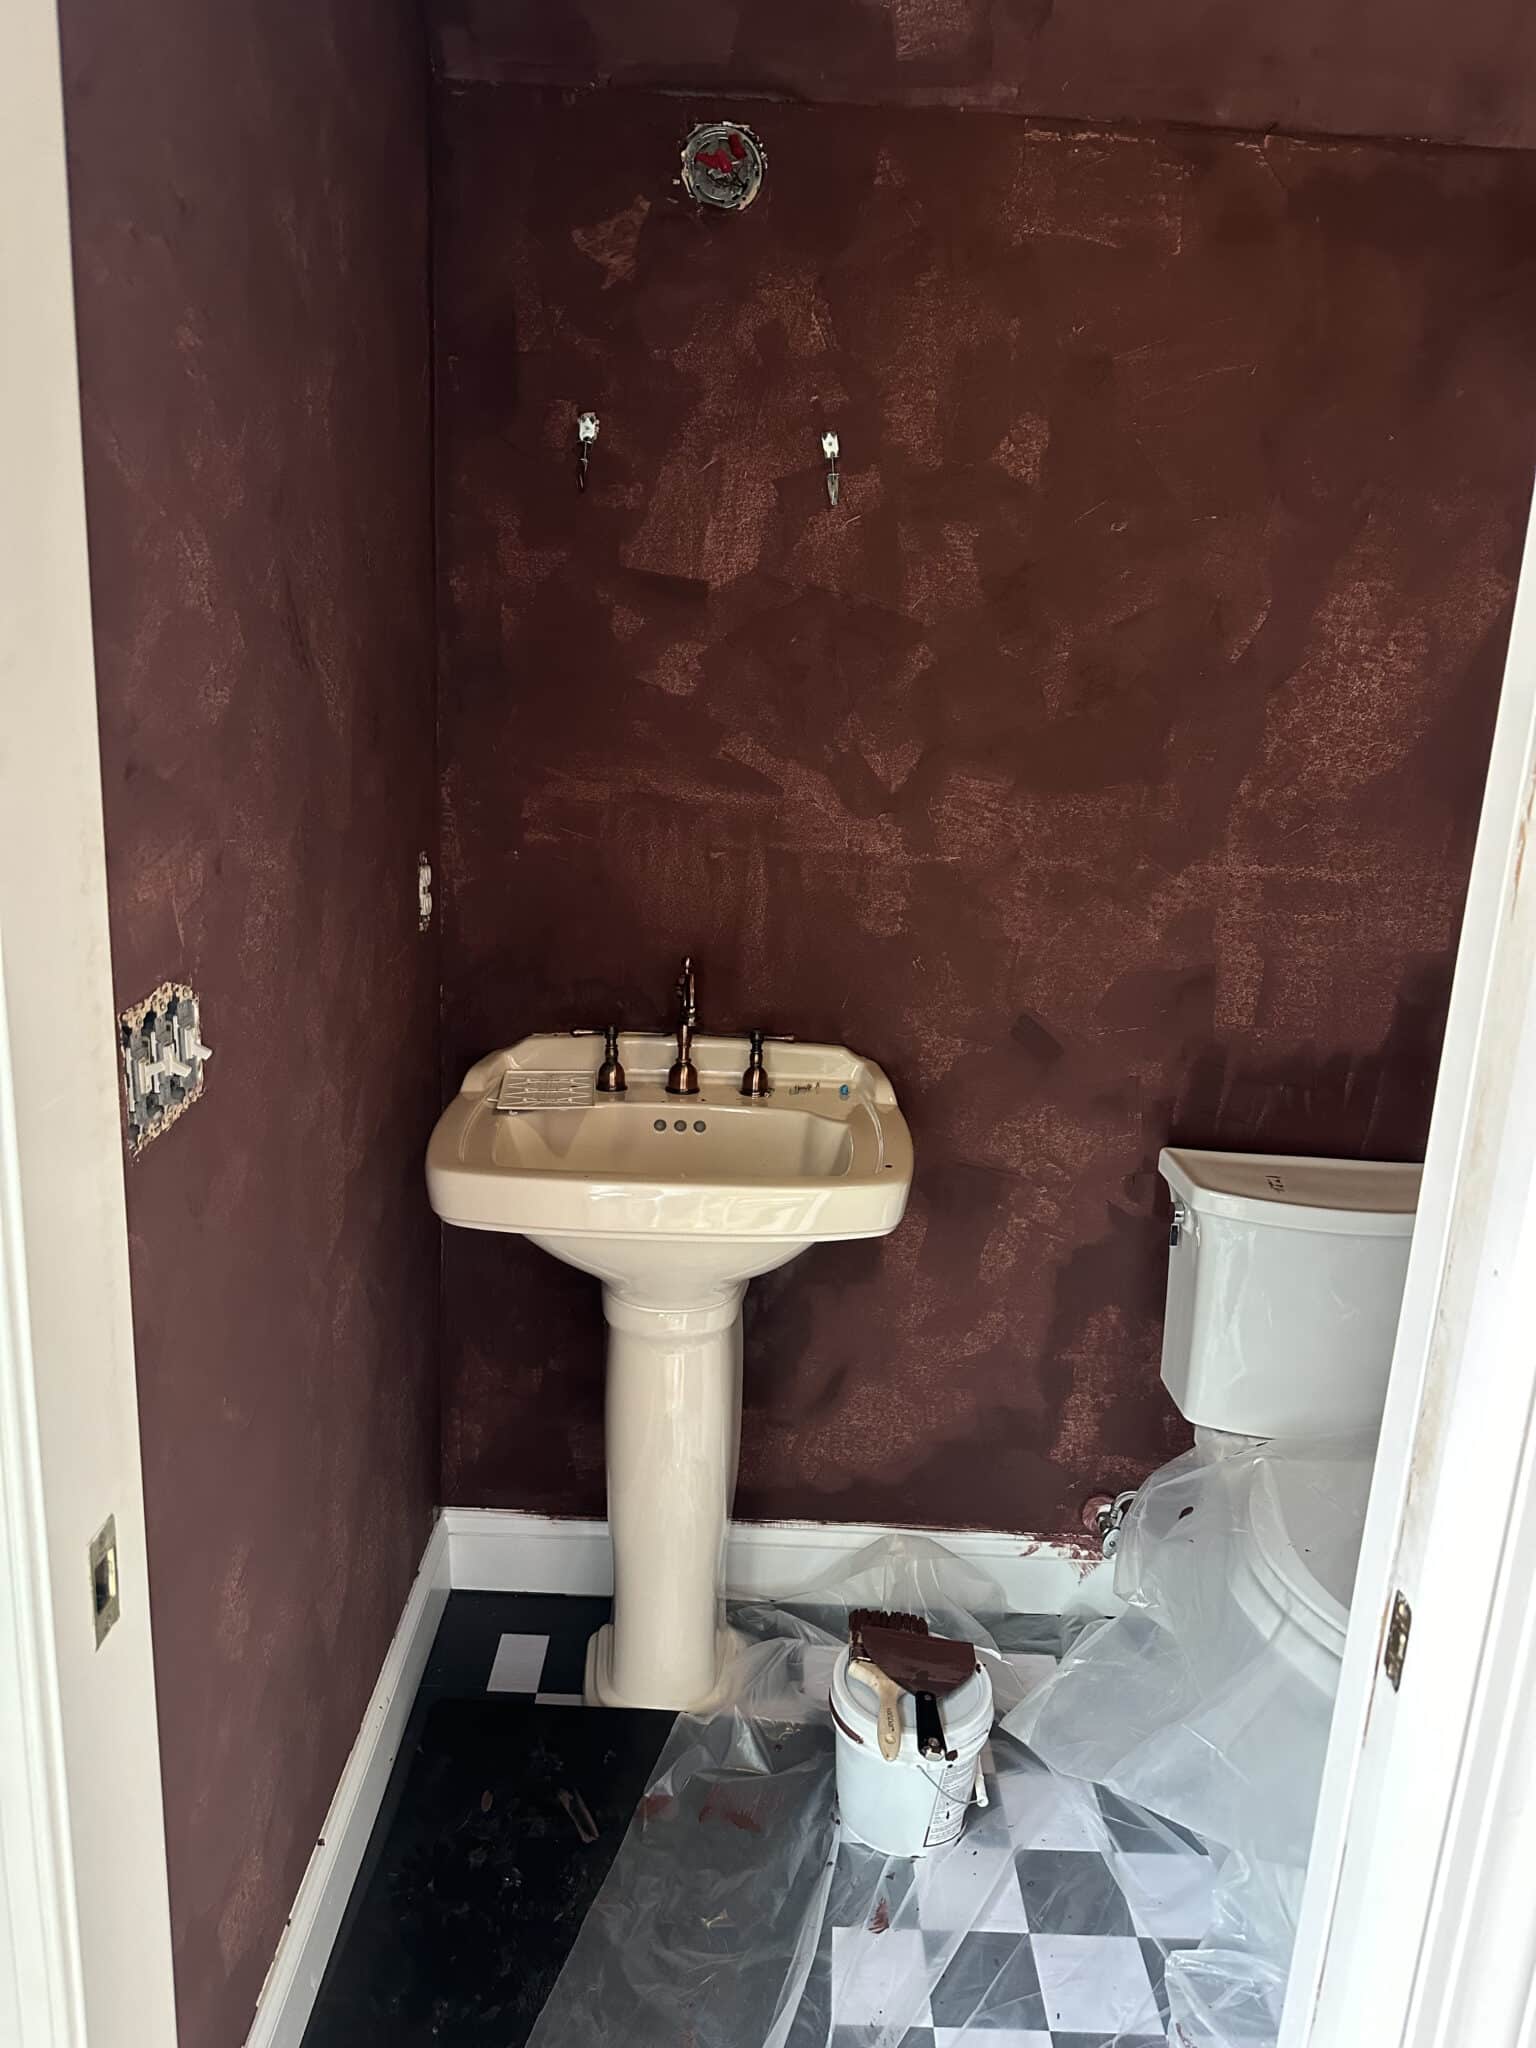
I recruited Chris in helping me with the second coat and he got the hang of it pretty quickly, using a larger, longer rectangular spackle knife so he was able to cover more wall space in a shorter period of time
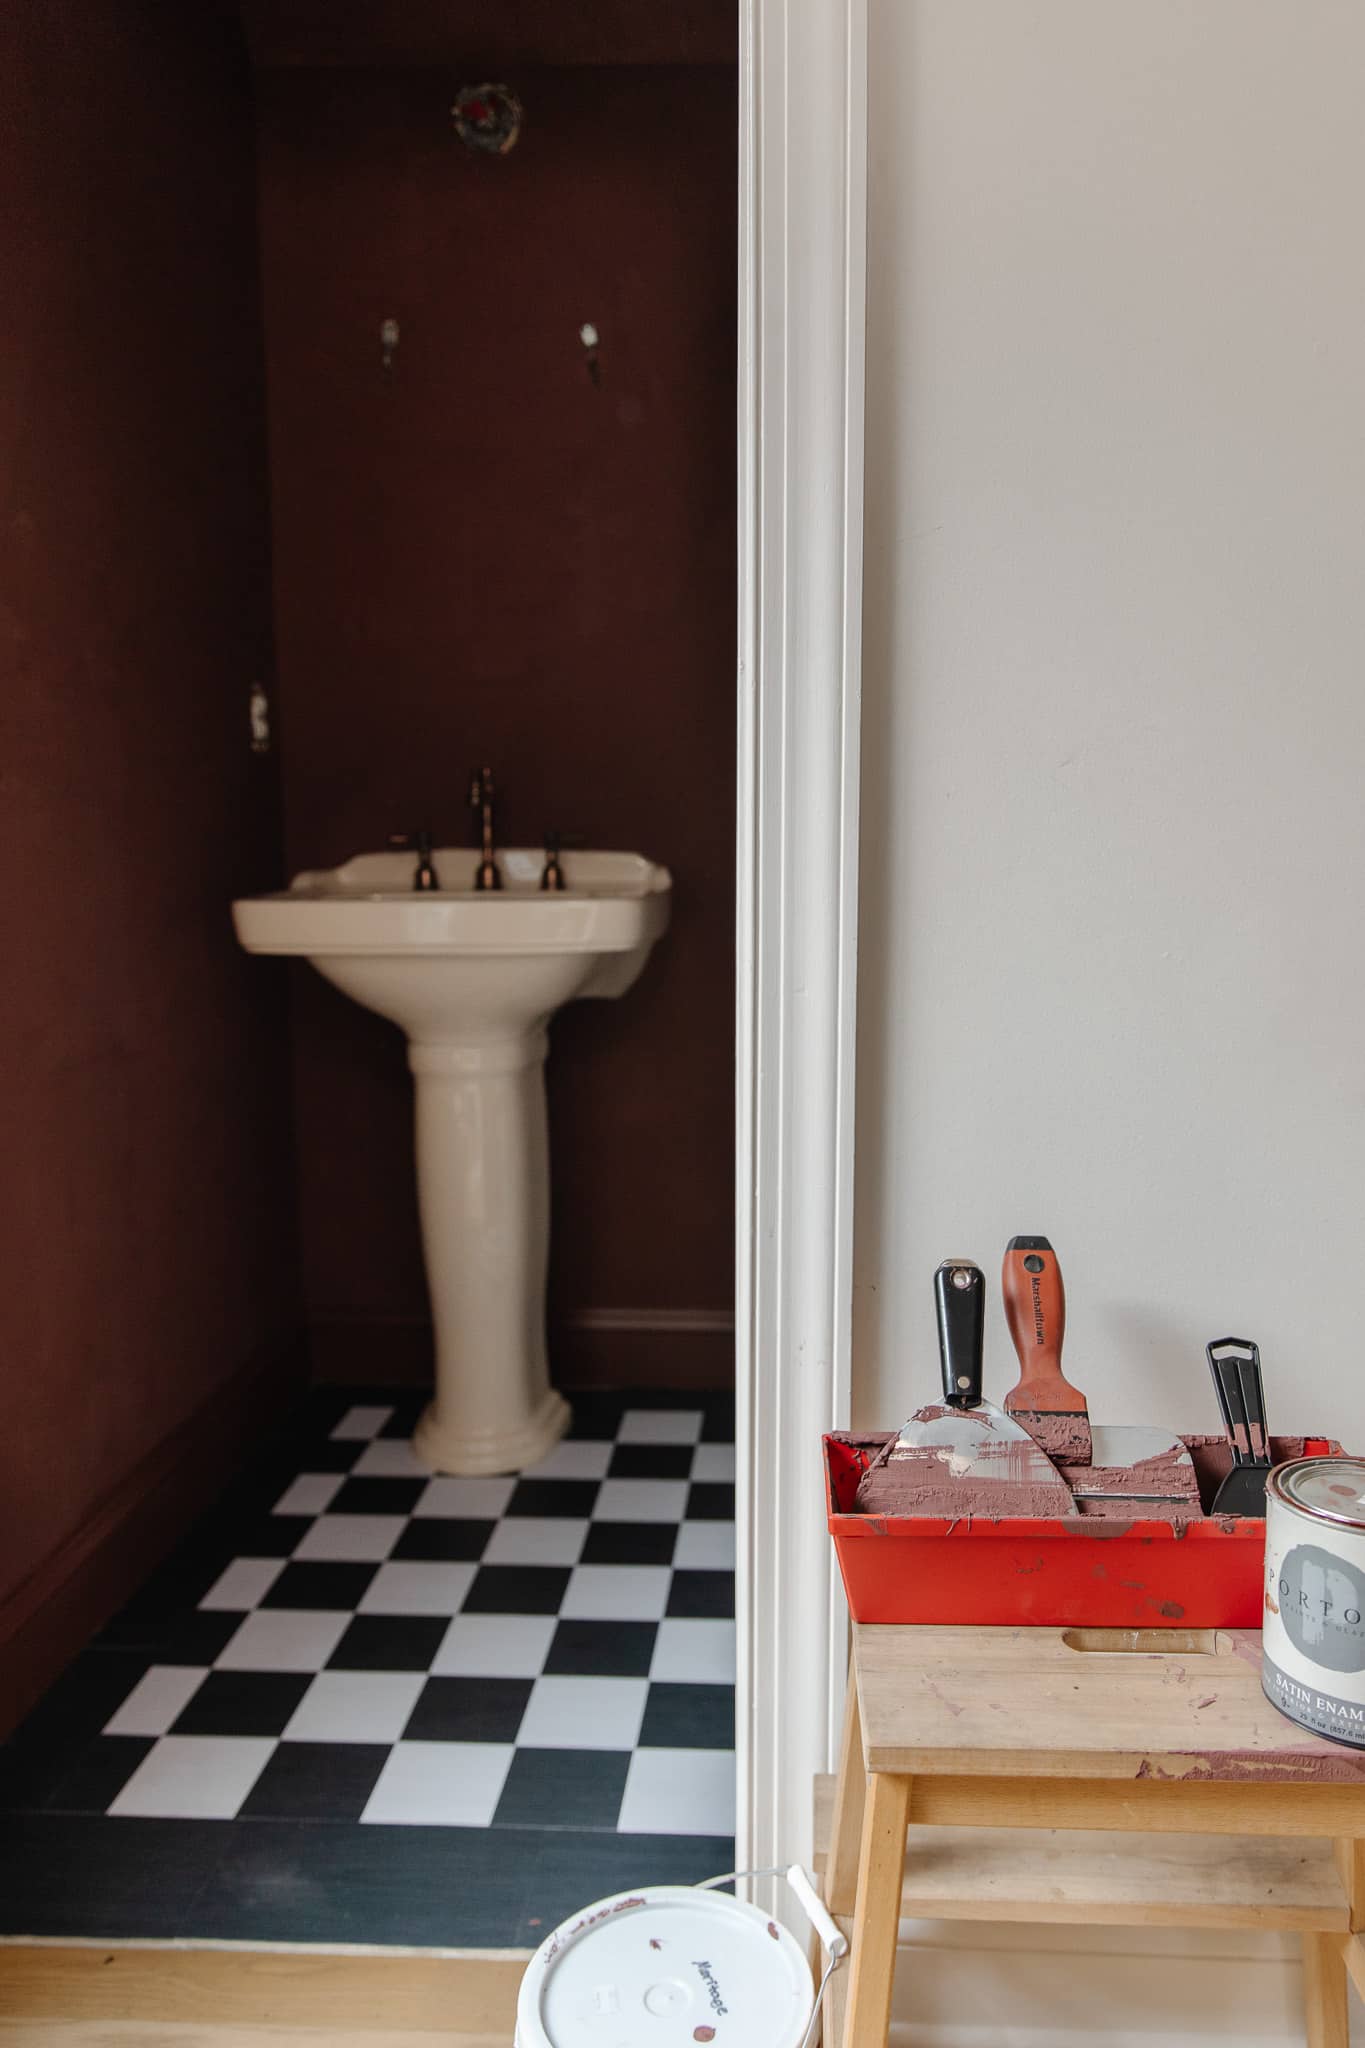
After we were done with the walls, I went back and painted the trim with the pint of traditional paint, in the same tone, I ordered to coordinate. While the walls are like velvet or suede (seriously incredible both visually and to the touch), I wanted the trim to be glossier and smooth. I think I maybe should have painted the trim first and then taped them off to add the roman clay to the walls? I got some of the trim paint on the walls and it feels way harder to correct it that way. The clay that got on the toilet and floors washed off pretty easily (almost like a hard mud would).
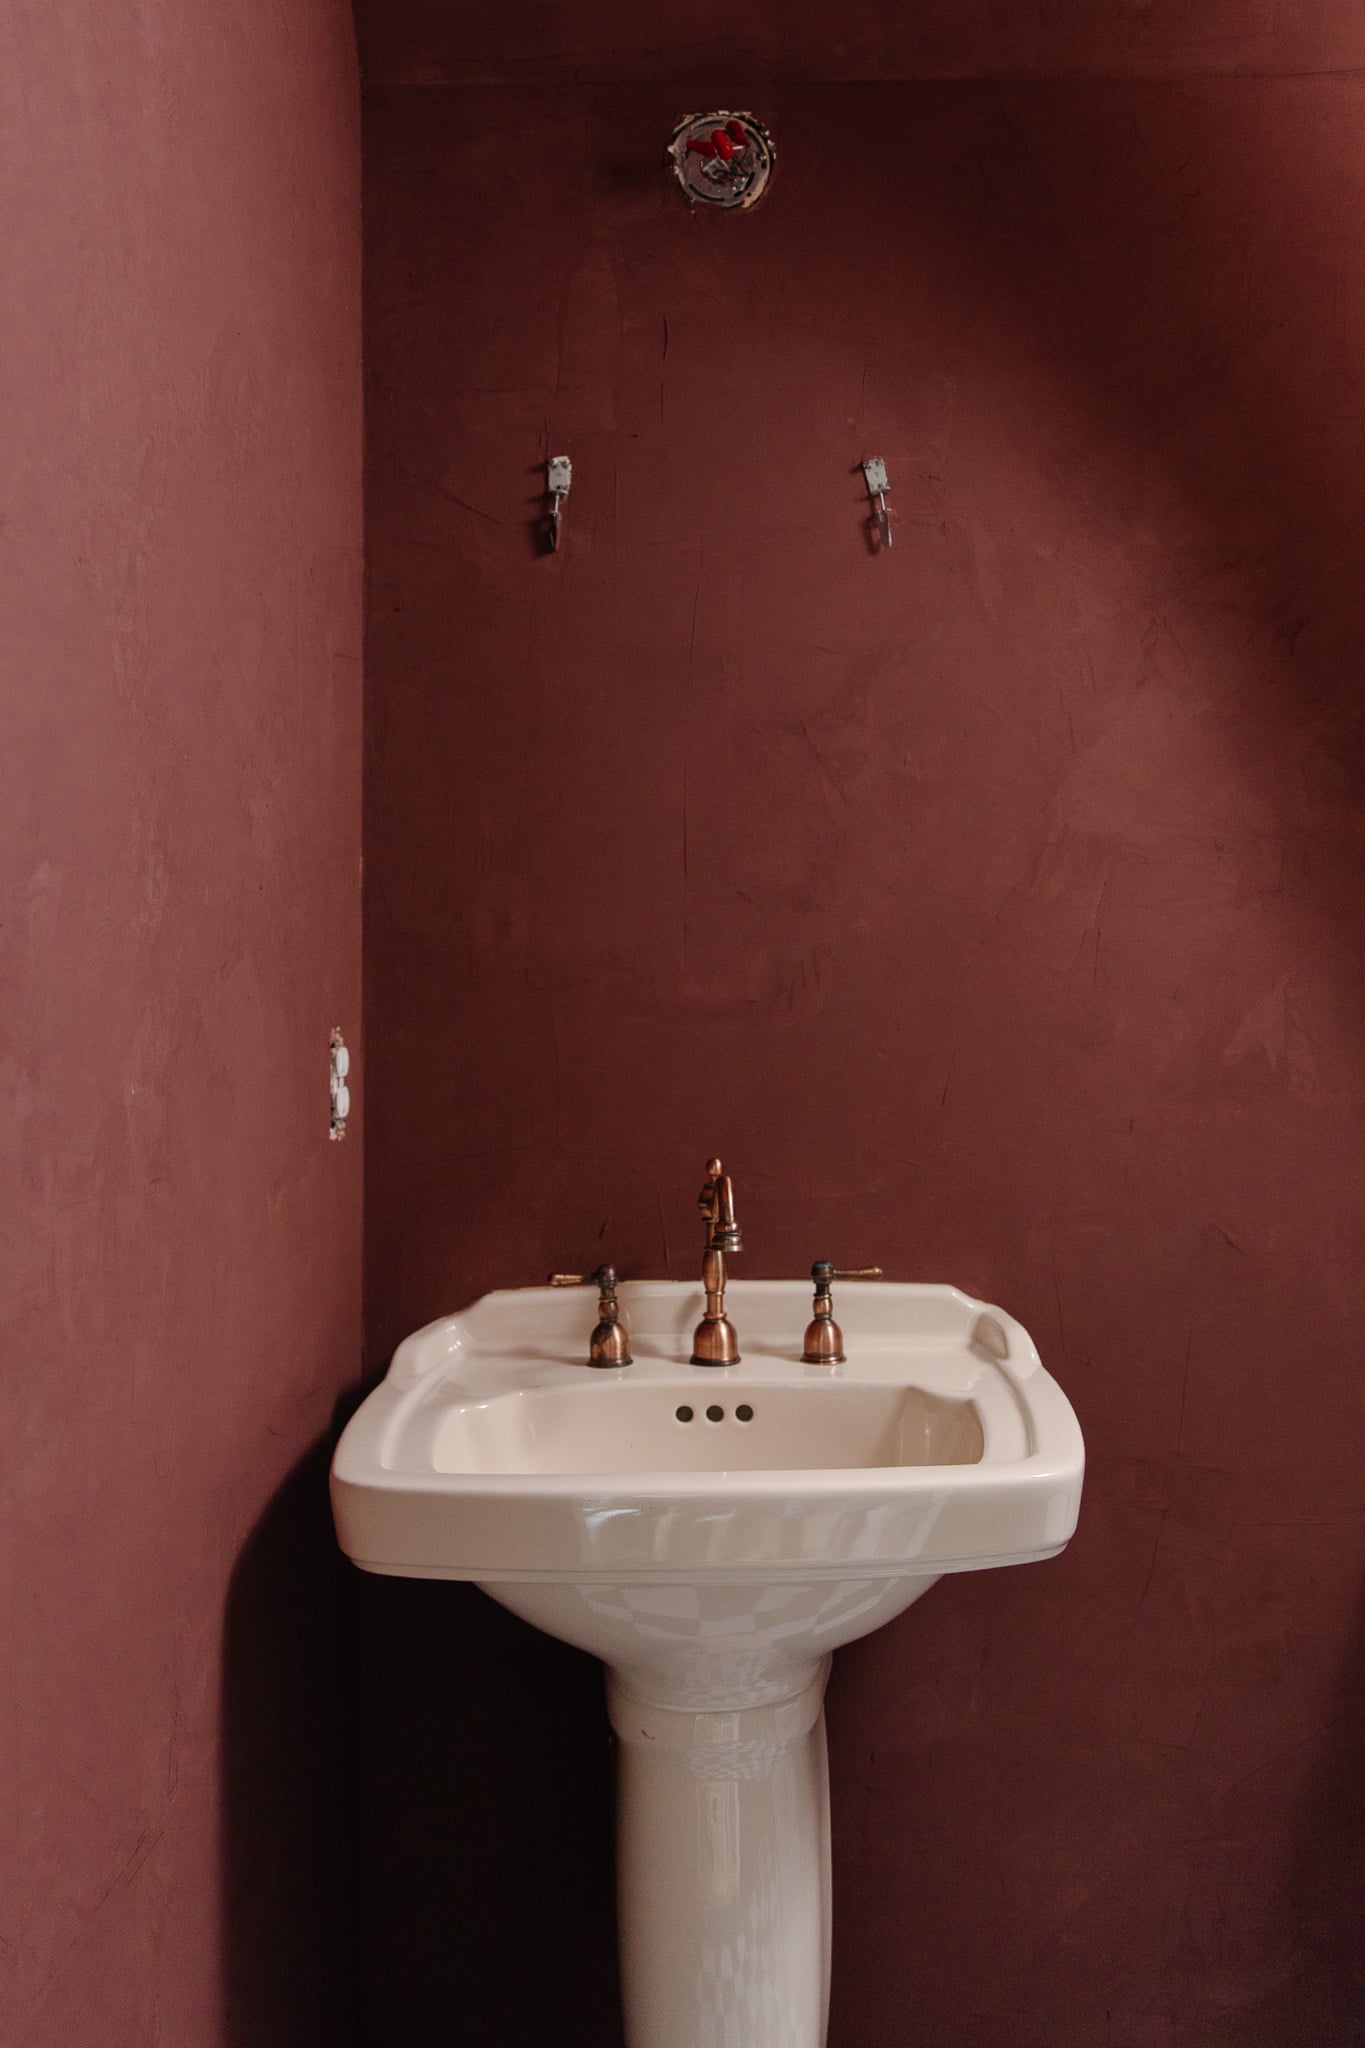
Overall, I can’t imagine doing this myself in a larger space. It was quite the task, but the result is stunning. This isn’t a highly used bathroom, no shower or bathtub, so it felt like the perfect place to try out the technique.
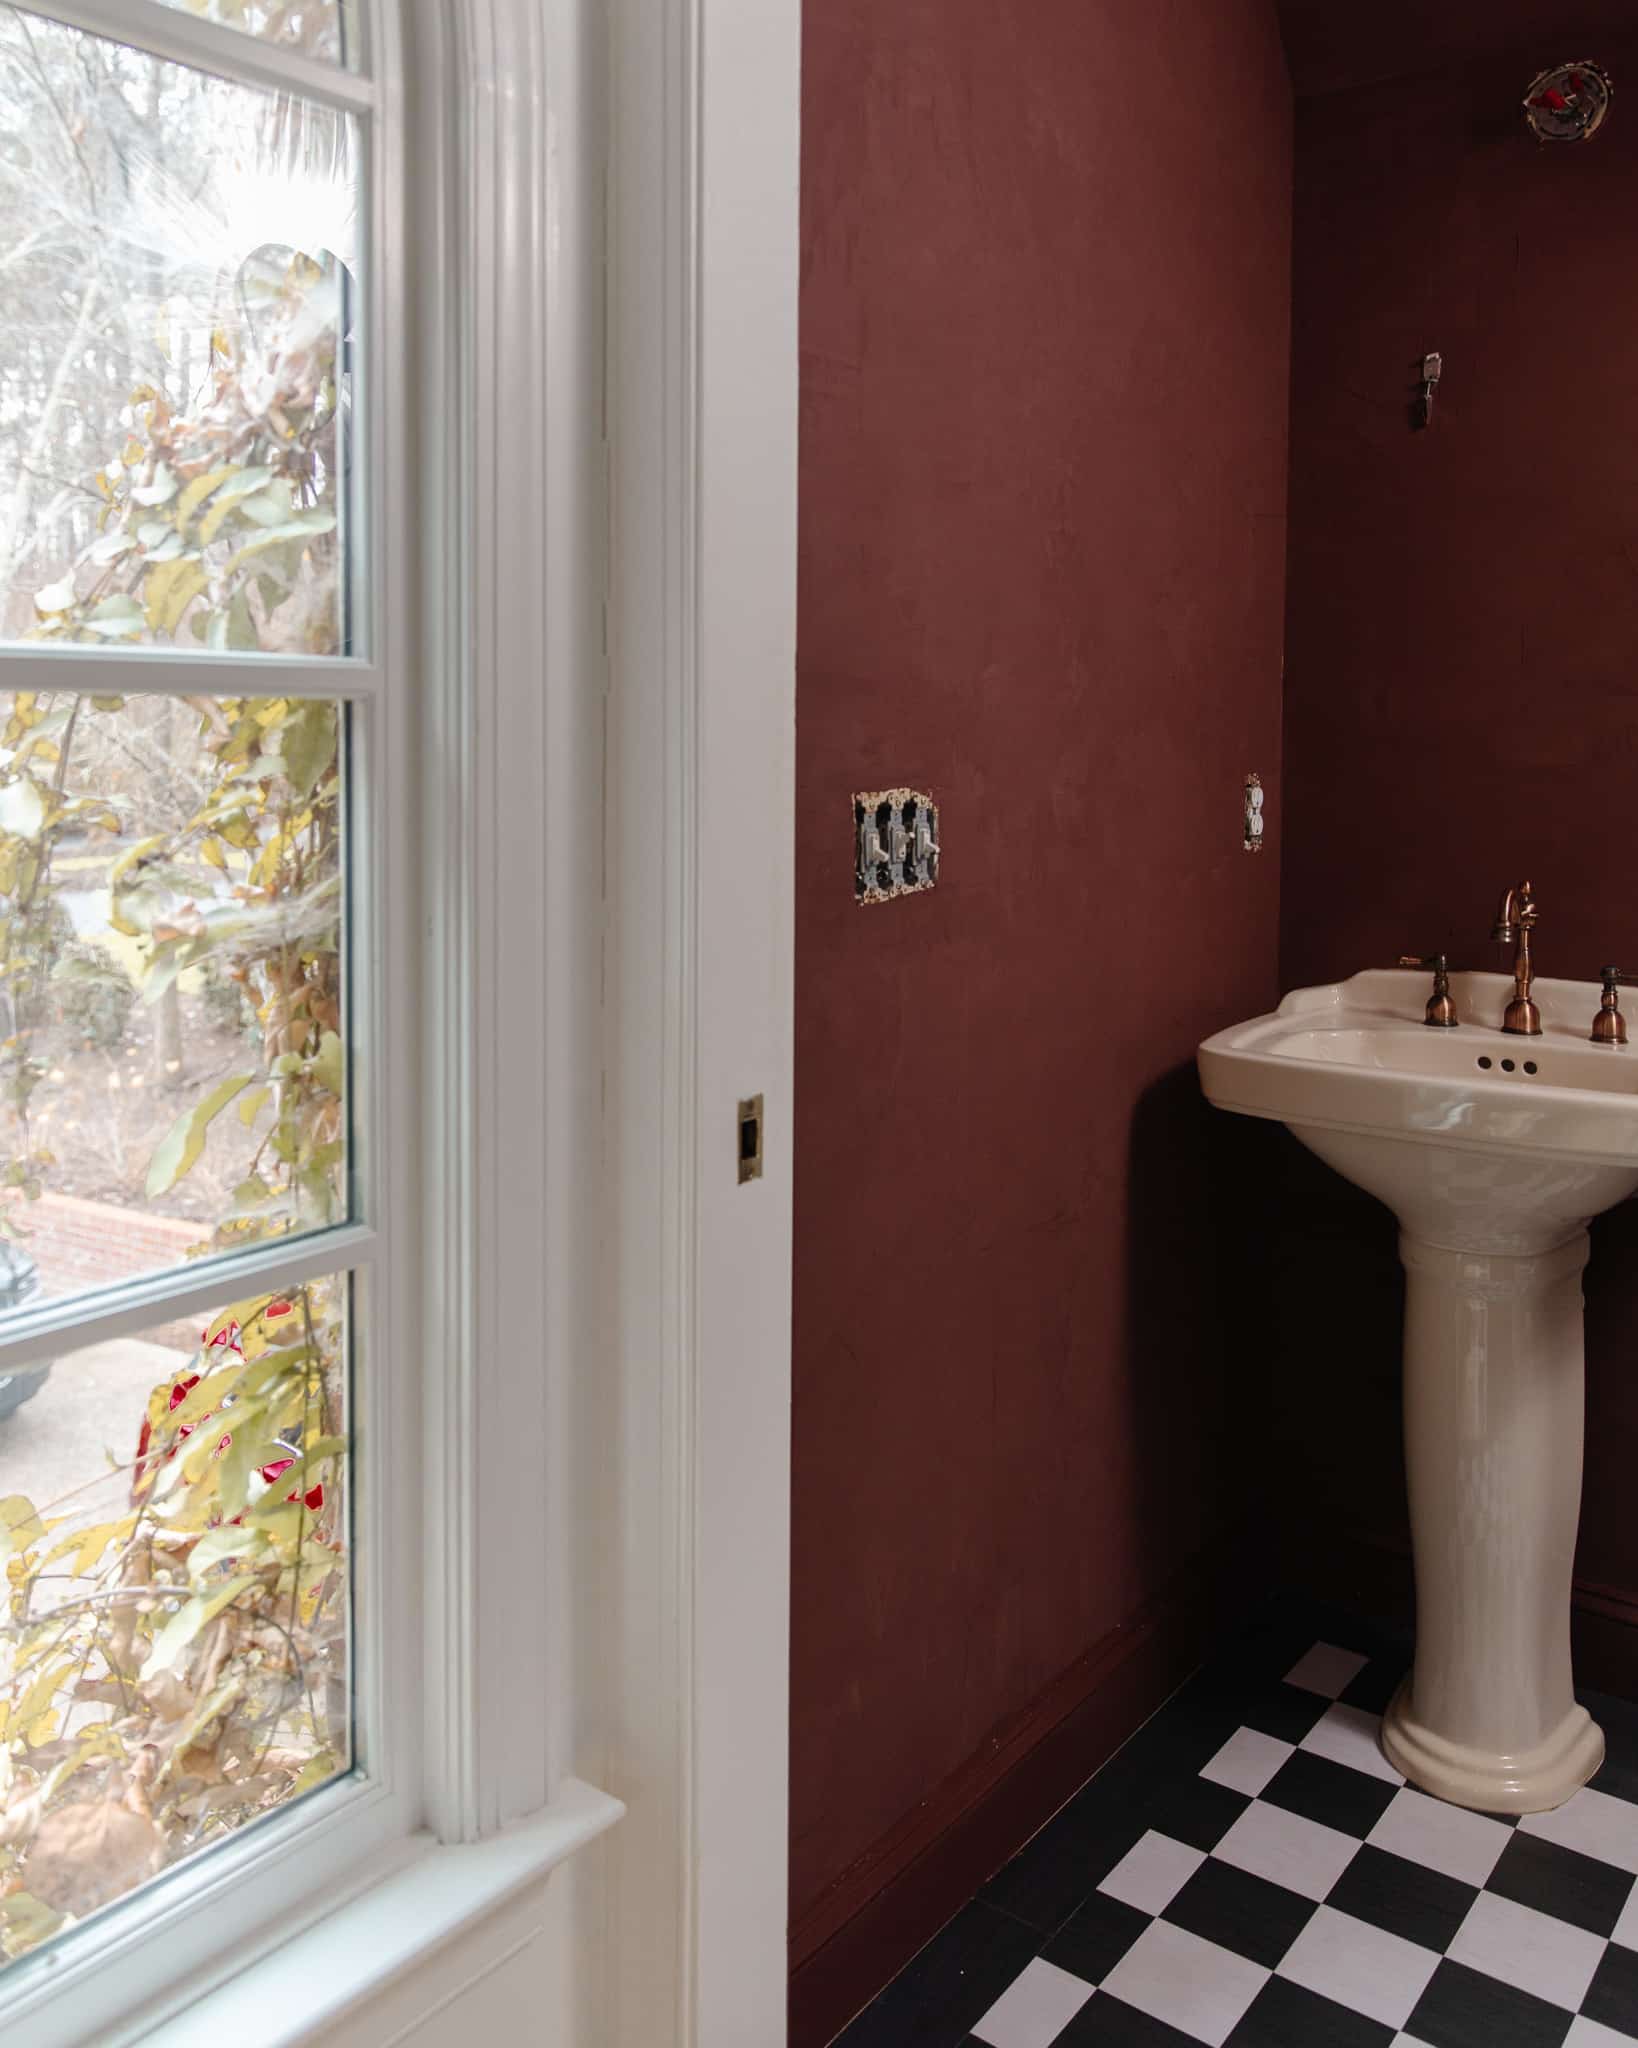
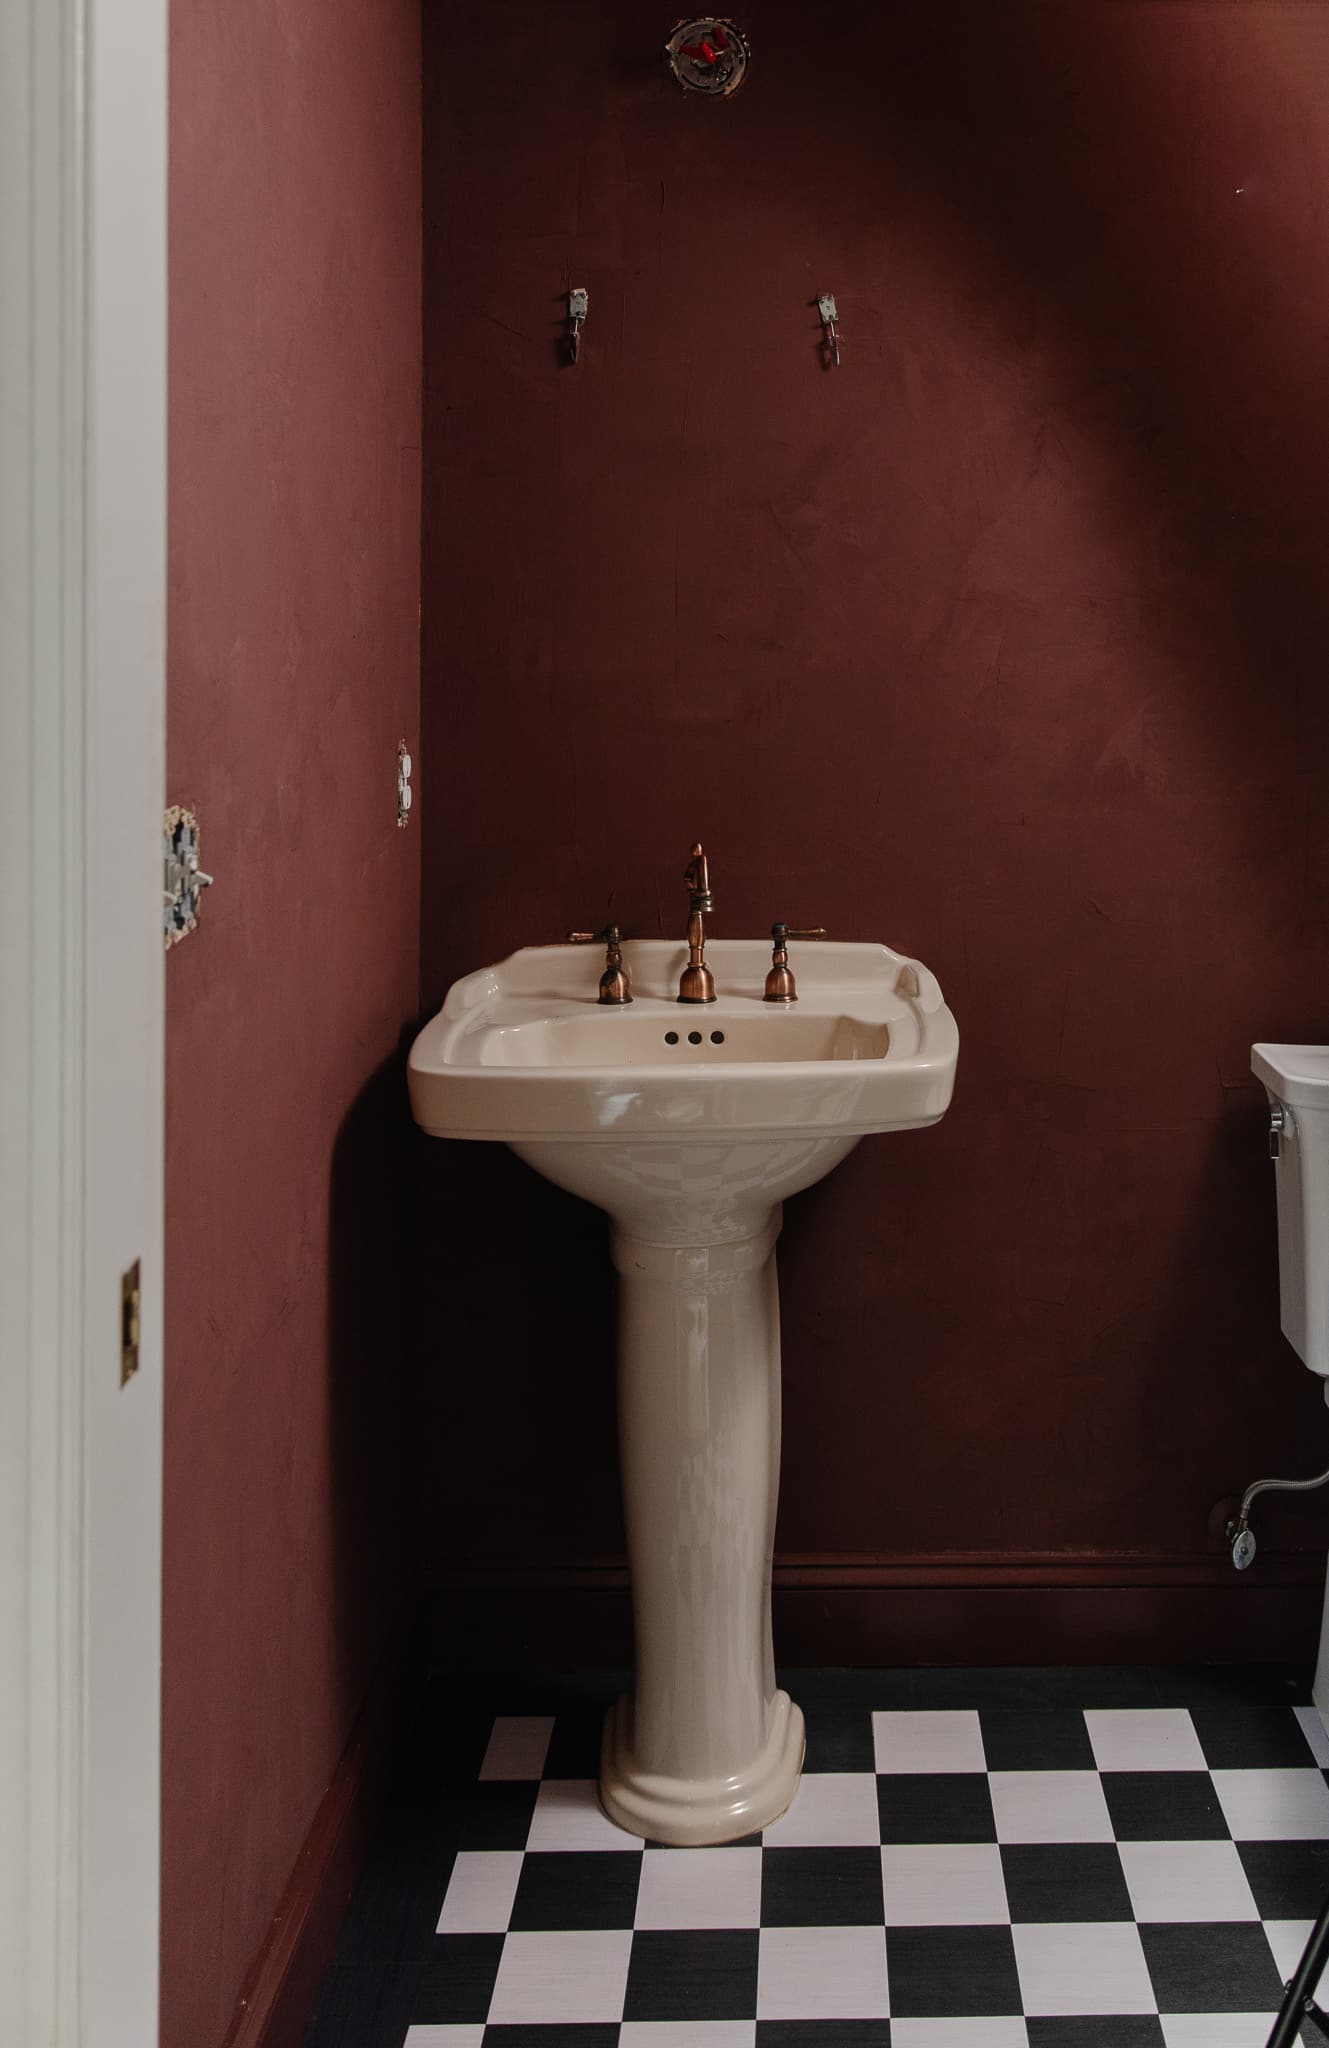
I love the way it has all come together with our CLJ x Floorpops in Lawrence we cut down to squares. Next!! We’re swapping out the bisque sink to match the white toilet and floors and adding a new light fixture, a polished nickel towel ring and toilet paper holder. I’m going to rehang the mirror that was in here and I’d like to bring in brass switchplates and hang some art. Stay tuned!
Leave a Reply
What do you think?
Previous Post
Next Post


Semihandmade
Our wood grain Shaker cabinet fronts were designed for busy, high-traffic homes like ours. Clad with durable textured thermofoils, this line is compatible with Sektion, Akurum, Godmorgon, and Besta cabinets from IKEA. It's the perfect, practical way to add the warmth of wood to all the rooms of your home.
Collaborations
learn more

next
Loloi
We have teamed up with Loloi to create a line of rugs that are as affordable as they are beautiful. This collection houses a great mix of traditional and modern rugs, in cottage-y colorways, as well as vintage-inspired beauties that you’ll want to roll out in every room.
Collaborations
learn more

next
STUGA
We partnered with Stuga on a line of hardwood floors — The Ingrid is really livable, and the color is very neutral. It doesn’t lean warm or cool, it’s that just right in-between. We have really loved putting it everywhere in our house. It’s the best jumping-off point for design, no matter your interior style. In addition to being beautiful, Ingrid is really durable — we have three kids, and we always have a home construction project going on. Ingrid stands up to it all.
Collaborations
learn more

next


SHop all
What We're Right Now
What We're Right Now
Looking for our favorite things? A place to shop our home room by room, or just catch up on what Julia's wearing / loving right now? Browse the CLJ shop.
Loving


Portfolio


Design
Befores, afters, mood boards, plans, failures, wins. We’ve done a lot of projects, and they’re all here.
BROWSE BY CATEGORY
let's break this thing up
We have a long-standing relationship with DIY, and love rolling our sleeves up and making it happen.
Projects
Even when you don’t want to rip down a wall, you can make that space in your home better. Right now.
read more
read more
read more
02
01
03
looking for inspiration?
A reader recently asked me if I’m starting to fully embrace traditional style and whether we still consider our house to be a “modern Colonial” and why. It was a really great question and so timely — I had really just been thinking about my approach to this home and how my style has changed […]


SEARCH THE BLOG
We've been doing this since 2009 and we've posted a whopping 24145+ blog posts and counting. You might need a little help searching, huh?
looking for something?
find stuff like:
")
Can We Send You Our Love Letter?
Another way for us to stay in touch! Joining our weekly newsletter gives you access to exclusive content, never-before-seen photos, your questions answered, and our favorite DIYs. Sign up below!
Follow Along on Instagram
Welcome to our online community where we've posted home, DIY, style, renovations, and family since '09. Renovating our #cljmoderncottage in Idaho and headed for new adventures in Raleigh, NC. #cljfam #cljtransformations
@chrislovesjulia


Links
Get Around
Make yourself right at home
Portfolio
Design
Casual Friday
Projects
Lifestyle
Gift Guides
All Posts
Shop
Love where you live.
Social
RivrLinks
Links
Get Around
Make yourself right at home
Portfolio
Design
Casual Friday
Projects
Lifestyle
Gift Guides
All Posts
Shop
Love where you live.
Social
RivrLinks
I used a similar color, though not in clay, in a bathroom like that. After a couple of years, it just felt more and more like a depressing cave. The color just sucked in all the light. Unlike your bathroom, ours was used all the time.
I finally switched it out, along with new flooring and fixtures, to a creamy light butter with a white ceiling. Now I can breathe again.
I’m glad I tried it. It was a good lesson. I think I would only do it again in a room with a window.
Hi, this came out well with that 2nd coat! How did you make the choice to use a cut-down size of the already cut floor pops on the left edge of the bathroom? Since that’s the side in view, I would have thought you would start from the side/edge with a “full” floor pop? (And then used a smaller cut pop deeper in the bathroom?) Thanks for explaining your thinking! I’m sure that was a reason!
Pizza Hut employee bathroom.
I can understand how surprised you were when you realized that Roman clay is not a paint. In fact it is like applying a thin layer of plaster in a tint. My brother has used this product in a few spaces and he always used a drywall mudders trowel. They come in various lengths and if you are seeking large scale gradients you’ll want a bigger one. A spackle knife is typically smaller and would create a busier pattern. It’s like painting with a brush versus a roller if that helps. Generally speaking you want to build up thin layers, which would physically me much easier than trying to manage thick material for coverage. Two coats would be exhausting. But it also lets you see the dried results and work with, or correct, any organic shapes you like, or don’t. You can also layer colors or tones to create beautiful patina patterns along with the textural feel and if you choose light colors especially I’d recommend planning 4-5 layers. This dark color is gorgeous and likely forgiving and, as you say, a learning project. We all have those. But I’d also share that large spaces might even be easier, if you do it in light layers. The trowel won’t be as heavy, the pressure applied is lighter and you can do it over several days. Honestly the “harder” project is doing the ceiling because it’s arms above your head and you DO want to cover the entire area with each layer. No stopping in the middle of the wall for example.
I have a similarly tiny powder room that I want to experiment with, but the previous owners painted it with some kind of texture paint. Almost like sand was added to the paint, so the texture is very fine and gritty. I presume it was to hide cracks or uneven texture in the plaster. Do you think the Roman clay would be thick enough to cover the textured paint?
It’s giving that 90s sponge paint vibe.
Nightmare of a project:)
So when you say you can’t imagine doing this in a larger space, is that because of how tired it makes you physically or that it’s too difficult to apply? I *really* want to do this in our living room but I’m older than you so your warning makes me wary. :)
I was very physically tired.
I did a fake version of this (joint compound powder mixed in paint) in my master bedroom. I only did one or two walls at a time and knocked it out in less than a week. Applied the same way as described here. I didn’t find it to be too much physically when broken up like that.
Did you seal it? Ratios? How is it holding up?
Hi DD – I am looking into doing a “fake” version with joint compound and paint, mostly because I can’t find the color I’m looking for in the limited selection Portola Paint has. I’m curious how yours turned out and if you’d recommend doing the DIY or just using a premixed?
Hi Molly,
I am currently Roman claying my entire basement! It definitely is a process but you can take it piece by piece. I would recommend trying to complete each wall and not leaving them partially done before you take a break, however my sister did her whole bathroom (ceiling and all) and trust me she needed a break from the ceiling and hers turned out amazing! You want to make sure you don’t put on too thick of layers to avoid air bubbles or too thick of raised edges in between layers otherwise you’ll see that on your walls and you’ll need to sand. Honestly sanding is the worst part! I live in an older home and there was a ton of moisture in our walls so the clay bubbled so we had to sand everything down and do another coat. It was a bit of a detour but we are obsessed with the results!
Do you have a link to the sink? Everything is beautiful!
The sink was here when we moved in, sorry!
This is beautiful! I’m curious how you got the clay on the wall behind the sink and toilet without removing them?
The trowel is flat so it was actually easier than a paintbrush!
I love the results!