Read the latest
read more
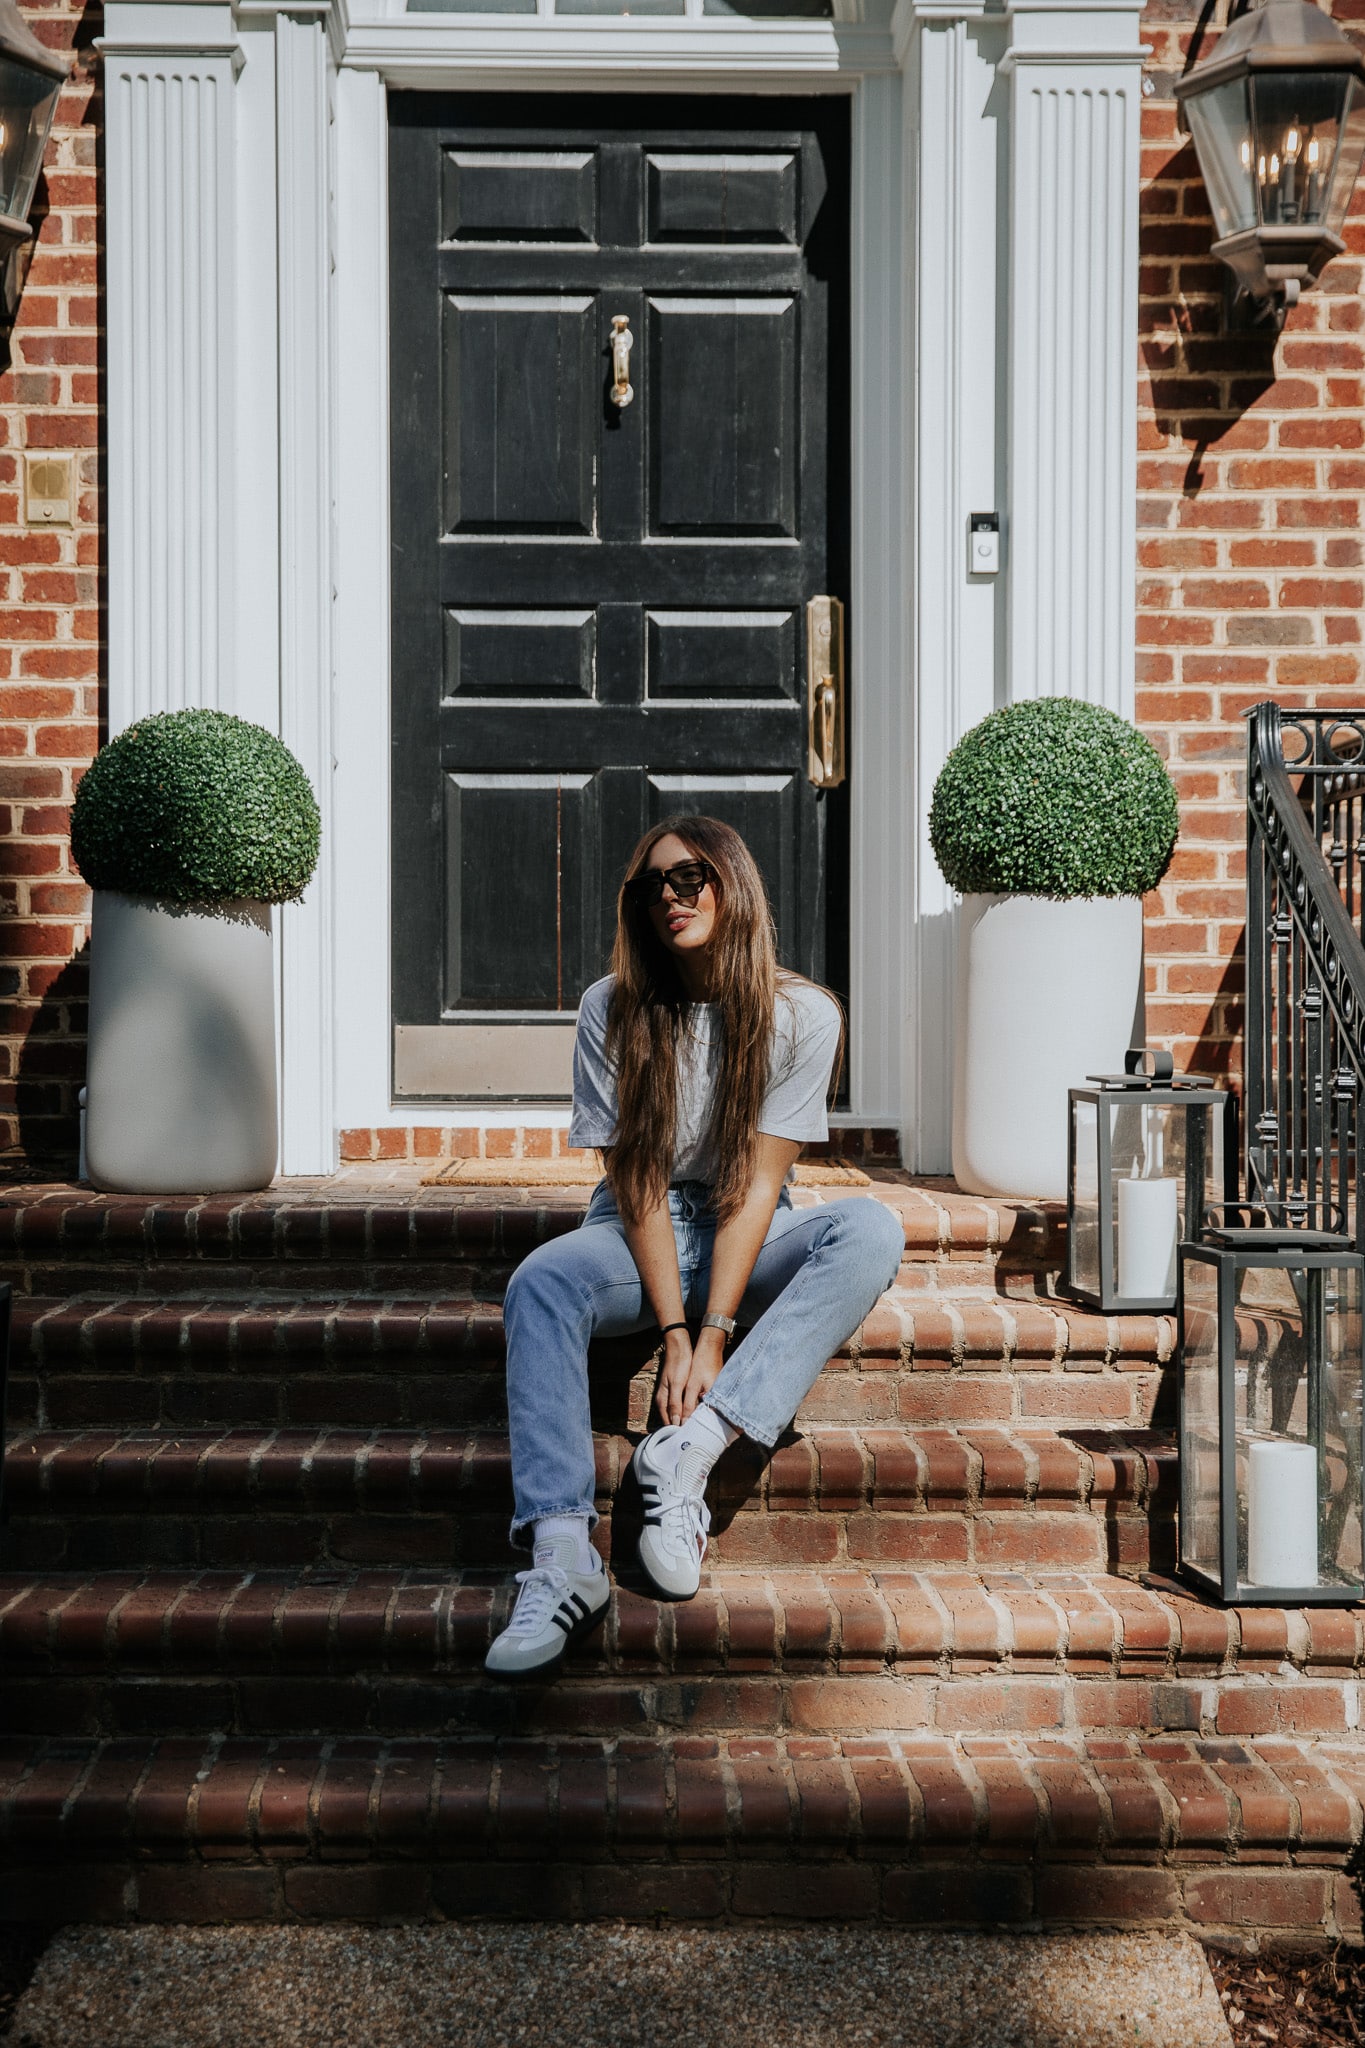
The other day, I was talking to Chris about what I’ve learned about sunglasses over the years. I have a prominent nose with a hump, and I was today years old when I realized that I don’t like my glasses to fit above the hump on my nose. So a low-bridge fit is best for […]
You know you’re in April when every week I try to schedule our house tour to be filmed, we get clouds and showers. Plus, our contractors decided to start installing the windows on the same week we wanted to photograph, so we literally were working around ladders. (All the behind-the-scenes drama that you don’t see!) […]
read more

It’s always so much fun to do a house tour video for you to see things you may not catch when looking at photos. It feels like hosting a bunch of friends over to see what you’ve done to the place — without the clean-up afterwards….only lots and lots beforehand. As much as this house […]
read more

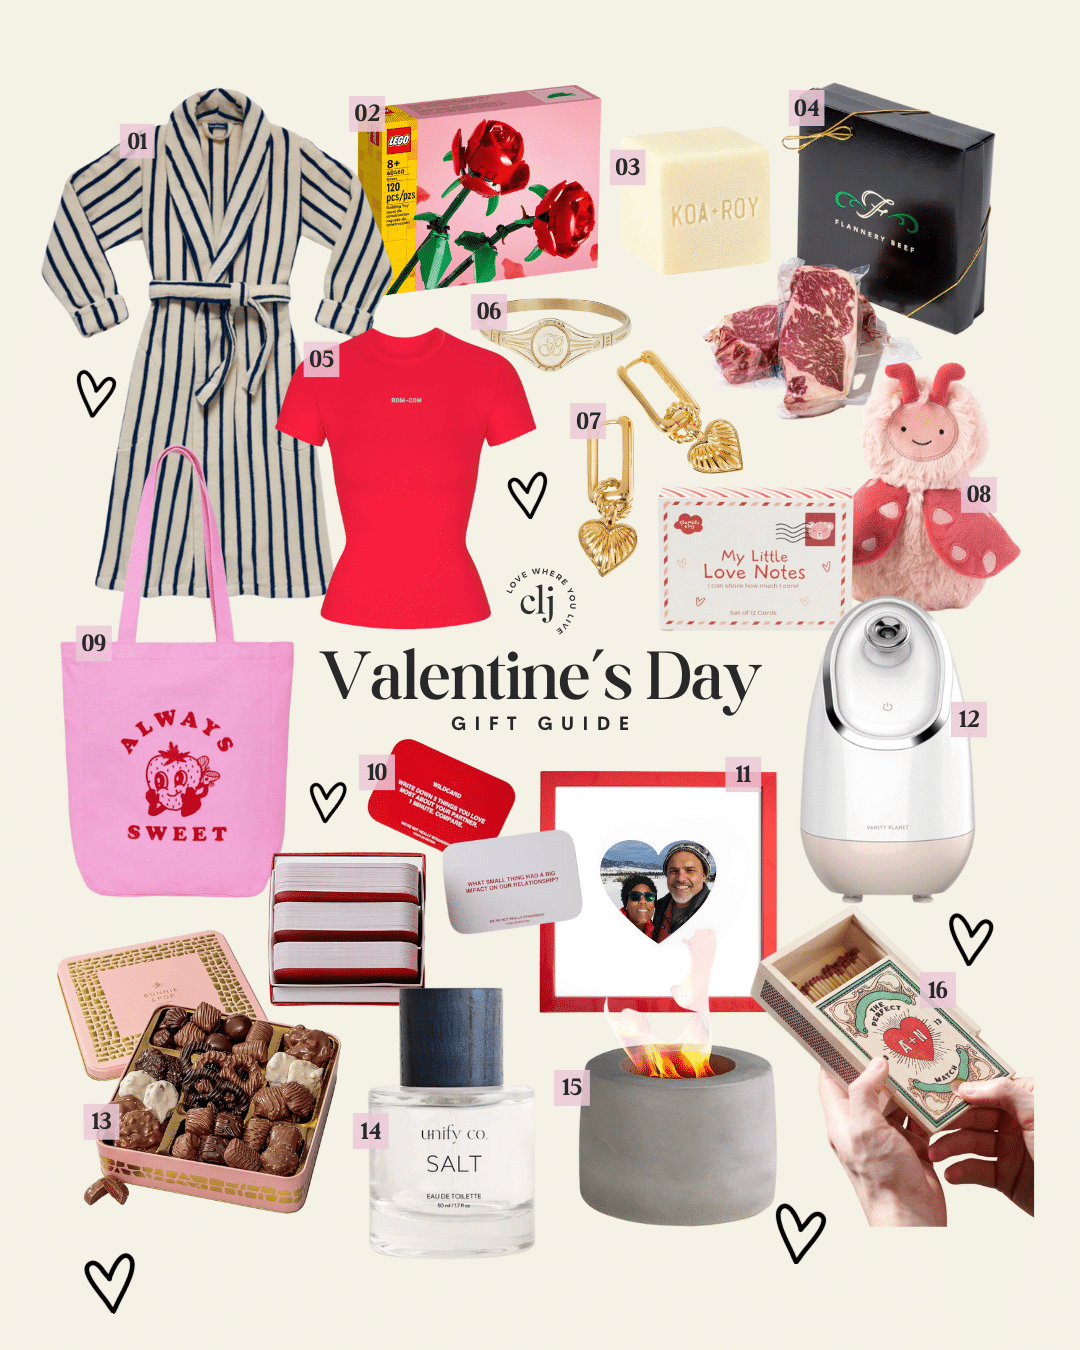
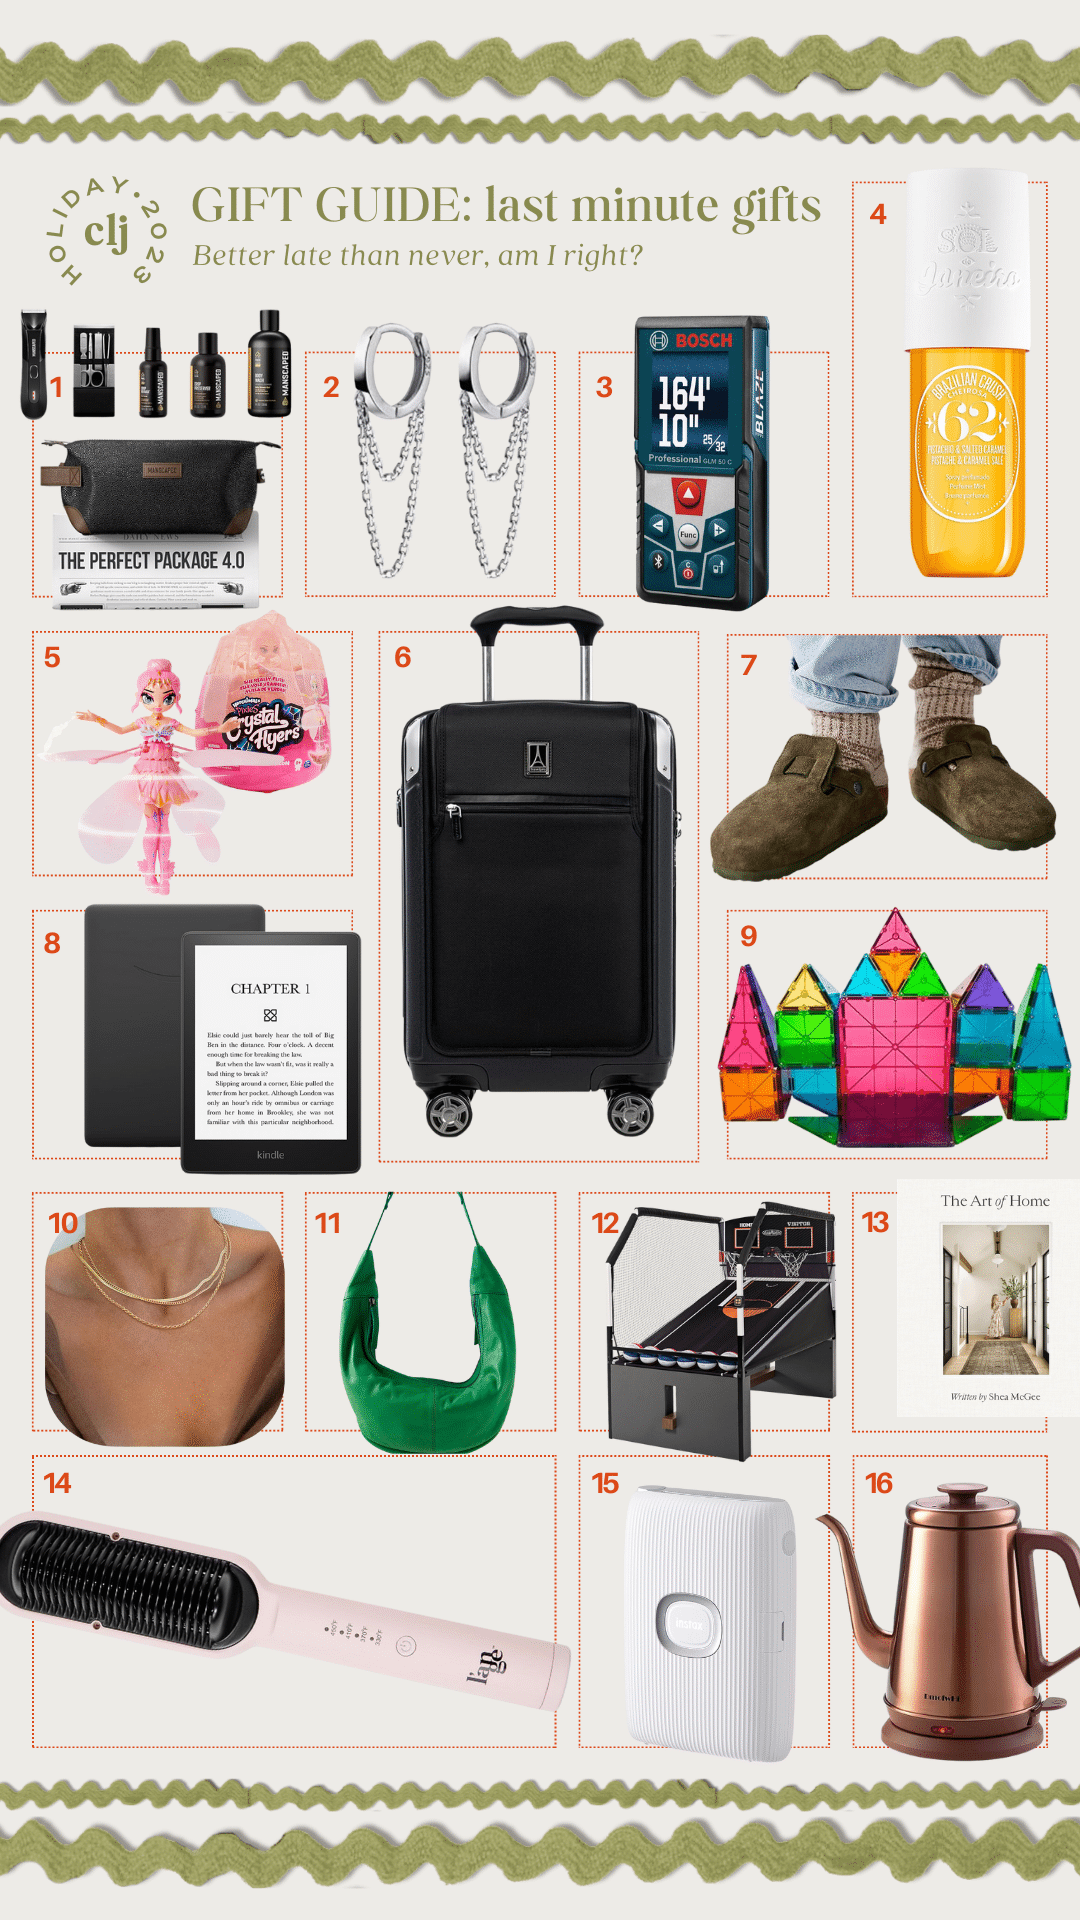
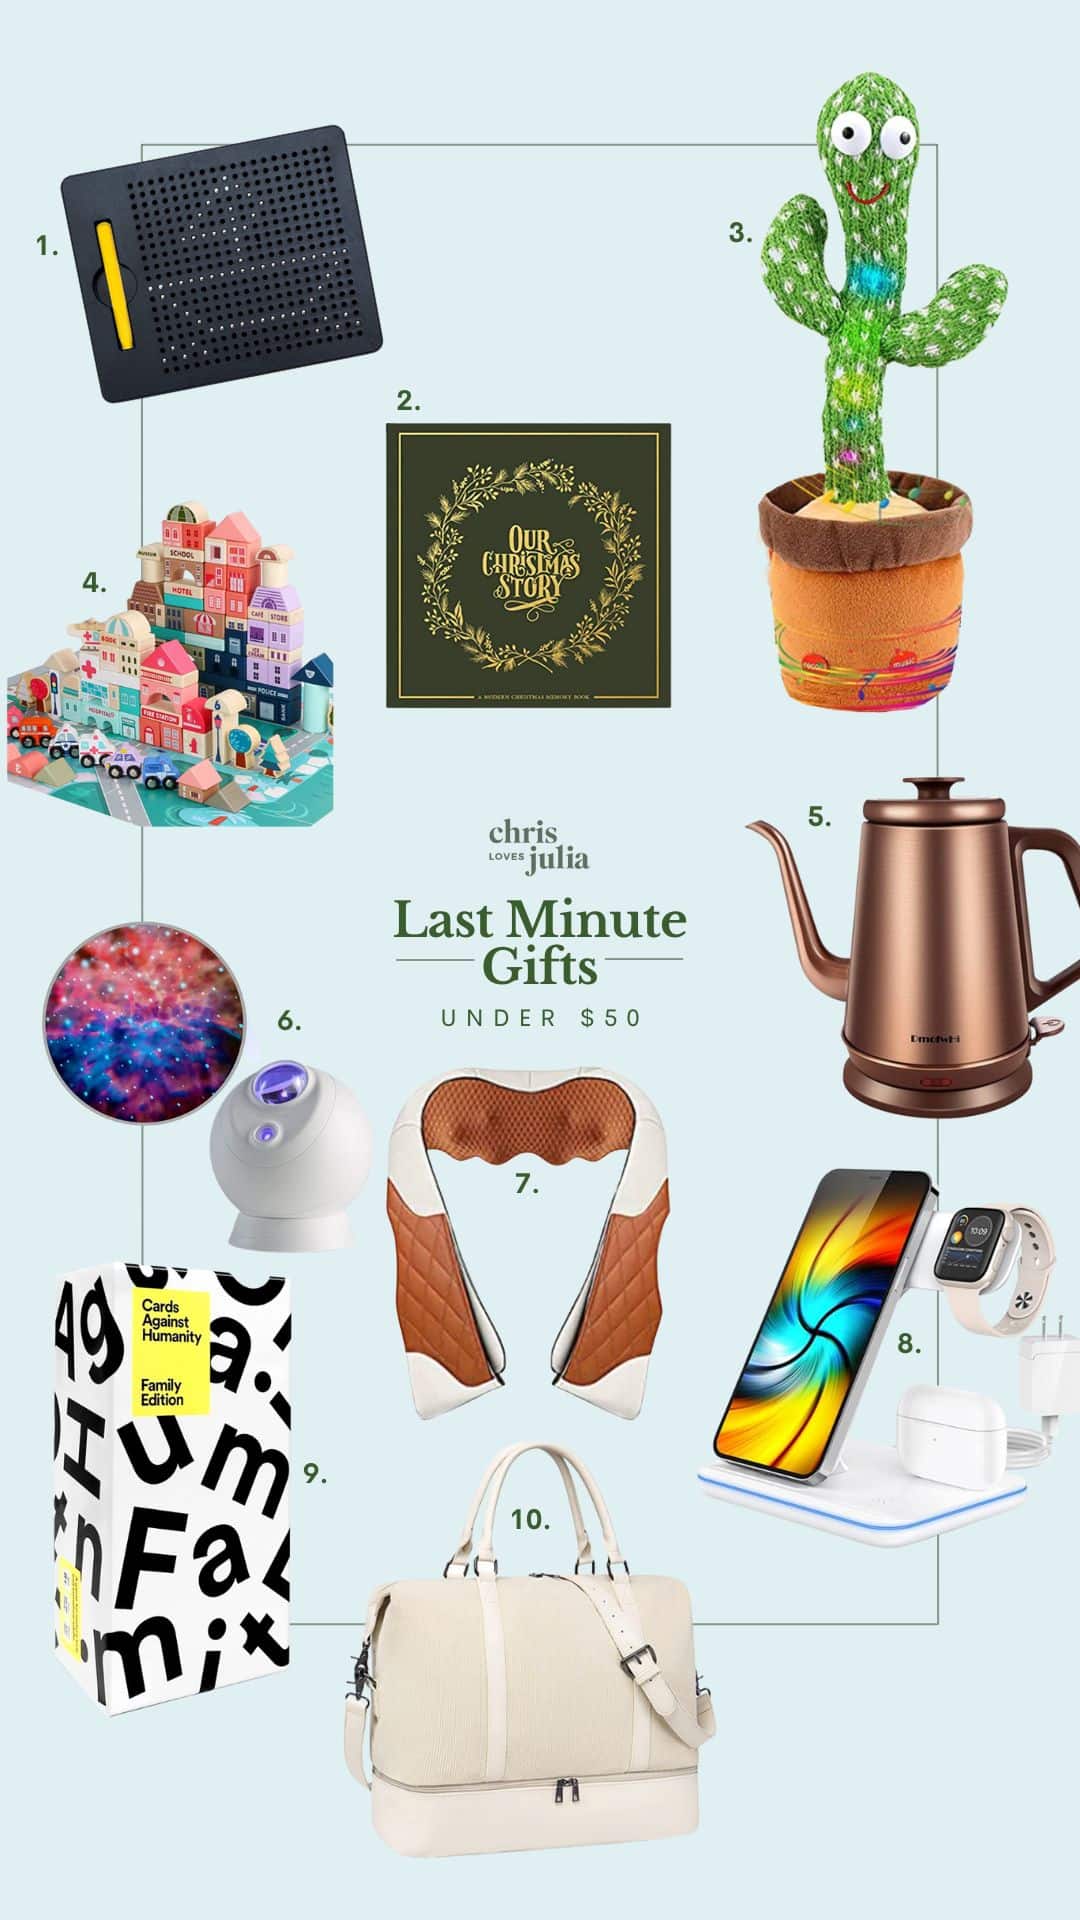
The way I love to express my adoration most is through gift giving. When I’m reminded of someone when I see something, I can’t help but get it and sometimes I can’t even wait for a special occasion. So to say, putting together gift guides — especially for Mother’s Day — is an act of […]
read more

Even when we moved into our home three years ago we knew we would have to replace our windows. The seals had been broken on some of them, and they were fogging up. It took us a while to get to that project on our list (plus we knew we had to budget for it), […]
read more

Over the years I’ve talked about my love for hot sauces, which has raised some questions about which ones I use, when I use them, etc. So today I’m bringing the heat with the best hot sauces of 2024. I’ll start with some of the most popular hot sauces that people know and love, and […]
read more
Semihandmade
Our wood grain Shaker cabinet fronts were designed for busy, high-traffic homes like ours. Clad with durable textured thermofoils, this line is compatible with Sektion, Akurum, Godmorgon, and Besta cabinets from IKEA. It's the perfect, practical way to add the warmth of wood to all the rooms of your home.
Collaborations
learn more

next
Loloi
We have teamed up with Loloi to create a line of rugs that are as affordable as they are beautiful. This collection houses a great mix of traditional and modern rugs, in cottage-y colorways, as well as vintage-inspired beauties that you’ll want to roll out in every room.
Collaborations
learn more

next
STUGA
We partnered with Stuga on a line of hardwood floors — The Ingrid is really livable, and the color is very neutral. It doesn’t lean warm or cool, it’s that just right in-between. We have really loved putting it everywhere in our house. It’s the best jumping-off point for design, no matter your interior style. In addition to being beautiful, Ingrid is really durable — we have three kids, and we always have a home construction project going on. Ingrid stands up to it all.
Collaborations
learn more

next
SHop all
What We're Right Now
What We're Right Now
Looking for our favorite things? A place to shop our home room by room, or just catch up on what Julia's wearing / loving right now? Browse the CLJ shop.
Loving


Kitchen
Dining ROom
primary bedroom
Living ROom
entryway
guest room
Kids rooms
CLOSET
Browse By Room
Bathroom
Looking for posts about a particular space in our home or inspo for one of the rooms in yours? Here's a handy index for your browsing convenience.
Outdoor

The first week of October for our family is basically like the gunshot that signals the start of a marathon. Birthdays, anniversaries, holidays, school activities, family visiting, traveling to visit family, kids out of school, work deadlines. The holiday season, with all its festive charm, often brings a less welcome companion – stress. So how […]
read post
This month, I quietly celebrated 11 years of blogging. As part of that, last week, we watched the very first home tour video I ever did for this blog. It was of our first basement apartment that we were renting. The one we brought Greta home to and where I started the blog. Andi filmed […]
read post
looking for inspiration?
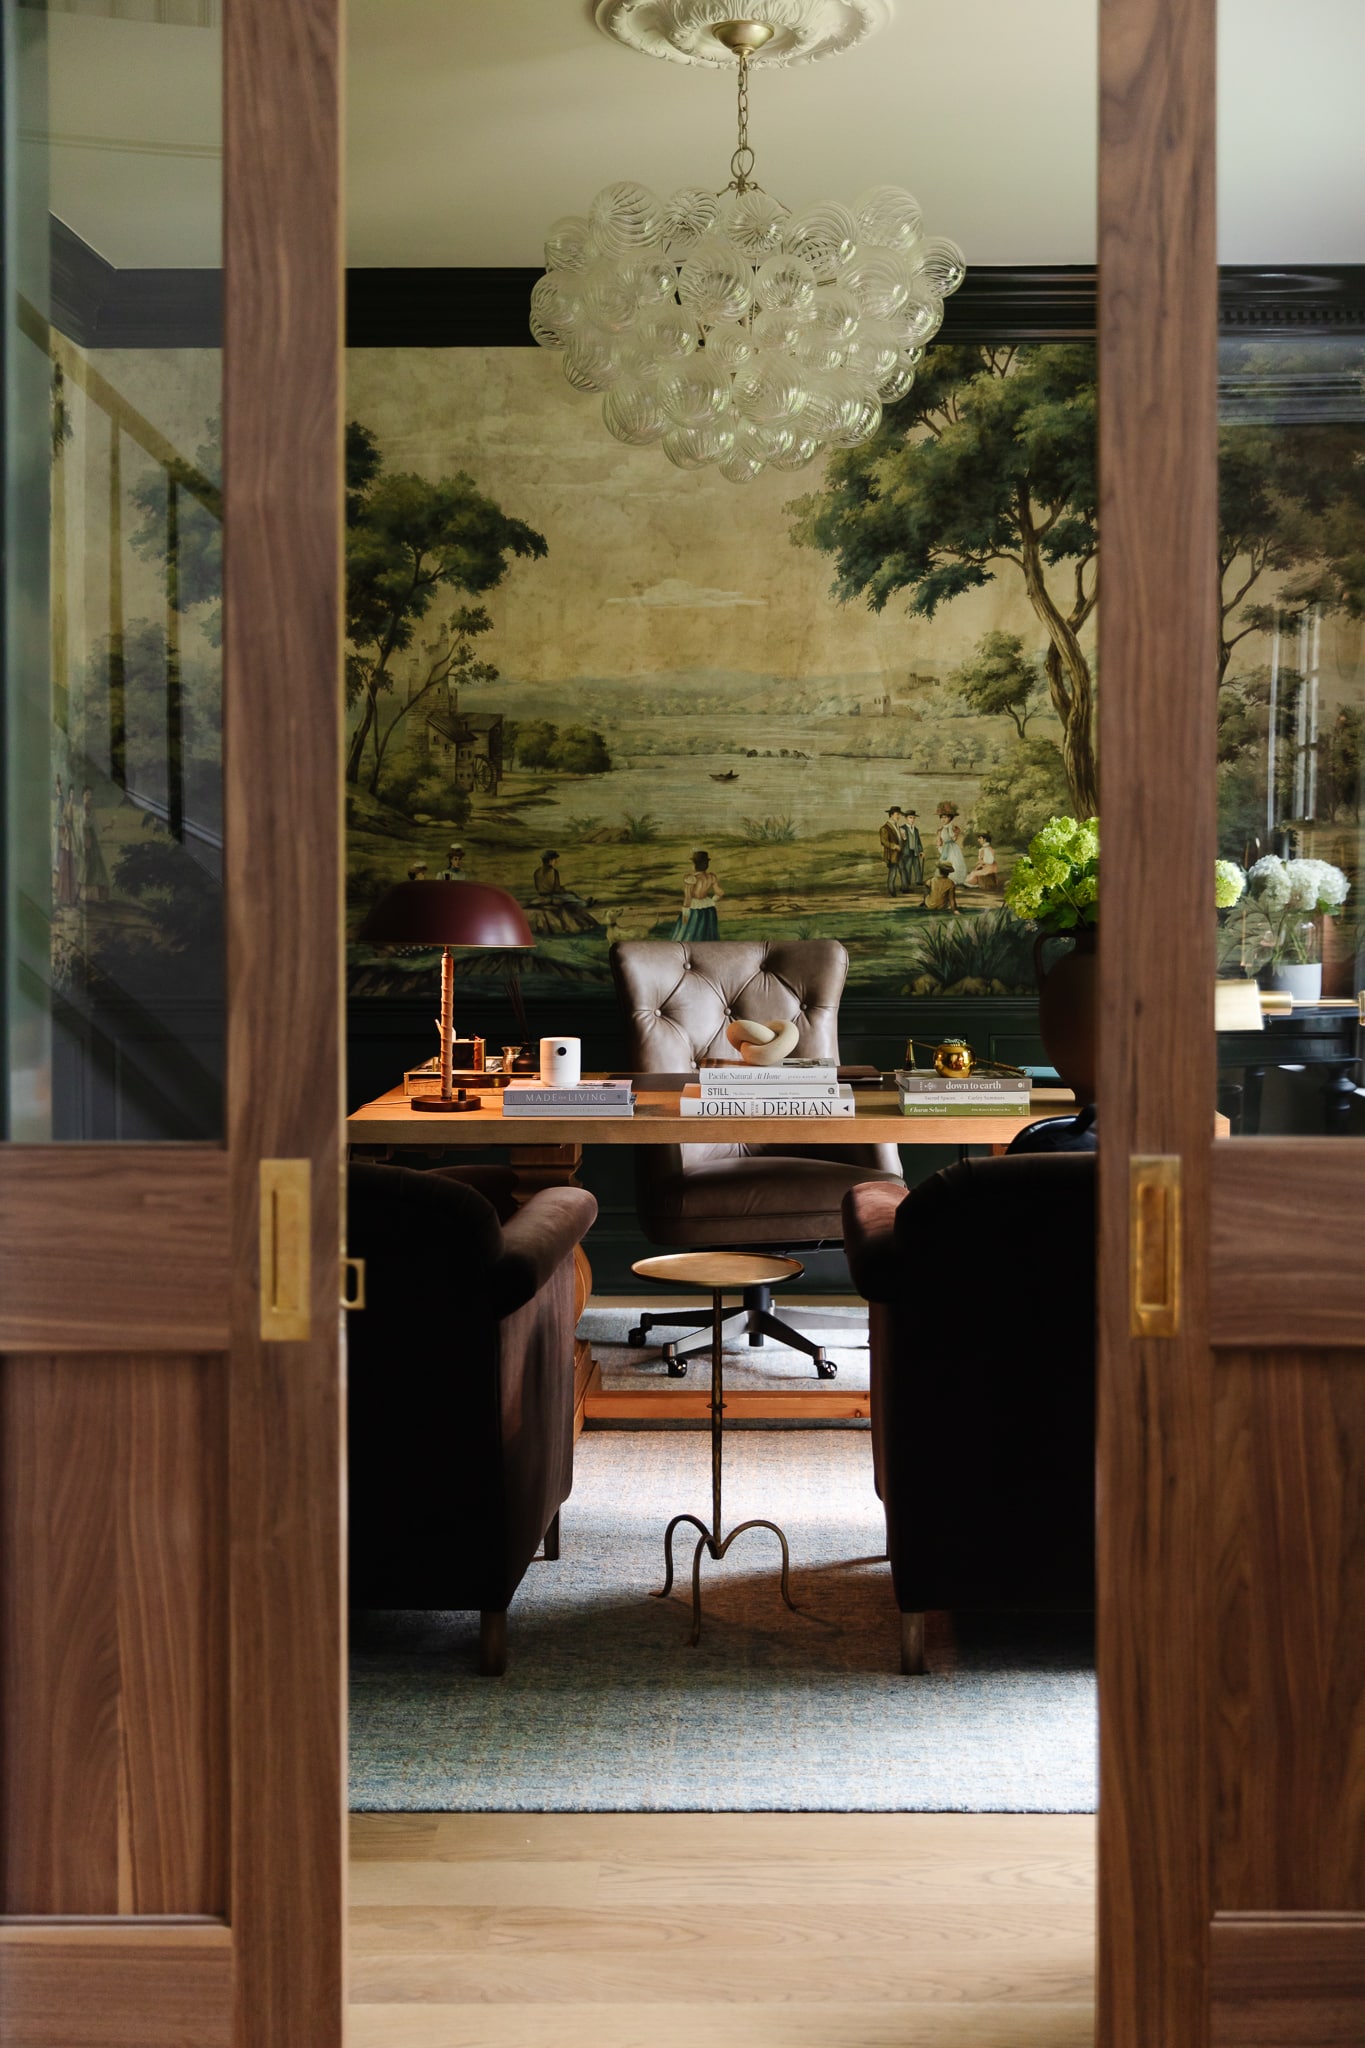
A reader recently asked me if I’m starting to fully embrace traditional style and whether we still consider our house to be a “modern Colonial” and why. It was a really great question and so timely — I had really just been thinking about my approach to this home and how my style has changed […]


We’re Chris & Julia.
Thanks for following along as we uncover our home’s potential through quick DIYs, major renovations, splurge-and-save design, and our day-to-day family living. We hope you feel welcome and find inspiration to help you also love where you live.
About us
read more
You're welcome here.
MORE RECENT POSTS

Portfolio


Design
Befores, afters, mood boards, plans, failures, wins. We’ve done a lot of projects, and they’re all here.
BROWSE BY CATEGORY
let's break this thing up
We have a long-standing relationship with DIY, and love rolling our sleeves up and making it happen.
Projects
Even when you don’t want to rip down a wall, you can make that space in your home better. Right now.
read more
read more
read more
02
01
03


SEARCH THE BLOG
We've been doing this since 2009 and we've posted a whopping 24145+ blog posts and counting. You might need a little help searching, huh?
looking for something?
find stuff like:
")
Can We Send You Our Love Letter?
Another way for us to stay in touch! Joining our weekly newsletter gives you access to exclusive content, never-before-seen photos, your questions answered, and our favorite DIYs. Sign up below!
Follow Along on Instagram
Welcome to our online community where we've posted home, DIY, style, renovations, and family since '09. Renovating our #cljmoderncottage in Idaho and headed for new adventures in Raleigh, NC. #cljfam #cljtransformations
@chrislovesjulia


Links
Get Around
Make yourself right at home
Portfolio
Design
Casual Friday
Projects
Lifestyle
Gift Guides
All Posts
Shop
Love where you live.
Social
RivrLinks
Links
Get Around
Make yourself right at home
Portfolio
Design
Casual Friday
Projects
Lifestyle
Gift Guides
All Posts
Shop
Love where you live.
Social
RivrLinks