An entire year ago, we hung a “fauxdenza” in the dining room as part of a video project for GM that actually never ended up seeing the light of day because Covid hit. We hung our first floating credenza (“fauxdenza”) made from upper Ikea cabinets back in 2012–you can read about that right here–and to this day it still is our favorite way to add a bunch of storage in an inexpensive way.

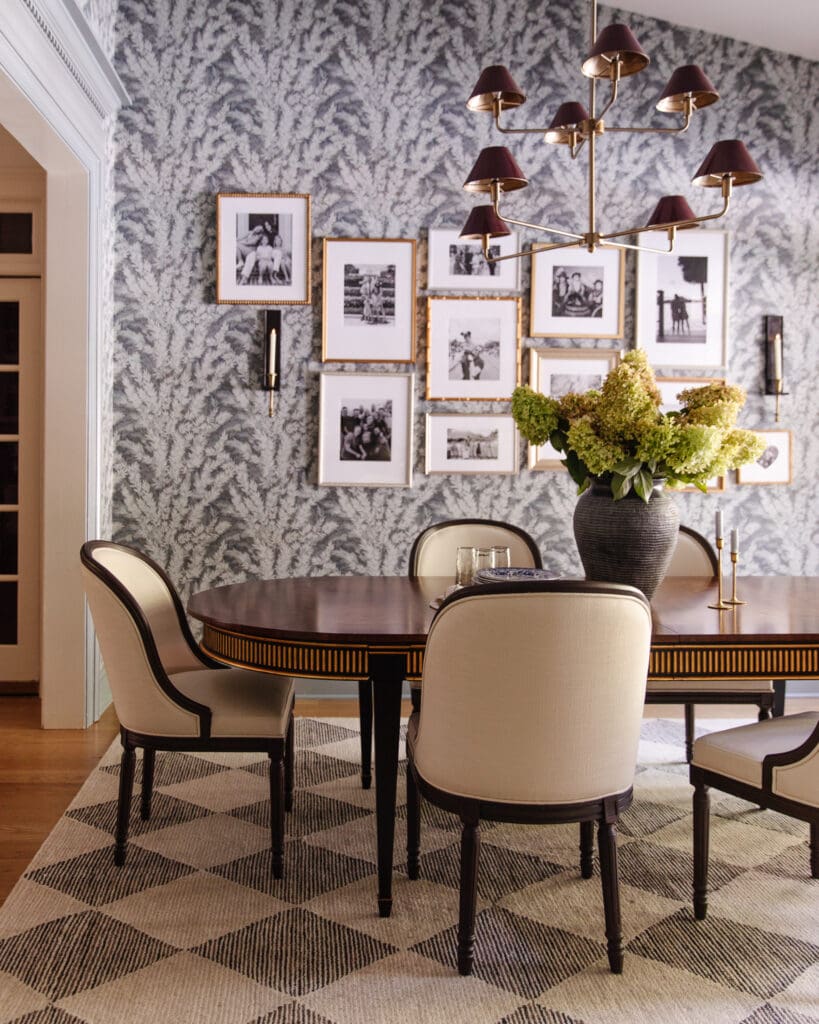
Tapestry, Buffet Lamps, White Vase, Faux Stems, Smoked Vase, Pendant Lights, Table, Chairs
Above is how it has looked for the last year. No hardware, and topped with a melamine cover panel–if you look not even that closely you can see the very obvious seam. It was never supposed to be permanent or even there longer than a week, but for the video it was all we could get our hands on with such short notice. Our eyes got used to it, even with the joint that continued to fray and splinter more and more as the year wore on, but we knew we absolutely wanted to finish it off before selling our house. Especially since these cabinets feel like a permanent fixture of the house (they WILL be staying).
Last week, we picked up a long Birch butcher block from Home Depot and stained it and look at her now!! We’re a broken record with how often we’re saying “Why did we wait so long to do this?!” but here we are again.

Art, Vase, Faux Stems, Bowl, Buffet Lamps, Gold Knobs, Floor Lamp

With a 152″ fauxdenza (so. much. storage! and it’s perfect for serving buffet style, too!), there was obviously still going to be a seam, but this time around we took special care to make sure it was a lot less obvious. In fact, I can barely spot it in person!

This was our first time joining two lengths of butcher block, and the key was biscuit joints and pocket screws. Chris picked up a biscuit joiner, which essentially adds notches at the same level in the sides of the two boards you’re wanting to connect.
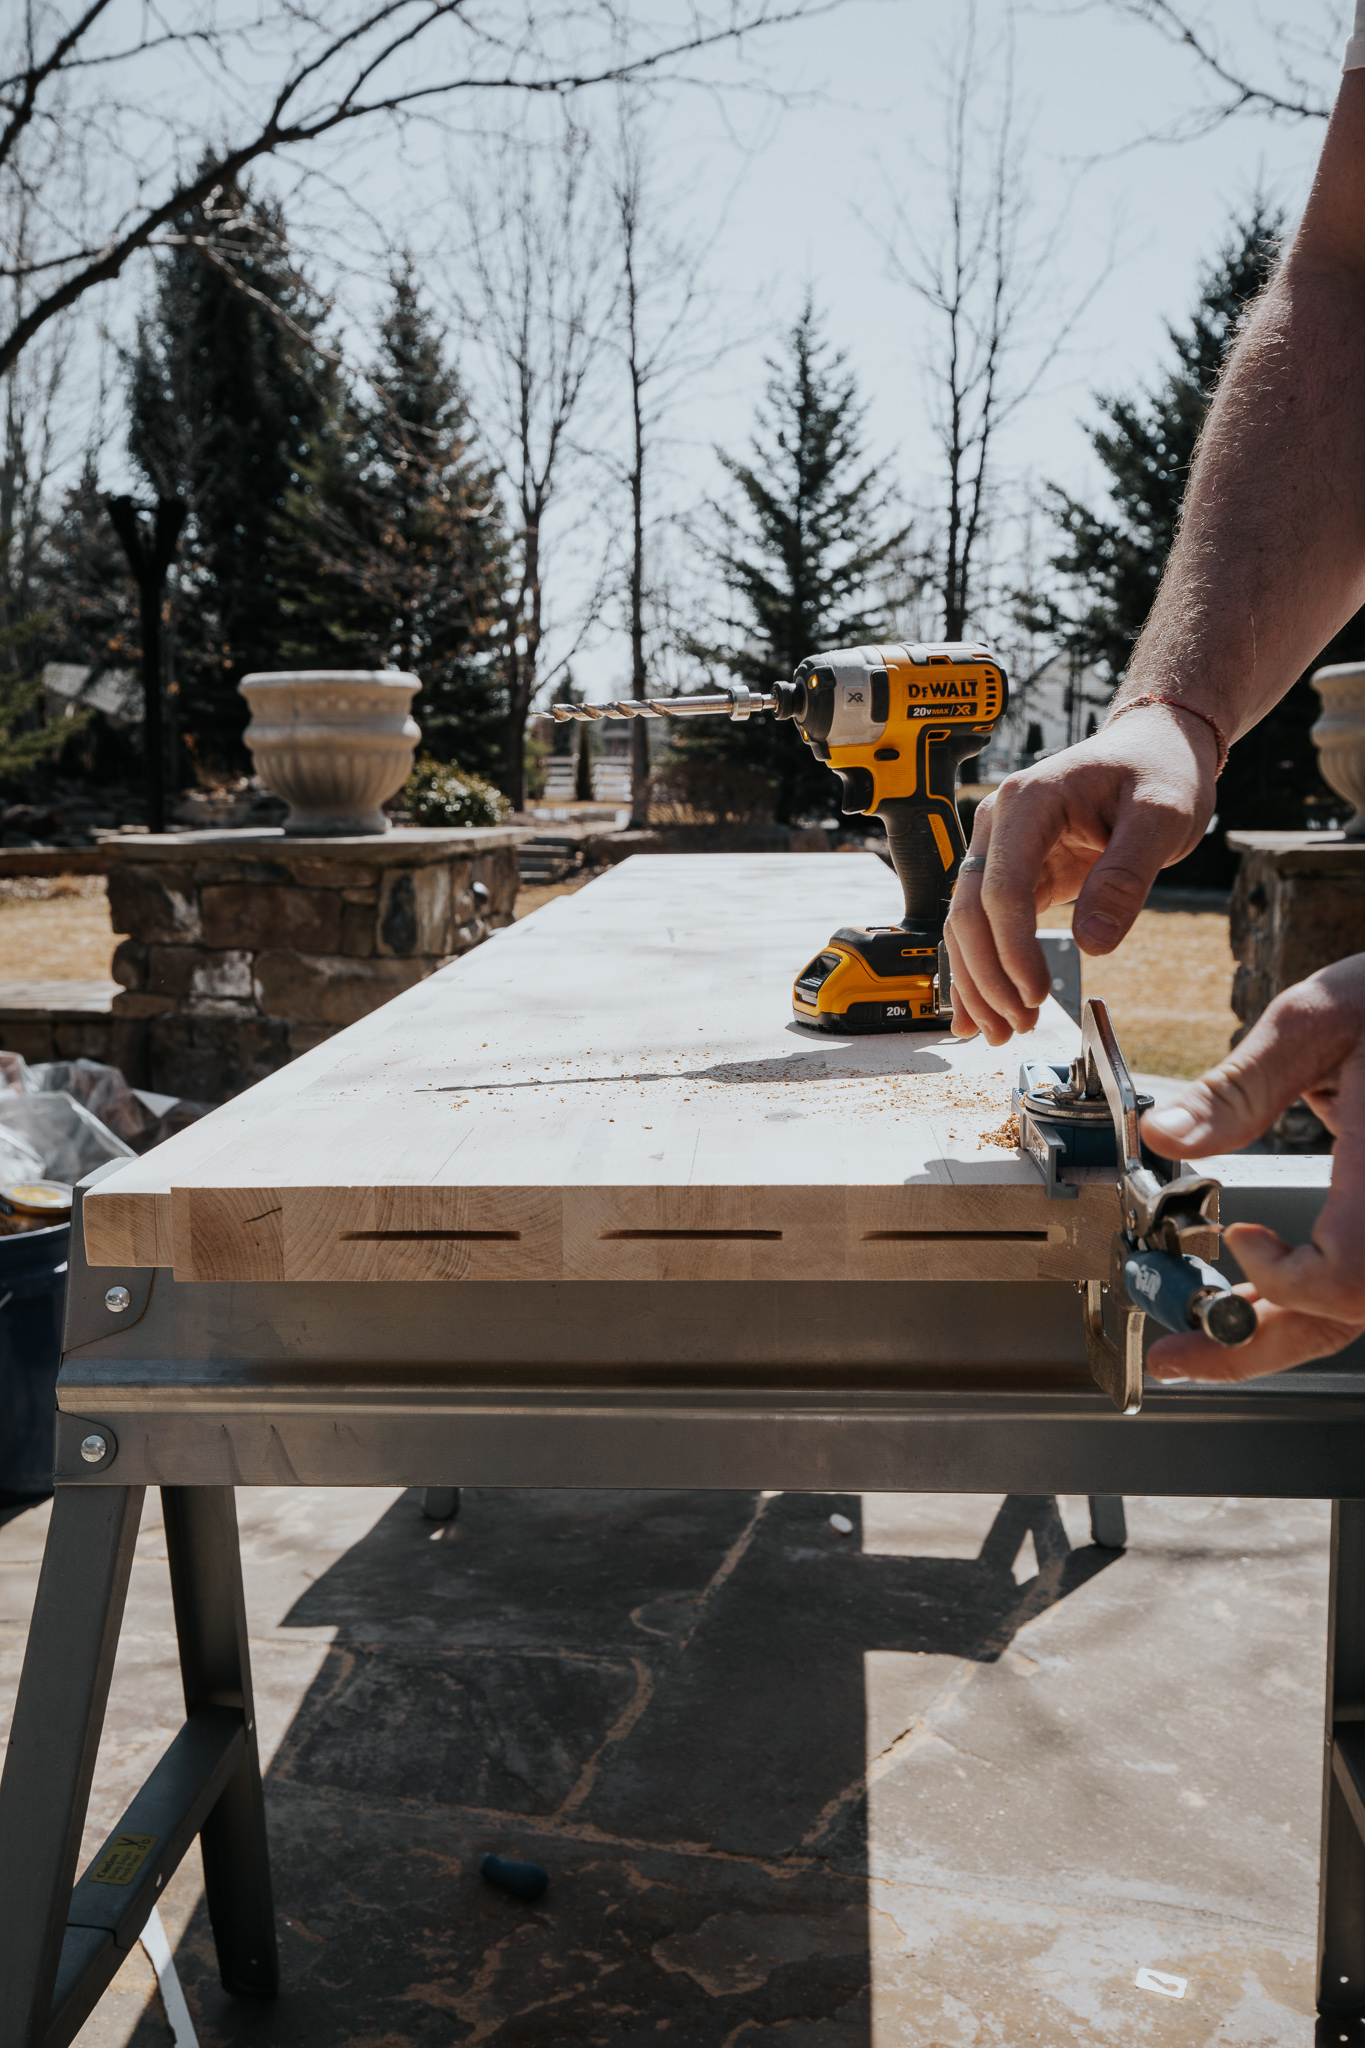
We then inserted wooden biscuits (football shaped wood pieces) into one side, along with wood glue, and push the pieces together to connect and line up.

Since butcher block is a living material and tends to “breathe” through the seasons (expand and contract), we also added pocket screws to keep the joint tight through every season.

When it came time to stain it, we thought it would be best to bring in a tone from elsewhere in the house and provincial is the same stain we just used on the vanities in our bathroom. So we thought–perfect! And it was…for the first 3 minutes and then it soaked in really weird and looked TERRIBLE! I panicked for a moment until I realized we had a similar problem with the countertop in the girls’ office and applying a layer of Simply White stain overtop of it really softened everything.

Worked again–like a charm! And now the fauxdenza coordinates really well with that countertop on the same floor so I feel like it was kind of meant to be.

We attached the countertop with screws from underneath (inside the cabinet), added 3 coats of matte Polycrylic to protect it (especially since we love to use this countertop to serve food!) and called it done.


The butcher block is thick and substantial and the color (although a little more gray than I was initially thinking) corresponds so well with the other tones in the room. We’re so happy with how this whole room came together…even if it took an entire year to get it done.
Sources
Wall Color: Alabaster by Sherwin Williams
Trim Color: Accessible Beige by Sherwin Williams
Doors: Pella
Floors (Dark: Neuro, Light: Magnifica Calacatta Oro)
Pendant Lights
Table
Chairs
End Chairs
Art
Faux Stems
Bowl
Sconces
Buffet Lamps
Fauxdenza (Butcher block, Provincial stain + Simply white stain + Matte Polycrylic)
Gold Knobs
Curtains
Ceiling Mount Curtain Rod


Hi Julia! Are the cabinet knobs unlacquered brass or aged brass? Thanks!
Unlacquered
wondering why did you change the art though??
love the space !!
The other art, the tapestry, is now hanging in Polly’s room!
Love the new top, it turned out beautiful and I do think it was a happy accident it ended up lighter instead of darker!
It looks so good!! I was so scared for you guys I was holding my breath when you were wiping it off. ❤️❤️❤️
It looks so beautiful! Could you please share what polycrylic product you used? I am working on a similar project that I need to be completely waterproof and I am having a hard time figuring out what to use.
I linked it!
Thank you so much!