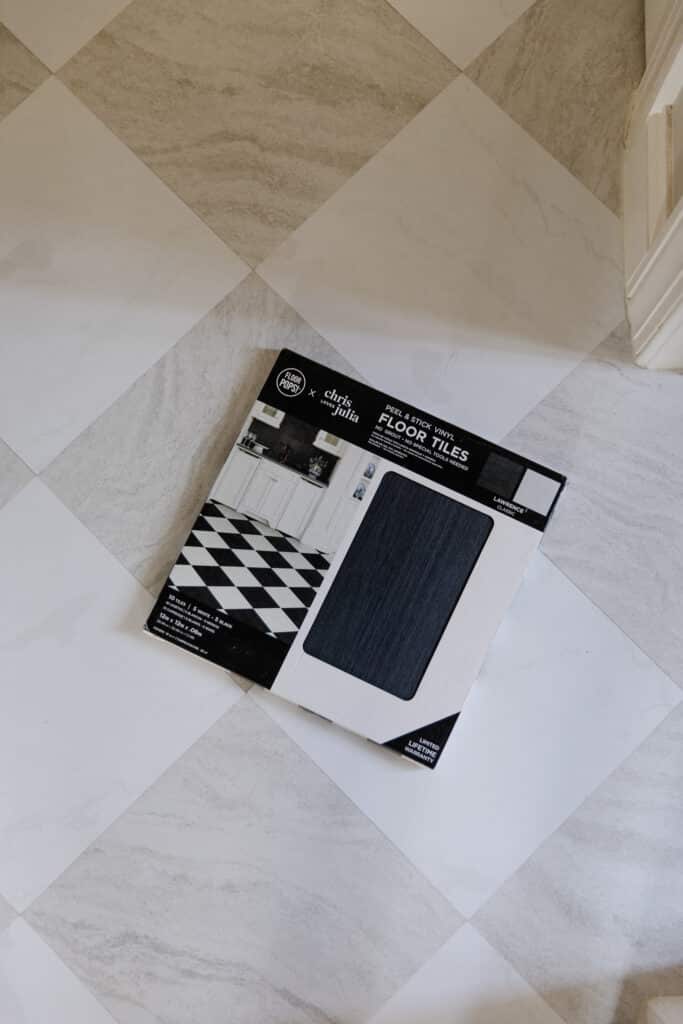
We picked up 46 square feet of these slate-looking peel and stick vinyl tile for both bathrooms and went to work Friday night.
You could grout the tiles to make them look even MORE real, but we were happy just laying them on the existing floor right next to each other.
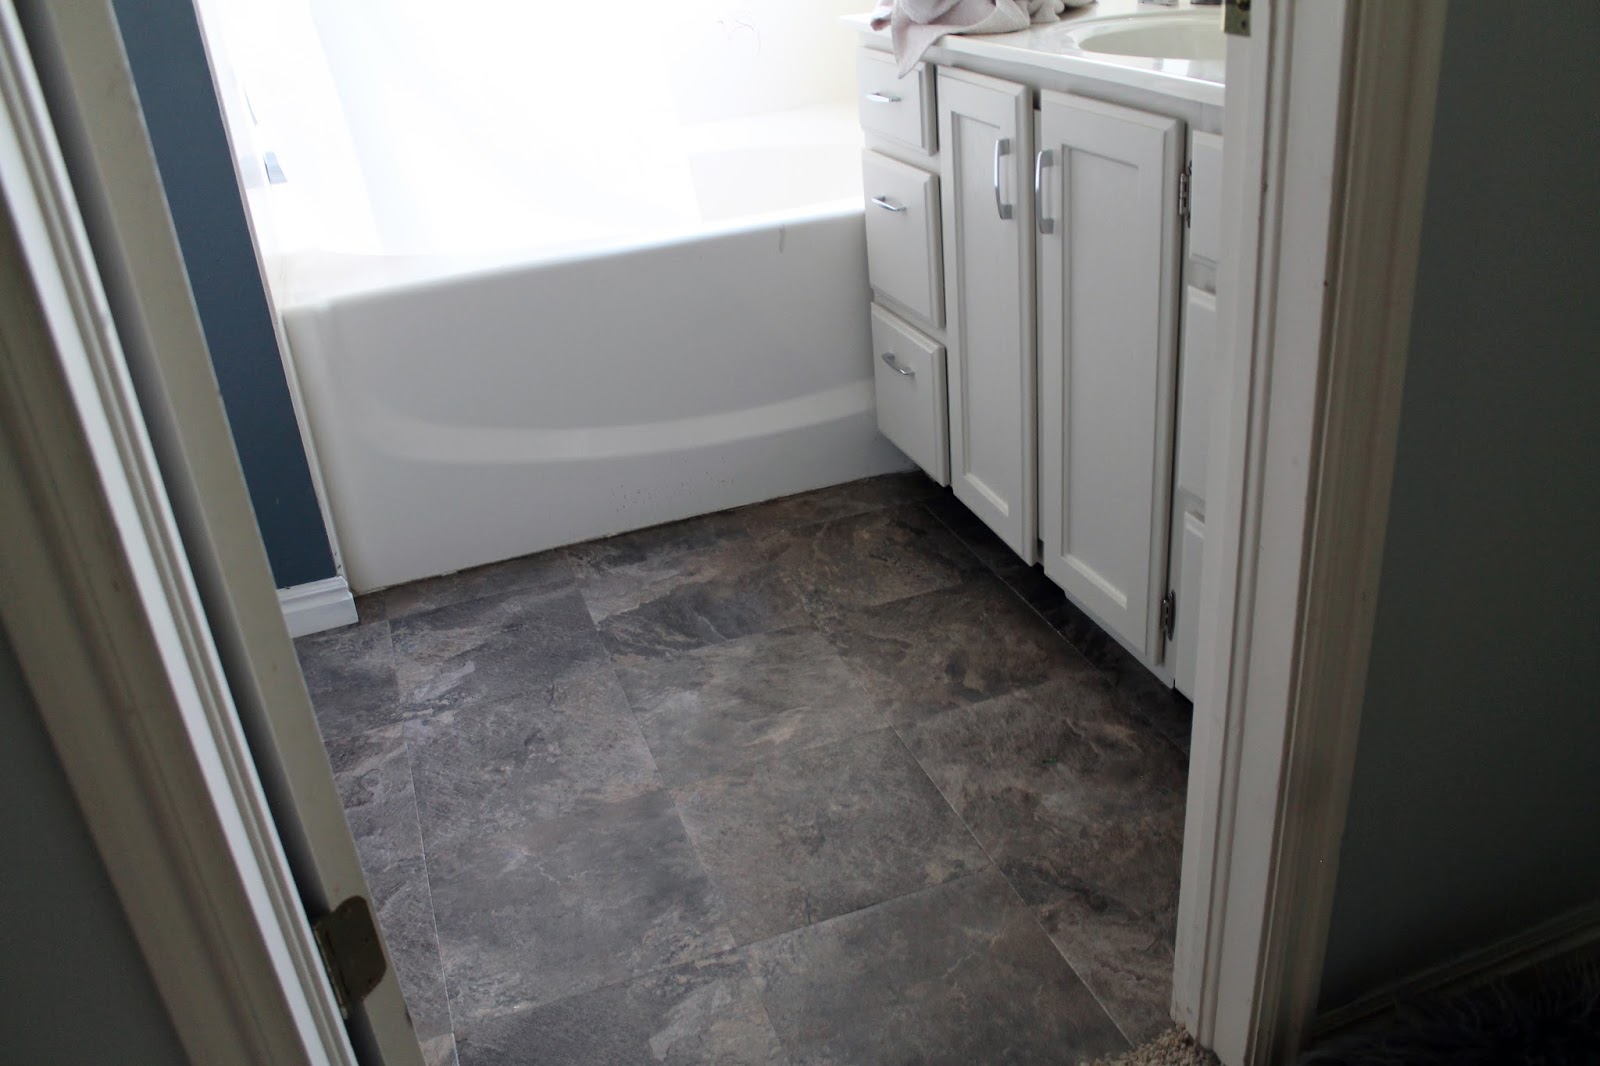
The difference is pretty great for just over $1 a square foot. We also did the other bathroom, but that’s where the “camera problems” creeped in. More later!
Our wood grain Shaker cabinet fronts were designed for busy, high-traffic homes like ours. Clad with durable textured thermofoils, this line is compatible with Sektion, Akurum, Godmorgon, and Besta cabinets from IKEA. It's the perfect, practical way to add the warmth of wood to all the rooms of your home.
We have teamed up with Loloi to create a line of rugs that are as affordable as they are beautiful. This collection houses a great mix of traditional and modern rugs, in cottage-y colorways, as well as vintage-inspired beauties that you’ll want to roll out in every room.
We partnered with Stuga on a line of hardwood floors — The Ingrid is really livable, and the color is very neutral. It doesn’t lean warm or cool, it’s that just right in-between. We have really loved putting it everywhere in our house. It’s the best jumping-off point for design, no matter your interior style. In addition to being beautiful, Ingrid is really durable — we have three kids, and we always have a home construction project going on. Ingrid stands up to it all.
SHop all
Looking for our favorite things? A place to shop our home room by room, or just catch up on what Julia's wearing / loving right now? Browse the CLJ shop.
Befores, afters, mood boards, plans, failures, wins. We’ve done a lot of projects, and they’re all here.
We have a long-standing relationship with DIY, and love rolling our sleeves up and making it happen.
Even when you don’t want to rip down a wall, you can make that space in your home better. Right now.
We recently painted our study a dark, moody green color. This is after we first painted it a muddy green, then repainted it a blue-gray. I guess what they say is true; third time’s a charm! The journey was worth it, though, because I’m so in love with this glossy green in contrast with the […]
We've been doing this since 2009 and we've posted a whopping 24145+ blog posts and counting. You might need a little help searching, huh?
Another way for us to stay in touch! Joining our weekly newsletter gives you access to exclusive content, never-before-seen photos, your questions answered, and our favorite DIYs. Sign up below!
Welcome to our online community where we've posted home, DIY, style, renovations, and family since '09. Renovating our #cljmoderncottage in Idaho and headed for new adventures in Raleigh, NC. #cljfam #cljtransformations
Links
Get Around
Make yourself right at home
Portfolio
Design
Casual Friday
Projects
Lifestyle
Gift Guides
All Posts
Shop
Whats the color of paint did u use?
Where did you get these tiles? I want to get some!
Thanks
Home Depot!
I’ve been thinking about using peel-and-stick tiles for our bathroom makeover, and you just sealed the deal! Your floor looks awesome! I love that you’ve been able to makeover your bathroom on such a small budget!
Looks good! WAY better than the old stuff!
We used these at a rental property. Easy and quick! And the finished look is really awesome. Yours look great!
Thanks, Kim!
This looks great!!! What a drastic improvement for such a small investment. Amazed! :) We’re considering the peel and stick tiles…would you share your process for installing? Particularly for how you placed the tiles around the toilet? Thanks! And good luck with the move!
In the hall bath (not shown), we actually had to replace the toilet, so the install went a lot faster–no cutting around a toilet, which is definitely the hardest part. In our bathroom, we did have to install the vinyl tiles around the toilet and we did our best to make a template out of paper first, and then we cut it smaller than it needed to be and continued to trim it down until it fit perfectly, checking after each adjustment. Not sure we have the best method, but it worked.
A serious improvement! Darkening up the floors makes the room look much more sophisticated (along with your other improvements, of course). I get the sense peel and stick tiles have come a long way from when I tested them out in a random basement nook of our first house nearly 10 years ago. Good luck with the potential buyers…
I’m totally amazed at how much better this bathroom looks…and you’ve spent like, what, $100ish bucks? Gah! I know it’s sort of sacrilegious to say this, but I almost wish our bathroom had vinyl instead of tile…this looks way easier than demo-ing 40 year-old mustard yellow tile.
Hope you get some good news!
Yeah–hardly any money at all. We’ll have to do a whole money breakdown soon.
Looks so so so good!!!!!