I know we’re already juggling so many projects right now but with my parents visiting and Chris’s parents visiting immediately after, we’ve been spending a bit of time in the guest house. Not doing anything crazy but the new bed arrived just a couple weeks ago and we are updating the windows. Seems like we’ve been painting our window sashes left and right these days, starting in the study, our bedroom, and the study again! I mentioned in our painting 101 post that we used a mask and peel technique for the windows and since we’re spending some time doing a little phase two in the guest house (phase one was painting the floors) I’m breaking down exactly how to do it. This is very much a different, and much simpler technique than how I painted the windows in our last kitchen.

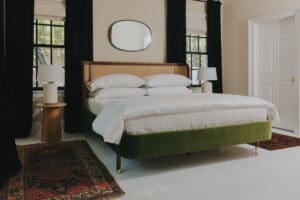
Bed | Art | Side Tables | Table Lamps | Rug
Here’s a little sneak of the bed that took 9 months to get here (high five to those who got the full look in love letter), along with a look at the windows before getting painted. There’s 4 windows in the guest house, all with these heavy shutters that make this already dark room even darker. So we took all the shutters down and I have some shades and curtains to hang. Here’s how we painted them black.
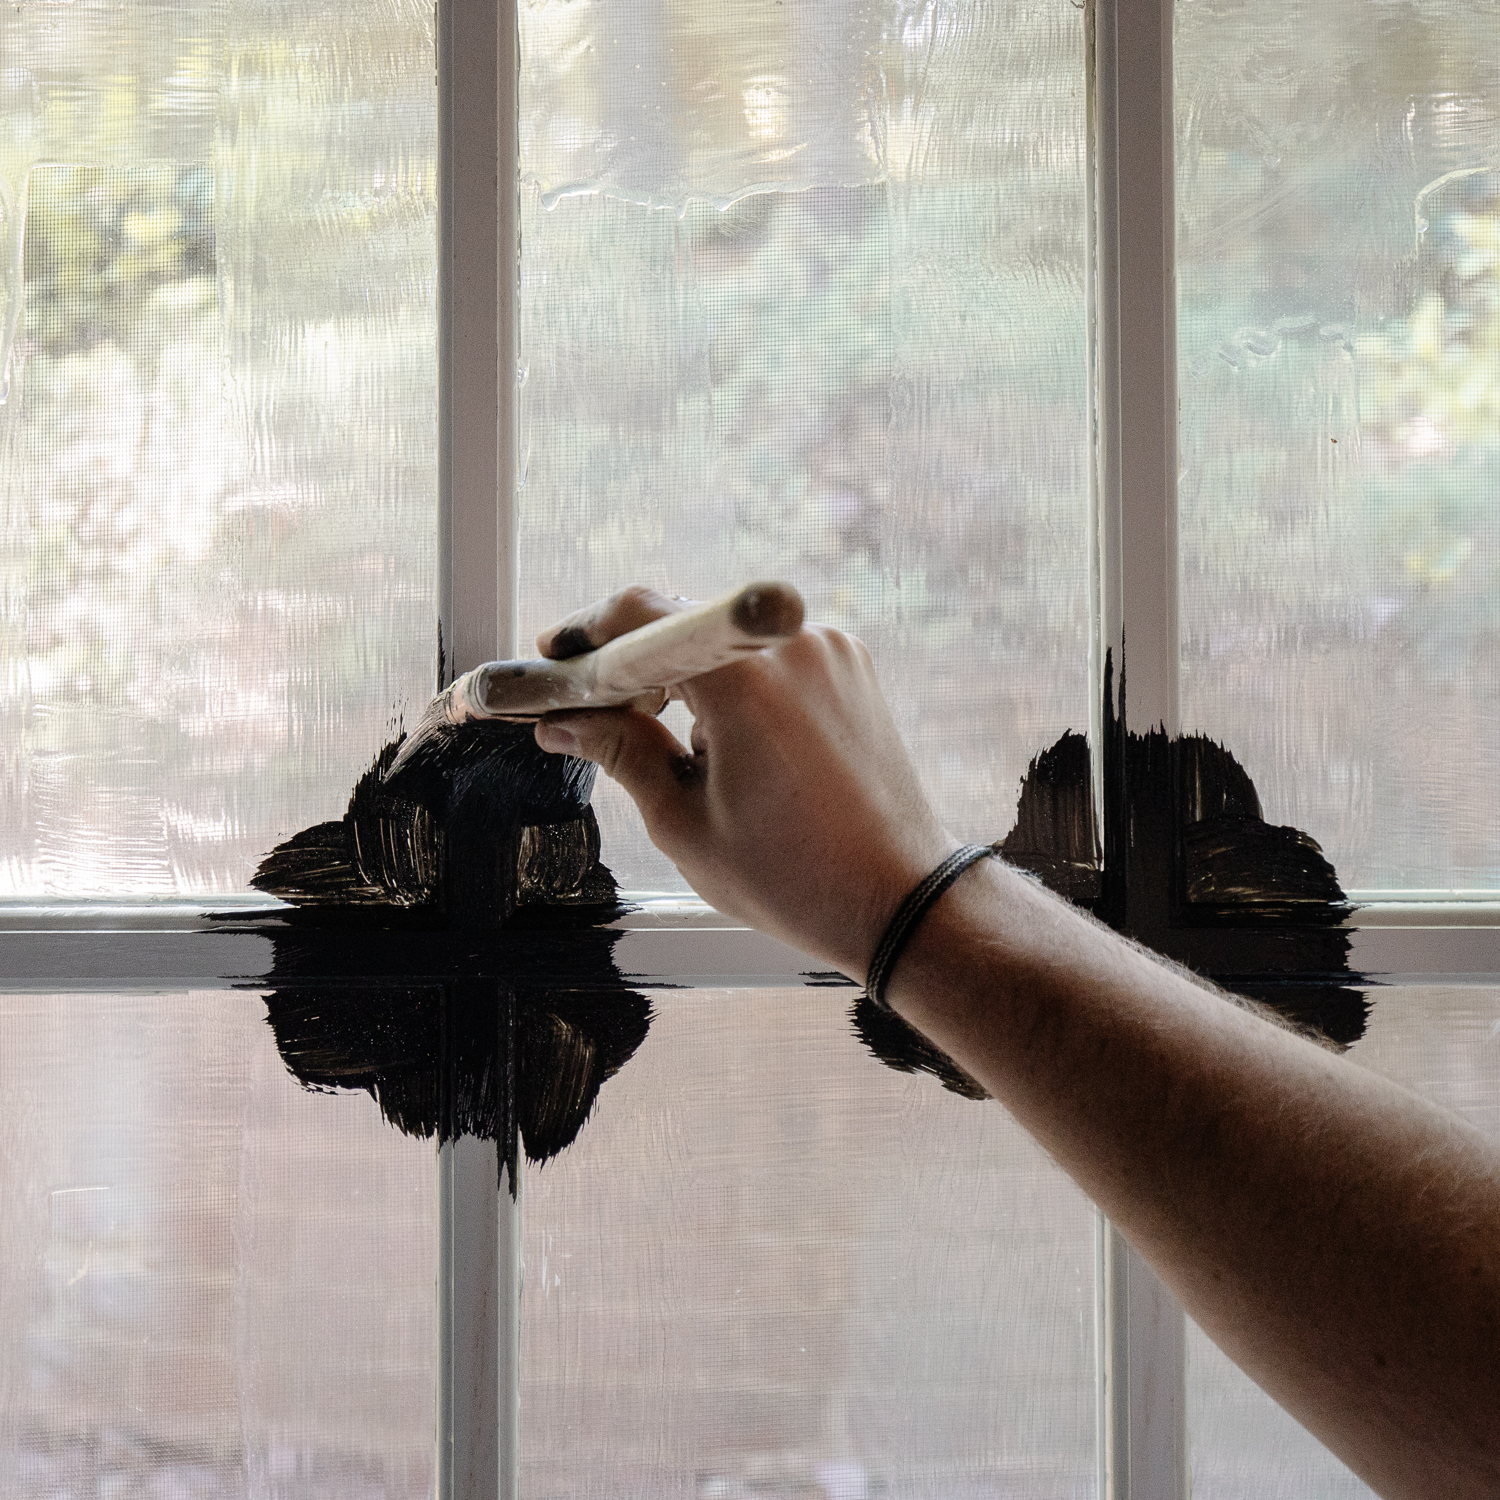
Apply the Mask and Peel

We painted it on pretty generously on the window and it’s okay if it gets on the grid but make sure it doesn’t leave any drips or globs because you will be painting over it. Here’s the brush we used!

The mask and peel is opaque when you apply but it becomes transparent as it dries. Once it’s fully dried it’s ready to be painted over!
Paint the Sashes
Now you can paint freely without worrying about getting paint on the glass! The color is Benjamin Moore Aura in semi-gloss (same as the black in our bedroom) and two coats did the trick.
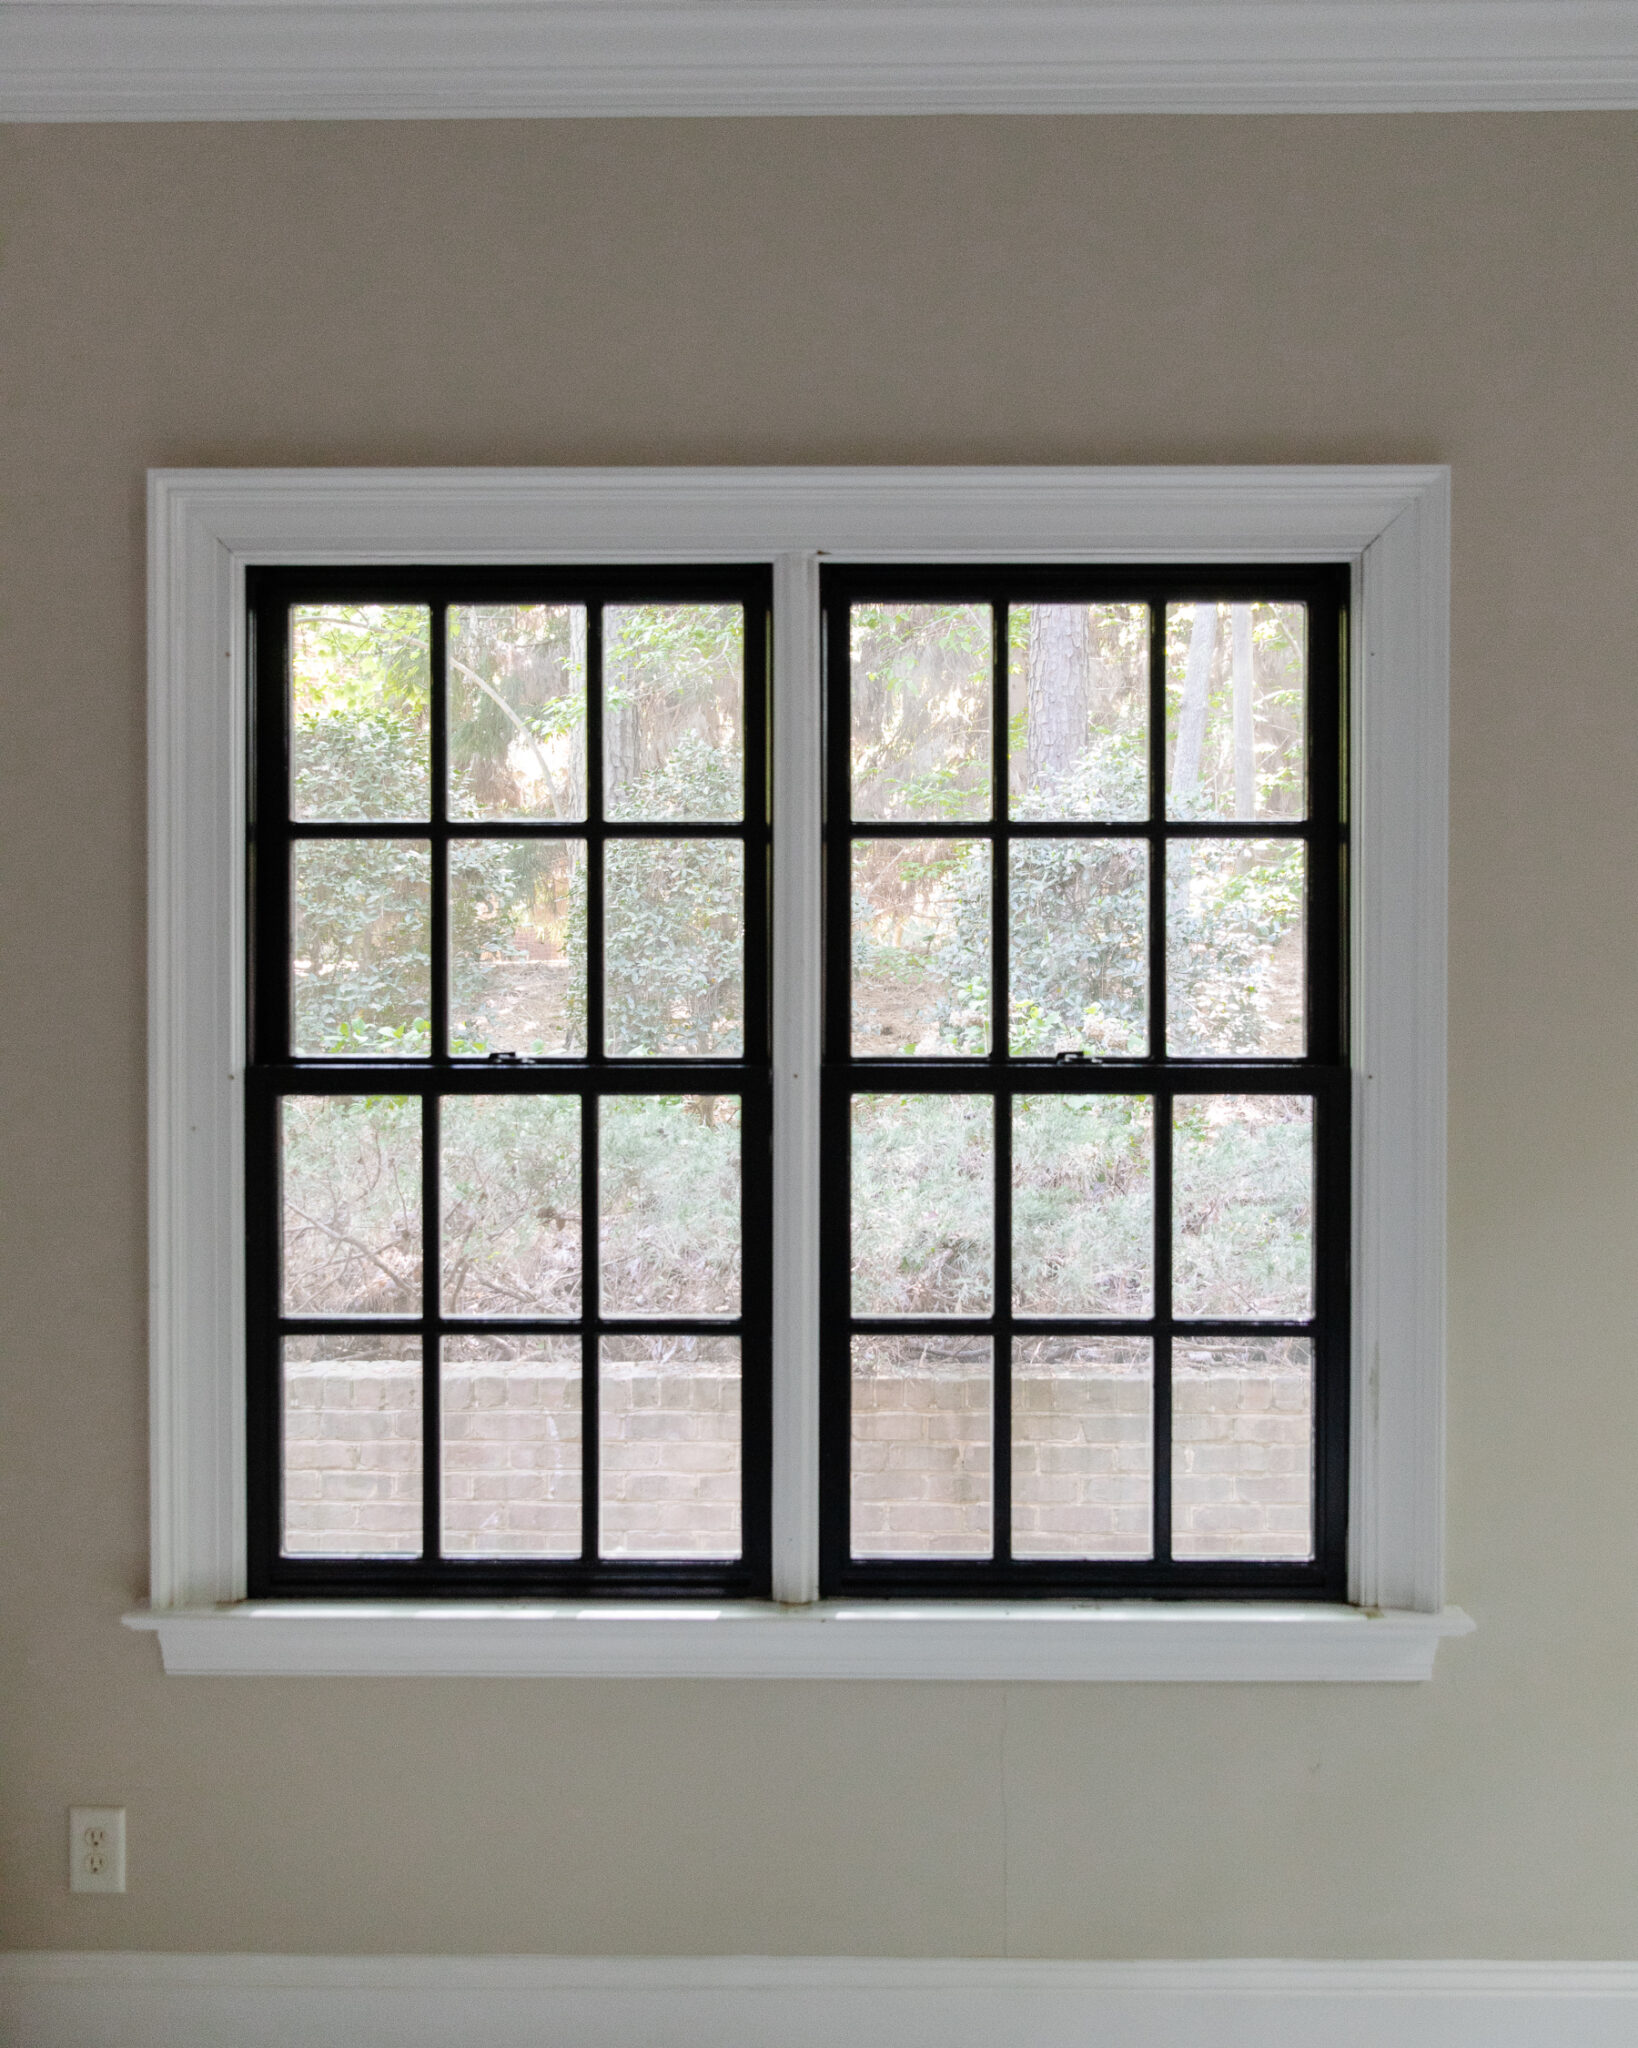
Break the Seal and Peel

Breaking the seal all around the edges with a razor blade is the key step once the paint has dried. Then you’re ready to peel which is actually the best part. So satisfying!

And you’re left with the cleanest lines and no sticky residue or anything. This product is definitely a game changer. For now we’re leaving the trim and walls unpainted but I did get some window treatments I’m really excited about! Coming soon!


I guess I didn’t use enjoy mask and peel in some spots so I have some thin residue left on the glass. Is there a more efficient (and less soul sucking) way to remove this over than chisel with exacto?
You have to apply it in thicker coats.
I have a shutter above my bed (I love fresh air). Consequently I cannot have lamps bedside that come above 39” with table. How are you closing those shutters with those tables and lamps?? Would seem thru have to be pulled too far forward to be useful?
This is why we took down the shutters!
Looks great, Julia – and I love that new bed, too!
We are local, and would be interested in the shutters. Will you be selling them? If so, we can double-check the dimensions. Thanks!
Would this work on a window that isn’t wood?? Our windows are a plastic-smooth material but I would love to paint them!
Apparently you can use this product on vinyl windows as well and it acts as a primer!
Just an fyi for potential followers reading this, if your window is exposed to water and has glazing putty holding the glass in, this technique isn’t a good idea! The seal that the paint forms where it touches glass actually helps waterproof your window and makes the glaze last longer; if you score and remove the extra paint, it removes your seal too! Totally fine for interior dry windows though, definitely a time saver there ☺️
I was just coming here to say that! The paint needs to lap over the glass 1/8 in!
This is such a useful heads up. Thank you!