Not long ago, I shared in Instagram stories some thoughts on how Chris and I plan for a project before we get started. The post garnered so many great comments and questions that I decided to expand on it for the blog.

Floor Lamp | Blue Velvet Couch | Mirror | Candlesticks
1. Identify the Project
If you’re at all like me, you have a long list of dream projects to tackle, so step one is to identify one! You’ll want to lay out the specific functional issues you’ll address through the project as well as the aesthetic goals and challenges. Also, ask yourself: Is this a temporary fix, phase one of many, or the ultimate long-term solution?

2. Contact the Contractor
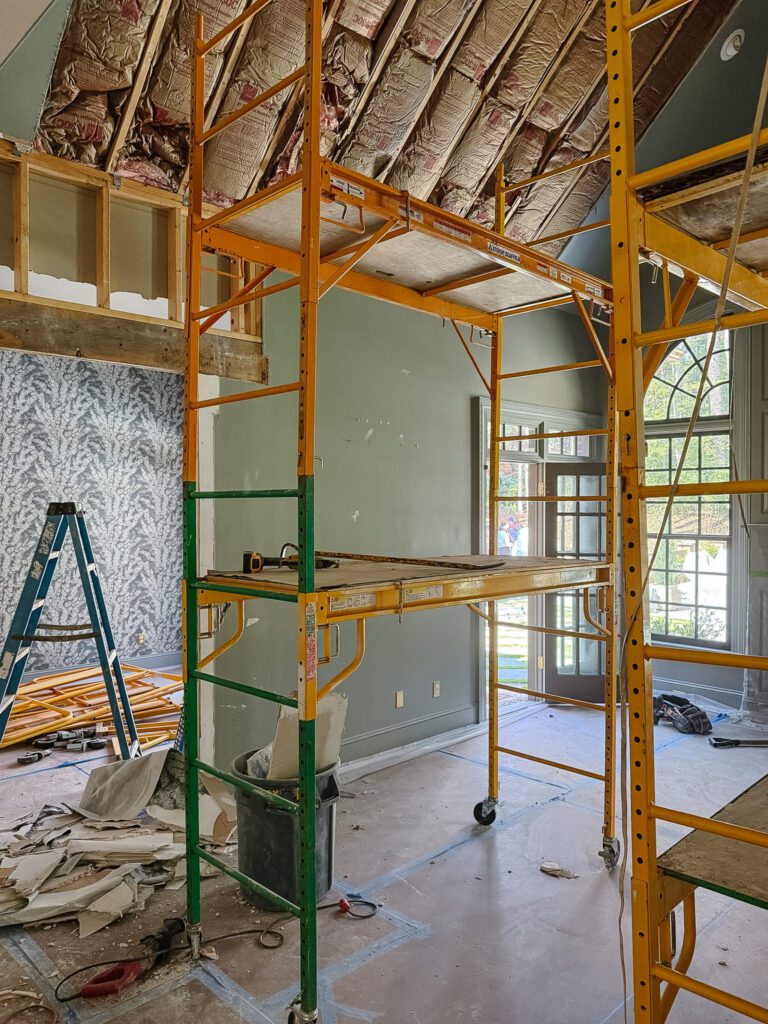
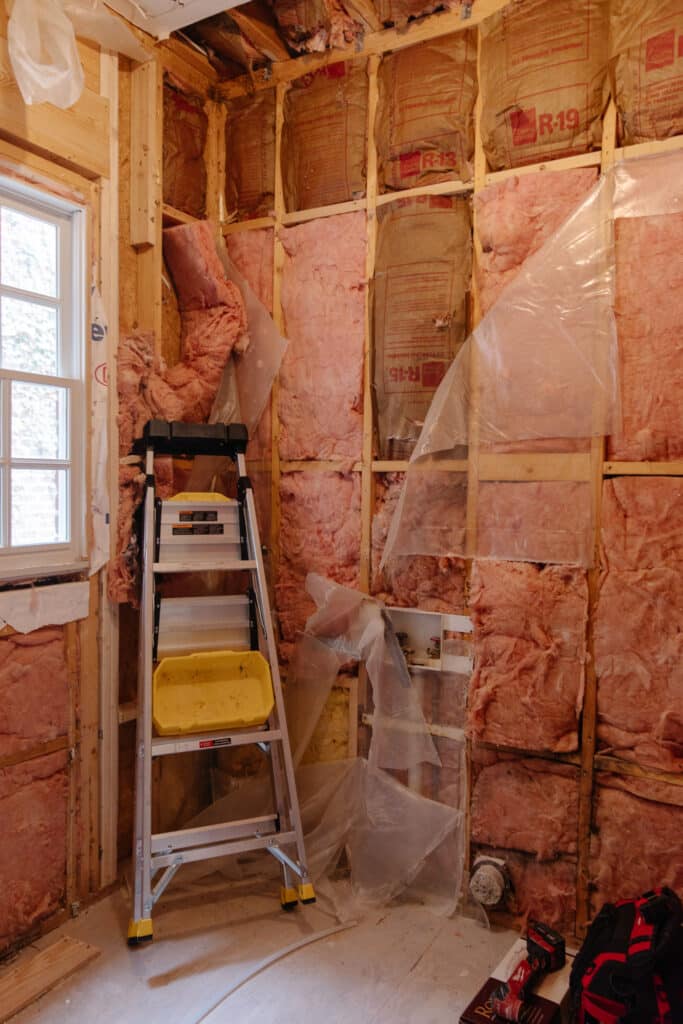
You might think these questions have obvious answers, but talking through them is very important — with your partner and with your contractor, too. That’s actually our project prep step two: Contact the contractor to get on their list. You don’t need a fully fleshed-out project to do so, and, in fact, waiting until that point could significantly delay your project launch. What’s more, developing a super detailed plan without input from the on-site expert who will be carrying it out could lead to disappointment and time lost conceiving of an impossible-to-pull-off project.

3. Find Inspiration
Now the fun begins. Step three is to find inspiration! Tear out magazine photos (pro tip: scan them with the CamScanner app so you’ll have digital copies of everything), save Instagram posts and pin away on Pinterest. (Here’s how I use Pinterest and Instagram to find design inspo.) Look for themes and through lines and reflect on how these concepts fit with your dream home as a whole.

4. Set Your Budget
Step four is to set your budget. I’m, of course, talking about a detailed financial budget to provide the ultimate decision-making guidance. But just as important, and too often overlooked, is coming up with a time budget. Both need to be realistic and have some wiggle room for unanticipated curveballs, but completing them should inspire you to feel like you’ve got this. (Here’s how we plan financially for every project.)

5. Draw It Out
Step five is to draw your layout and elevations. (We use Notability on the iPad — it’s so much fun!) Beware that playing around with real dimensions might send you back to the inspiration phase. That’s totally to be expected and perfectly okay.

Globe Chandelier | Brass Picture Light | Mural | Floor Lamp | Desk | Desk Chair | Armchair | Pedestal Table
6. Make a Mood Board
Next up is the phase I could actually stop time and sink into forever. Step six: Make a mood board! This step comes in when you’re well equipped to picture what specific item will truly fit where. With your budget laid out and your layout in mind, mock up that mood board and edit away. It’s really helpful to see everything together, and this is usually the stage where I see what’s missing. Sometimes it’s that special piece that just ties it all together. (I use Canva to make mood boards.)

7. Meet with Your Contractor and 8. Order Everything
Step seven? Meet with your contractors to talk through and tweak your plans to make sure everyone is on the same page. Then, you’re ready for step eight: Order your stuff. Sometimes, this is the stage when the project timeline gets expanded because of lead time on furniture or appliances. Keep everyone in the loop, and follow up with your retailers. I keep my order numbers handy and try to get someone on the phone if the delivery date gets pushed out.
Once you have the final list of ingredients and have everything ordered — and yes, I mean every single thing — your project is ready for launch, and you have put it, and yourself, in the best possible position to succeed.


Hi! Here are some of our favorite tools to create mood boards.
We have a whole post about that here!
Are those elevations in the photo drawings you did with Notability? I use procreate but that looks way more professional.
Yes they are!