A while back, I shared in this post that I wanted to add planking to the entire bonus room (or family room), wall-to-wall-to-ceiling. We’ve added planking many times before, but to never an entire room. The bonus room is where we’re finding ourselves hanging out together as a family. We love to pile in on our Charly sectional and just hang out, so I wanted to take the time to do something really bold and special in this space. Chris is taking over today to share all the details of this how-to. —Julia
P.S. We’ve done a tutorial on how to add planking to a ceiling before but never an entire room!
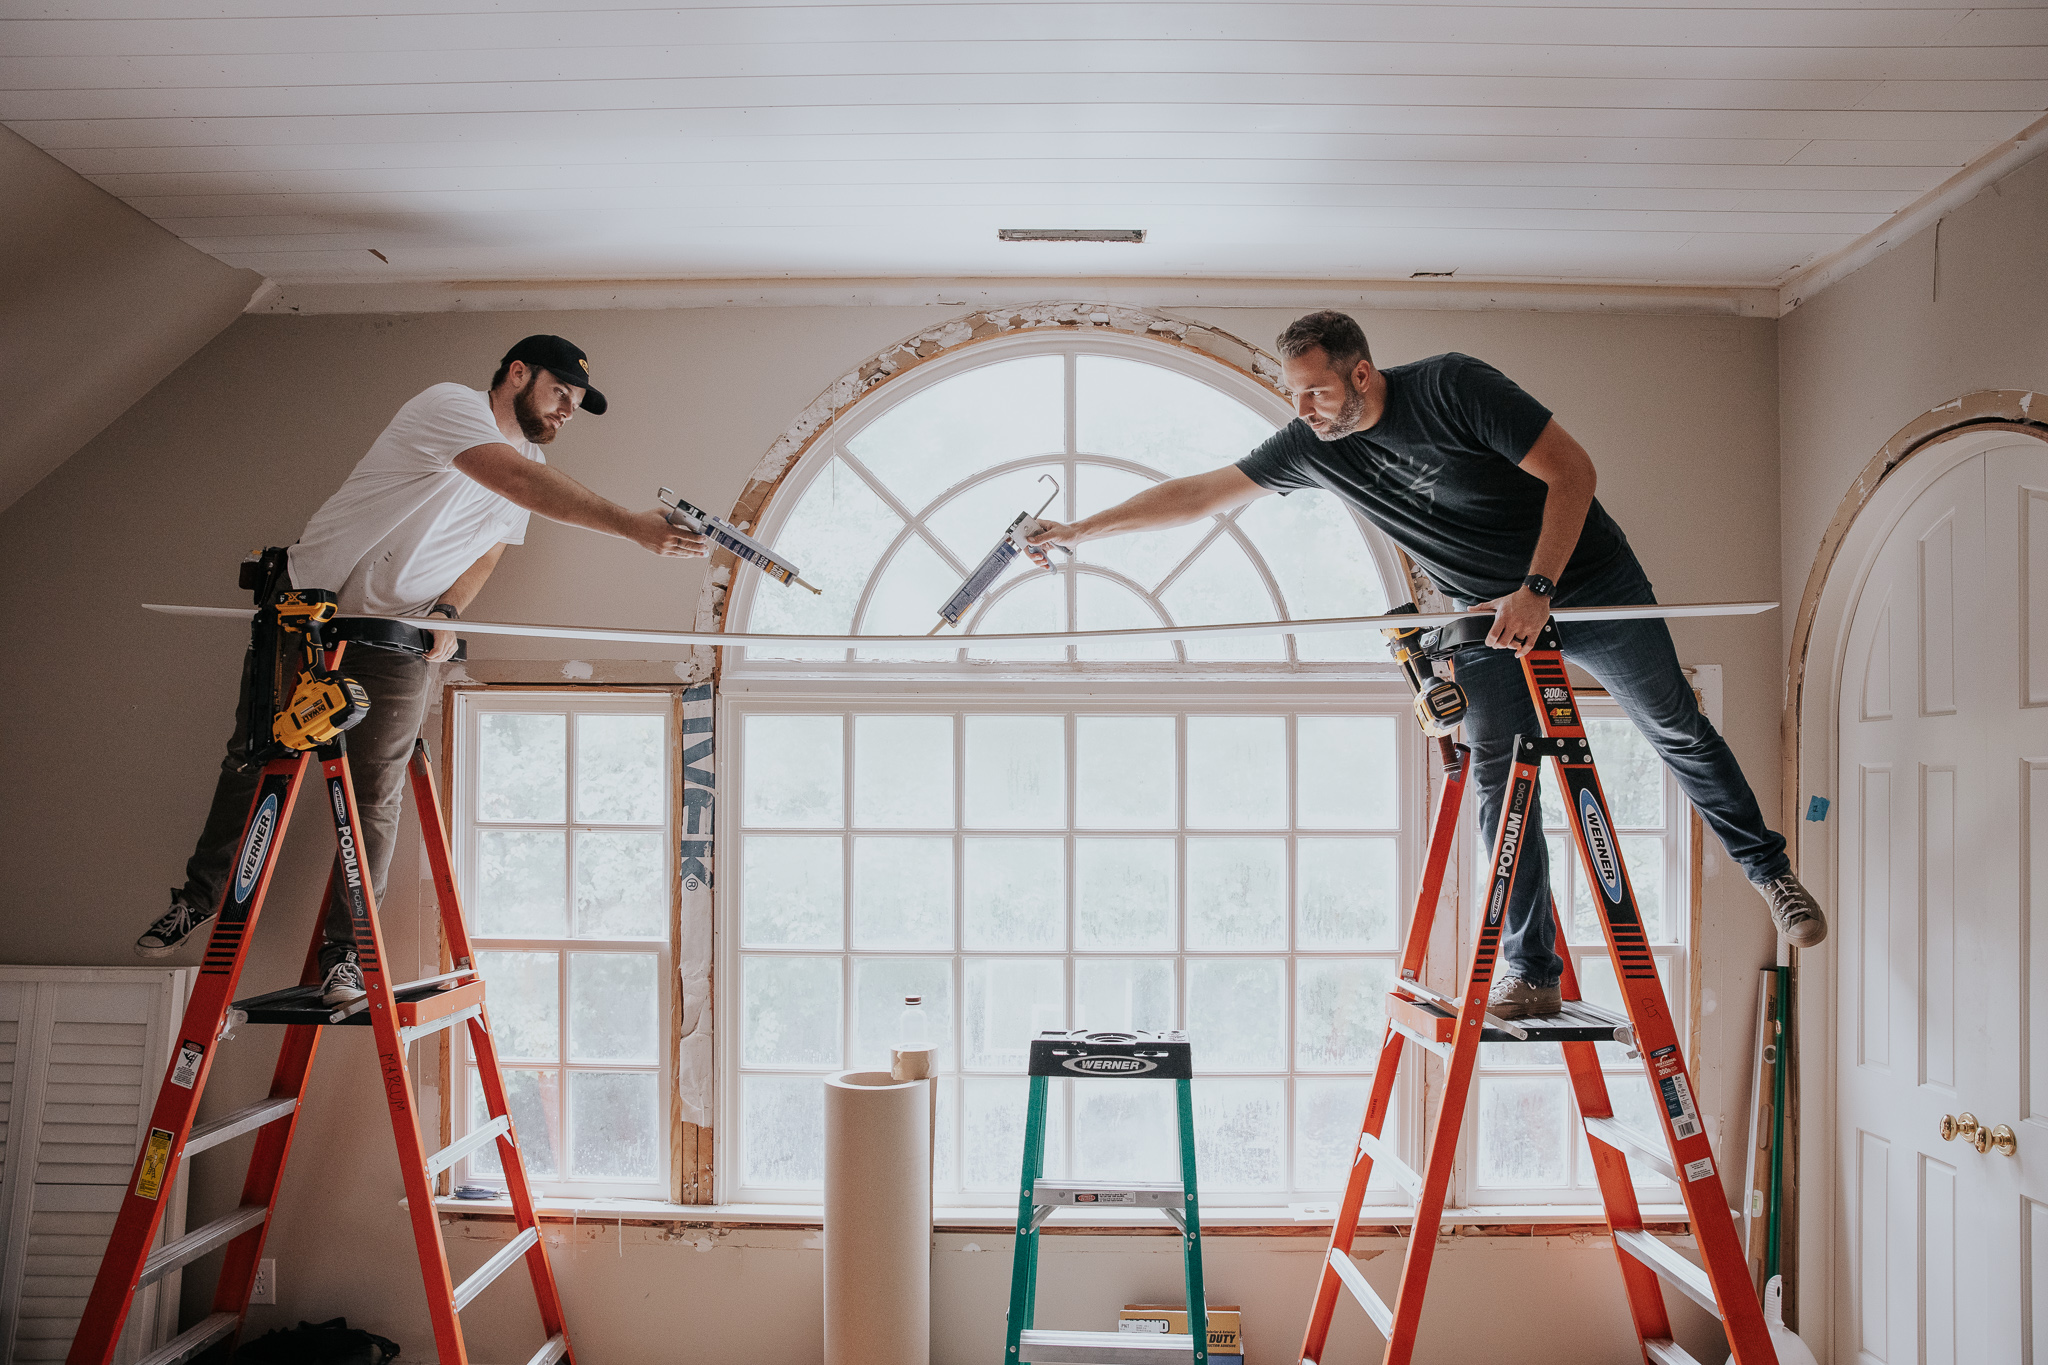
If you’re adding planking to a bigger room, you might need an extra set of hands. Otherwise, this is a pretty simple project. However, with all the different angles we have going on in the bonus room, this is taking more time than most rooms would, so take the timing on this with a grain of salt.
Materials Used For This Project
- 12′ painted paneling MDF
- 8′ painted paneling MDF
- Liquid Nails
- Brad Nails
- Bondo wood filler
- Wood filler
- Paintable Caulk
Tools Used For This Project
Plan For Your Room

Every room is going to be different, and you should plan accordingly. Measure your walls and ceilings to determine how long your longest plank needs to be. We are using the 12′ boards for the ceiling, and walls, and the 8′ boards are for the window nook area. Don’t worry if your ceiling is wider than the longest plank available — you can stagger your seams, fill with bondo, and paint for a really polished look. Once you have all the materials, it’s time to find the center of the room. Just like any tiling job, when installing planks you always start in the center and work your way out. This is simply to keep things symmetrical.
Measure and Cut Your Boards


Cut all of the planks you’ll need for the ceiling and the walls at once. This will streamline the process, ensure you have all of the inventory you need, and keep things looking polished and consistent. If your planks are not long enough, make a plan to stagger your steams (more on that in a minute). Then, cut accordingly.
Install the Planking

Starting in the center of the room and working your way out, apply liquid nails to the back of your board, and secure with a nail gun. If the direction you choose for your planking runs perpendicular to your ceiling joists, happy day! Simple run a chalk line along each joist, and pop a brad nail into each board right on the joists. Glue is optional in this case, but usually a good idea as it keeps the boards from potentially loosening.


Here’s a close-up of how we staggered the seams (below). These seams will get caulked and painted over, but it’s a good idea to stagger them to camouflage any detectable line. You can also see that where the planks meet, the corner isn’t perfect. The good news is if you’re adding crown moulding, you can be more casual with your cuts since they’ll be hidden beneath.

Cut Out Lights and Vents out of Planking

In our case, we only had to cut out ceiling vents because we knew the electrician was going to cut out locations for new lights. You can be casual with the cut-out, since the vent cover will cover it.

Fill Nail Holes and Caulk
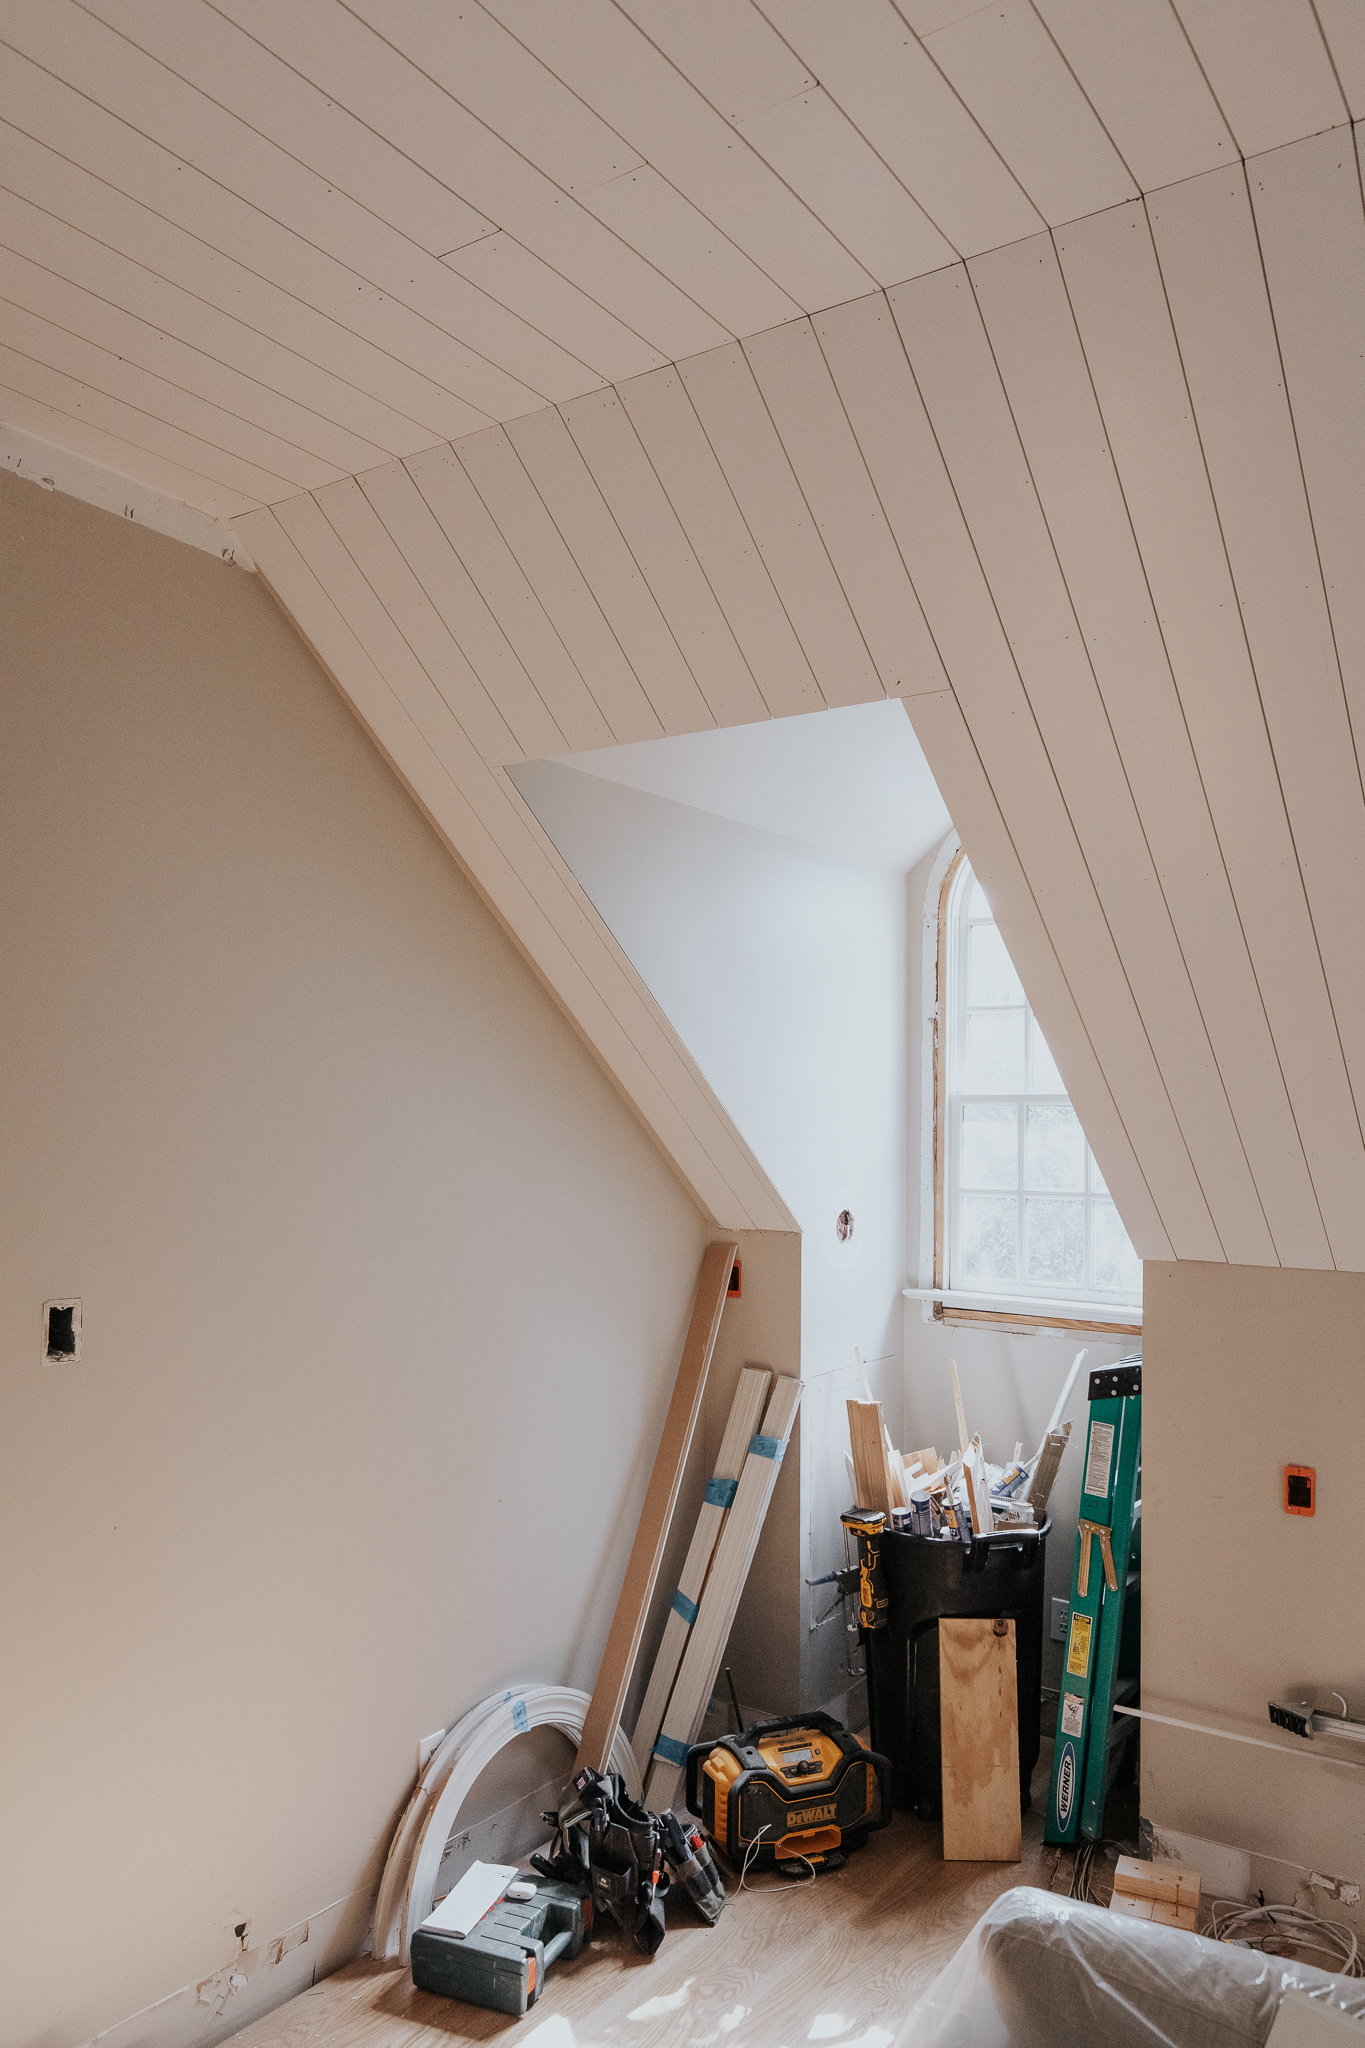
It’s worth mentioning that we have a lot of angles happening in this room, and we mitered the joints here because it’s not going to be covered with crown. It takes some time to get the cuts and measurements exactly right, but it’s worth it for a clean joint.
Once all your paneling is installed, it’s time to fill all the holes with some wood filler. For the seams, we’re actually using Bondo to make them essentially invisible. That stuff doesn’t shrink overtime. After the crown and baseboards are in, we’re going to caulk the heck out of this room. Caulking is really the extra step that will make this room feel flawless. Then it’s time for paint!

And now you’re ready to do it yourself! We’re really excited to get this project finished so we can show you the final result. Recessed lighting was just put in last week, and before we know it we’ll be ready for family movie night!
*See the completed Bonus Room here!
All the Times We’ve Added Planking
Adding Planking and Crown to Our Closet Ceiling


Looks amazing! Could you tell me the width of the planks you chose here? Thanks!
They’re 5 1/4-in wide.
This is beautiful. Id like to do this to my bedroom that has existing crown molding. Would you remove the molding before adding the mdf boards and then reapply the molding?
Yes I would!
Do you recommend installing/fixing old recess lighting before planking the ceiling?
If they will be staying in the same place, yes!
From these photos, did you missed a chance to better position the planking on the ceiling? Will it bother you that the ceiling planks line up differently on each corner of the two windows flanking the TV? Or is there no way to make the planking hit the corners more evenly?
We centered the paneling on the ceiling so it will be aligned with the room as a whole.
So on all those edges you miter instead of using corner molding? Are the edges , like into the window wall, clean, do you use Bondo there or what? Could you post further about that. Thank you. You guys are awesome.
There will be a small gap and depending how big, we will caulk or use Bondo.