
This project and post is sponsored by Lowe’s Home Improvement.
A couple months ago, we filmed a series of simple bathroom how-to videos for Lowe’s Home Improvement (how to tile a floor, how to install a tub insert and surround, how to swap out a vanity, and how to hang a mirror and lighting) and today is the day we can finally show off the finished bathroom! It’s the DIY-est bathroom we’ve ever done and we renovated the entire thing on camera over a one week period! We’re so happy with how it turned out, on such a tight budget too!
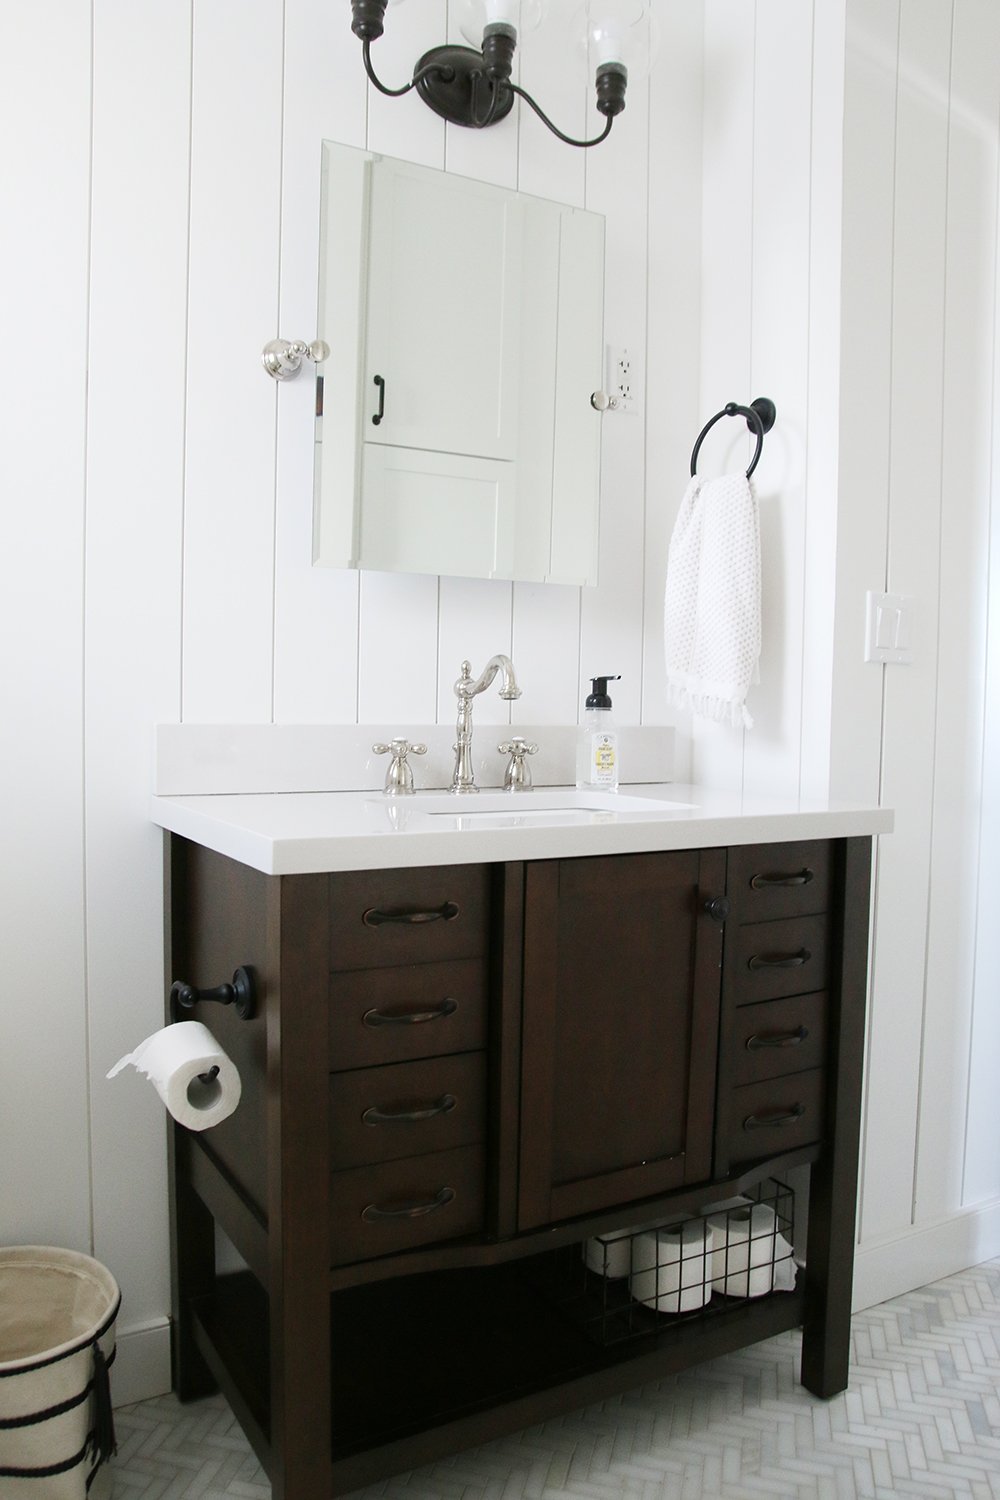
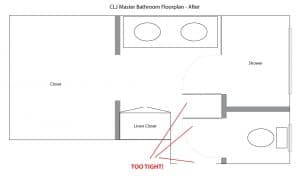
Here’s the same angle before:

I’ll give you a second to scroll up and down a few times because I can almost not believe it and I was there! The bathroom was a small space, just under 6’x9′, but it felt smaller for a few reasons:
1. An oversized vanity
2. Obtrusive storage above the toilet
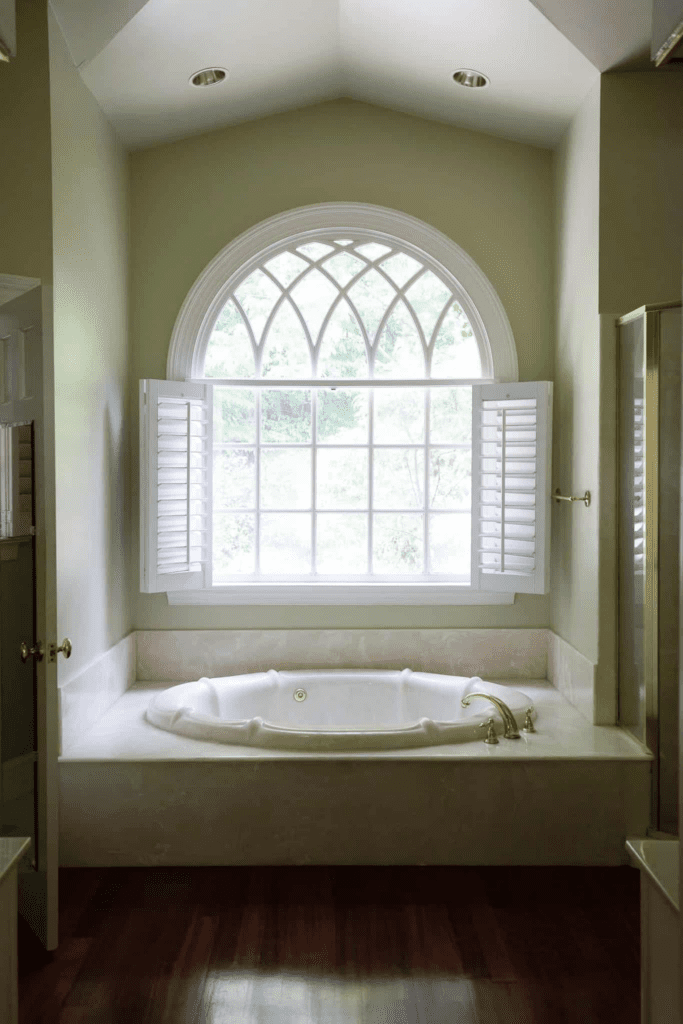
3. A curved header enclosing the shower (making it too small to actually stand in and use–really, the shower hit just under their chest)
4. Too many mixed materials on the wall. Do you see where the old shower surround hits the edge of the window? It slices the room even more making it appear smaller. The tile on the walls going 2/3 up wasn’t extending the height either.
5. A big, elongated toilet.
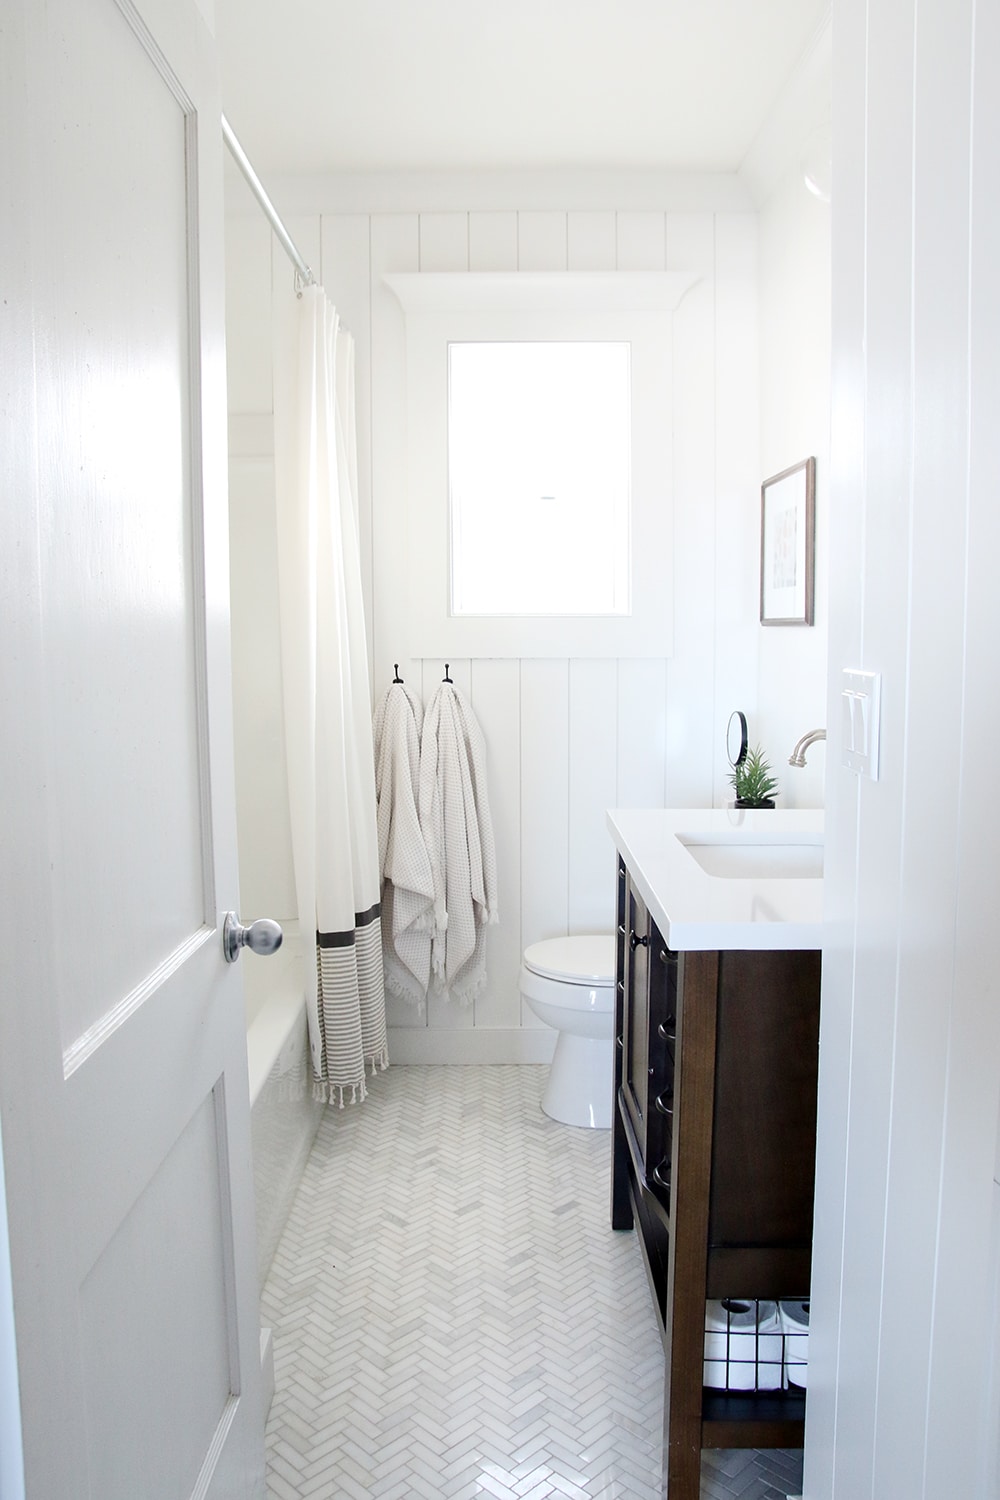
We addressed all of these things, maximizing the space while still making sure there was enough storage and all the function.
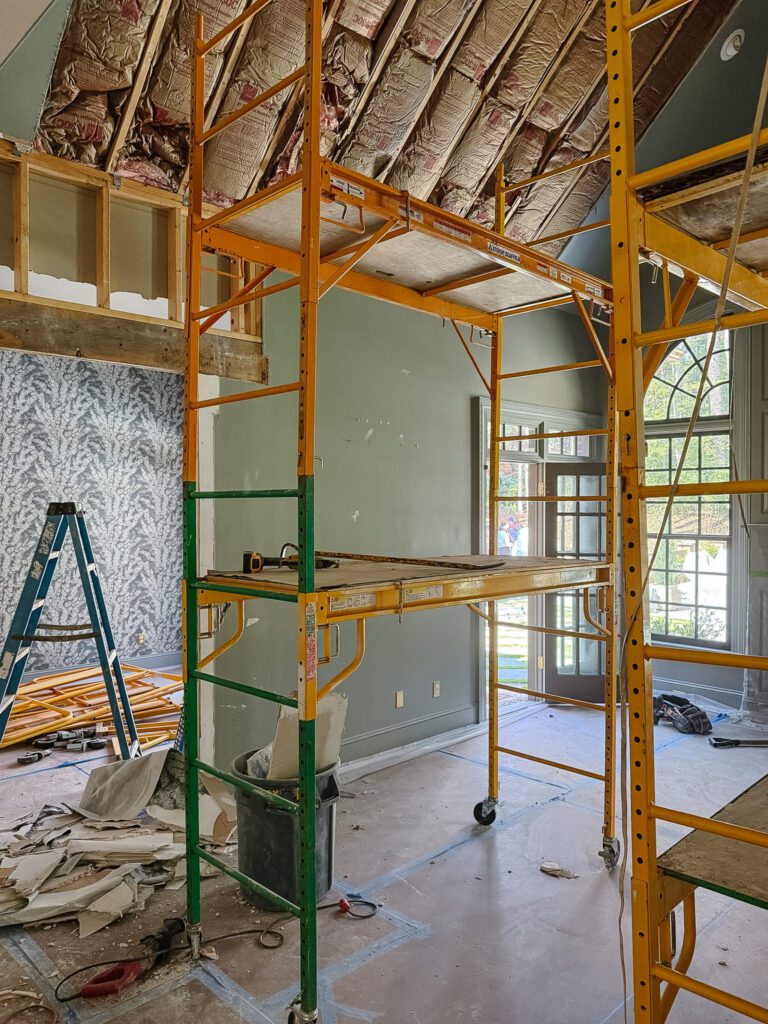
Here’s another angle from the before that really illustrates how tight the bathroom was to begin with (and how many different kinds of bulbs exist in the world):

Here’s that same angle now:

(Psst. We posted about the pre-painted vertical shiplap we hung on the walls right here.) By getting rid of the over-the-toilet cabinet and getting a toilet and vanity with a smaller footprint, the space can breathe! I know what you’re thinking–but what about all that storage you lost with that wall cabinet?
We doubled it! Behind the bathroom door, there was a bare wall that had a very deep hall closet behind it, but served no function to the actual bathroom.

We borrowed from the hall closet and added a recessed cabinet in the bathroom, using an in-stock pantry cabinet from Lowe’s! It’s one of my favorite features in the whole bathroom because it added so much to the space and it looks amazing, too. Like it should have always been there!


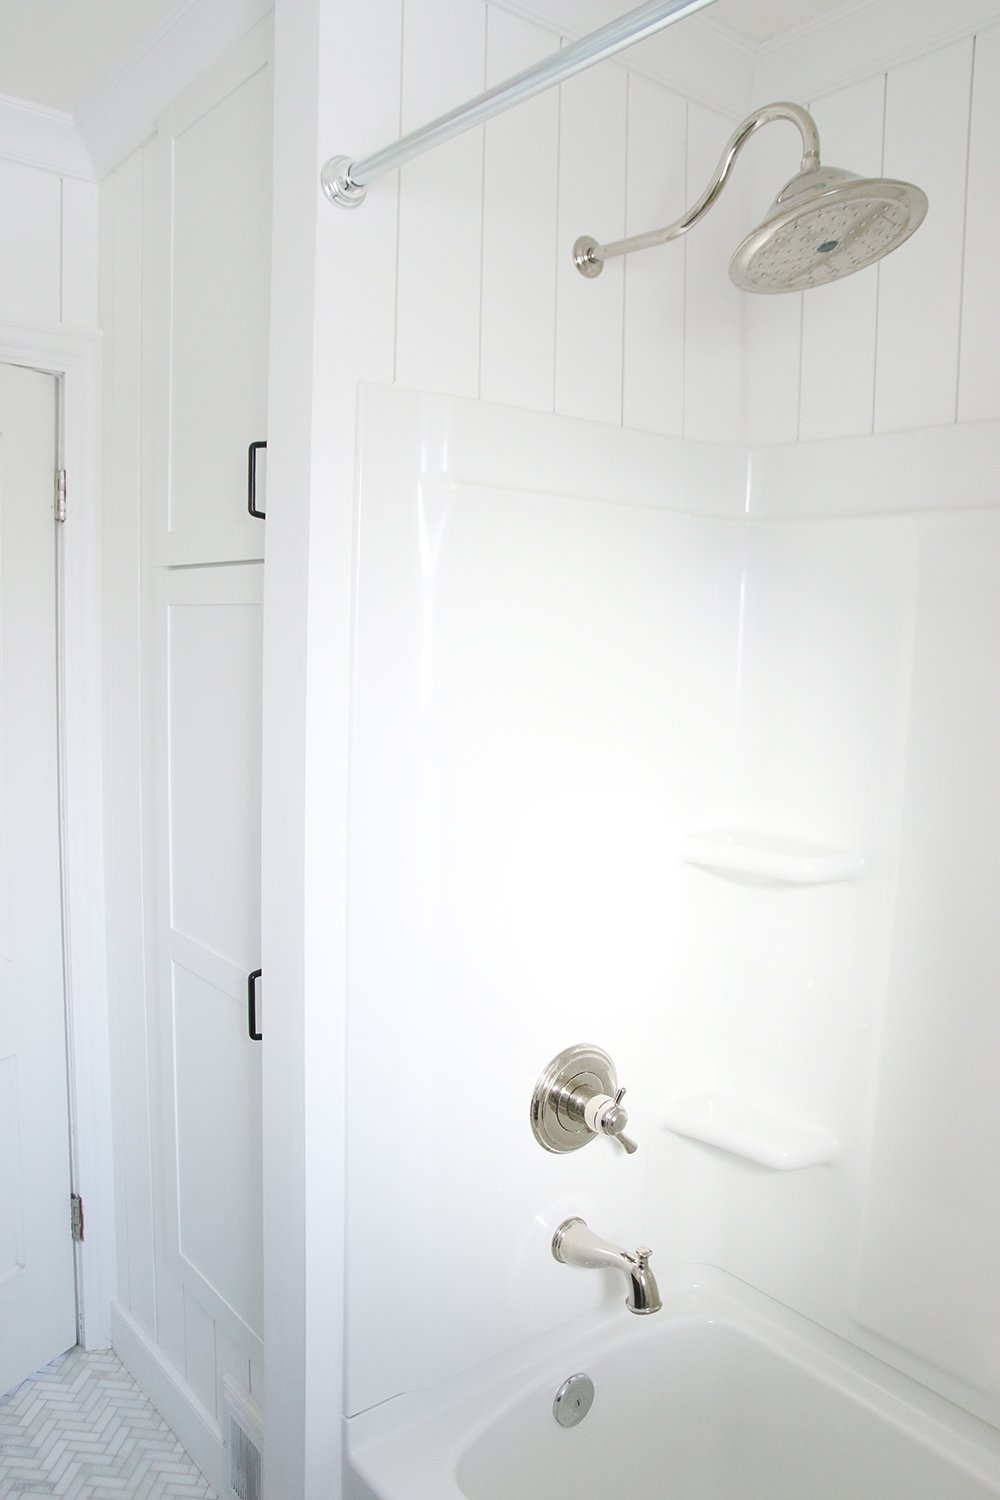
One of the things Lowe’s really wanted us to show in this bathroom was how to install a tub and surround. It’s such an easy DIY and a quick way to update your bathroom on the cheap–only taking a couple hours! While most designers don’t include a surround in bathroom designs and opt for a fully tiled shower instead, the vast majority of every day Americans have them!–so we took it as a challenge to not only incorporate one, but to make it shine with the design. Continuing the vertical paneling all the way around really makes the whole thing work.
In this small of a bathroom, stopping the vertical paneling where the shower/tub is would have been a mistake. Vertical paneling meeting individuals tile would have been busy. The surround allows the whole bathroom to flow while keeping the wet area water safe.

Here’s the before and after of the left side of the bathroom:
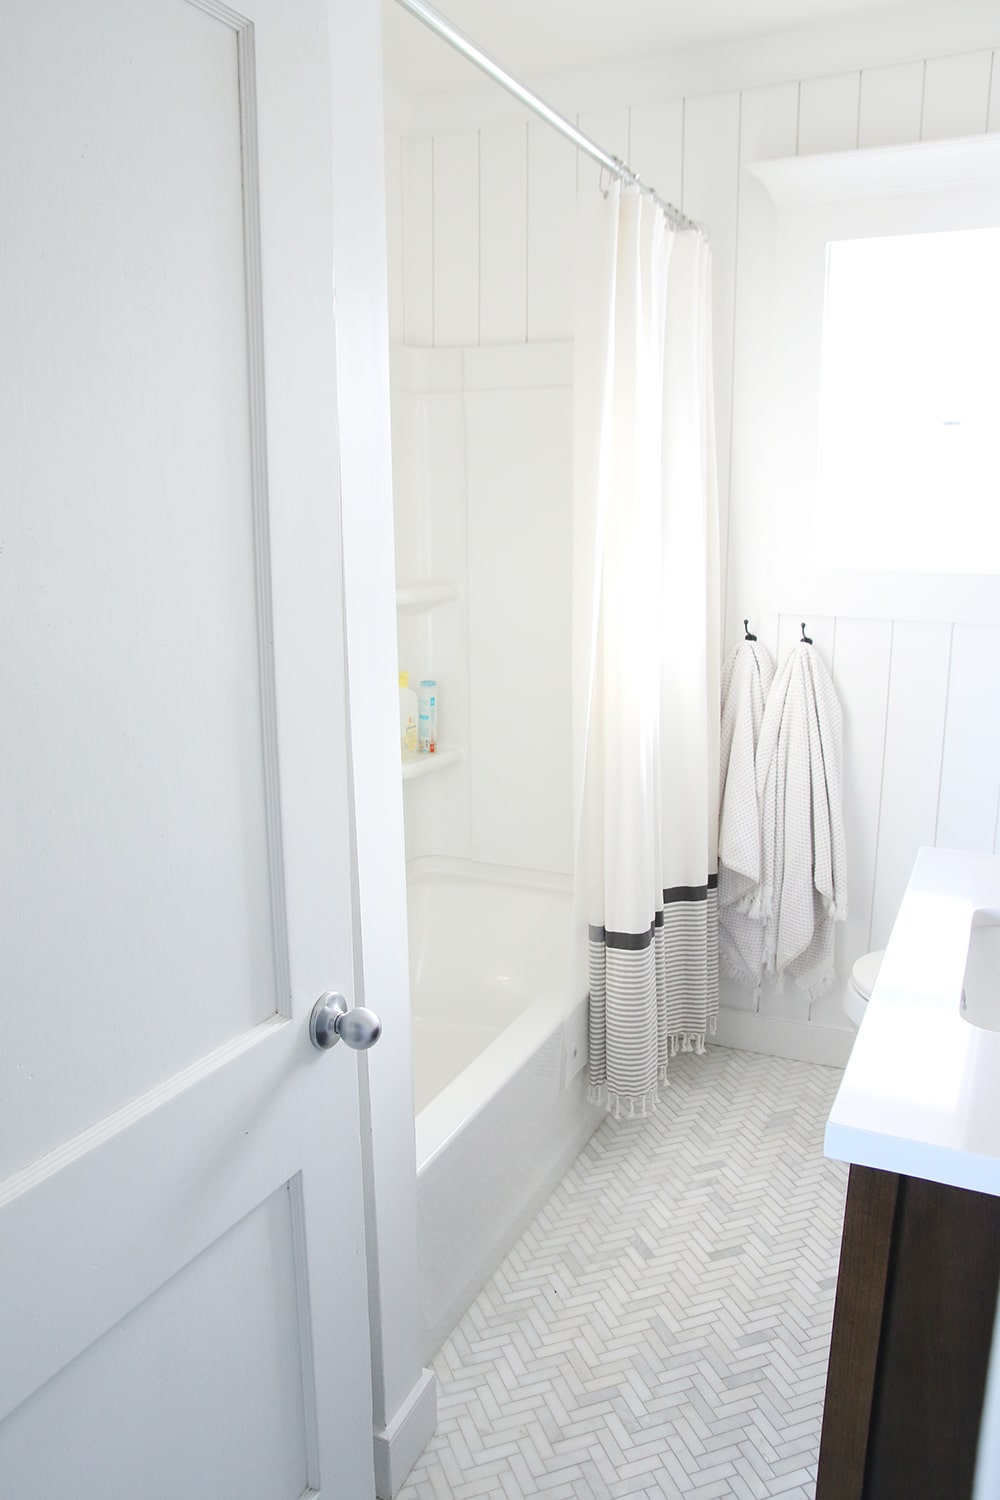
We hung two hoods right next to the shower for easy access to towels and I love the way the simple stark black hooks pop against the clean white walls.


But maybe the biggest show-stopper is the marble herringbone floors. Tiling is a job that anyone can do. It makes a huge impact and since the tile we used was on mesh backing, it was a quick job, too!
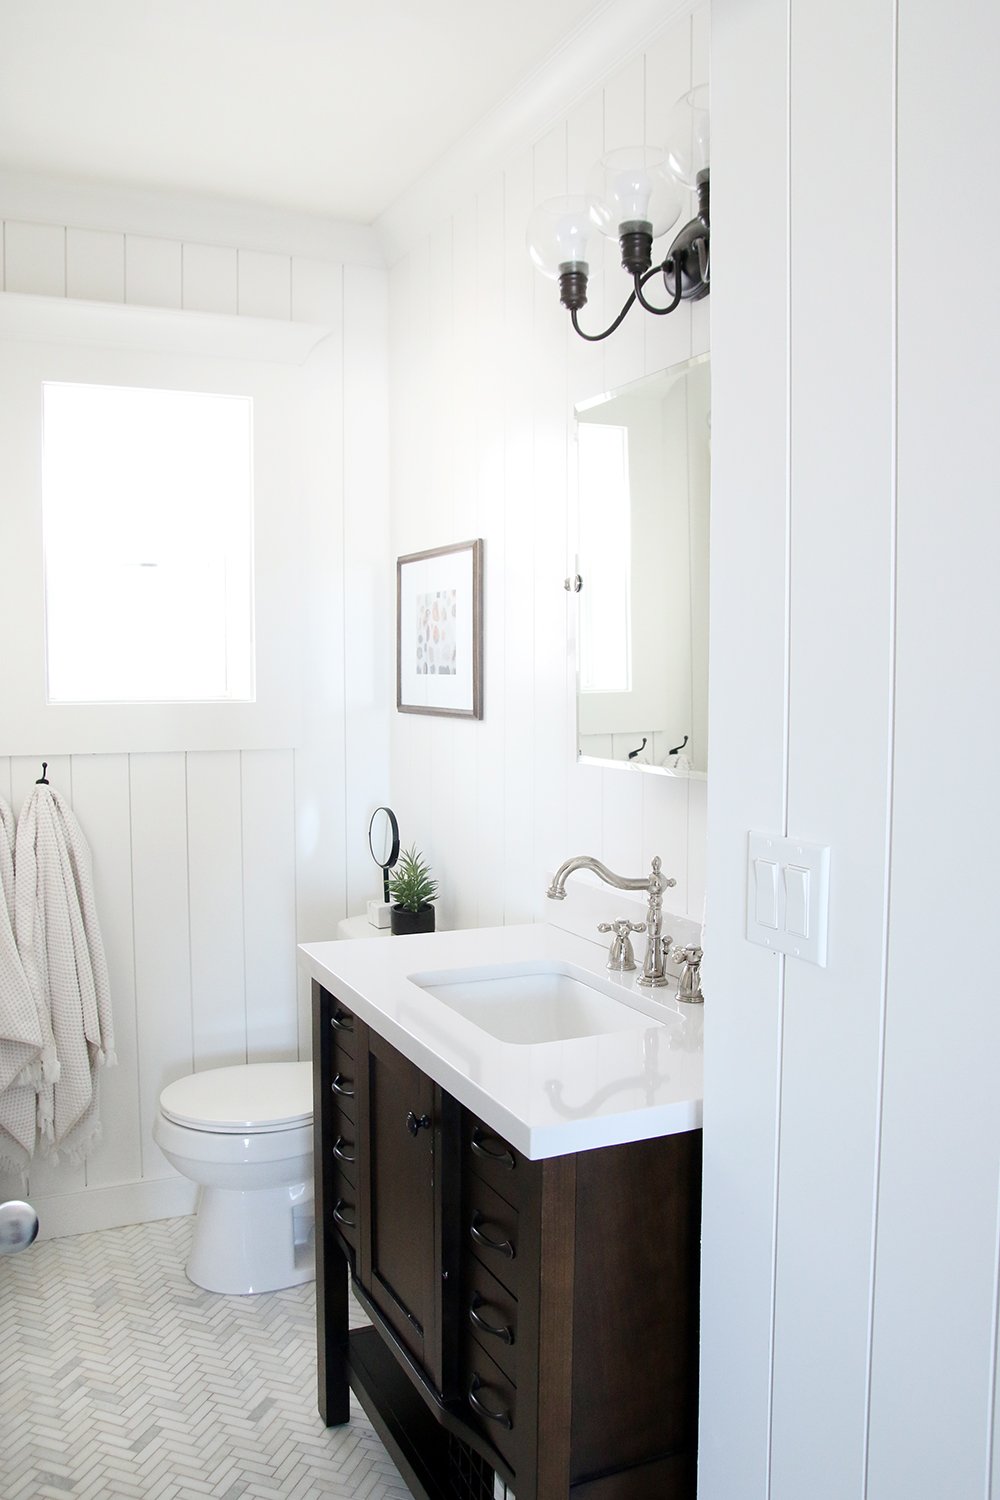
If you have a small bathroom, installing a vanity with some legs to it will really help open up the space! We chose a beautiful one from Lowe’s with a slim profile, storage galore, and legs with some open storage at bottom that really lightened the whole bathroom–while still adding some warmth and contrast in color.


We attached the toilet paper holder right to the side of the vanity, as opposed to the wall under the window where it was previously, so the view when you look into the bathroom was cleaner and less cluttered. Clutter can cause a lot of visual weight to a bathroom, making it feel even smaller.
For that reason, we went with a classy, frameless mirror (that I’m obsessed with!). It reflects so much light around the room, sits a little away from the wall, which creates a bit of depth, and can pivot!


The two metals we mixed here were polished nickel (in the sink faucet, mirror and shower head and faucet) and matte black (in the hardware, lighting, hooks and towel rings). The mix feels modern but classic.


We can’t wait to show you all the in-depth videos we created of this project, but for now, here’s one more before and after in .gif form and all the sources for you!

[nbsp]
[nbsp]
[nbsp]
SOURCES: floor tile | wall paneling | mirror | vanity light | shower faucet | hooks | vanity | storage baskets | storage cabinet | faucet | towel ring | pulls | toilet paper holder | toilet | tub | shower surround
SaveSaveSaveSave


06.22.20.
Nice bathroom- Congratulations on a well done job!
Could you please tell me the size of your herringbone marble floor tiles?
Thank you!
Hi! What color grout did you use in your tile floor?
I know this was from a long time ago but we are looking at that tub and shower faucet set. Do you know how it has held up?? Also, it says you need a MultiChoice Universal rough-in – any clue what you used? Thank you!
This looks so good! We are starting our bathroom reno and I was eyeing this same vanity at Lowe’s but the countertop looked almost off-white in the store. Does it look bright white in the bathroom room or does it seem off white compared to bright white walls? Thank you so much!
What grout did you use for the tile?