DIY

Introducing Two New Chris Loves Julia x Floorpops Peel & Stick Tiles

October 31, 2023

We believe we should all love where we live.

We’re a couple of homebodies, working to uncover the home our home wants to be. And we’re so happy to have you here. 

Portfolio

Projects

Design

We're Chris + Julia

read more

What we're                   right now

Loving

browse the shop

Befores, afters, mood boards, plans, failures, wins. We’ve done a lot of projects, and they’re all here. 

We have a long-standing relationship with DIY, and love rolling our sleeves up and making it happen. 

Even when you don’t want to rip down a wall, you can make that space in your home better. Right now.

browse all

browse all

browse all

02

01

03

Popular Posts

1.

2.

3.

Top Categories

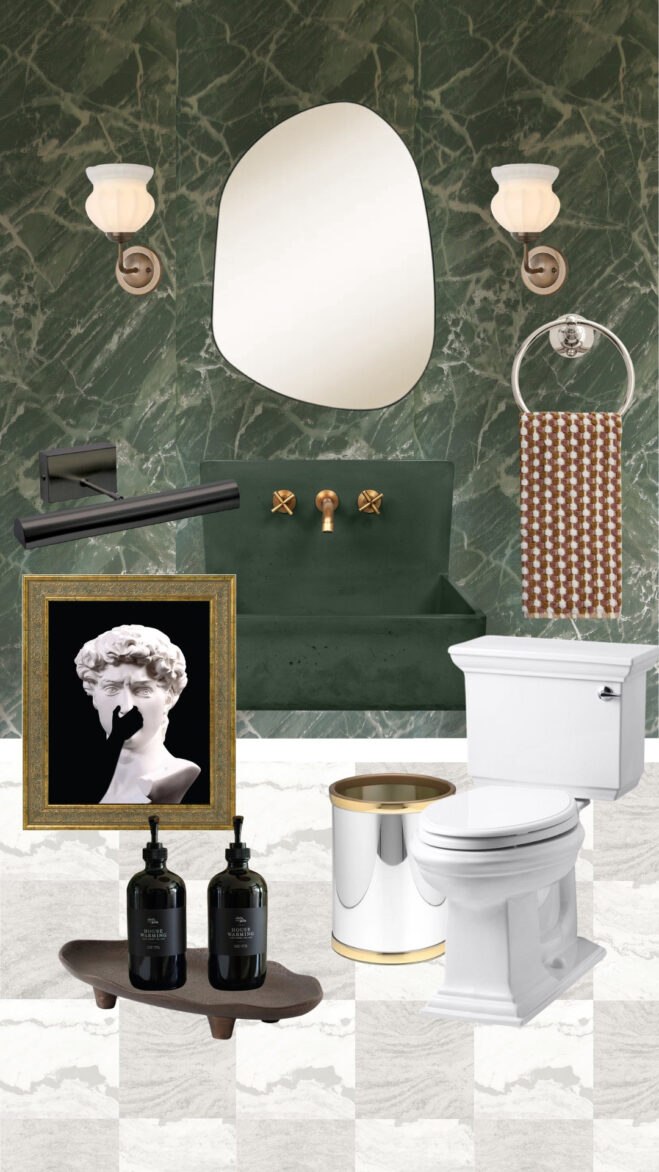
Over 18 months since we launched our first collection of peel & stick floor tiles with FloorPops. I remember that day well. We sold out within the hour, and since then, there have been multiple restocks so everyone can get their hands on some affordable, DIY-friendly checkered flooring! Well, we have good news! Not only can you purchase the original Bonneville collection, but we’ve added two new checkered colorways in the FloorPops you know and love. One of which we installed in the girl’s Jack and Jill bathroom. Here’s how it went!

Before

After

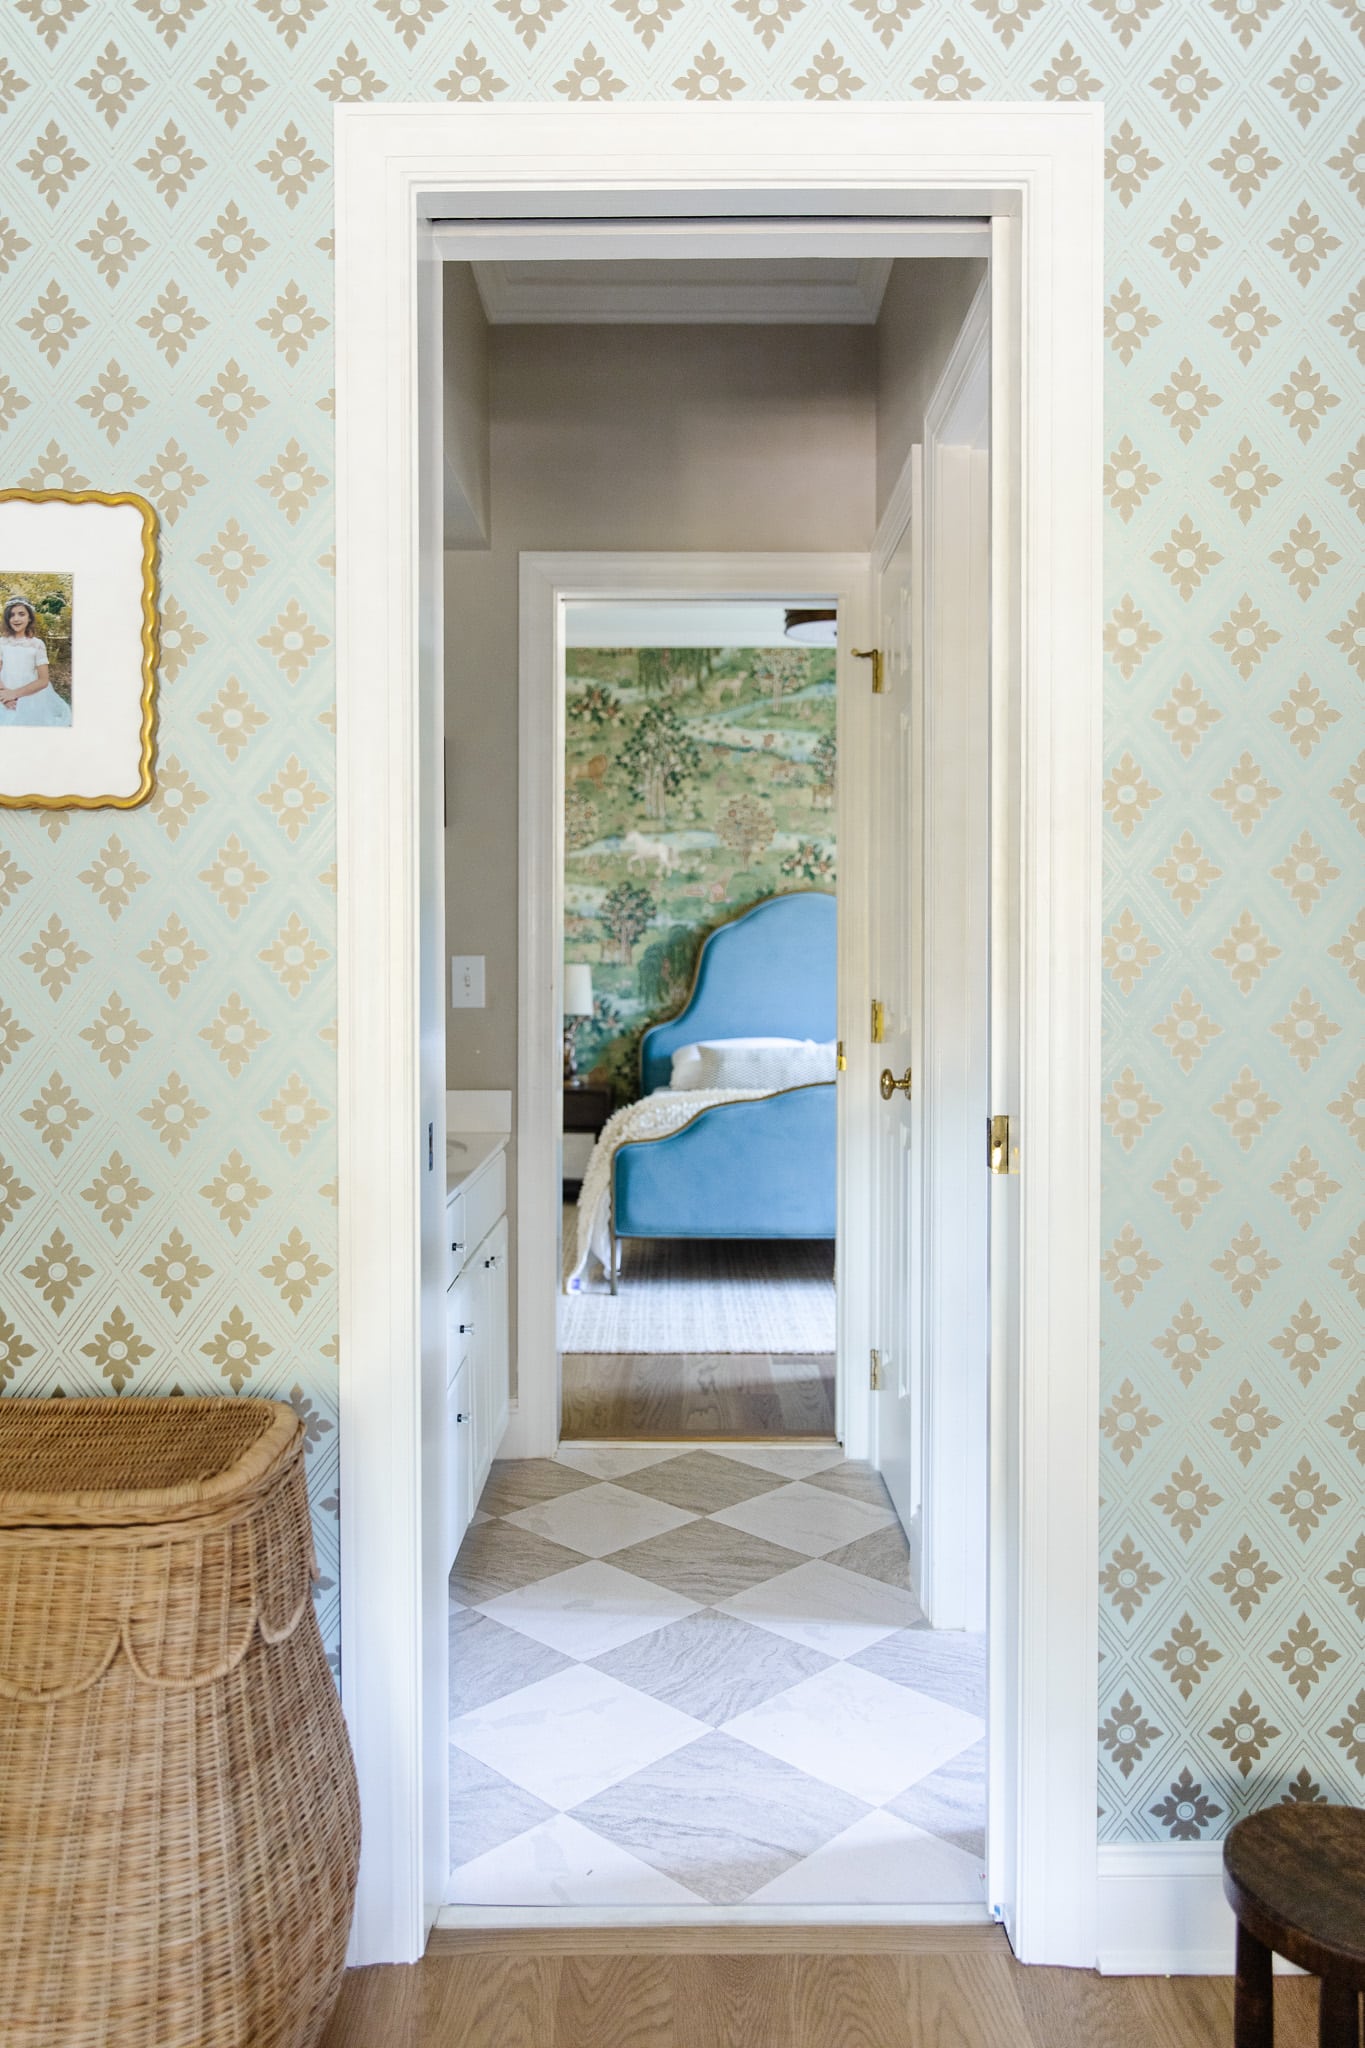
Say hello to the new Bonneville Beige peel & stick tiles! Inspired by the original gray and white Bonneville tiles, Bonneville Beige is a classic marble check in a soft, neutral palette. I’m in love with how they transformed the girls’ bathroom.

Bonneville Beige Flooring

When designing all three of our FloorPops collections, it was really important to me to check all the boxes of budget-friendly and DIY-friendly while still fitting in the CLJ aesthetic. I’m so so proud of where we landed.

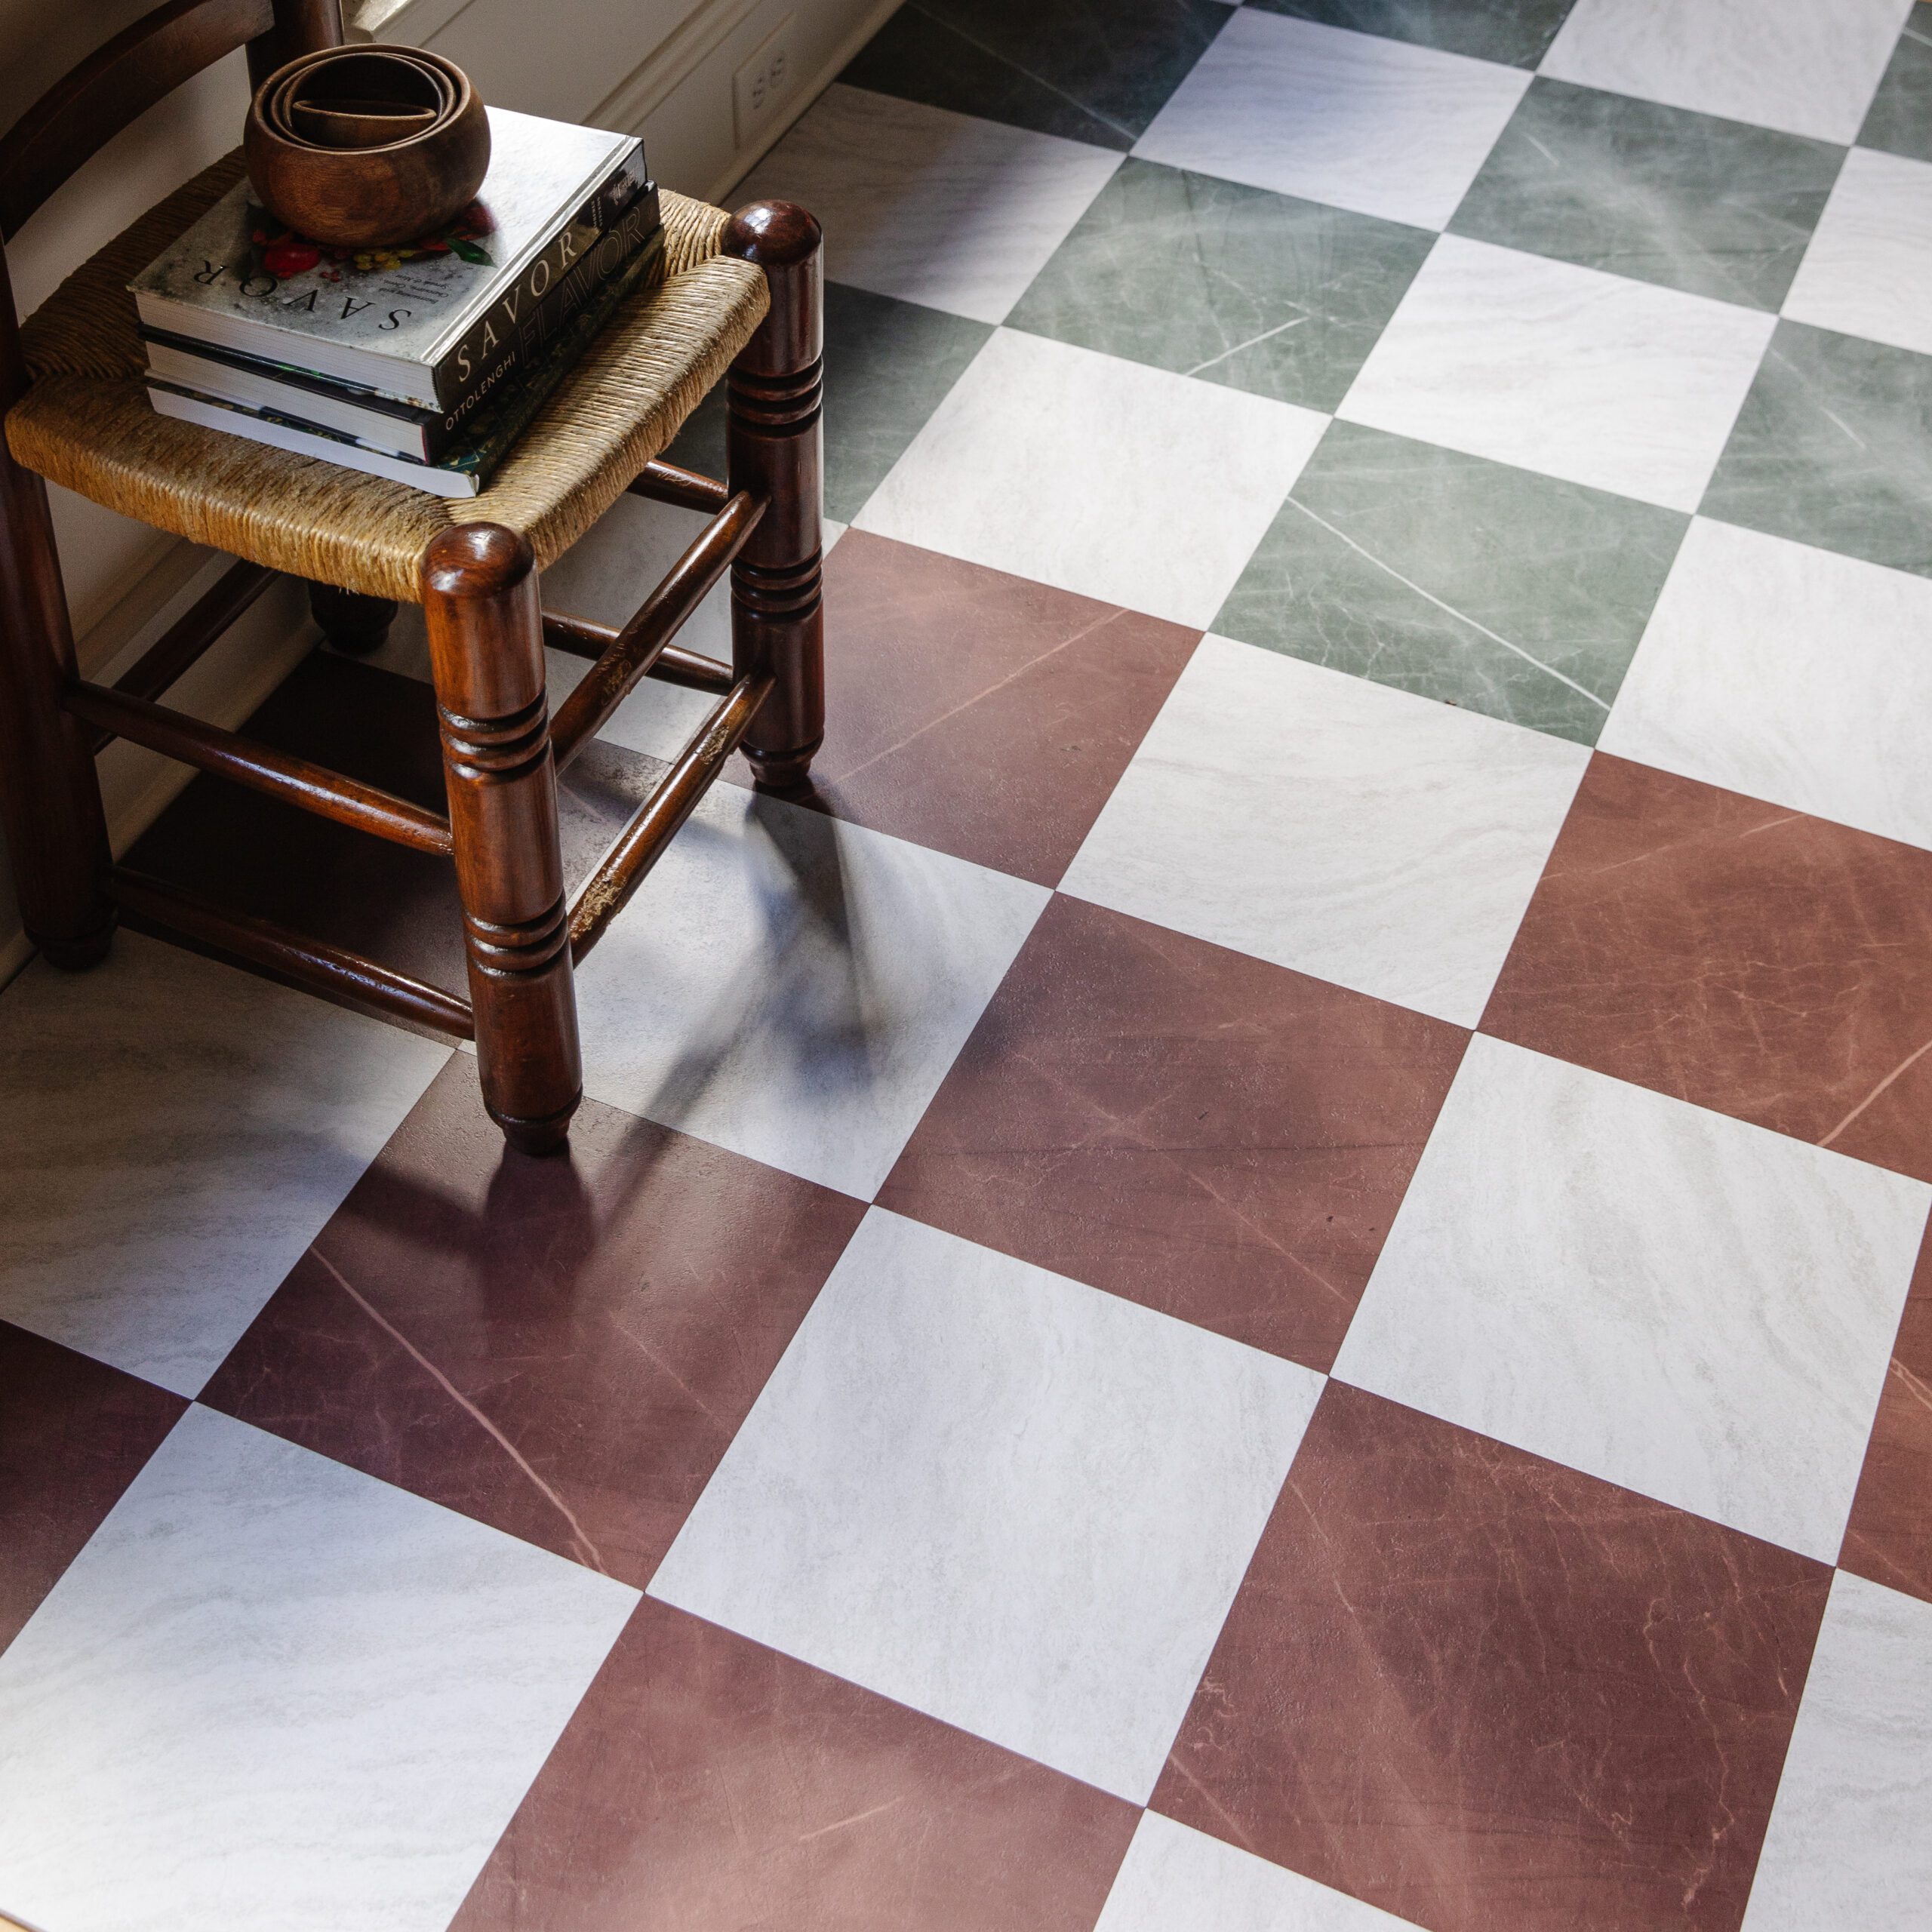
The second addition to our collection is the Lawrence  — a black and white check with a faux wood grain. Announcement! Checkered flooring isn’t going anywhere anytime soon.

Lawrence Flooring

FloorPops FAQ’S

FloorPops has a really thorough FAQ section on their website to refer to, but here are some questions we know the answers to!

How do you install them FloorPops?

This peel-and-stick tile is easy to install (no tools required), and they’re so thick and durable! Unlike the stickers we used for the girls’ bathroom floor that peeled up so easily, these are thick, rigid vinyl meant to be a permanent, budget flooring solution. Seriously, the quality is unreal, plus they’re water-resistant and wipeable. Perfect for the girls’ bathroom and our home gym, but would also be great in a kitchen, dining room, laundry room, mudroom, hallway… The possibilities are endless. For an installation guide, you can see how we installed them in the home gym, but I would also recommend you look at the FloorPops installation guide for step-by-step instructions, as well as a video!

Are they removable?

To be durable enough to withstand foot traffic, our FloorPops were designed with a strong adhesive. This means that they are NOT removable in the sense that some peel-and-stick wallpaper or wall decals are removable/temporary. They can, however, be removed should you choose to. We recommend using a scraper or an object with a thin, flat surface to wiggle under a seam and pop a corner of the tile up. From there, you should be able to peel off the tile with your hands. Please note that the adhesive is strong and is likely to lift paint. They may possibly leave residue behind as well! Nothing a little goo gone can’t fix.

Can they be installed outside?

These are recommended for interior use only!

Can they withstand moisture from my bathroom or kitchen?

Absolutely yes! They are water-resistant and wipeable, and obviously, we’re putting them to good use in the girls’ bathroom.

Can I install the FloorPops over tile?

If your tile has an uneven texture, I would say they’re not going to stick as well. As far as dealing with the grout, FloorPops recommends filling all grout lines with thin-set tile mortar before installing it to create a flat, smooth surface. Or you could do what we did and offset the direction they were installed.

Head over to the FloorPops website to purchase today!

Leave a Reply

Your email address will not be published. Required fields are marked *

This site uses Akismet to reduce spam. Learn how your comment data is processed.

What do you think?

  1. Dakota Potter says:

    Do you happen to know if the grey and white marble ones are discontinued? I can’t find them anywhere?

  2. Dakota Potter says:

    When will these be back in stock?

  3. Colleen mellman says:

    Hi, I purchased a couple boxes of black and white tile, 12x 12, from Home depot, to ensure color would work, before purchasing balance. I received the boxes, indicates 5 white, 5 black tile. Only black tile were in both boxes.

    • Chris Loves Julia says:

      That’s odd. All 10 were black? Please return them to Home Depot so they can trace the batch that’s affected and ensure it’s corrected.

  4. Mary says:

    Would it look strange to apply them over tile, adjacent to wood floors? My concern is that it would be a super thick transition. What transition piece to you advise using?

    • Chris Loves Julia says:

      I think that could look great! I mentioned above that I’d choose a light marble transition piece or something that matches the material of the adjacent flooring.

  5. Mandy says:

    Hi! Can these be installed over wood flooring?

  6. Melissa says:

    I’m super interested in the beige but I’ve seen reviews that they have a purple/blue undertone and that won’t really work where I would like them. Any info on the undertone would be helpful to eliminate having to return. Thanks!

  7. Laura B. says:

    Hi, these are beautiful. Is there any grouting involved or do you just buy them right up to each other?

  8. Grace says:

    Can you explain what you mean by “offset” (instead of filling in the grout)?

    • Chris Loves Julia says:

      So when we’re laying it over tile, we rotate the FloorPops 90 degrees and put one corner directly over the middle of the tile underneath so it’s not the same direction pattern as the tile. That helps create a more even look.

all the latest

We believe we should all love where we live.

We’re a couple of homebodies, working to uncover the home our home wants to be. And we’re so happy to have you here. 

HI! We're Chris + Julia

read more

Load More

Reader Faves

SHop all

What We're                     Right Now

What We're                 Right Now

Looking for our favorite things? A place to shop our home room by room, or just catch up on what Julia's wearing / loving right now? Browse the CLJ shop. 

Loving

looking for inspiration? 

A reader recently asked me if I’m starting to fully embrace traditional style and whether we still consider our house to be a “modern Colonial” and why. It was a really great question and so timely — I had really just been thinking about my approach to this home and how my style has changed […]

Can We Send You Our Love Letter?

Another way for us to stay in touch! Joining our weekly newsletter gives you access to exclusive content, never-before-seen photos, your questions answered, and our favorite DIYs. Sign up below!

Follow Along on Instagram

Welcome to our online community where we've posted home, DIY, style, renovations, and family since '09. Renovating our #cljmoderncottage in Idaho and headed for new adventures in Raleigh, NC. #cljfam #cljtransformations

@chrislovesjulia