I think we’ve covered just about everything from the girls’ room, but one question we keep getting over and over is regarding the curtains and the unobtrusive curtain rod we chose. So I thought dedicating a short post to the setup would be beneficial.

Since the bunkbeds and the wardrobes went all the way up to the ceiling, I really want the curtains to carry the eye up, too, especially since they are one of the first things you see when you walk into the room. We worked with Martha & Ash before on the curtains that were in our living room and then the guest room. They are made with such quality materials with attention to detail, I knew I wanted the same luxe, thick curtains for in here. I sent for a variety of color swatches and landed on light pink with a Euro pleat across the top. Greta gasped when she saw them.

The window goes right into the reading nook with a bare wall on the other side, and while this may not have been the ideal situation, I’m thrilled with the solution of having an extra wide panel to one side fills up the blank space, balances the window and softens the room up and down. It’s completely lined and blackout, and we clipped them straight onto the curtain rod.

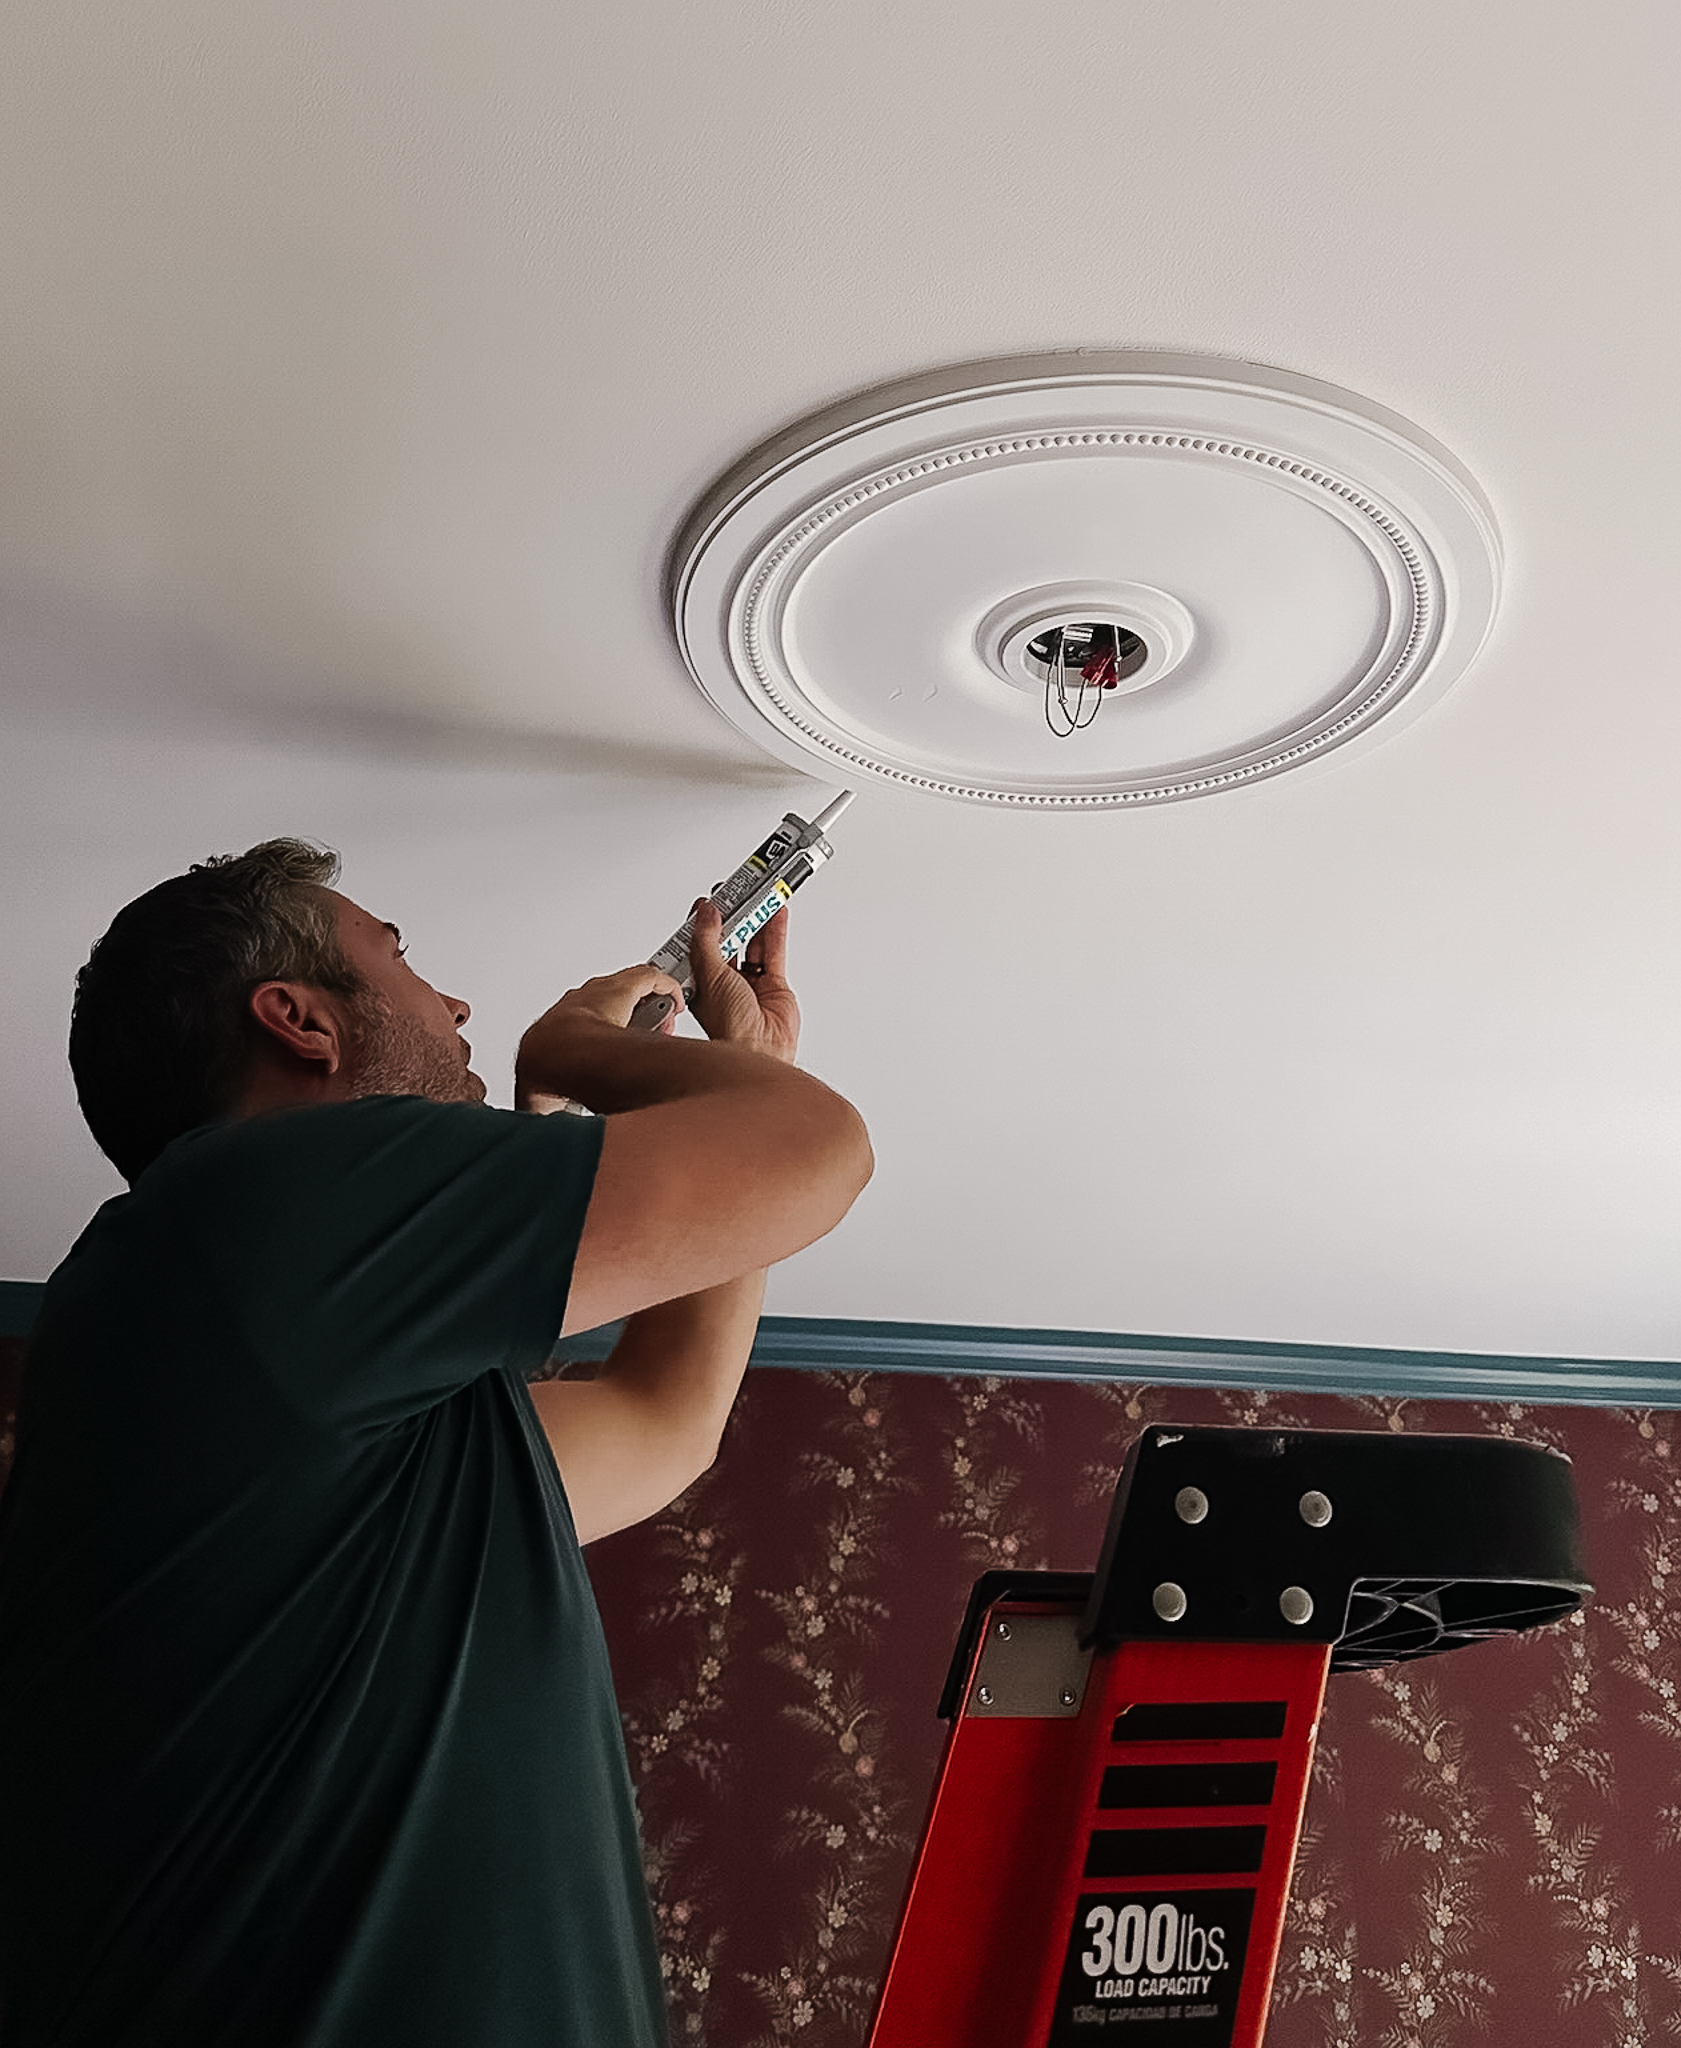
I have never used a ceiling mount curtain rod before, they are generally reserved for french doors or room dividers, but I gotta say, they are fantastic for adding height to our standard height ceilings. (Our whole home has 8ft ceilings.) We purchased this inexpensive rod, attached it to the ceiling following instructions, then caulked the seam and painted it the same color as the walls to really make it disappear.
We opted out of the clips that came with the rod and hooked the curtains right onto the eyes that hung down from the rod itself so the curtains would go all the way up to the ceiling. The ceiling mount comes equipped with rod that’s attached to the first eye so we can easily open and close the curtains–and it tucks behind them naturally when not in use.


Hope that answers some of your questions. Martha & Ash asked for a few measurements on the rod and the room and then they made these curtains the perfect length, just kissing the floor.
You can see the full reveal with all sources here and other posts regarding this room here.


You ought tto be a part of a contest for one of the best sites on the net.
I will recommend this web site!
So your rod is actually attached to the wall and not the ceiling? I purchased the same rod and had to attach to the ceiling because I have molding. It’s not flush to the ceiling because of the brackets that came with it. Just wondering if you did something different!
It’s both. I put some small screws through the actual rail itself into the joists in the ceiling, then we caulked and painted the whole thing.
Ah ok! I might give that a try and ditch the brackets as they aren’t very sturdy to begin with! Thank you both for the reply!
It’s attached to the ceiling. It’s closer to the ceiling than we could get a wall mount bracket, which is what I think I meant.
Oh man, I LOVE this detail. I am totally stealing it for when I redo my master bedroom. And I like that it makes it easy to hide a second rod for sheers, if you want to.
Totally love this look. So well done! The ceiling mounted rod is perfect for average to low ceilings. And I love that the drapes are the perfect length! Well made and well styled drapes are the icing on the cake.
We used a ceiling rod in our dining room because I really, really wanted a floor-to-ceiling, whole wall effect (https://myfriendstaci.com/2015/01/26/curtain-call/). We got the KVARTAL from IKEA and it was incredibly easy to attach, and is much sturdier than I first anticipated. Now I’m a true convert! I would like to change the curtain in my living room to this style as well.