It is no secret I love the classic and elegant look a picture light can bring to a space. Remember when Chris hung one up in our living room this past winter? I do love to be a rebel and think outside the box, like using a picture light in our kitchen’s built-in. However, the most recent update to our primary bedroom now houses a picture light doing what it is intended to do – lighting up the beautiful art above our bed.
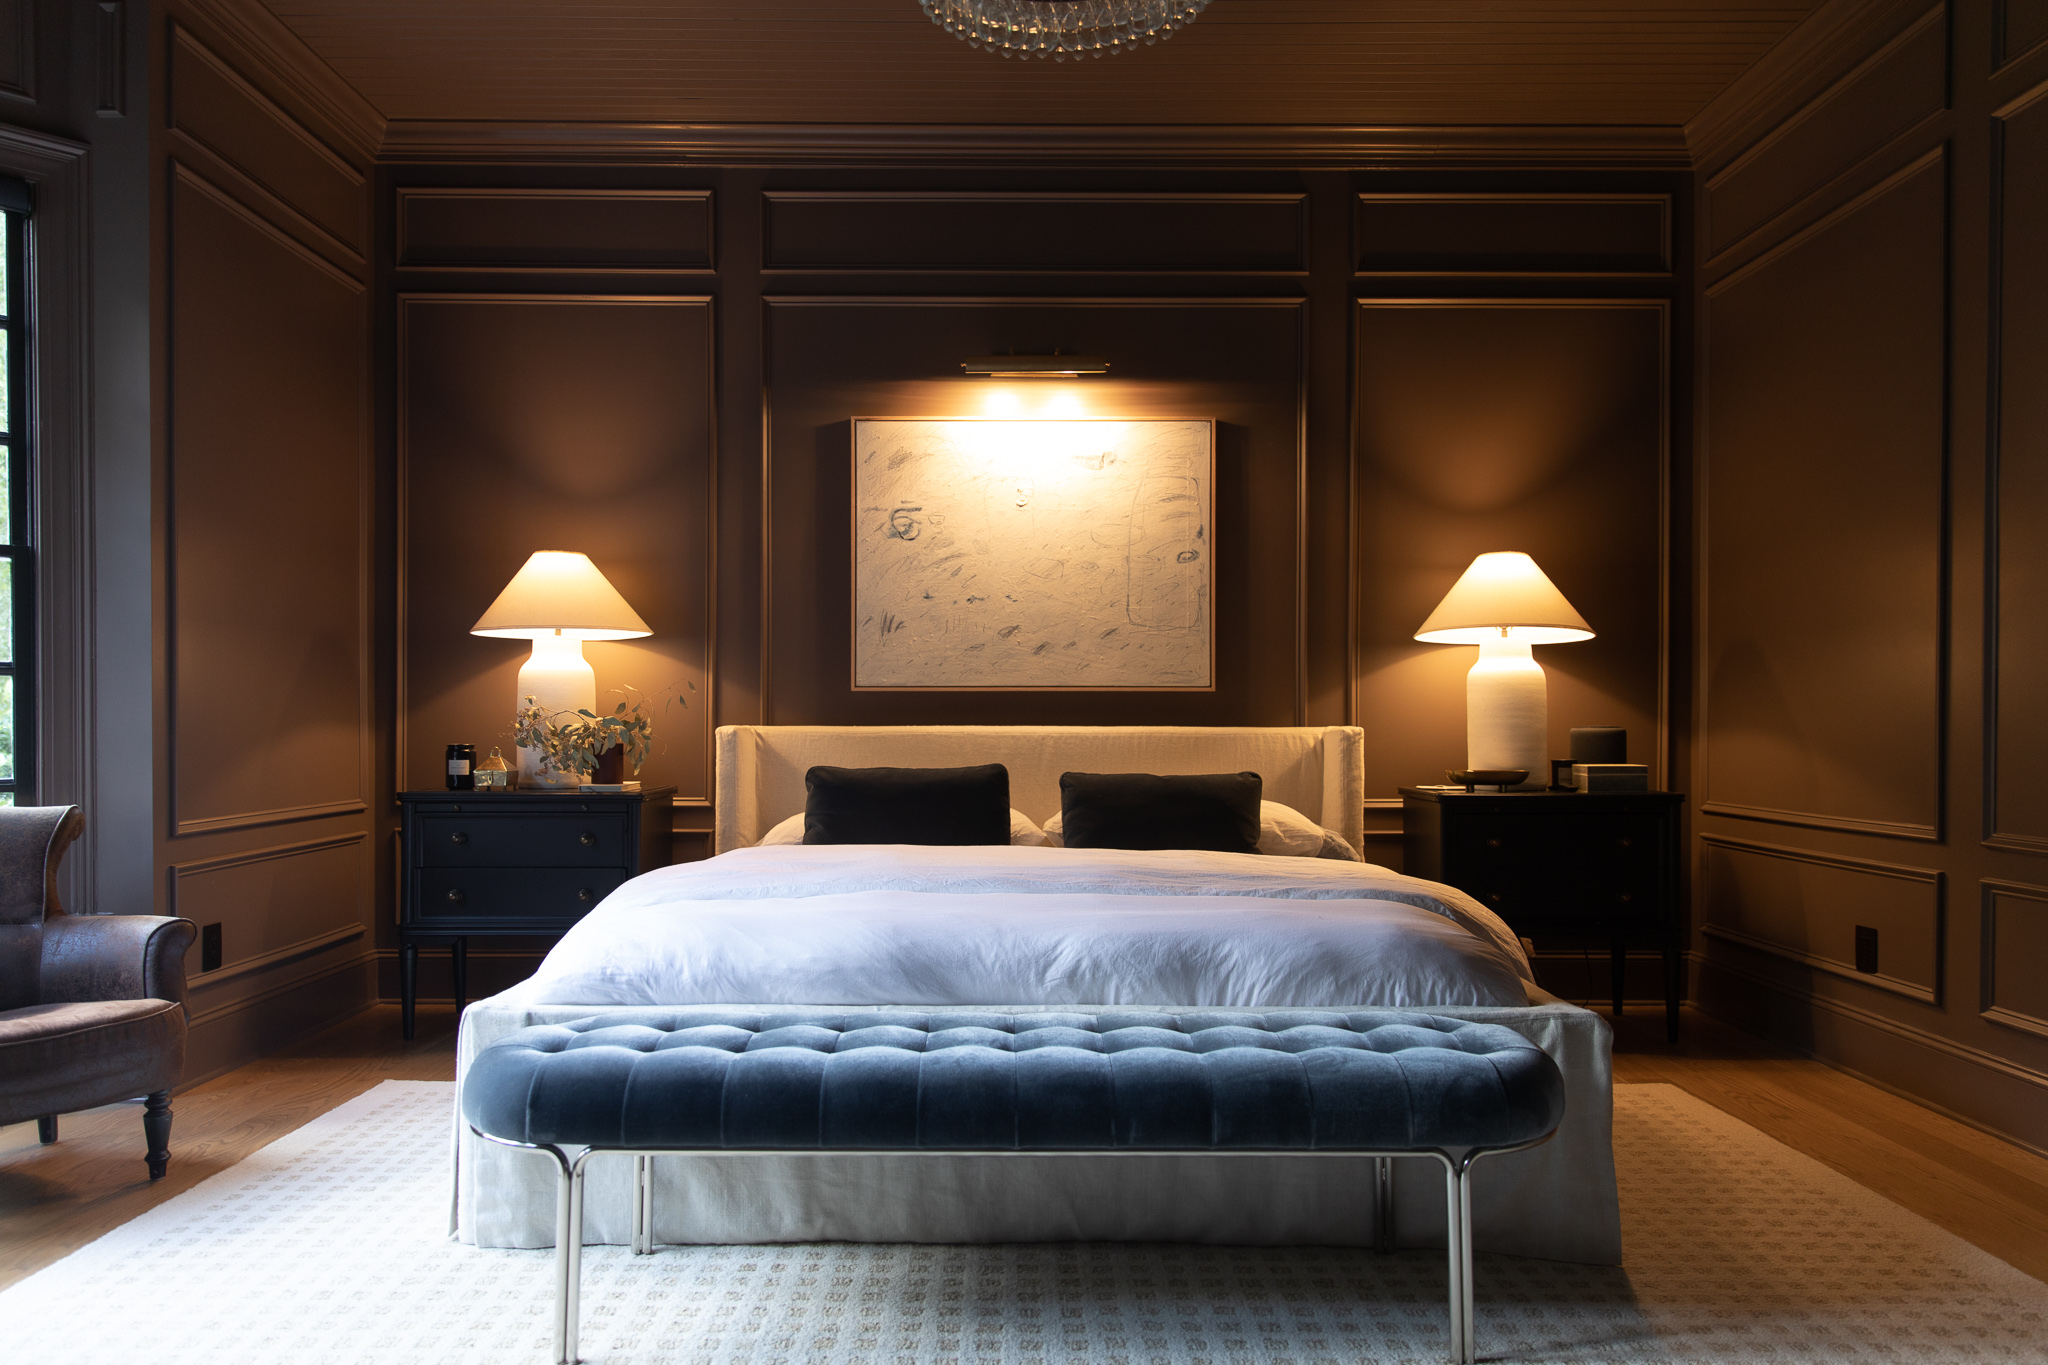
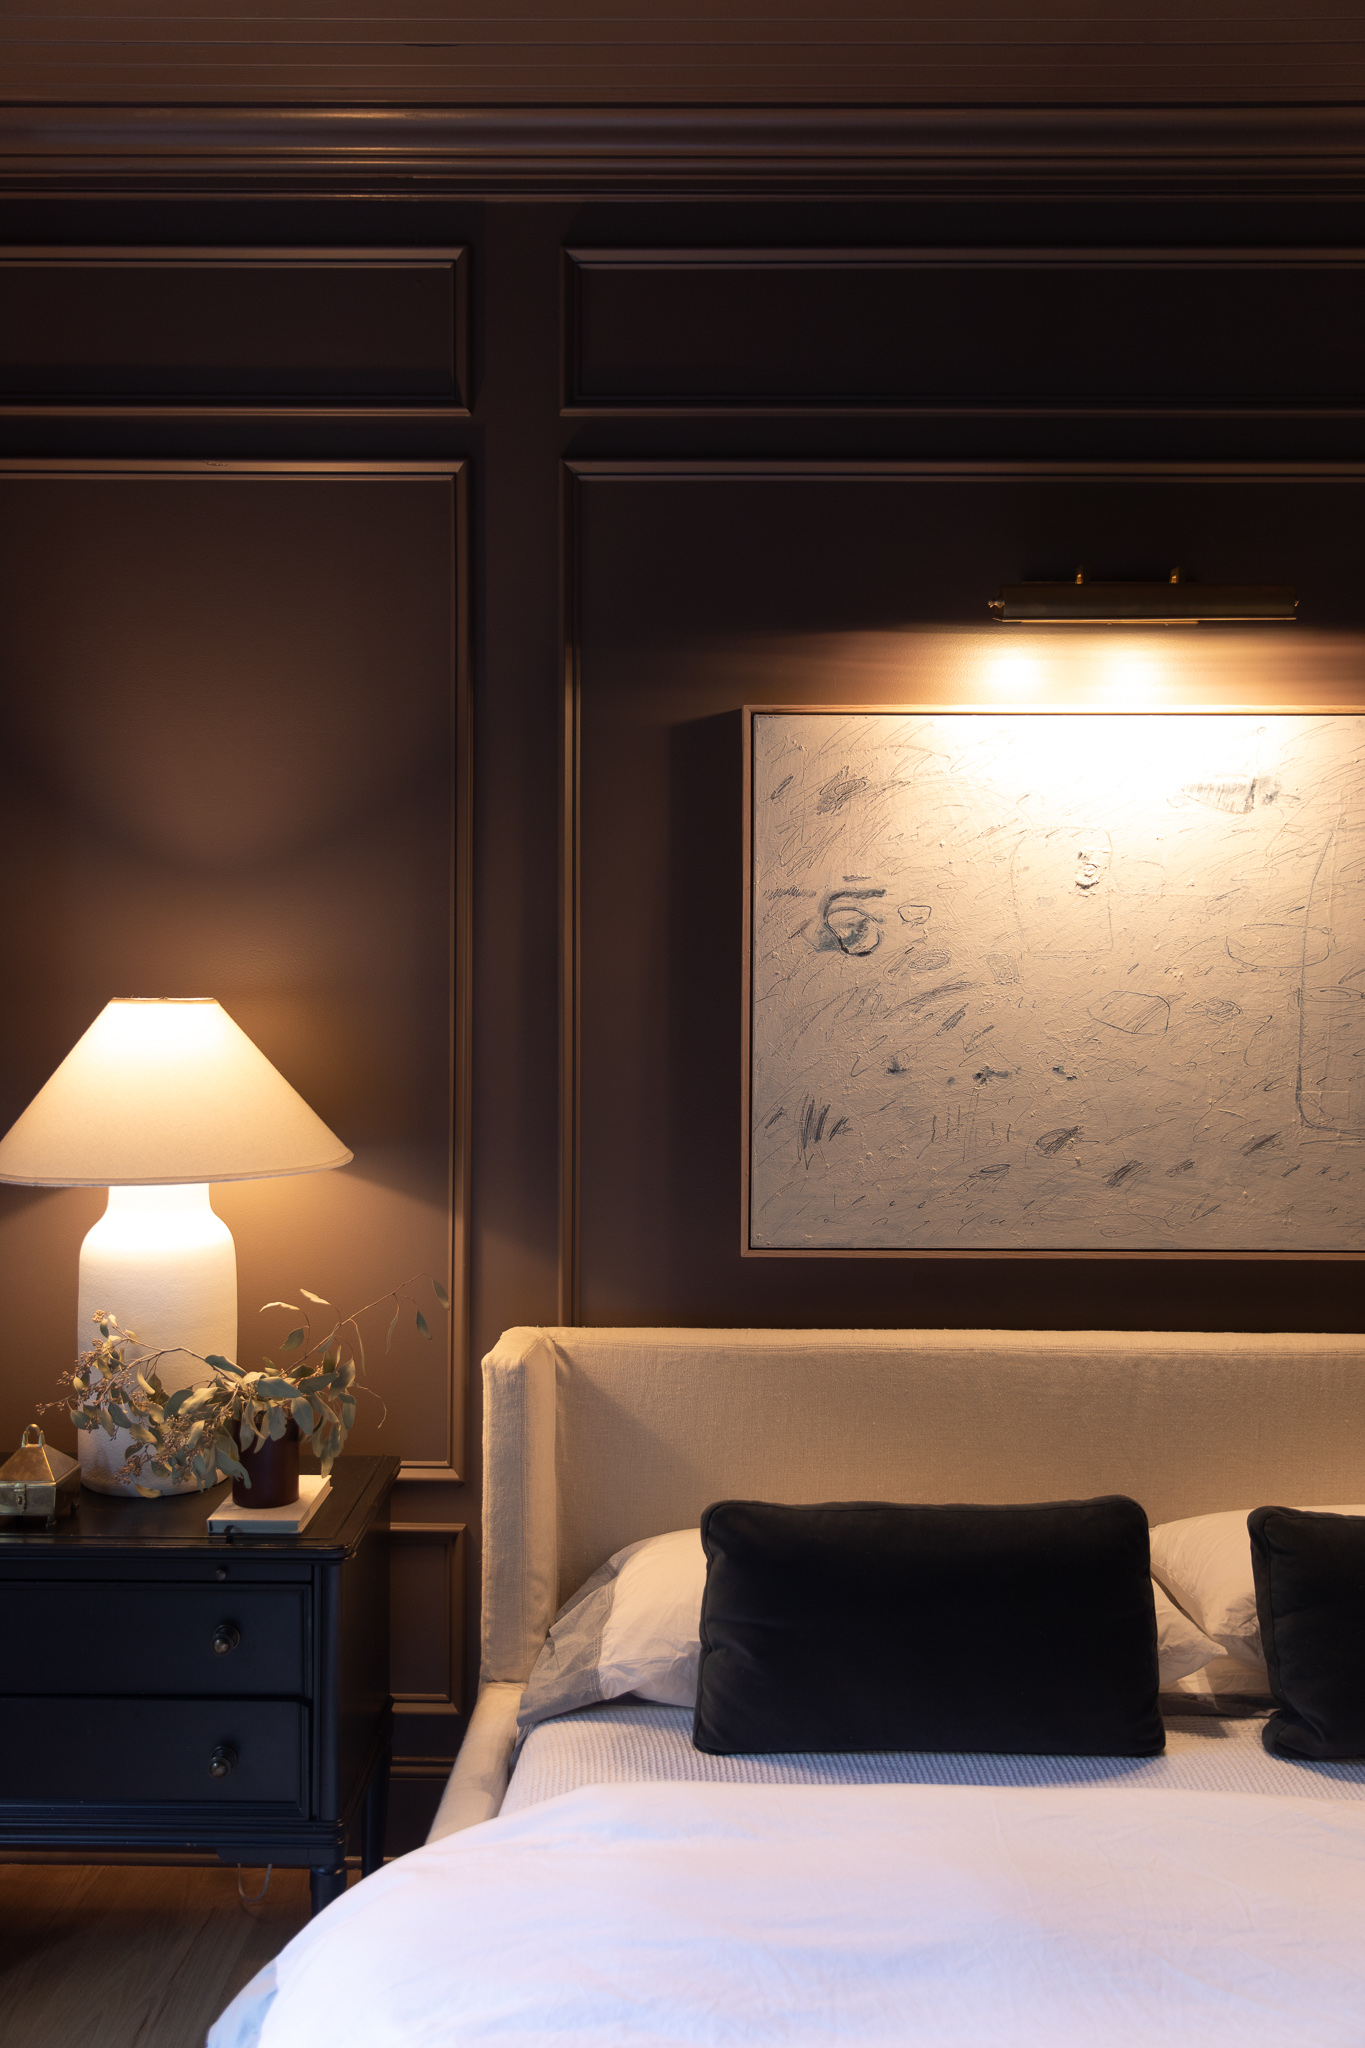
I bought this original piece of art for our bedroom a few months ago, but it was looking so flat against the wall! We decided to DIY a frame (here’s our floating frame tutorial–it’s easy!) and add a picture light and now I couldn’t love it more. Picture lights have such an elegant look, and this added touch in our bedroom makes the space look picturesque and luxurious. And because I love this classic look so much, I wanted to research the general rules for picture lights to share in this post. I can definitely say I learned a thing or two; maybe you will too!
To plug in or not?
You can install and use a picture light in a few different ways. The easiest being a battery operated option. Or, if you’re lucky enough to have a plug on the center of a wall–a plug-in option would be fairly straight-forward as well. In our living room, there was a plug in the middle of a wall where previous owners likely hung a tv (there was a cable hook up as well), which made plugging in a picture light easy peasy.
However, if you have to call in an electrician to add a plug for your art light–I’d recommend just going straight for hard-wired.
The *correct* dimensions for a picture light
I’ve never seen a picture light I don’t like, and honestly, I love to play with scale. But! a picture light should be at least 1/3 to two-thirds the width of the picture frame being illuminated. For photos that are at least 30″, go for a picture light closer to 18″. Whereas for frames smaller than 30″, half the size will be plenty. My personal preference is for a picture light to either be one-third bigger or smaller than the art or space it is illuminating. (I’ll show you below where we went larger with the art light).

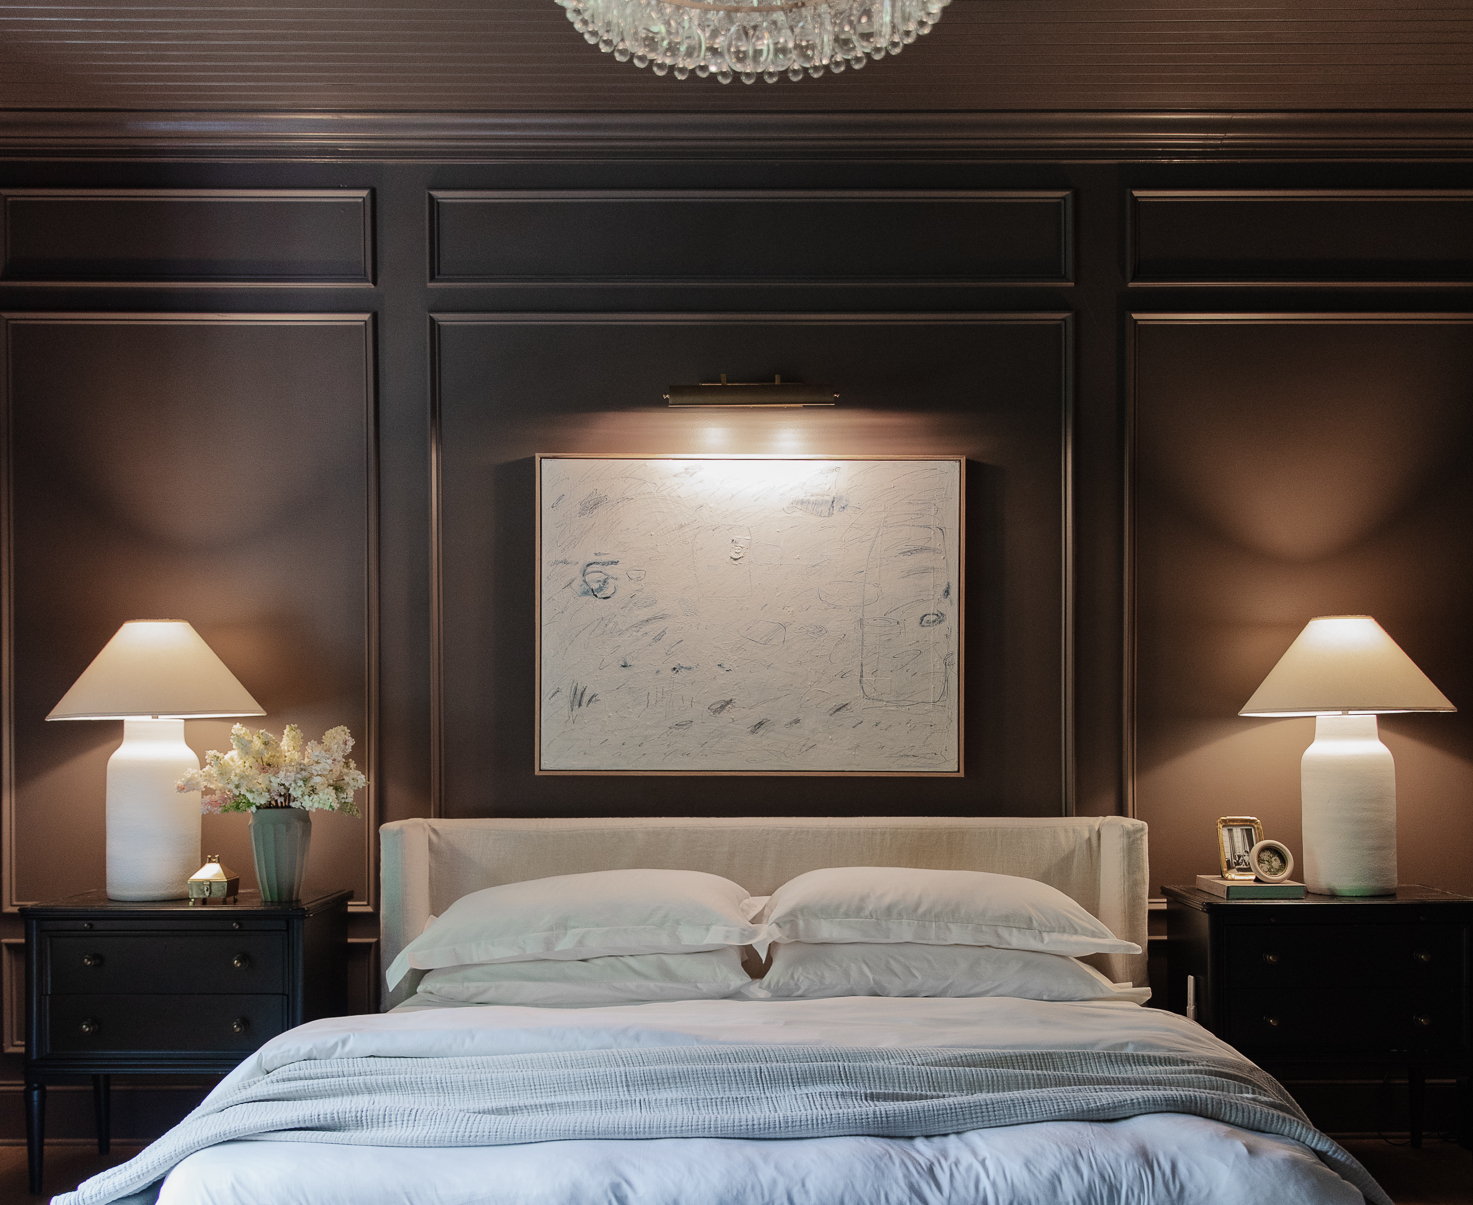
Farrow & Ball London Clay | Picture Light | Bed | Rug | Chandelier | Bench | Bedding
Choosing light bulbs
Lights that are too bright with harsh UV rays can cause artwork to fade over time. So, for picture lights, it is recommended to use a low-wattage LED light bulb instead of standard incandescent bulbs. When shopping for LED light bulbs, look for the light output (lumens), not the number of watts used. Aim for a color temperature of 2,700K or a color rendering index (CRI) of 95 for a more natural-looking light that will accentuate the artwork without washing it out.
In Greta’s bathroom, because the art was on the smaller side, we actually went larger with the picture light and I love the balance it creates!

Picture Light | Art | Tile
Where to hang a picture light
A general rule of thumb is that a picture light should be about 6″ – 7″ above the art it will be highlighting. When positioning a picture light over the artwork, the goal should be an even spread of light over the whole picture. The best way to achieve this and to avoid glare or long shadows is by installing the picture light in the middle of the artwork. And to tilt the light at a 30 to 35-degree angle so the light is not directly on the piece but gentle accentuating it.

Regarding installing a picture light, if you are not hiring an electrician, then the box your picture light comes in should have clear instructions on how to install it. Picture lights are such a great alternative to other wall sconces or angled recessed lights.

Picture Light | Kitchen Sources
They can really take your art up a level, but we also have used picture lights over shelves and even the wood serving boards in the kitchen!
Here’s a few of our favorite picture lights, both plug-in and hardwired, at every budget!

1. Rechargeable 16″ Gold $34
2. Hardwire 16″ Brass $45
3. Plug-in 14″ Bronze $47 – no longer available
4. Hardwire 16″ Brass $48
5. Hardwire 14″ Brass $68
6. Plug-in 14.5″ Brass $69
7. Plug-in 10″ Brass $179
8. Hardwire 14″ Antique Brass $165 – no longer available
9. Plug-in 9″ Oil-Rubbed Bronze $166 – no longer available
10. Hardwire 20″ Bronze $199 – no longer available
11. Hardwire 20″ Brass $249 – no longer available
12. Battery 24″ Brass $298
13. Hardwire or Plug-in 18″ Bronze $479+
14. Hardwire or Plug-in 18″ Antique Brass $399+
15. Hardwire 18″ Antique Brass $679+
16. Hardwire 24″ Brass $649
17. Plug-in 16″ Bronze $540 – no longer available
18. Plug-in 24″ Modern Brass $739
19. Plug-in 18″ Brass $749
20. Hardwire 23.5″ Bronze $1099 – no longer available
Shop Picture Lights


What is the color paint on the wall?
It’s Farrow & Ball London Clay.
Hi
I love this article (and London Clay in the bedroom)! I am working on my kitchen. Above the sink I have 3 windows. Above that, I have about 7 inches of wall between the window frame and crown on the ceiling. We’d like to add sconces, but due to the header there, we can only add one pancake box, so we are limited to one centered fixture. A single sconce will feel too small for the space (about 3.5 feet wide). We also don’t love the bottom of a sconce visually intersecting with the window frame. Hard no on anything that extends past the frame and comes in front of the window glass.
The overall design is old/English country with unlaqured brass as the primary metal. So a picture light seems perfect. I can’t find any examples of someone using a picture light for downlighting something like a sink area. My designers aren’t confident in the idea.
Do you have any thoughts and/or have you ever tried to use a picture light in this way?
What table lamp lights do you have in your bedroom?
They’re sold out, but this one is similar!
Is it wrong to use a picture frame light over a mirror? I have Visual Comfort picture frame lights installed on either side of my fireplace with 45 x 55 box molding underneath and two Louis XVI black ebonized chests. I was originally planning to put two big pieces of artwork there but after 3 years of blank walls and a nagging husband, I just purchased two of these mirrors from Chelsea House and my husband thinks it will look weird. The mirrors can still be canceled. https://laylagrayce.com/catalog/halcyon-hall-mirror_1084733/
Not wrong at all! We just added a picture light over our mirror in the mudroom (You can see the Instagram post here.)
Very helpful! And as always, beautiful spaces that you created!
In my master bedroom, I have a dark green wall behind my cream colored upholstered bed. It has very thin pinstripes vertically up the wall. I’m hanging a light brown/bronze ombre picture over the bed in a gold canvas frame. Would you recommend matching picture light above to be gold or black to be more subdued?
If you’re hanging a 60×60 picture, would using multiple lights look ok? So two 20″ lights?
I’d suggest sticking with one longer picture light between 30-40″.