


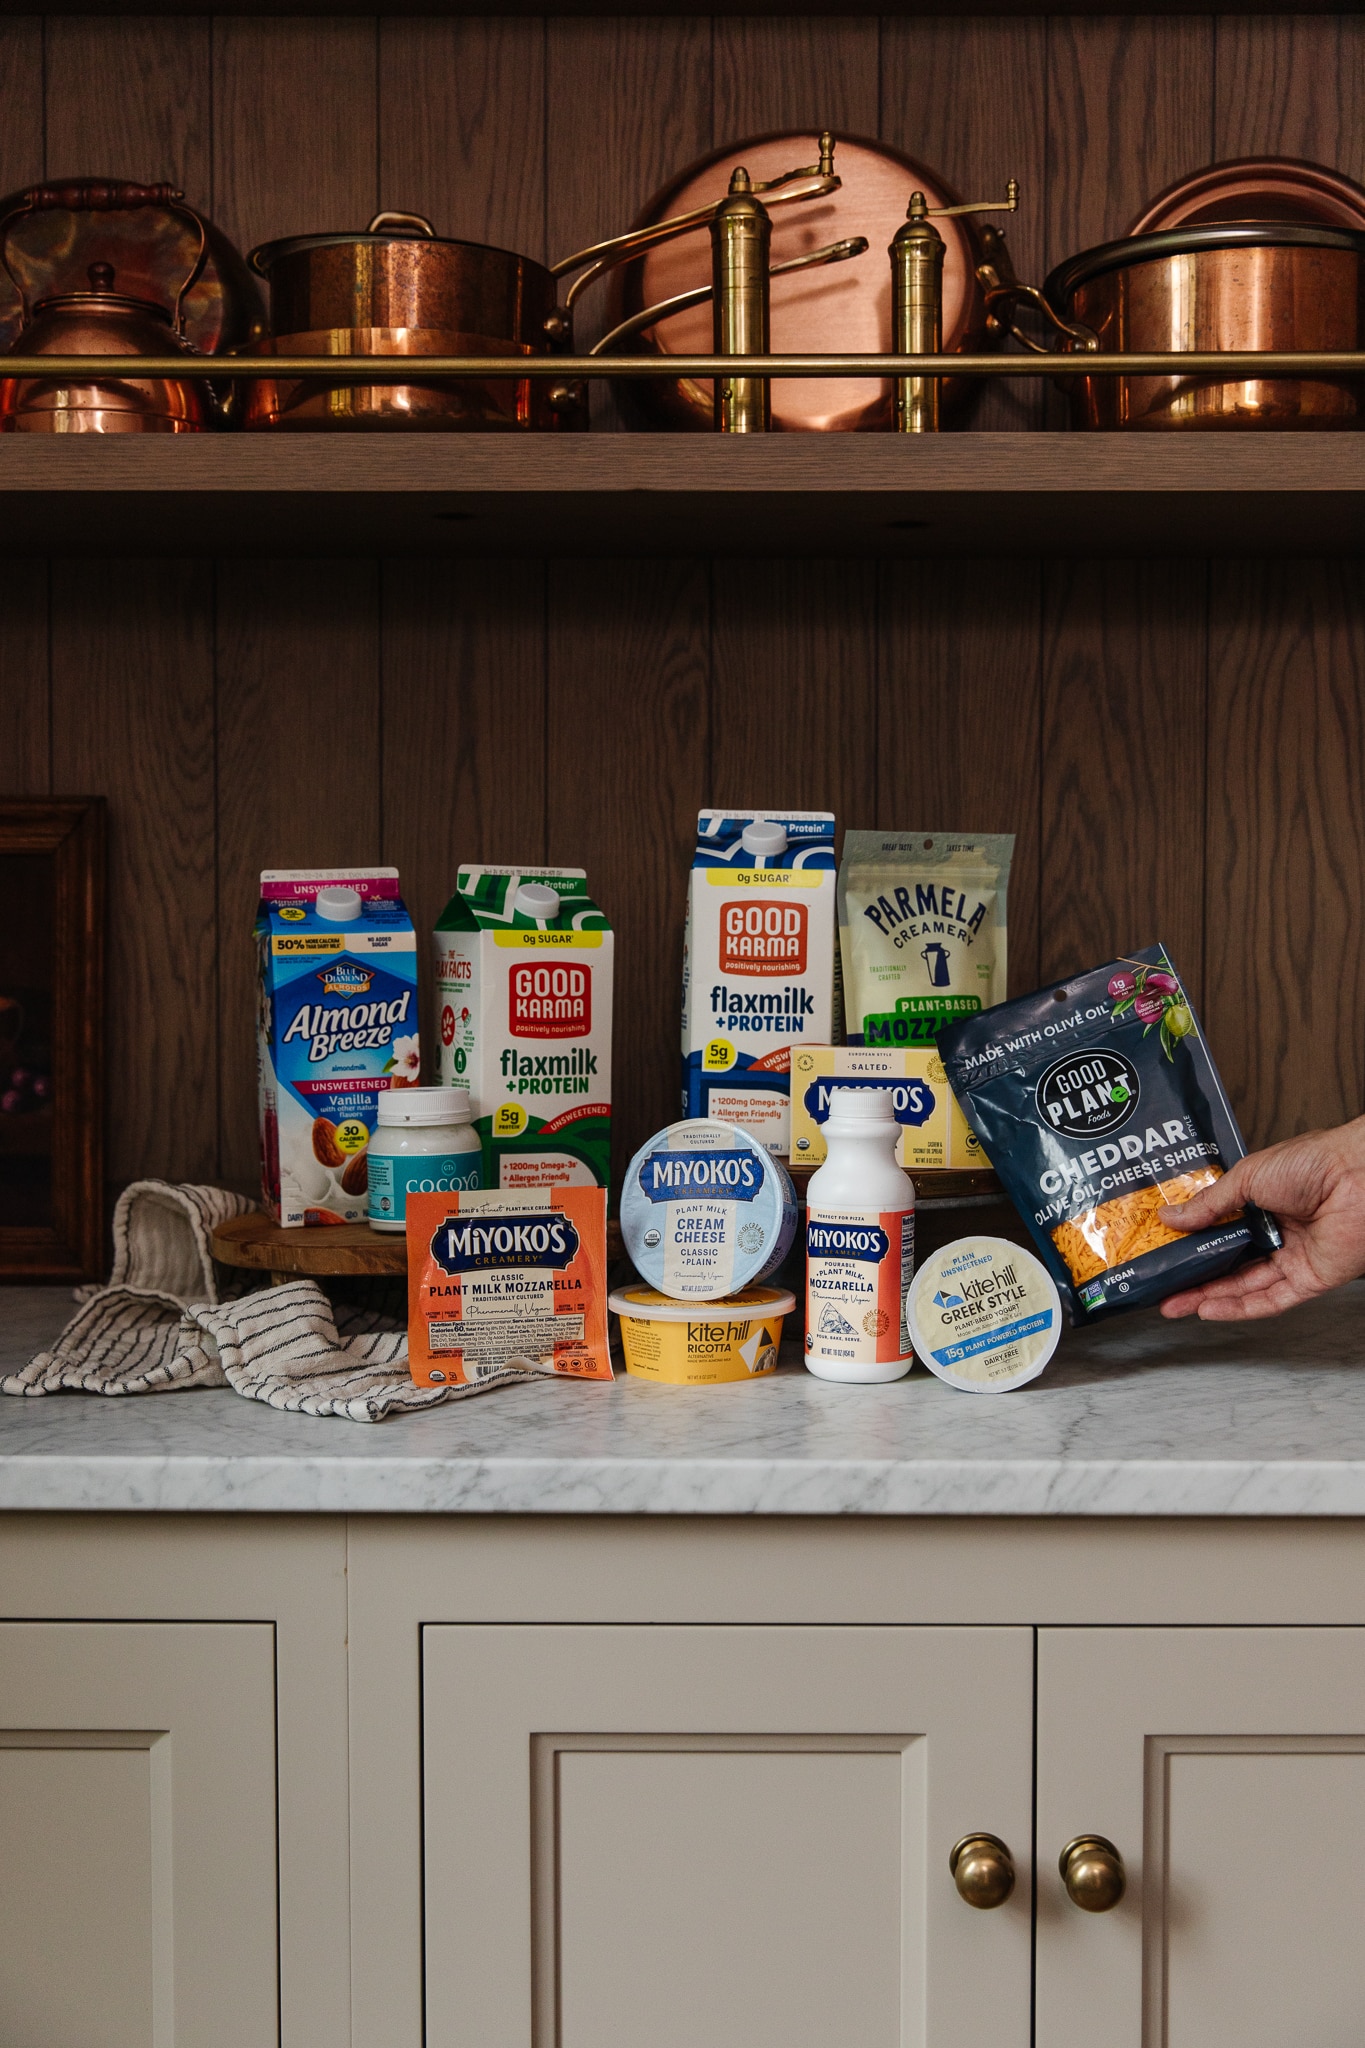
This week at the Fullmer kitchen project, it was so much mapping! Mapping out lighting placement, cabinets, choosing a countertop and overhang, placing the electrical for the hood and the water hookups for the fridge and the sink! Sometimes the spacing and numbers and measurements can be a lot to keep track of so we thought it would be useful to gather all of those things in one post for you! From the distance between countertops and opened shelves to recessed lighting spacing–it’s all below!
But first, here’s this week’s VLOG with a lot more chatter on how choosing every one of those things actually went down. (Including how Kelsi chose her countertop in 30 seconds!)
ENTRANCE/EXIT
• The entrance to a kitchen should be open and free of obstruction. If there is an inward-swinging door (that leads to a garage or yard for example) ensure it will not interfere with appliances when opened and there is ample room for things people do when they enter the home, such as taking off their shoes. You don’t want to create a tight choke point in your kitchen.
COUNTERTOP/CABINETS
• The top of the countertop should be 36in from the floor.
• The average space between a perimeter countertop and island is 48in.
-Bump this up to 60in if wheelchair access is required
– You can take this space down to 42in if space is limited (that’s what we have in our kitchen and really love it), 36″ is the minimum.
• Allow 12-18in for a countertop overhang that will be used for seating. The taller the seat, the shallower of an overhang you can get away with due to the angle of your legs. For example, if using tall bar stools, a 12in overhang is usually plenty. A regular bar stool would be between 12-15, whereas table height (a 30in tall counter, for example) would require at least 18 inches to be comfortable seating for most adults.
• When picking stools for a countertop, choose stools that allow 10″ of space between the top of the seat and the underside of the countertop.
• Allow 45-60 inches between a countertop used for seating and a wall or dining table. This ensures enough space for people to walk behind while someone is sitting there. 45 inches is usually plenty, though you can bump this up to 60in for wheelchair access.
• Allow at least 15in of space between the bottom of upper cabinets and the countertop beneath. We love 18″ and our bottom open shelves are 18″ above our countertops.
• The minimum width of a segment of countertop is 12in. If it will be used as a prep space, 36in minimum is recommended.
• Allow 2-3in of space on each cabinet edge that meets another cabinet or a perpendicular wall. This will allow drawers and doors to open freely once hardware is installed.
• Standard countertop to cabinet overhang is 2″. We prefer 1″-1.5.”
APPLIANCES
• The kitchen work triangle is a design concept that recommends that you place your three work areas (sink, refrigerator, and stove) in a triangular fashion. The total of all 3 legs of the triangle is recommended to be no more than 26 feet.
• Allow 12 inches of clear countertop space on both sides of a cooktop, 15 inches on both sides of a range.
• Allow for 26-36 inches of space between cooktop and range hood. 32in is a good middle ground that most people will feel comfortable with.
• If a microwave is in a base cabinet ensure there is at least 15in between the bottom of the microwave and floor.
• If a microwave is on a countertop, plan for at least 15 inches of countertop on either side.
• Ideal placement of the dishwasher is on either side of the sink, no more than 36″ apart. Where this setup is not an option, across from the countertop space that is next to the sink is a good option, allowing a person to stand directly in front of the sink still while they are loading it. I.E. it is not advised to put a dishwasher centered directly across from the sink.
PLUMBING
• Allow 18in of open countertop on either side of a sink.
• Pot fillers should allow 12-16in between the bottom side of the spout and top of the cooking surface. 12in will accommodate most large pots.
LIGHTING
• Plan at least 2 layers of light in your kitchen, operated separately.
- Task Lighting: brighter, even lighting (generally recessed). Task lighting’s purpose is to light your work surfaces so you can see as you work in the kitchen.
- Secondary lighting: slightly dimmer, warm lighting. This lighting is easy on the eyes and is meant to make the kitchen a pleasant space to be in when it’s not being used for cooking/cleaning. (check out this post for my bulb recommendations)
• Allow 30-40in between the bottom of an island pendant and the countertop
• To calculate the placement of pendant lights over an island, first divide the length of the island by how many lights you plan to use. This will give you the distance between lights. Divide that number in half and this will give you how far in the outside edge lights should be from the ends of the island. For example, if you have an island that is 60in wide and you want two pendants over it, the math would look like this:
60/2=30
30/2=15
You would put the lights 15in in from either end of the island, making them 30in apart. If you have an island that is 84 wide and you want three pendants, the math would look like this:
84/3=28
28/2=14
In this example, the edge lights would be 14in in from the outside edges, with the 3rd light centered 28in from the outside two.
The number of lights you choose will depend on the amount of light each fixture gives off, but you’ll usually want the pendants anywhere from 24-36in apart.
• If using recessed lights for task lighting, plan for fixtures to be 2-3 inches out from the outside edge of the countertop to prevent odd shadows cast onto the floor. Bring them 15-20in out from floor to ceiling cabinets.
• To calculate the placement of recessed lights that will act as task lighting in a kitchen, divide the height of the ceiling in half. This will give you the ideal distance between recessed (or “can light”) fixtures. So for a standard 8ft ceiling, recessed lights should be placed 4ft (48in) from one another. This will give the most even light without having dark spaces in the kitchen, but could be fudged out in instances where the spacing doesn’t work out exactly. You could go to 60in apart for 6in can lights that have flood lights that extend below the lip of the fixture (these will cone light outward more as opposed to down).
Don’t forget to Pin this post to save it for later!!
Leave a Reply
What do you think?


Semihandmade
Our wood grain Shaker cabinet fronts were designed for busy, high-traffic homes like ours. Clad with durable textured thermofoils, this line is compatible with Sektion, Akurum, Godmorgon, and Besta cabinets from IKEA. It's the perfect, practical way to add the warmth of wood to all the rooms of your home.
Collaborations
learn more

next
Loloi
We have teamed up with Loloi to create a line of rugs that are as affordable as they are beautiful. This collection houses a great mix of traditional and modern rugs, in cottage-y colorways, as well as vintage-inspired beauties that you’ll want to roll out in every room.
Collaborations
learn more

next
STUGA
We partnered with Stuga on a line of hardwood floors — The Ingrid is really livable, and the color is very neutral. It doesn’t lean warm or cool, it’s that just right in-between. We have really loved putting it everywhere in our house. It’s the best jumping-off point for design, no matter your interior style. In addition to being beautiful, Ingrid is really durable — we have three kids, and we always have a home construction project going on. Ingrid stands up to it all.
Collaborations
learn more

next

SHop all
What We're Right Now
What We're Right Now
Looking for our favorite things? A place to shop our home room by room, or just catch up on what Julia's wearing / loving right now? Browse the CLJ shop.
Loving


Portfolio


Design
Befores, afters, mood boards, plans, failures, wins. We’ve done a lot of projects, and they’re all here.
BROWSE BY CATEGORY
let's break this thing up
We have a long-standing relationship with DIY, and love rolling our sleeves up and making it happen.
Projects
Even when you don’t want to rip down a wall, you can make that space in your home better. Right now.
read more
read more
read more
02
01
03
looking for inspiration?
A reader recently asked me if I’m starting to fully embrace traditional style and whether we still consider our house to be a “modern Colonial” and why. It was a really great question and so timely — I had really just been thinking about my approach to this home and how my style has changed […]


SEARCH THE BLOG
We've been doing this since 2009 and we've posted a whopping 24145+ blog posts and counting. You might need a little help searching, huh?
looking for something?
find stuff like:
")
Can We Send You Our Love Letter?
Another way for us to stay in touch! Joining our weekly newsletter gives you access to exclusive content, never-before-seen photos, your questions answered, and our favorite DIYs. Sign up below!
Follow Along on Instagram
Welcome to our online community where we've posted home, DIY, style, renovations, and family since '09. Renovating our #cljmoderncottage in Idaho and headed for new adventures in Raleigh, NC. #cljfam #cljtransformations
@chrislovesjulia


Links
Get Around
Make yourself right at home
Portfolio
Design
Casual Friday
Projects
Lifestyle
Gift Guides
All Posts
Shop
Love where you live.
Social
RivrLinks
Links
Get Around
Make yourself right at home
Portfolio
Design
Casual Friday
Projects
Lifestyle
Gift Guides
All Posts
Shop
Love where you live.
Social
RivrLinks
This cheat sheet is fantastic! Th details you provide are awesome. The “shop your house” links are invaluable. I am so excited that I stumbled onto your website while searching for fireplace surround ideas. You two are amazing, talented, and fun!!
I’m not ashamed to say that I’ve spent three days of my vacation intermittently stopping by your website. I am currently making several changes in my home. It’s a beautiful house but has become dated, stale and boring. You guys have inspired me.
Keep up the amazing work! I love it!
This is super helpful! One question for you and all of your expertise! We purchased one of those appliance suites that included an above the range microwave. Do you know of any way to use it/install it in a lower cabinet in an island? I’d hate to tell it in order to purchase a different once if we don’t have to. #PleaseHelp
I’m not sure! Maybe google around
One of the best, most comprehensive guides I’ve seen and I love scouring the internet. It’s hard to know these numbers that I’m sure come easy to designers. For an amateur like me, I feel lost often and your cheatsheet helps! Thank you!
This so so helpful! I’ve tried so hard to find an article or something with all of this information. So, THANK YOU! I’ve been putting off redoing my kitchen cabinets but this info makes me feel a lot more comfortable about finally getting started!
This is a fantastic post, thanks so much! Just wondering what are your thoughts on how far apart spotlights should be in a vaulted ceiling. Should I calculate the height from the very highest point would you think? Thanks!!!
Yeah I would suggest going from the highest point. That will allow much fewer lights and the cone shape of the light will work well with the angled ceilings.
How high should outlets be from the countertop? Would absolutely love it you did a cheat sheet for bathrooms! Undergoing a kitchen and bathroom renovation and completley underestimated all the measurements involved.
You’ll want to look at your local building codes for that!
Love this cheat sheet thanks so much! I see you recommend 18” from countertop to open shelves. How deep are your open shelves?
They are 12″ deep (the same depth as most upper cabinets)
“Allow 45-60 inches between a countertop used for seating and a wall or dining table. This ensures enough space for people to walk behind while someone is sitting there. 45 inches is usually plenty, though you can bump this up to 60in for wheelchair access. ”
How much more room if the island seating is across from a dining table rather than a wall. If someone is seated at a dining table and the seat is pushed out, there’s less room between the person at the dining table and the person seated at the island.
Our table is about 60″ away from our island (maybe a tad less even) and it works! When we have people over, we generally have the kids on barstools and adults at the table and there’s still a passthrough between the two.
I would love a post on the order of operations for a big remodal such as a bathroom or kitchen, my husband are planning several big renovations over the next two years and while I know what needs to happen I am not confident in how to line it all up if that makes sense.
What a great, comprehensive guide! It’s a keeper, for sure.
Hi Chris and Julia,
Nice cheat sheet – However, I think you should make it clear in your article that codes can, and do, vary state state, province to province, country to country etc.
You note that a minimum 15″ clearance is required from the CT to the underside of the cabinet. In many places this WOULD NOT pass code, as a MINIMUM of 18″ is required. Anything above and beyond the 18″ is personal, but building codes (and NKBA guidelines) are quiet definite in the minimum clearances allowed.
Also something to note – if the client is waiting an exposed light valance, then the clearance is calculated from the top of the CT to the underside of the LV, NOT the cabinets. Something many people get tripped up on – and again, can make you in violation of the building code.
(Source: I am a professional kitchen designer and deal with building codes and clearance dimensions daily)
Considering heat, grease splatters, etc., what is the minimum height of a pendant over the CT?
Perfect timing on this for me! I’m an architect, but don’t work in residential and as I work on my kitchen design I’m learning so much. Would you be willing to do a similar post about tips or hacks you’ve learned working with IKEA cabinetry? For example, hacks for dealing with cabinets in corners? I don’t like ikea’s angled door on their upper corner cabinet.
If IKEA does not have a blind corner or a pie cut/piano hinge corner cabinet option.. Consider voiding the corner out entirely.
A square corner cabinet configuration (that uses a void corner space between cabinets) will feel more modern and fresh than a traditional angled cabinet corner solution. Don’t forget adequate filers to accommodate door swings and cabinet hardware!
(Apologies if this posted twice…my phone and connection is being very uncooperative!)
Sure thing! In the Fullmer kitchen, we are actually stopping the upper cabinets short and doing two rows of open shelving to complete the corner! Excited to share soon.
This is very helpful. Any plans to do a similar post for a full bathroom?
I love this post!!! Will definitely be referring back to it for our next renovation!! Thanks for sharing all your experience and insight with us! ❤️
Hi Julia, thanks for sharing this! I don’t think I read it in the post but should the height of an island also be 36in from floor to countertop? Are islands usually the same height as the perimeter countertops or can it be taller? Thank you!
Most of the time, they are the same height as the perimeter countertops. Some people choose to do a stepped island, where it goes from counter-height to bar-height–I just don’t prefer that.
Awesome and timely post! We’re considering remodeling our first floor instead of moving/building, and this helps me visualize the space we’d need to build in around around proposed new kitchen. So helpful, thanks!!
This is going to be such a helpful post as we start to plan our own kitchen remodel! Thanks for taking the time to put it together!
This post is amazing! Thank you! The pendant lights over an island info is especially helpful! I know a lot is dependent on style/look/feel, but size ranges for island pendants would be another helpful tip (i.e.: if it’s a 60″ island, then 2 15″-18″ diameter pendants or 3 8″-12″ diameter pendants are ideal).
Continually devastated for you and the A-frame, but from a reader’s perspective, the content you’ve been sharing since, presumably to “fill” your blog calendar” has been really fabulous! I don’t think it’s the content you planned on this spring, but it’s been really helpful, translatable content! So thank you for continuing to create and share!
I couldn’t agree more!
This is so helpful! Thank you :)
Great tips! What about the distance from bottom of hood to gas cooktop?
Allow for 26-36 inches of space between cooktop and range hood. 32in is a good middle ground that most people will feel comfortable with.
32″ is a great middle ground, but double check your exact range model number with your model of your blower/ hood – this can be a very important code violation that will get your red tagged and also will make a difference on your air flow for the hood and what it will suck up. :)) With gas, some will specify 30″ maximum and some will be okay with as high as 36″. (this is mainly because of the output of fumes and heat/smoke. You want that out of the house with a powerful gas rangetop and if it’s too far away and not powerful enough, it won’t go out.) Hope that helps – such great tips on this article!
For a first time homeowner, this is amazing. Thank you!
Holy smokes. What a helpful post. THANK YOU for putting this together! It will come in so handy!
This is SO helpful and timely! Getting ready to start an Ikea/Semihandmade kitchen remodel. Thanks for awesome content as always!