


Before I even start trying to break down this process for you from observing and interviewing Chris, I have to note–he did this one all by himself. We planned on adding planked walls to the lower half of this hall bath, but when? When I stopped throwing up all day. I wasn’t sure. Last week, I flew to Ace Hardware headquarters in Chicago for a couple days (let’s chat about that later) and when I got back, he had bought all the supplies and made a good dent in the project. Now that he finished all the paneling and the trim is in place–we thought we better write about the process, although there’s still spackling, sanding, priming and painting to do before we can mark her “done.” So, let’s say this is part 1 of 2.
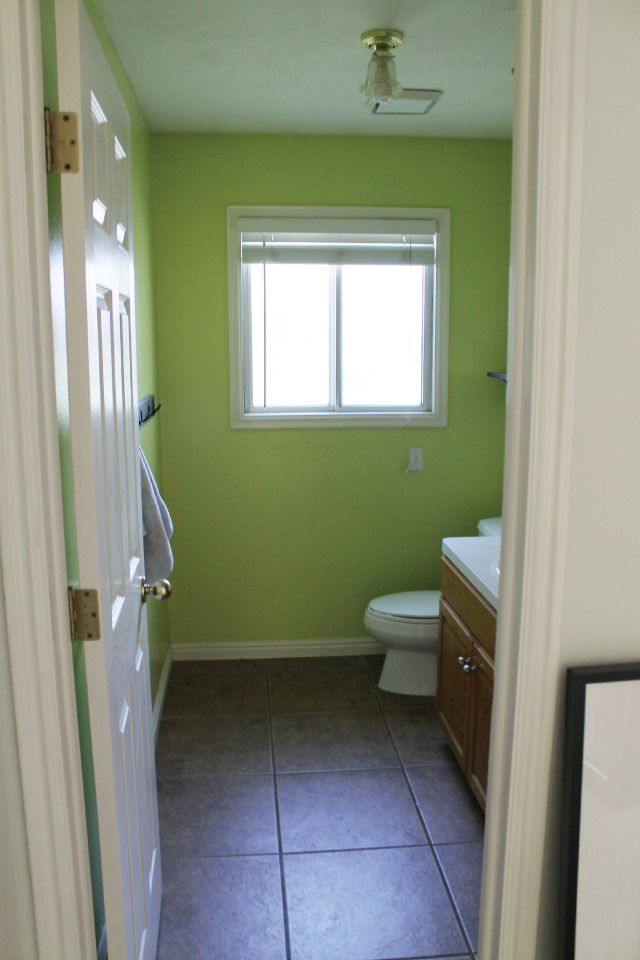
As a reminder, here’s where we started:
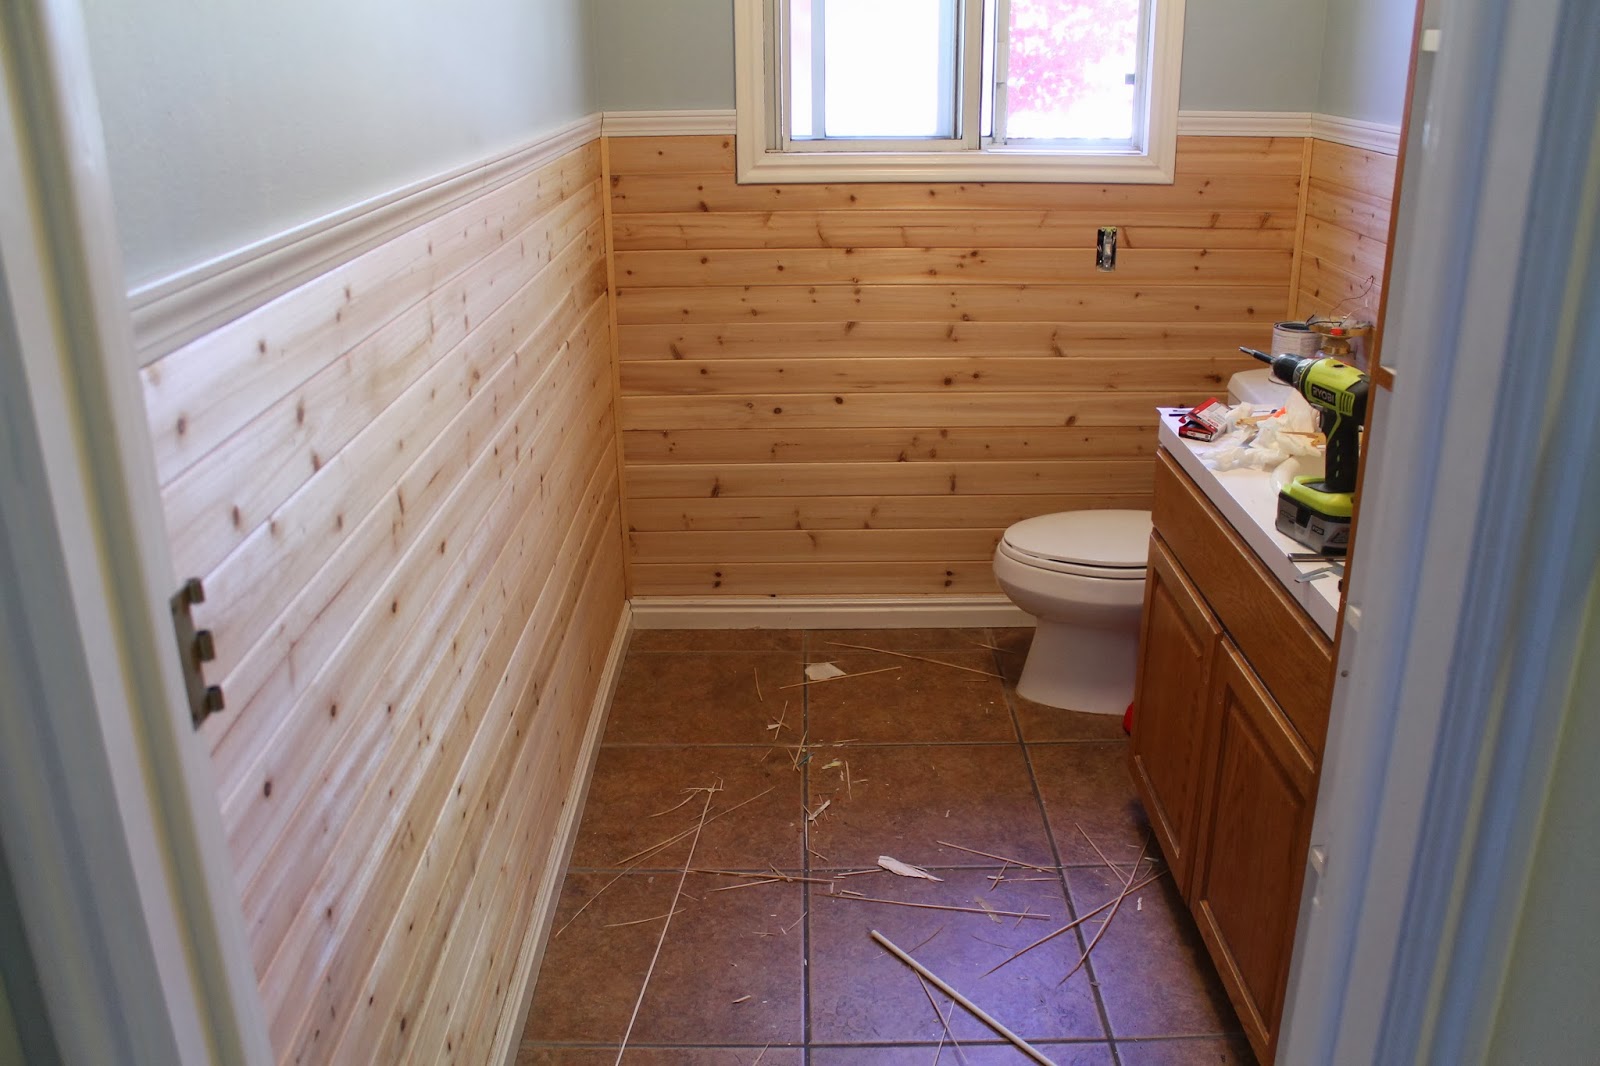
And after paint on the top half of the room, and planking on the bottom, here’s how it’s looking now:
For this project, Chris used:
- 3.5″x8′ tongue and groove cedar planking. (It came in a pack of 6 from Lowe’s and he bought 6 packs)
- Stud finder
- Finish nailer
- Liquid nails for paneling
- Chair rail
- Corner molding
- Shims
- Re-used the existing baseboards
To start, he removed all the baseboards and marked where the studs were on each wall. To save time, he used the stud finder and marked where each stud fell, then used a level to draw a line straight up and down from that point. With the level out, Chris checked the floors really quick to discover they weren’t completely level. So the first plank, he put some Liquid Nails on the back and stuck in on the wall and shimmed it until it was level and then nailed it in place with the nail gun. Luckily, the main wall in this bathroom was exactly 8 ft long, the length of the planks, so there was no measuring or cutting right off the bat. We really wanted solid planks, so Chris planned all the cuts around the room so the only seams visible are behind the toilet. So–not really visible. My man.
The rest of the process involved a lot of repetition. Some of the grooves weren’t notched out very well, so he used a razor blade knife to manually cut the grooves or remove pieces that were already breaking off. He would also check to make sure everything was level ever 5-6 planks. The planking extends 4 ft up the wall (not including the top casing), or 14 planks.
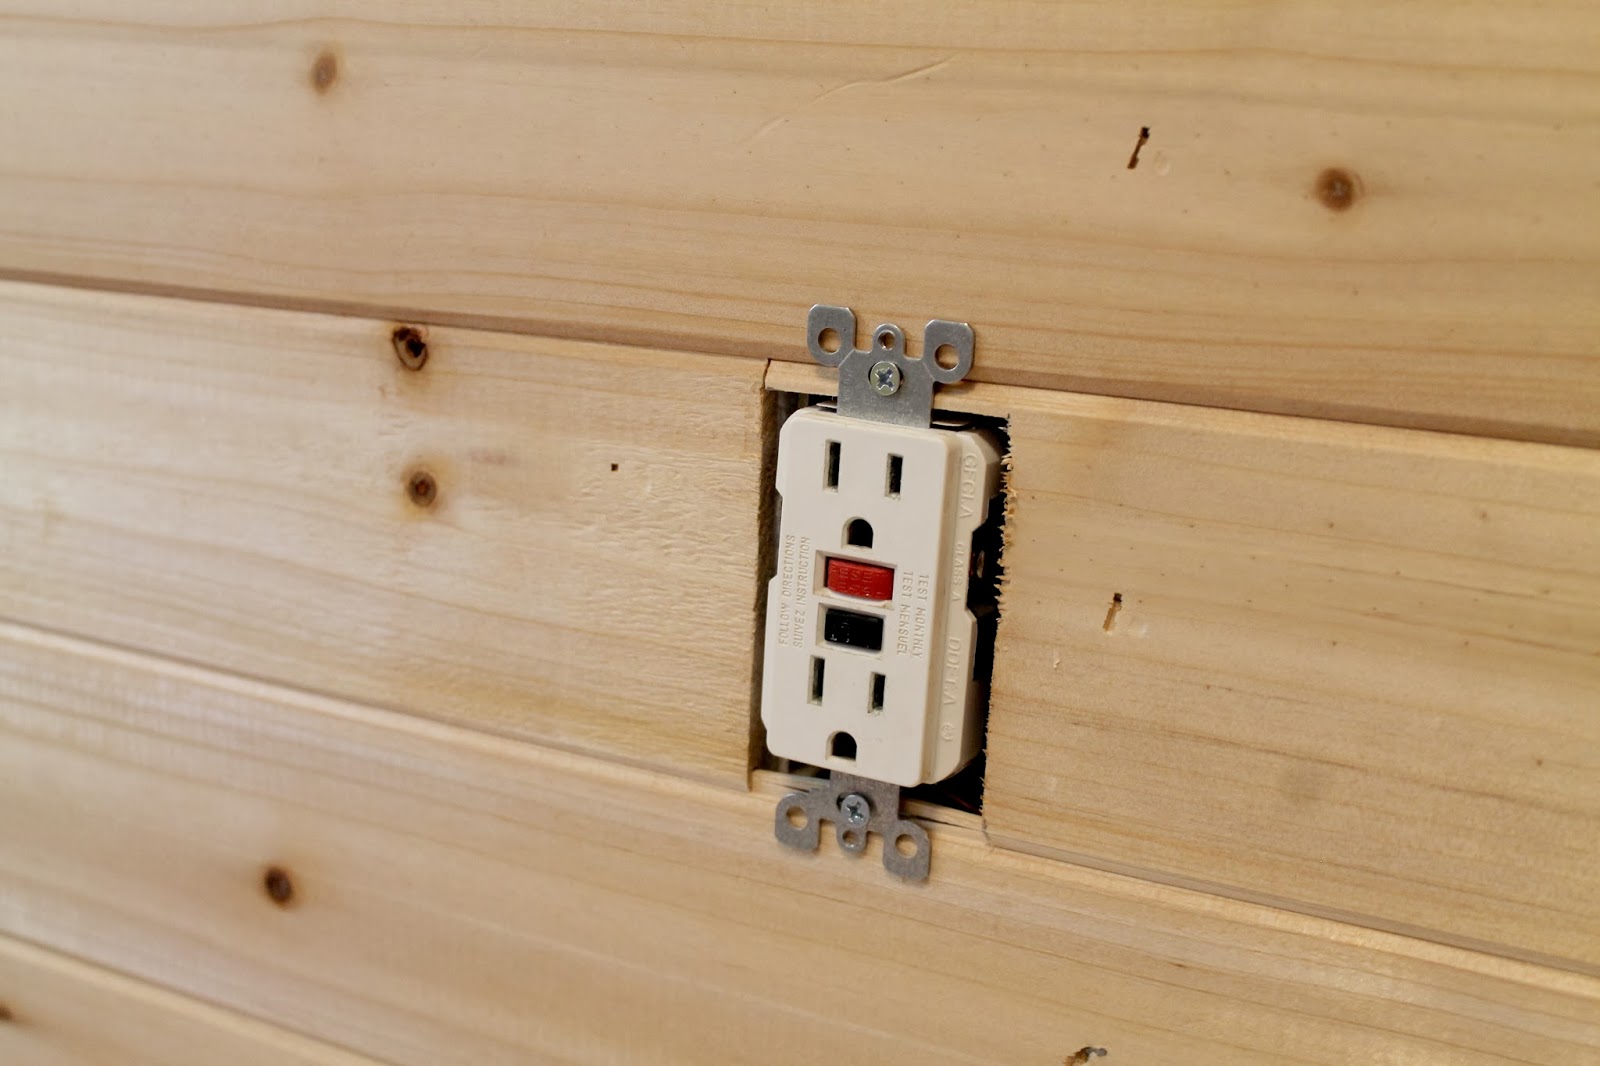
Around the plugs and light switches, Chris unscrewed each receptacle and pulled it out a little, then after cutting the planks to fit around them, he screwed the switches back in on top of the cedar.
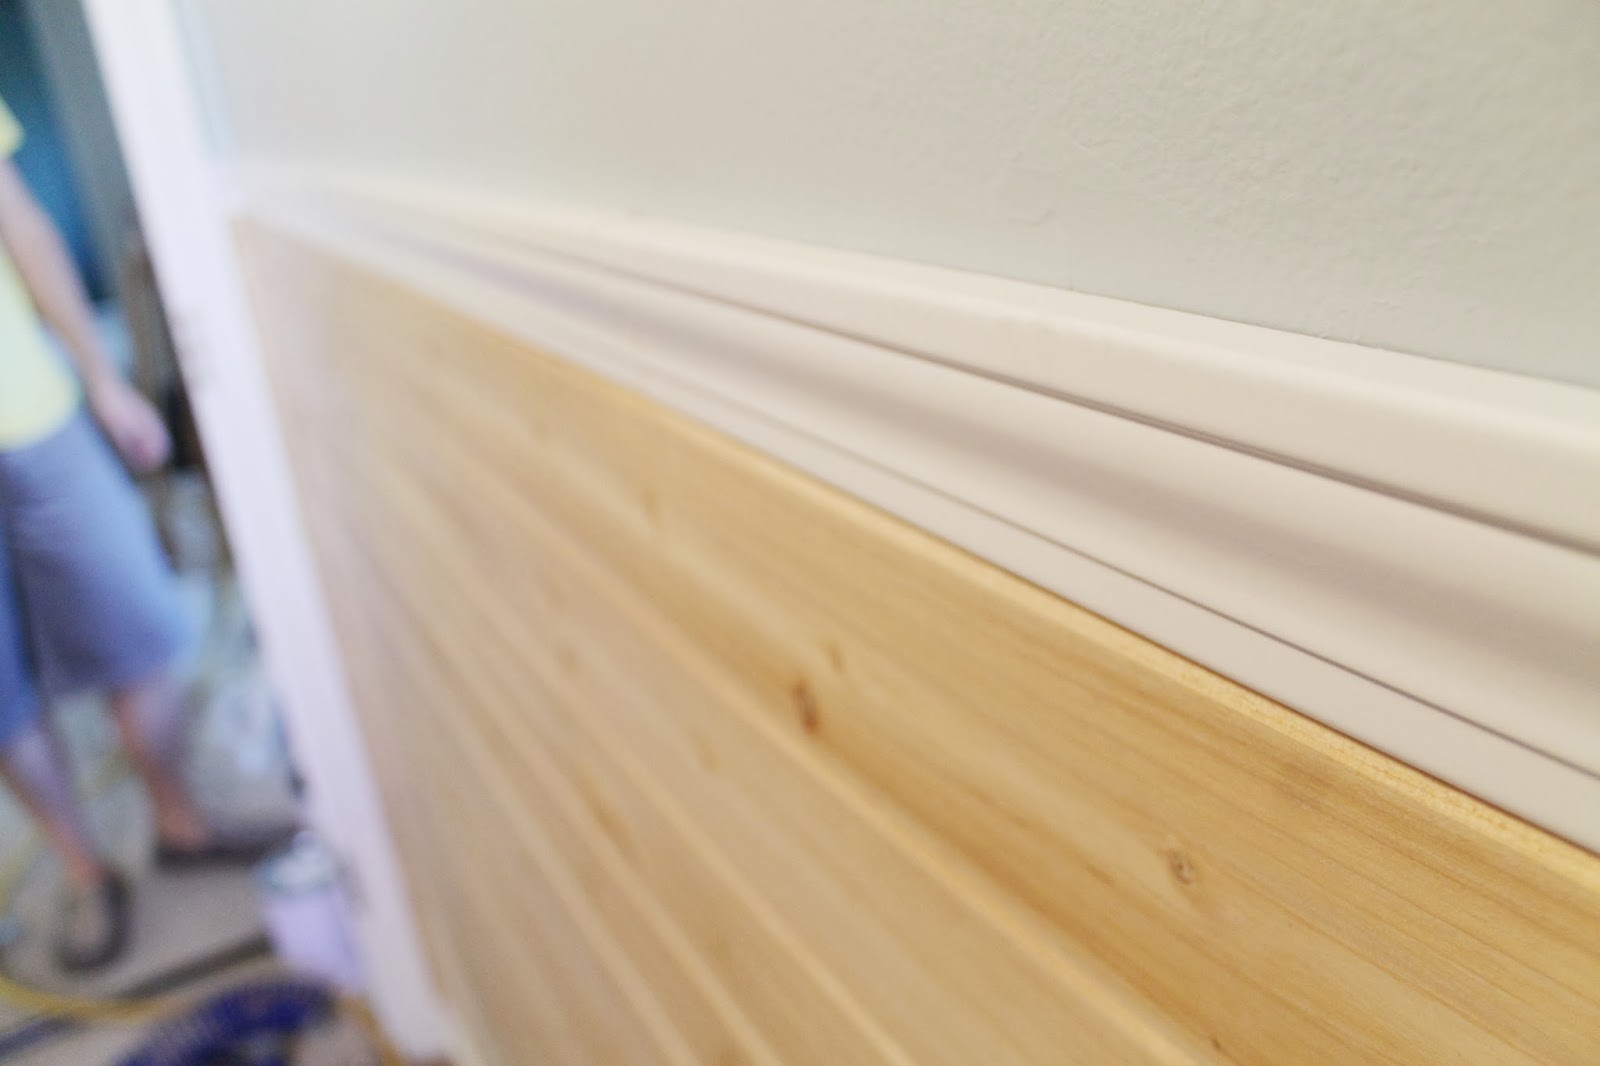
To finish it off, we added corner molding, chair rail, and reattached the baseboards after trimming them down just a little since they now sat on top of the planks.

Are we behind schedule? Considering our party is on Saturday and today is…Thursday? Yes! Yes we are. We got notice Monday that all of our accessories got shipped to our last address. Oh, boo. They are on their way here now, but we’re not sure if they are going to make it in time. We are going to just keep going for it. We’re good under pressure. Real good. But this good? Time will tell. Hopefully we’ll have it all painted for tomorrow’s post!
Leave a Reply
What do you think?


Semihandmade
Our wood grain Shaker cabinet fronts were designed for busy, high-traffic homes like ours. Clad with durable textured thermofoils, this line is compatible with Sektion, Akurum, Godmorgon, and Besta cabinets from IKEA. It's the perfect, practical way to add the warmth of wood to all the rooms of your home.
Collaborations
learn more

next
Loloi
We have teamed up with Loloi to create a line of rugs that are as affordable as they are beautiful. This collection houses a great mix of traditional and modern rugs, in cottage-y colorways, as well as vintage-inspired beauties that you’ll want to roll out in every room.
Collaborations
learn more

next
STUGA
We partnered with Stuga on a line of hardwood floors — The Ingrid is really livable, and the color is very neutral. It doesn’t lean warm or cool, it’s that just right in-between. We have really loved putting it everywhere in our house. It’s the best jumping-off point for design, no matter your interior style. In addition to being beautiful, Ingrid is really durable — we have three kids, and we always have a home construction project going on. Ingrid stands up to it all.
Collaborations
learn more

next

SHop all
What We're Right Now
What We're Right Now
Looking for our favorite things? A place to shop our home room by room, or just catch up on what Julia's wearing / loving right now? Browse the CLJ shop.
Loving


Portfolio


Design
Befores, afters, mood boards, plans, failures, wins. We’ve done a lot of projects, and they’re all here.
BROWSE BY CATEGORY
let's break this thing up
We have a long-standing relationship with DIY, and love rolling our sleeves up and making it happen.
Projects
Even when you don’t want to rip down a wall, you can make that space in your home better. Right now.
read more
read more
read more
02
01
03
looking for inspiration?
A reader recently asked me if I’m starting to fully embrace traditional style and whether we still consider our house to be a “modern Colonial” and why. It was a really great question and so timely — I had really just been thinking about my approach to this home and how my style has changed […]


SEARCH THE BLOG
We've been doing this since 2009 and we've posted a whopping 24145+ blog posts and counting. You might need a little help searching, huh?
looking for something?
find stuff like:
")
Can We Send You Our Love Letter?
Another way for us to stay in touch! Joining our weekly newsletter gives you access to exclusive content, never-before-seen photos, your questions answered, and our favorite DIYs. Sign up below!
Follow Along on Instagram
Welcome to our online community where we've posted home, DIY, style, renovations, and family since '09. Renovating our #cljmoderncottage in Idaho and headed for new adventures in Raleigh, NC. #cljfam #cljtransformations
@chrislovesjulia


Links
Get Around
Make yourself right at home
Portfolio
Design
Casual Friday
Projects
Lifestyle
Gift Guides
All Posts
Shop
Love where you live.
Social
RivrLinks
Links
Get Around
Make yourself right at home
Portfolio
Design
Casual Friday
Projects
Lifestyle
Gift Guides
All Posts
Shop
Love where you live.
Social
RivrLinks
I would really like to know how you reconciled the tongue on the top most board with the chair railing. The chair railing does not have a groove where the tongue will fit. Did you cut the tongue and then butt the railing against it?
Love it.. wouldn’t have gone up that far with the planking though. Great work guys!
Love it. I did this but I’m debating painting it. Did you plan to paint yours? Mine has turned a little yellow.
Yes, we painted it. Check out this post!
Neat idea, great look, but, doing that with the switches/outlets is a major fire hazard! The receptacle has to be completely in the “gang” (box) to achieve its rating. If ever a fire, most insurance companies won’t cover non-code compliant modifications to electric, if that’s what caused the fire.
What color did you paint the top of the wall? I currently have planking on the bottom half of the kitchen walls and am looking for a color to match it. I’m eventually going to paint them white, probably not until the spring though.
Hale Navy by Ben Moore.
Love it. Looks like pine and not pink like cedar though!
I absolutely Love this!! We are closing on a 5 BR 3 BA 1960 home and your blog is life!!!!! So many amazing ideas ..too excited!
When someone writes an article he/she retains the idea of a user in his/her brain that
how a user can understand it. Thus that’s why this article
is outstdanding. Thanks!
Ah! I can’t wait to see how this turns out! It’s going to be amazing!
we did this to a hallway in our home. its honestly one of my favorite places too. cant wait to see it painted!
Man I almost don’t want you to paint those planks, they look so good! So fresh and clean.
I think those planks look AWESOME without additional color on them! i have full faith that they will look even better finished though!
So beautiful! What color are you painting the planks?
clean, fresh, and pretty. I like it!