


Before removing or altering any walls in your home, please be sure to consult with a licensed structural engineer and, if required, obtain the proper permit from your city.
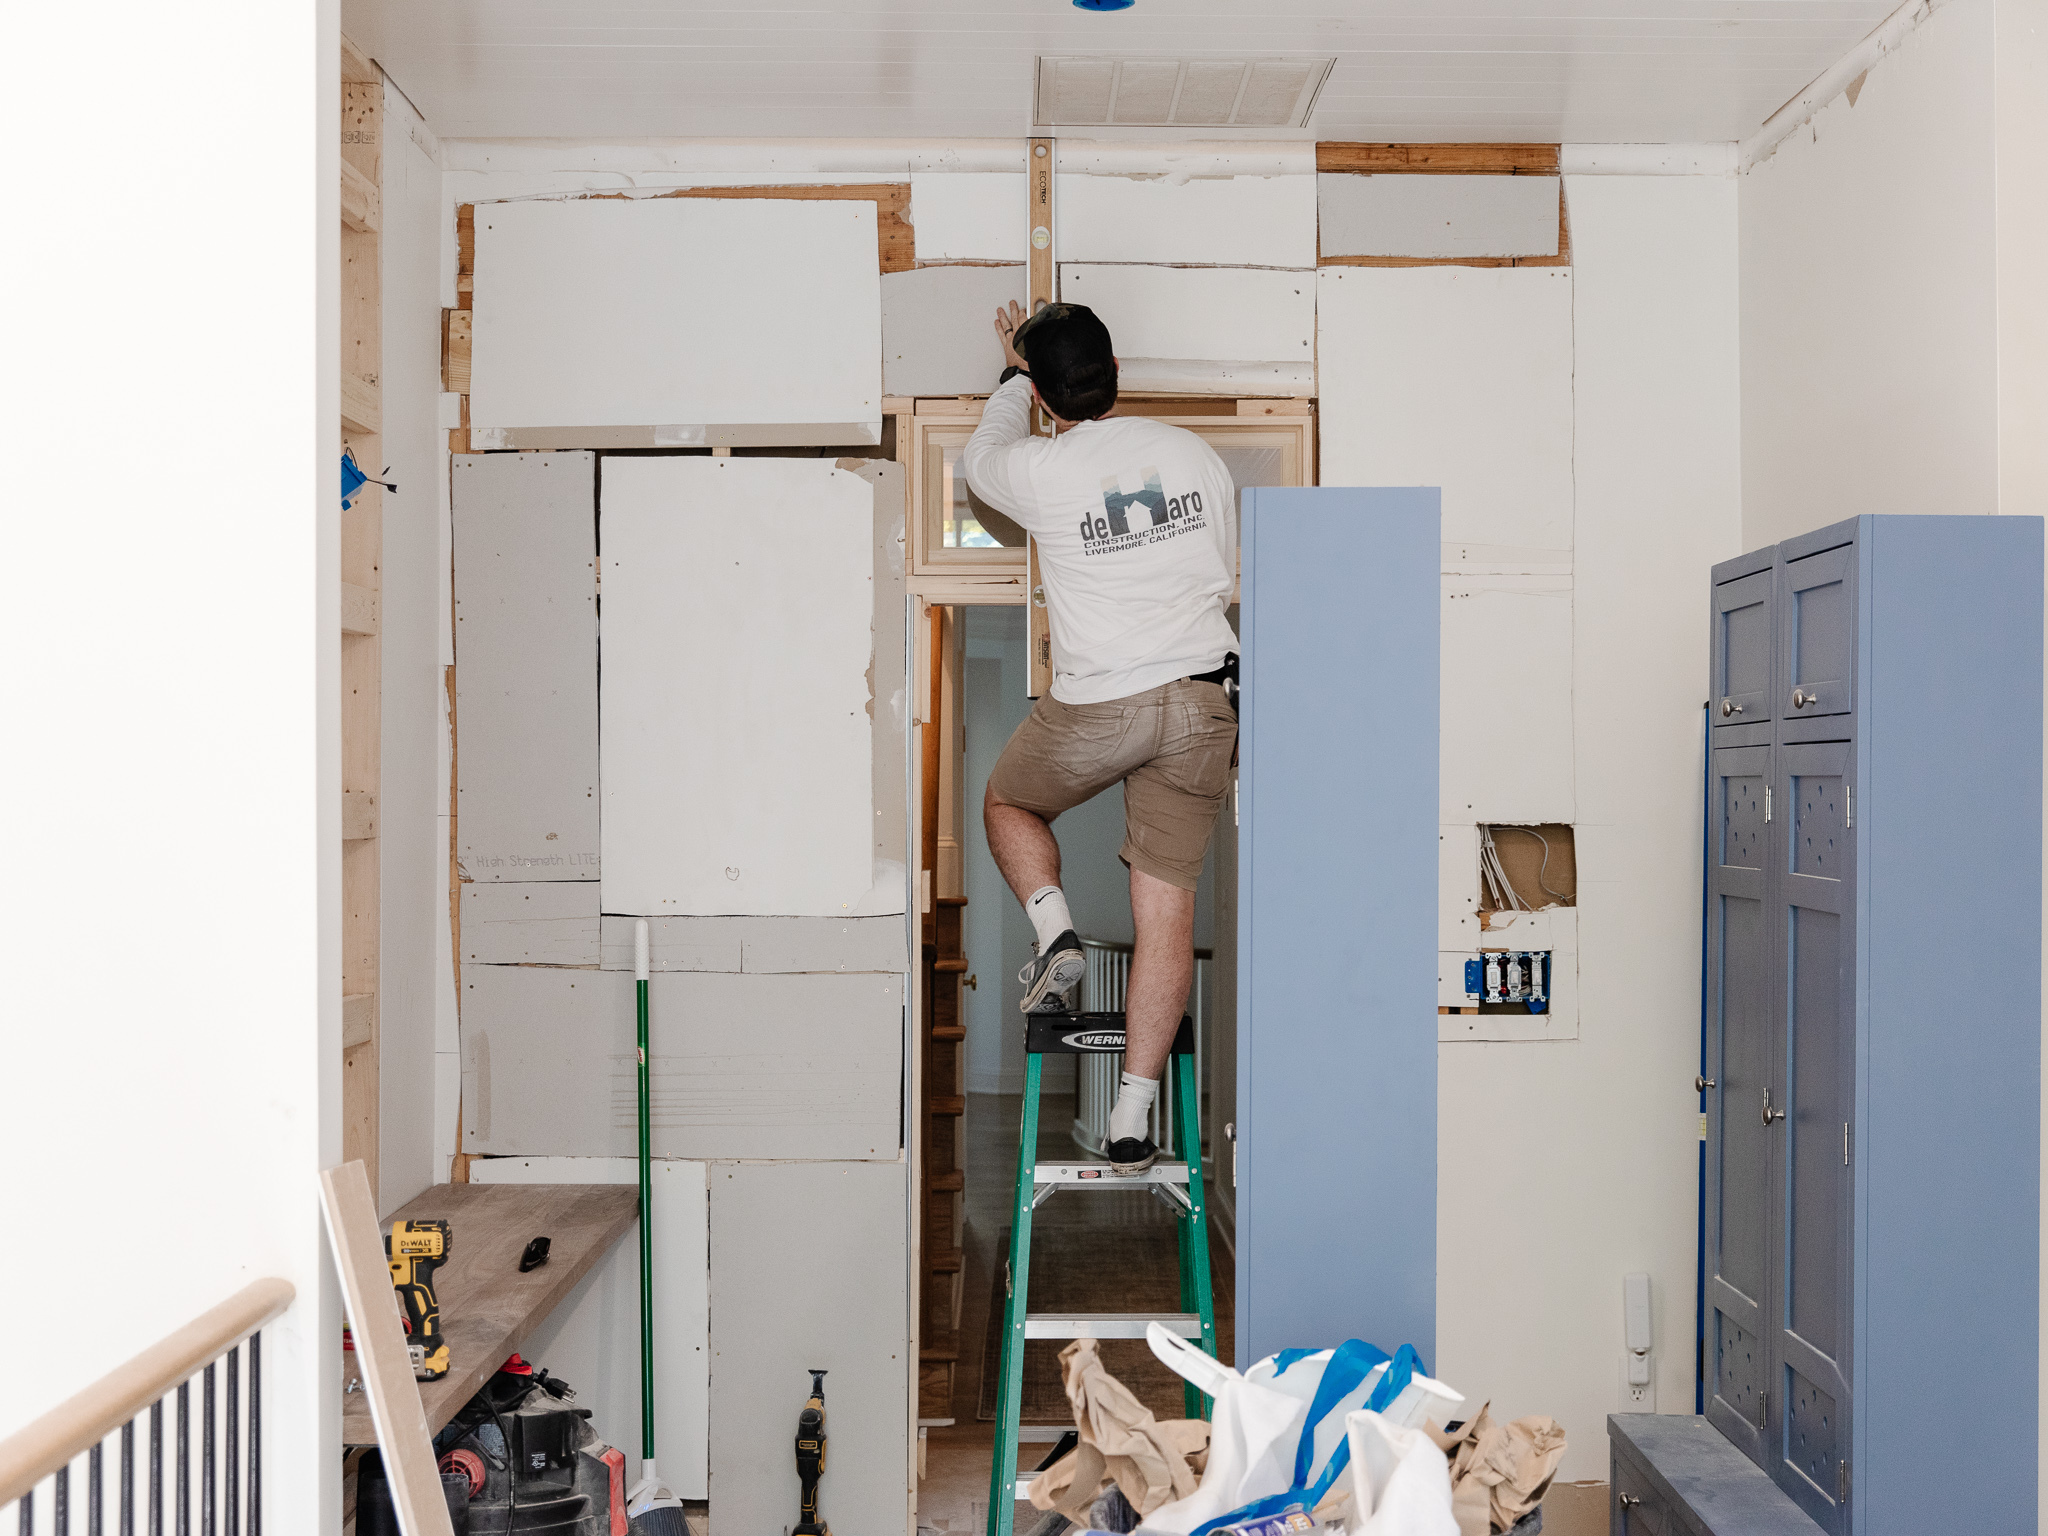
When we made the decision to add a transom window above the door between our family room and the girls’ bedrooms, we kept our fingers crossed that it would be a simple process we could do ourselves. Typically a space above a door is simple to handle, structurally, because they should already have proper headers. But then we added a pocket door to the plan, which gets a little trickier, because header sizes have to be adjusted and calculated based on span, load, and a whole range of factors.
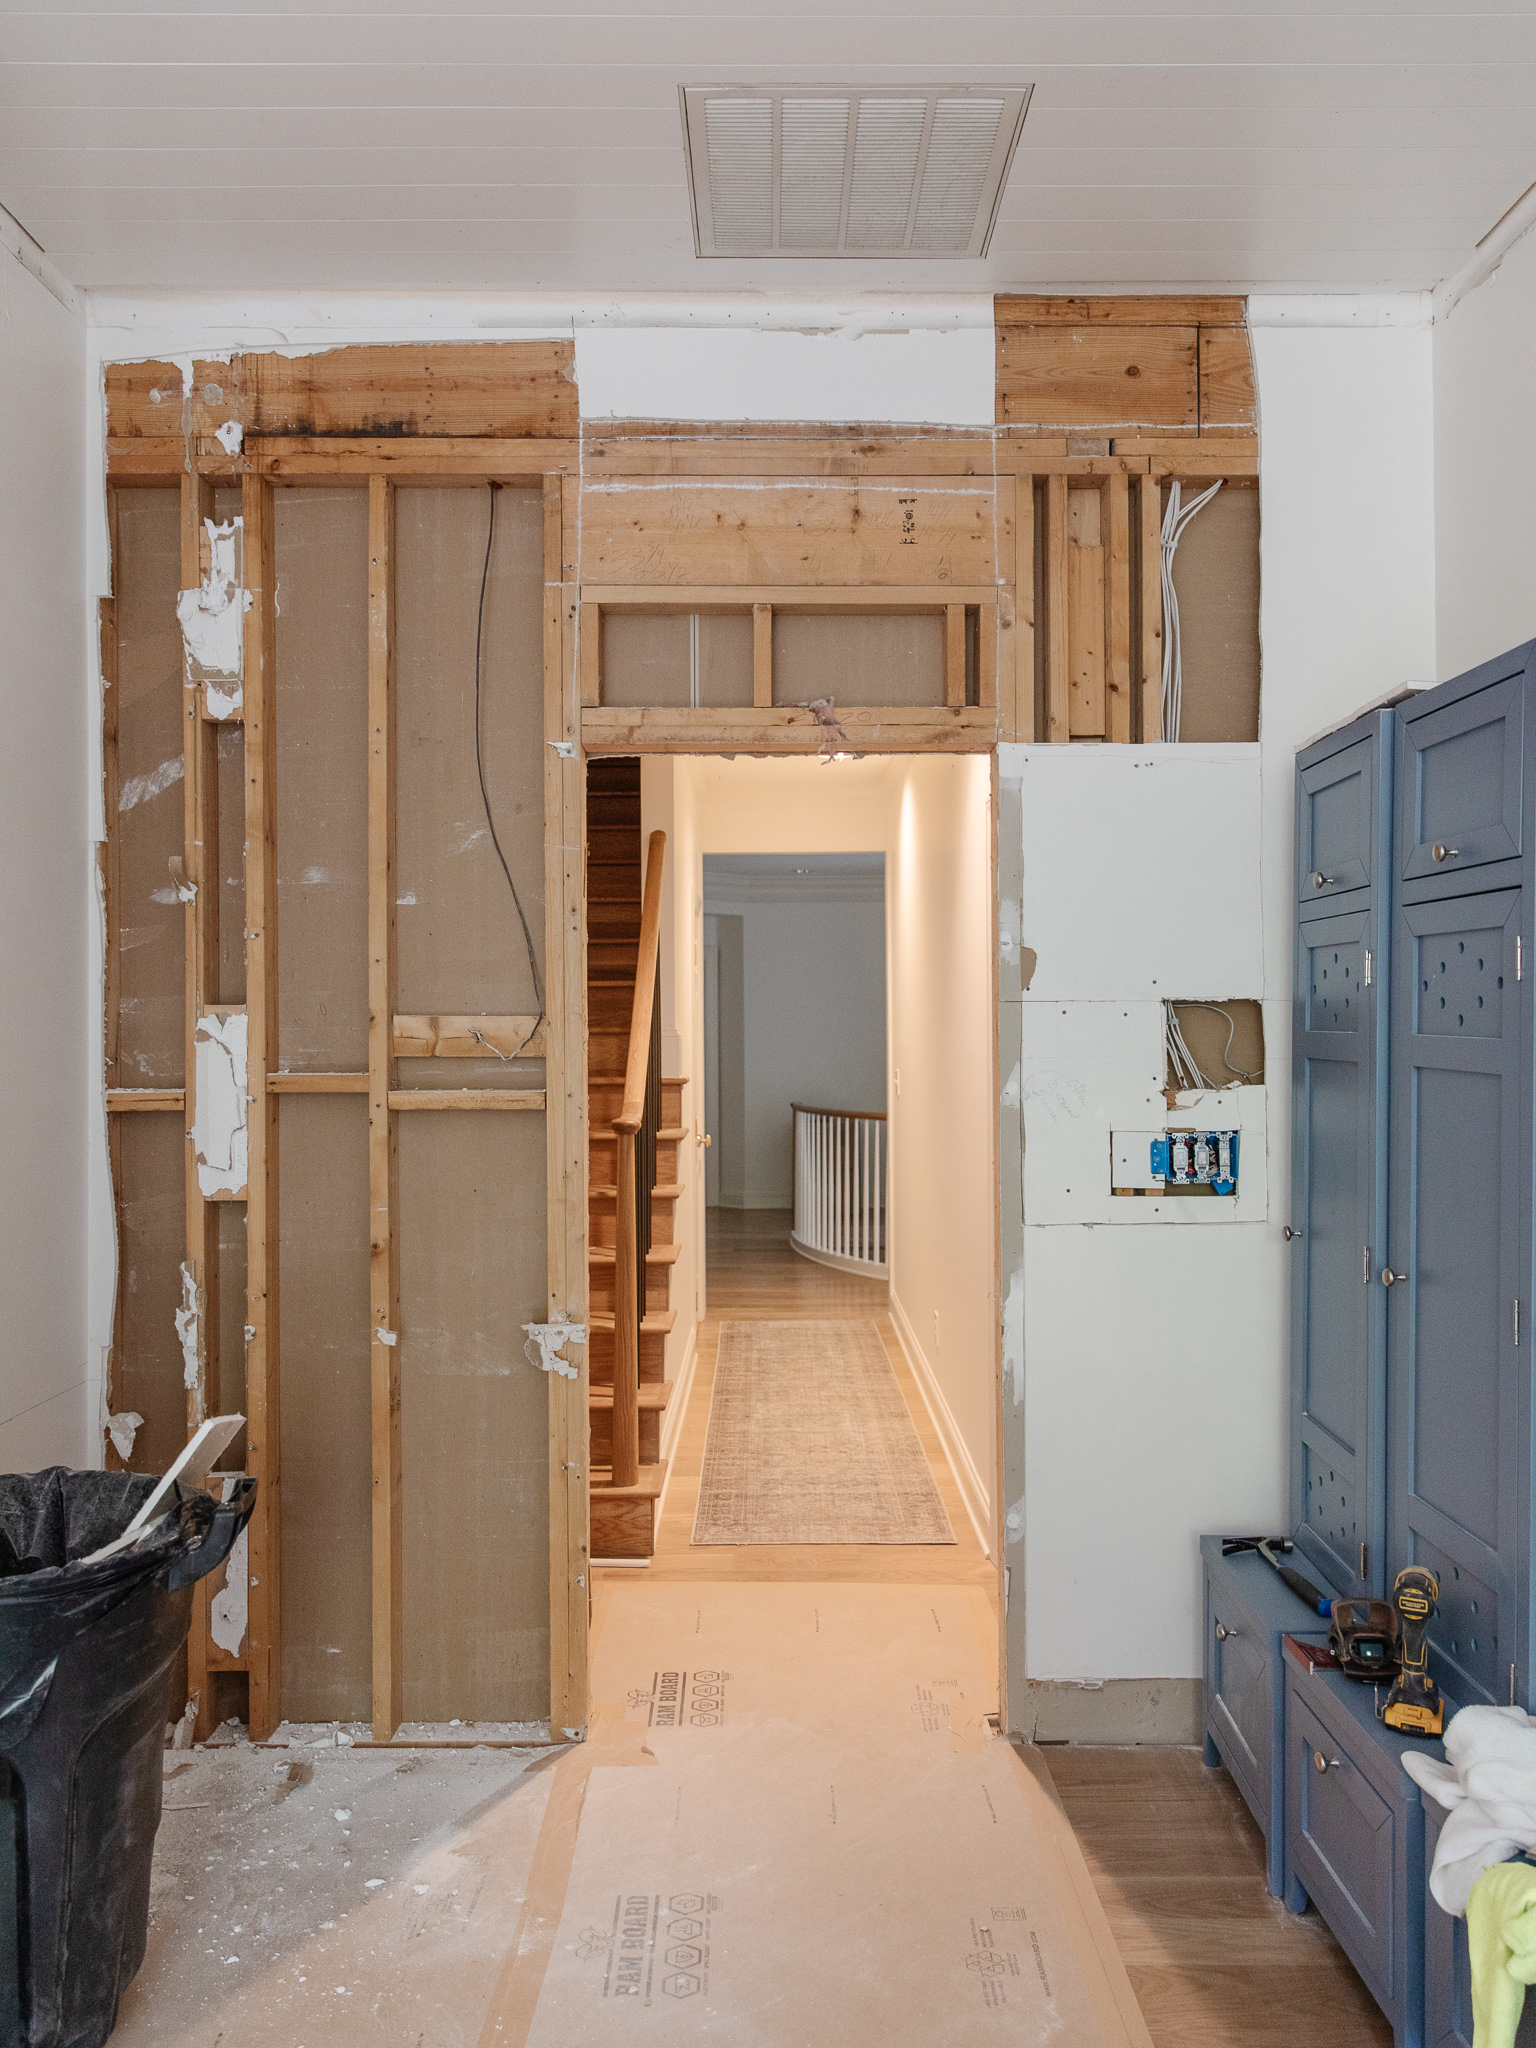
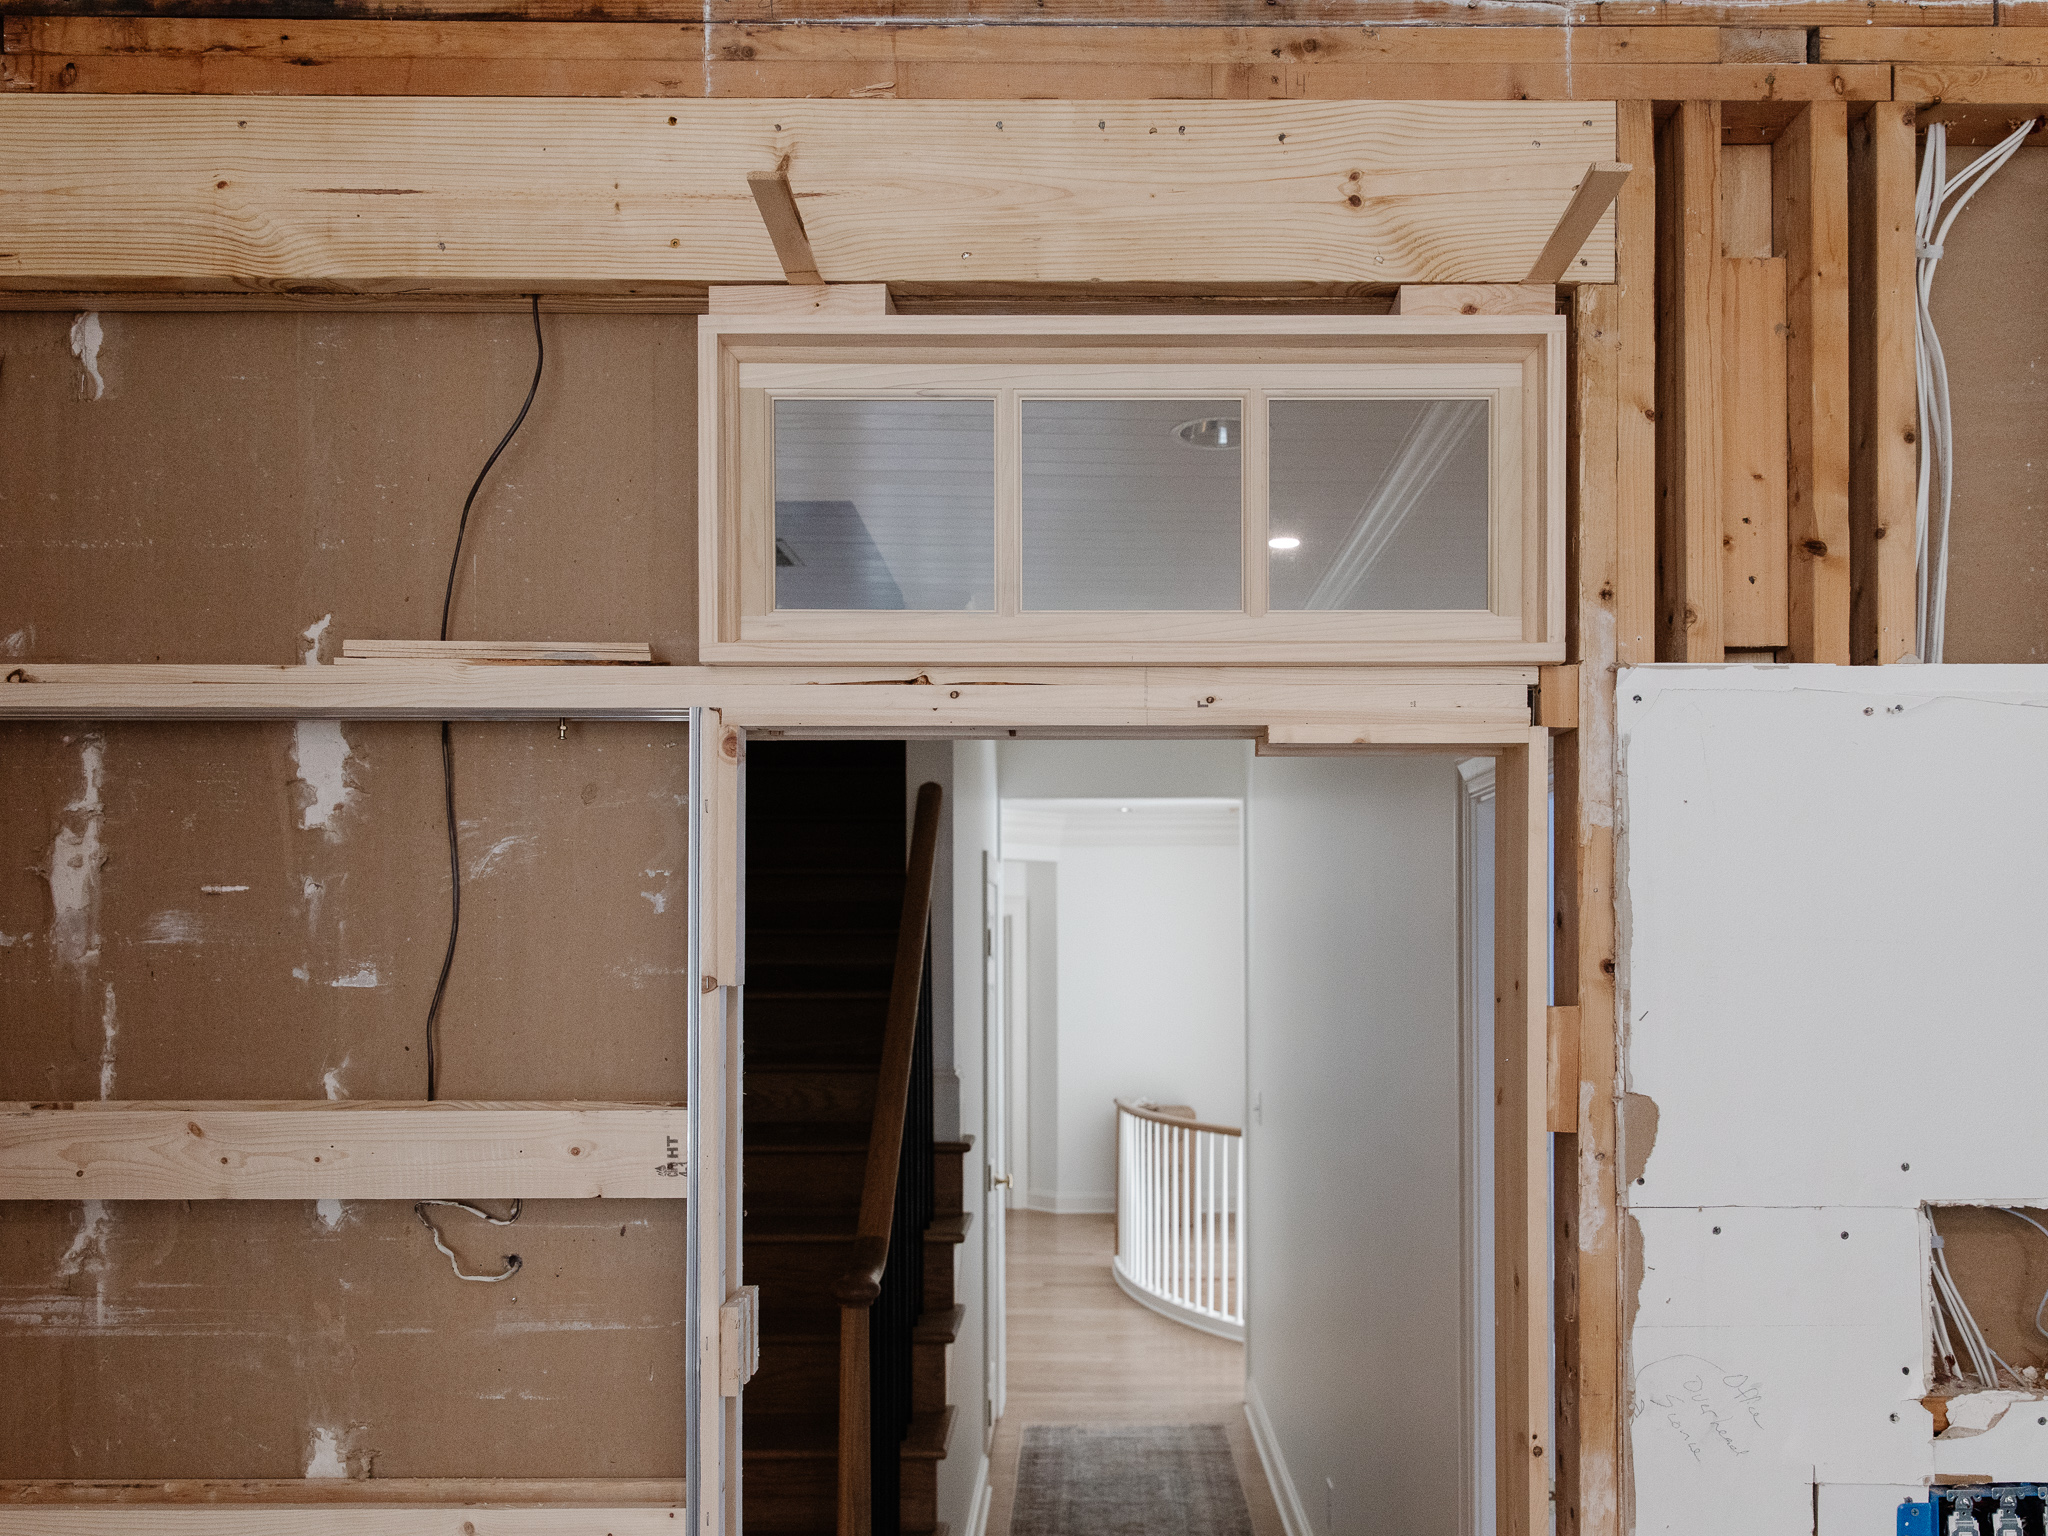
Thankfully, after cutting open the wall to see what we were dealing with (and talking it through with a structural engineer), it was discovered that we had a main support running right along the top of this wall, with anchor points just beyond view of our cuts, so we could adjust the framing as needed without impacting the structural integrity of the wall. Best news!
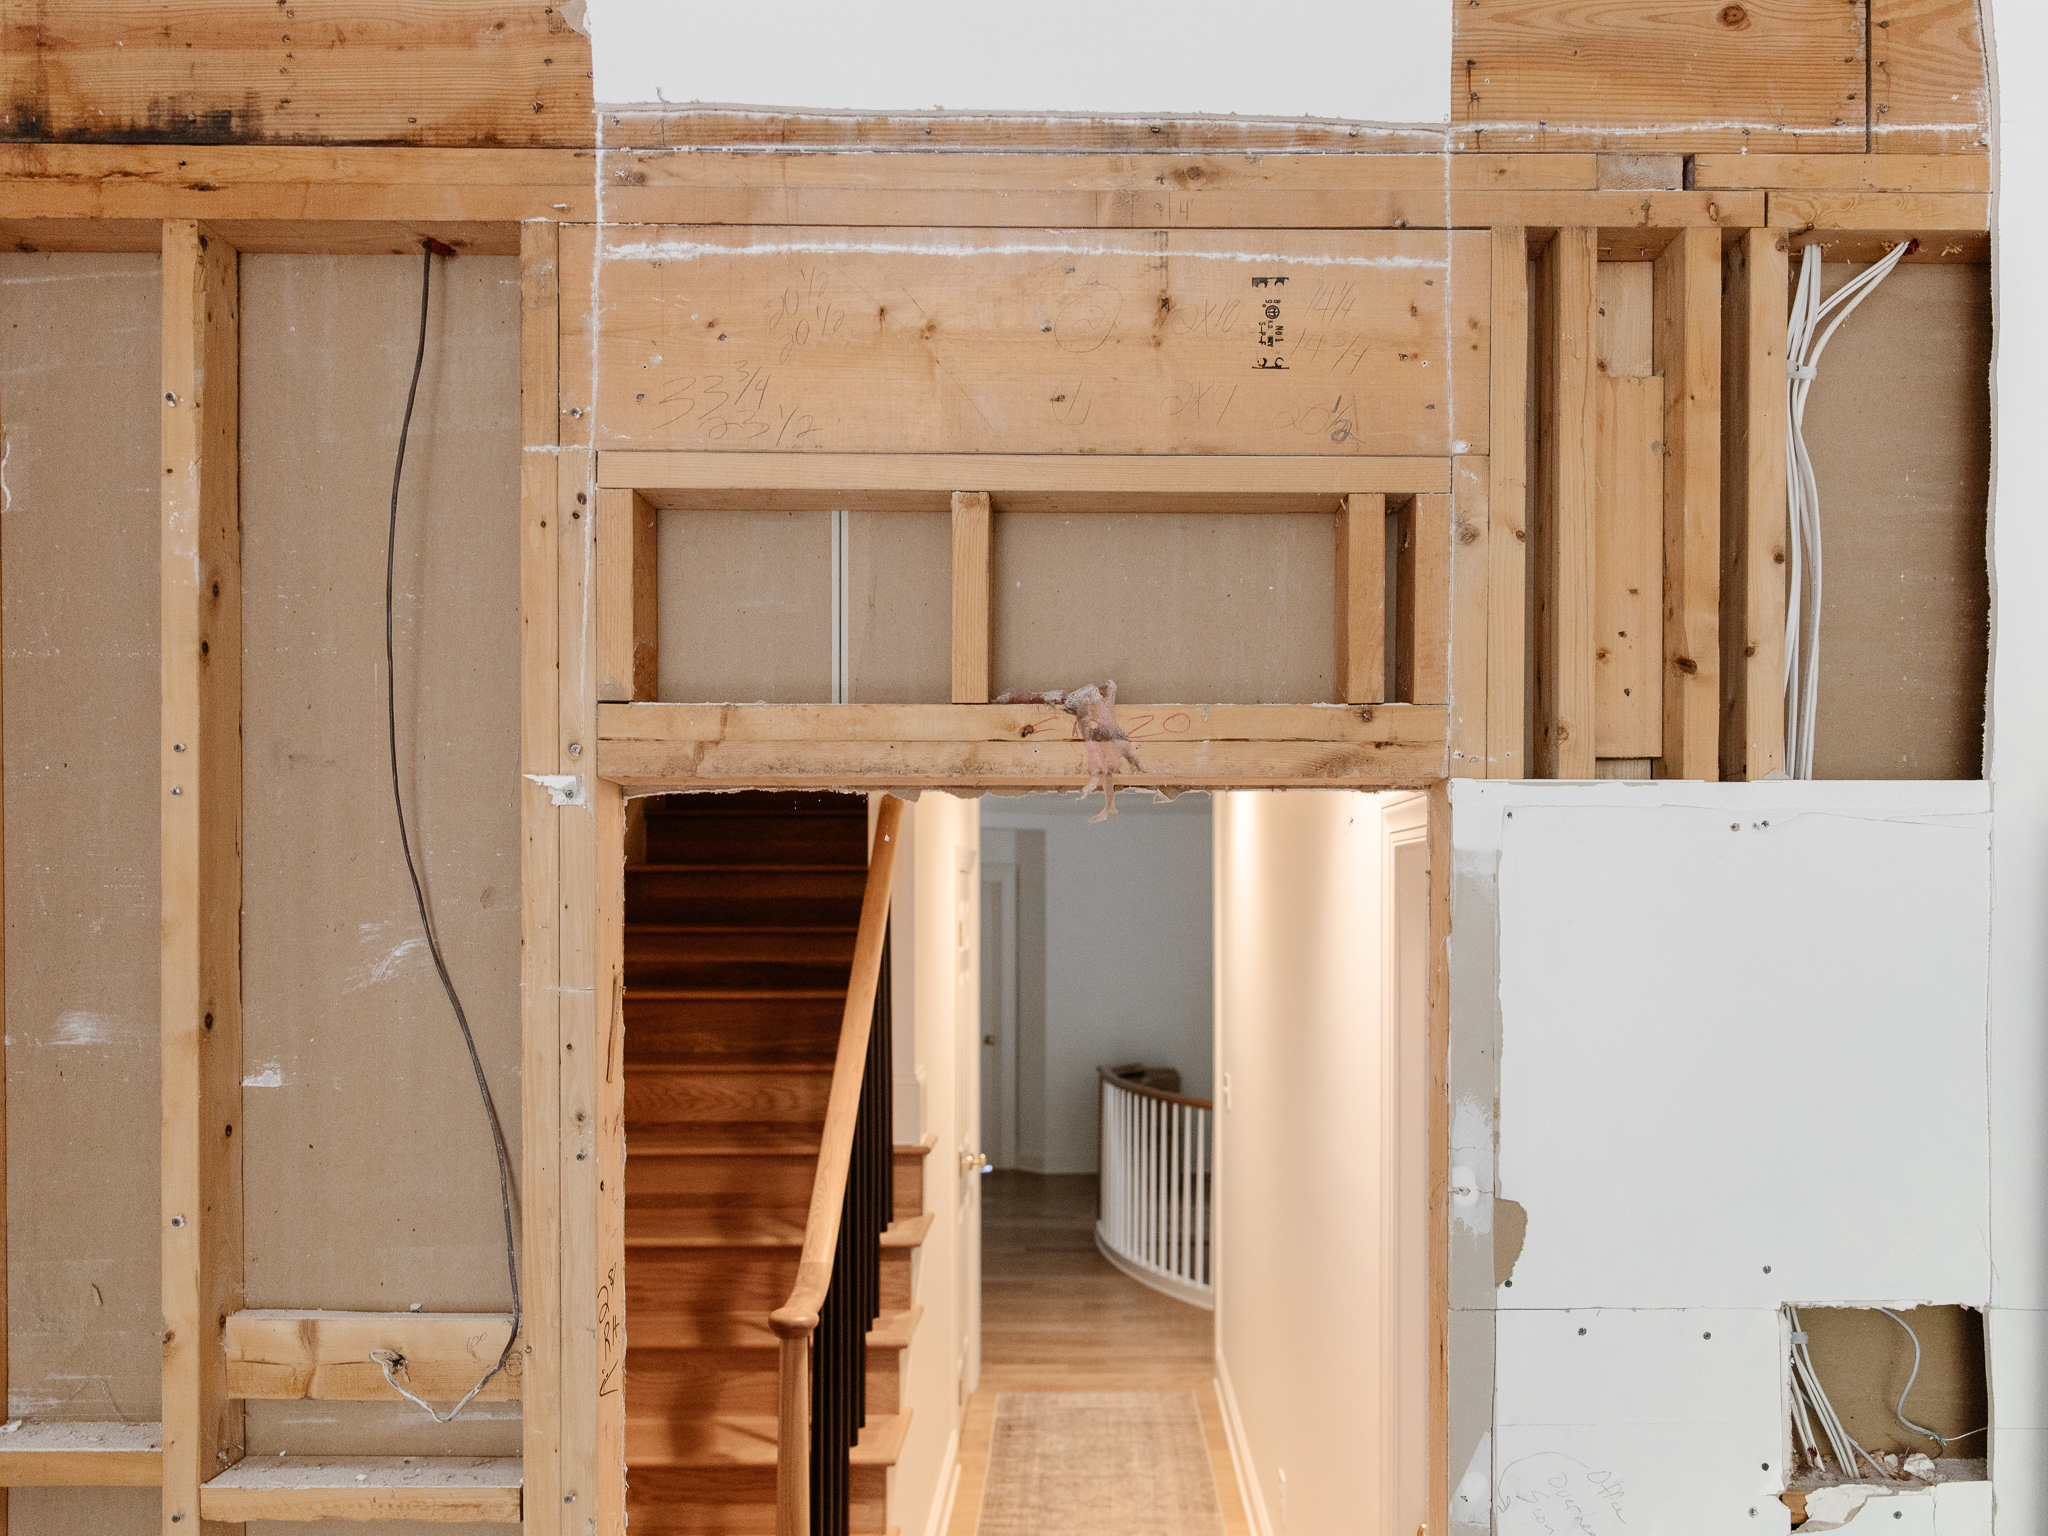
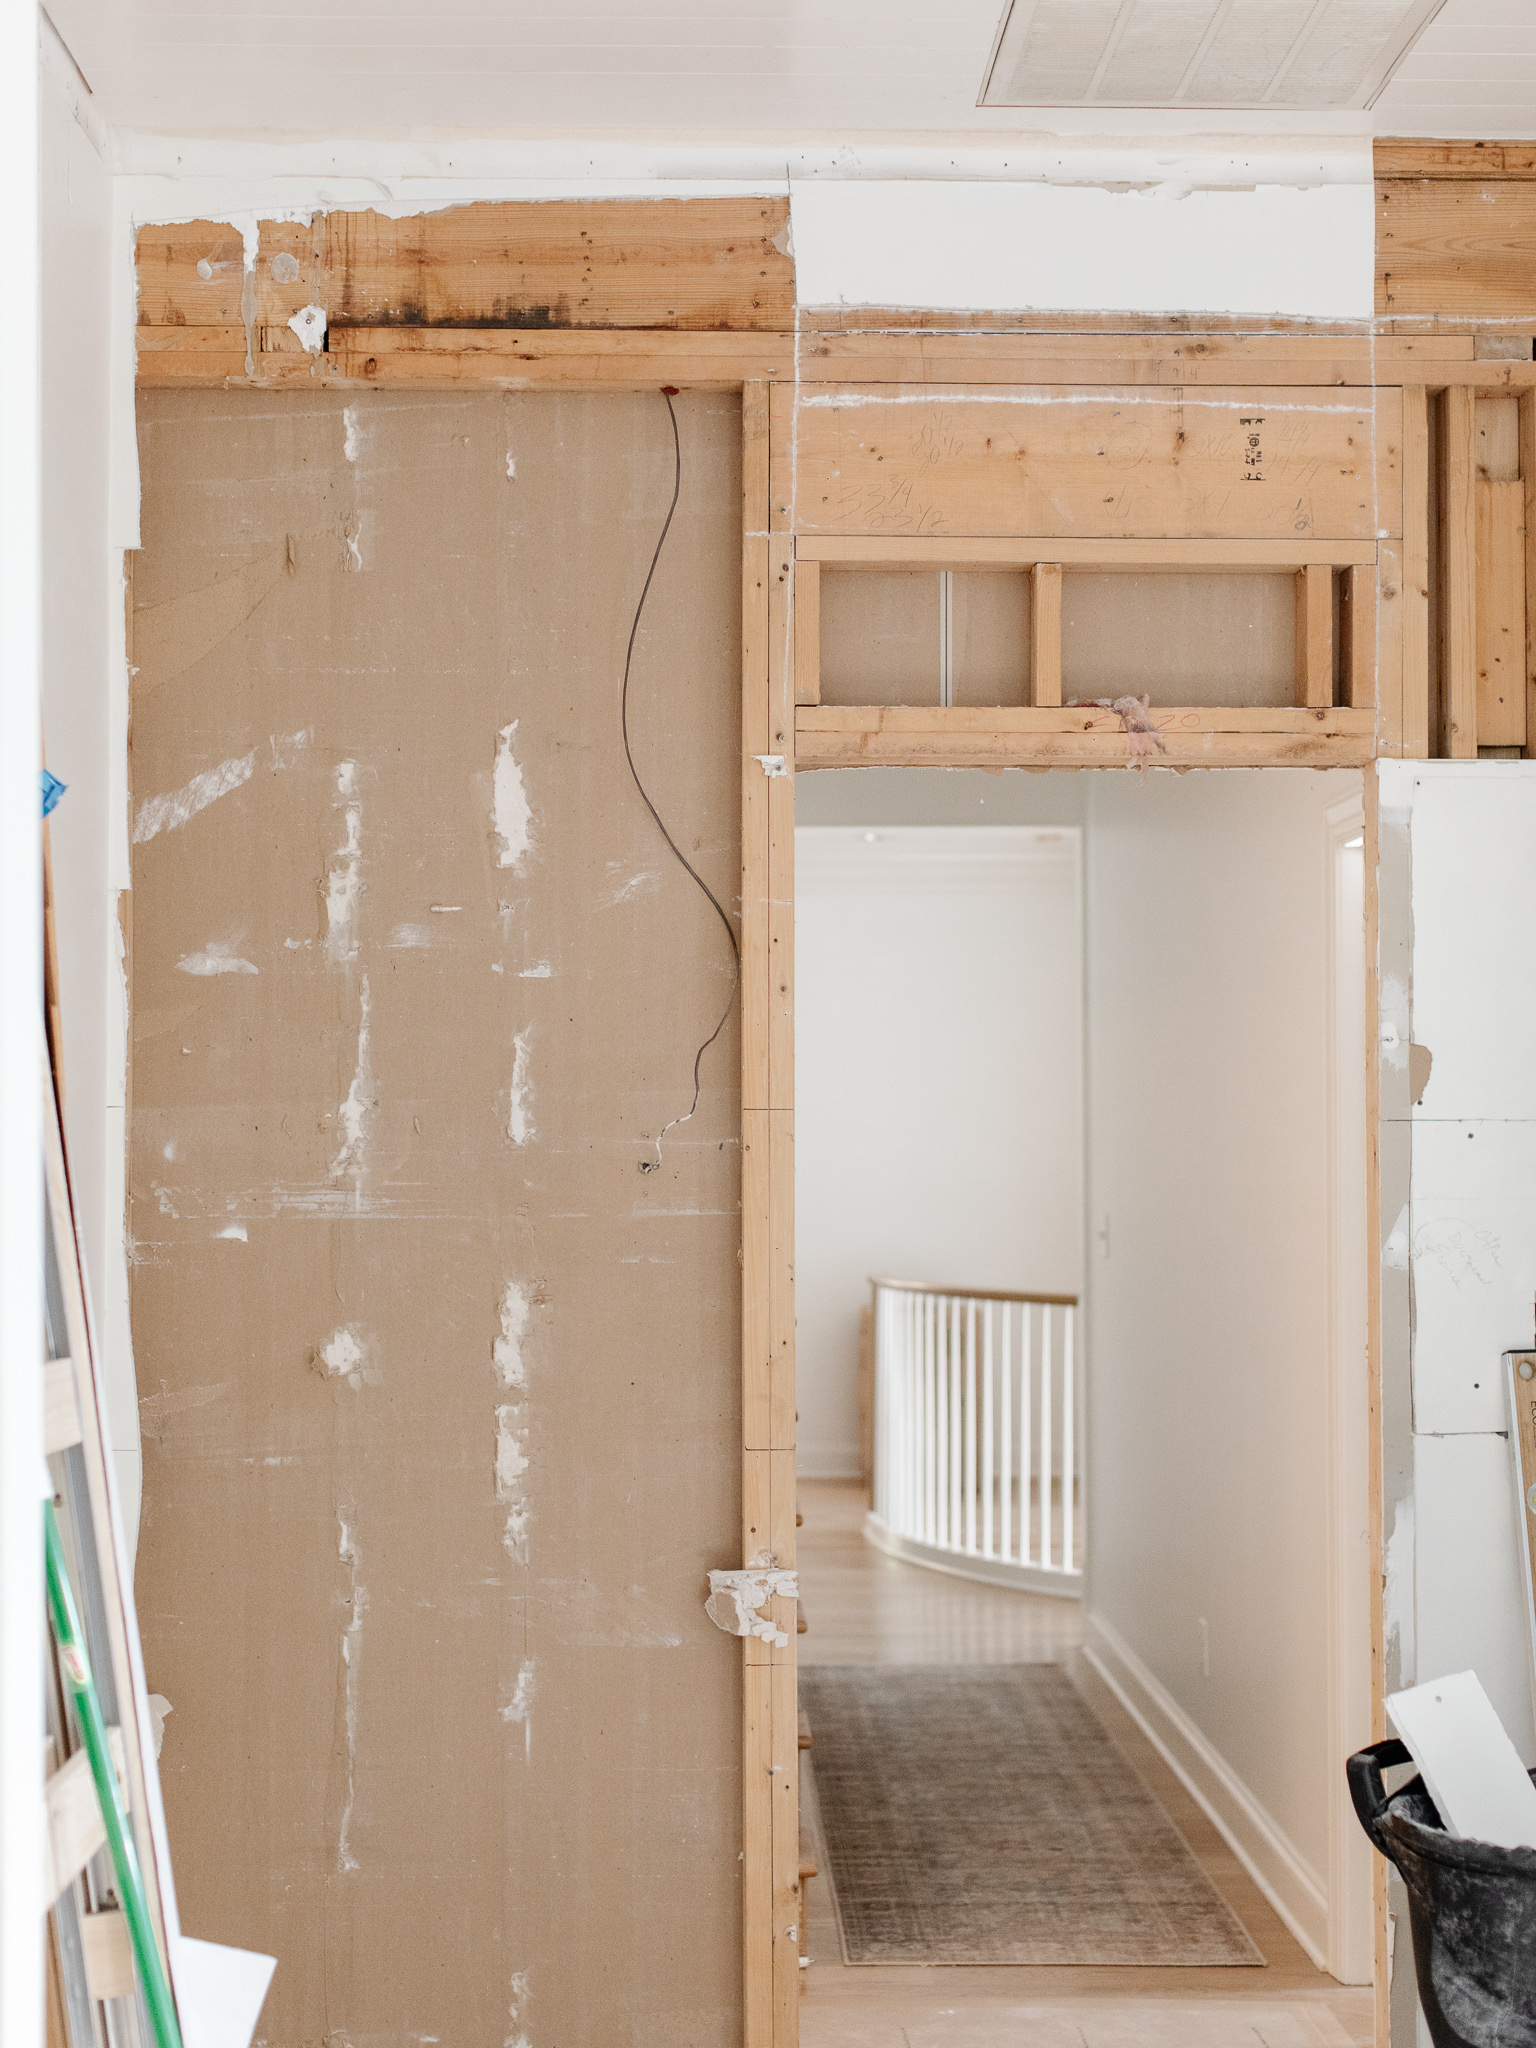
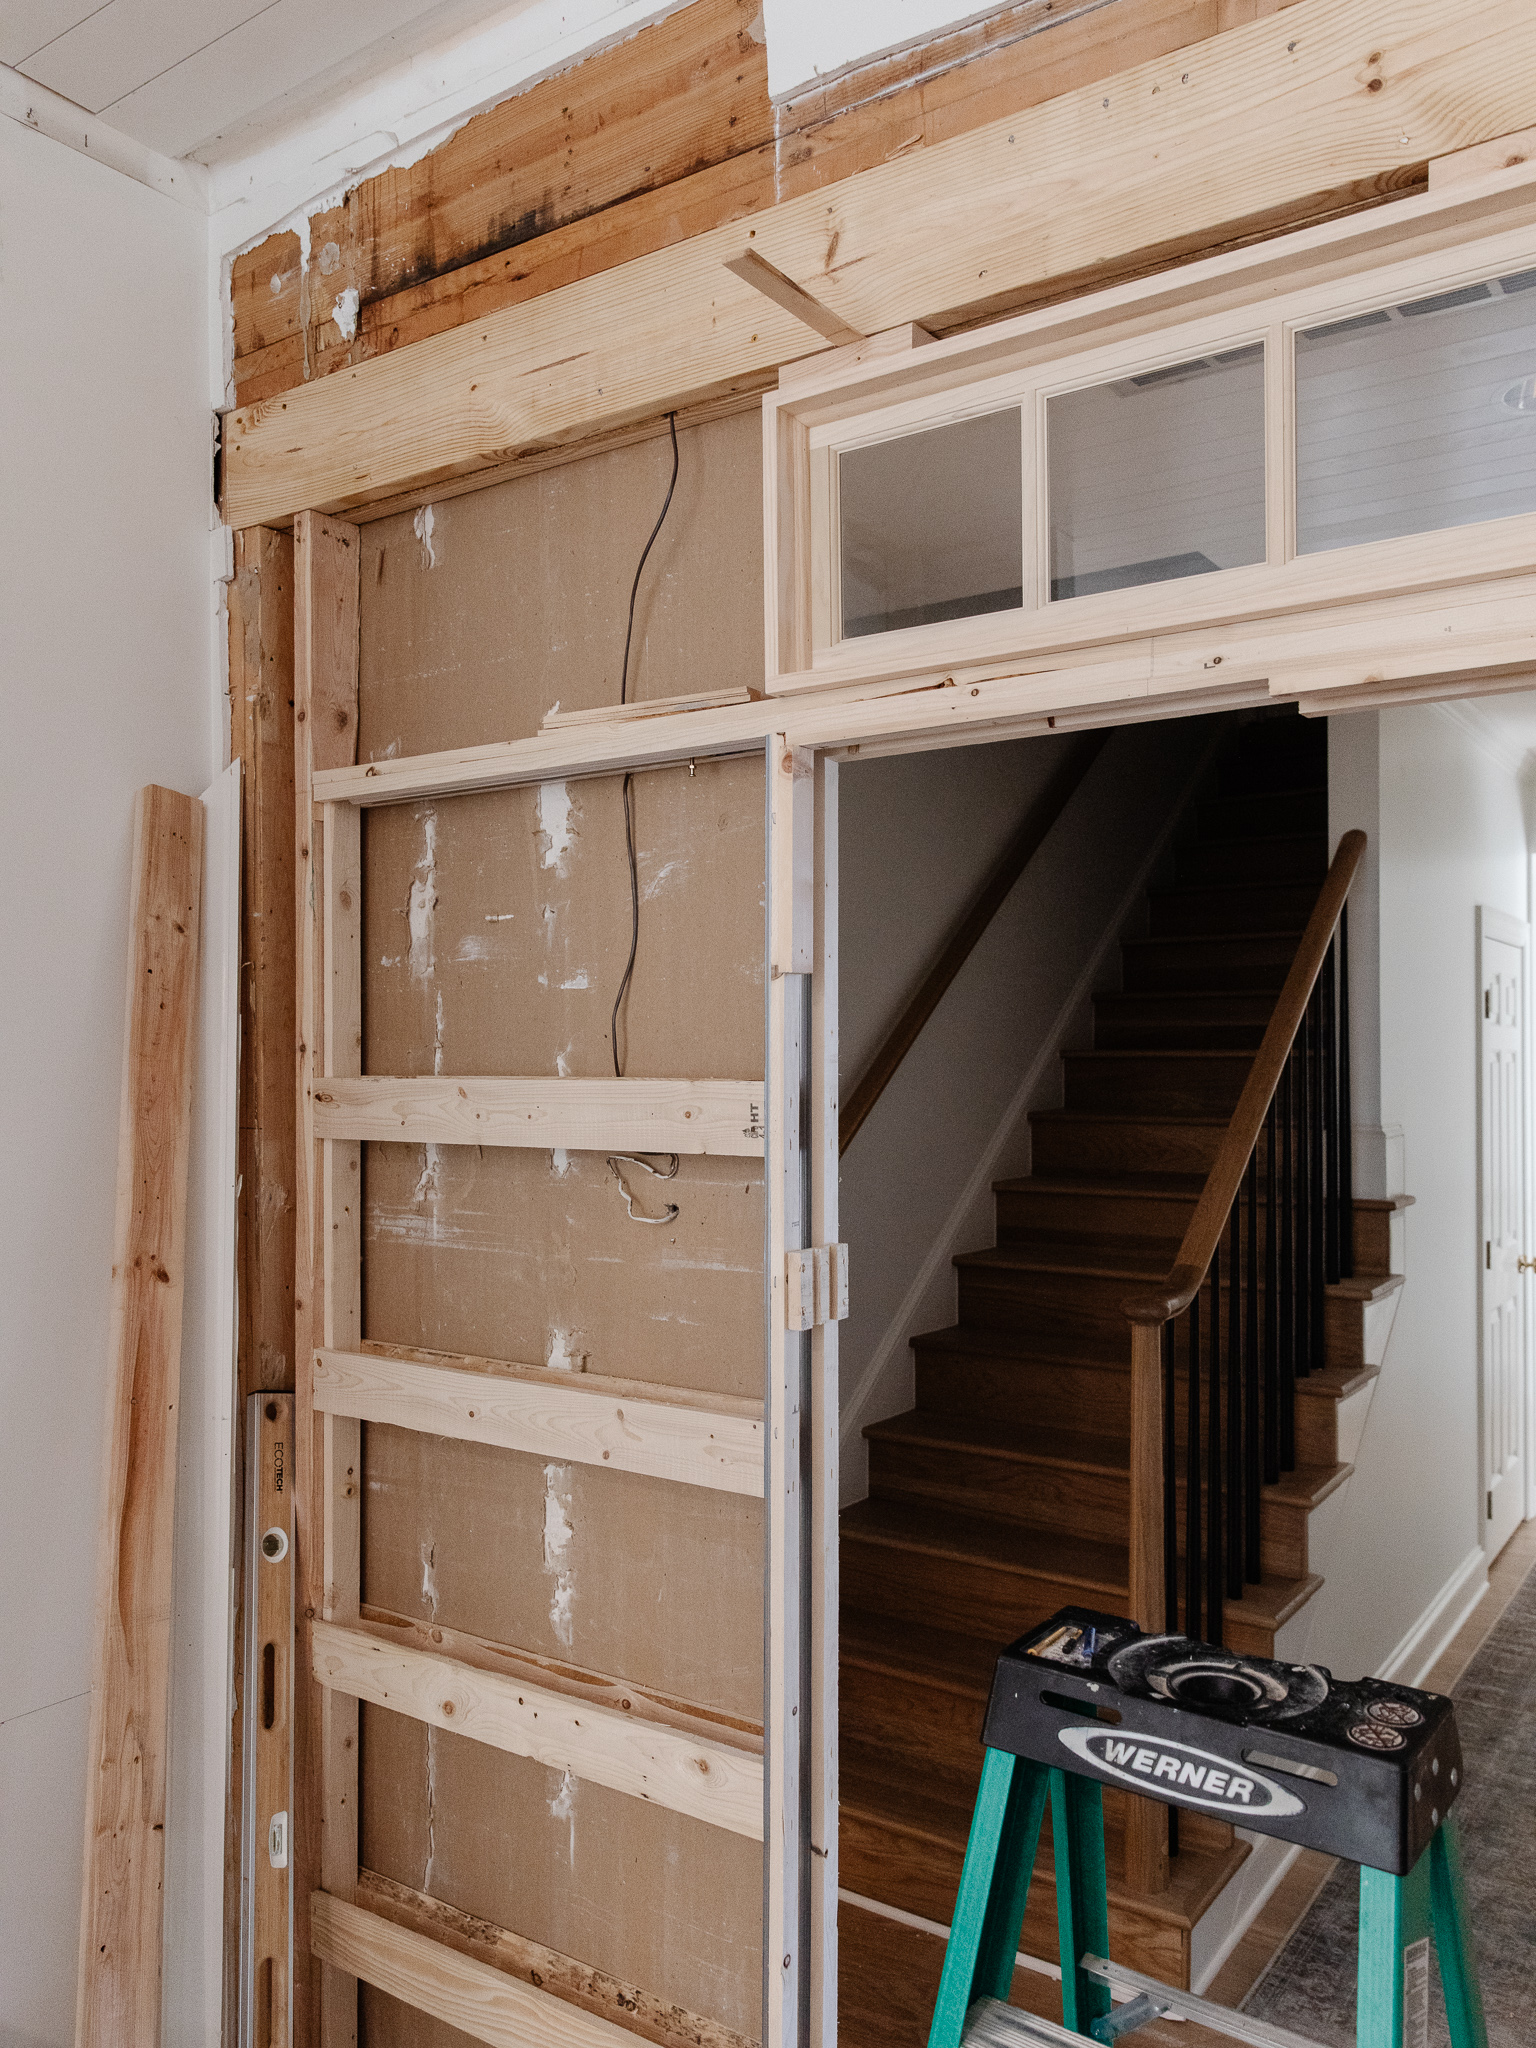
After confirming and reviewing our plans with the engineer, our next step was to remove the current framing that interfered. Where our daughters’ bedrooms are just beyond this wall, we didn’t want to disrupt the space any more than necessary, so we used an oscillating tool to cut all the screws through the drywall on the other side of the wall, so that the studs could be removed without having to rip out and replace the drywall.

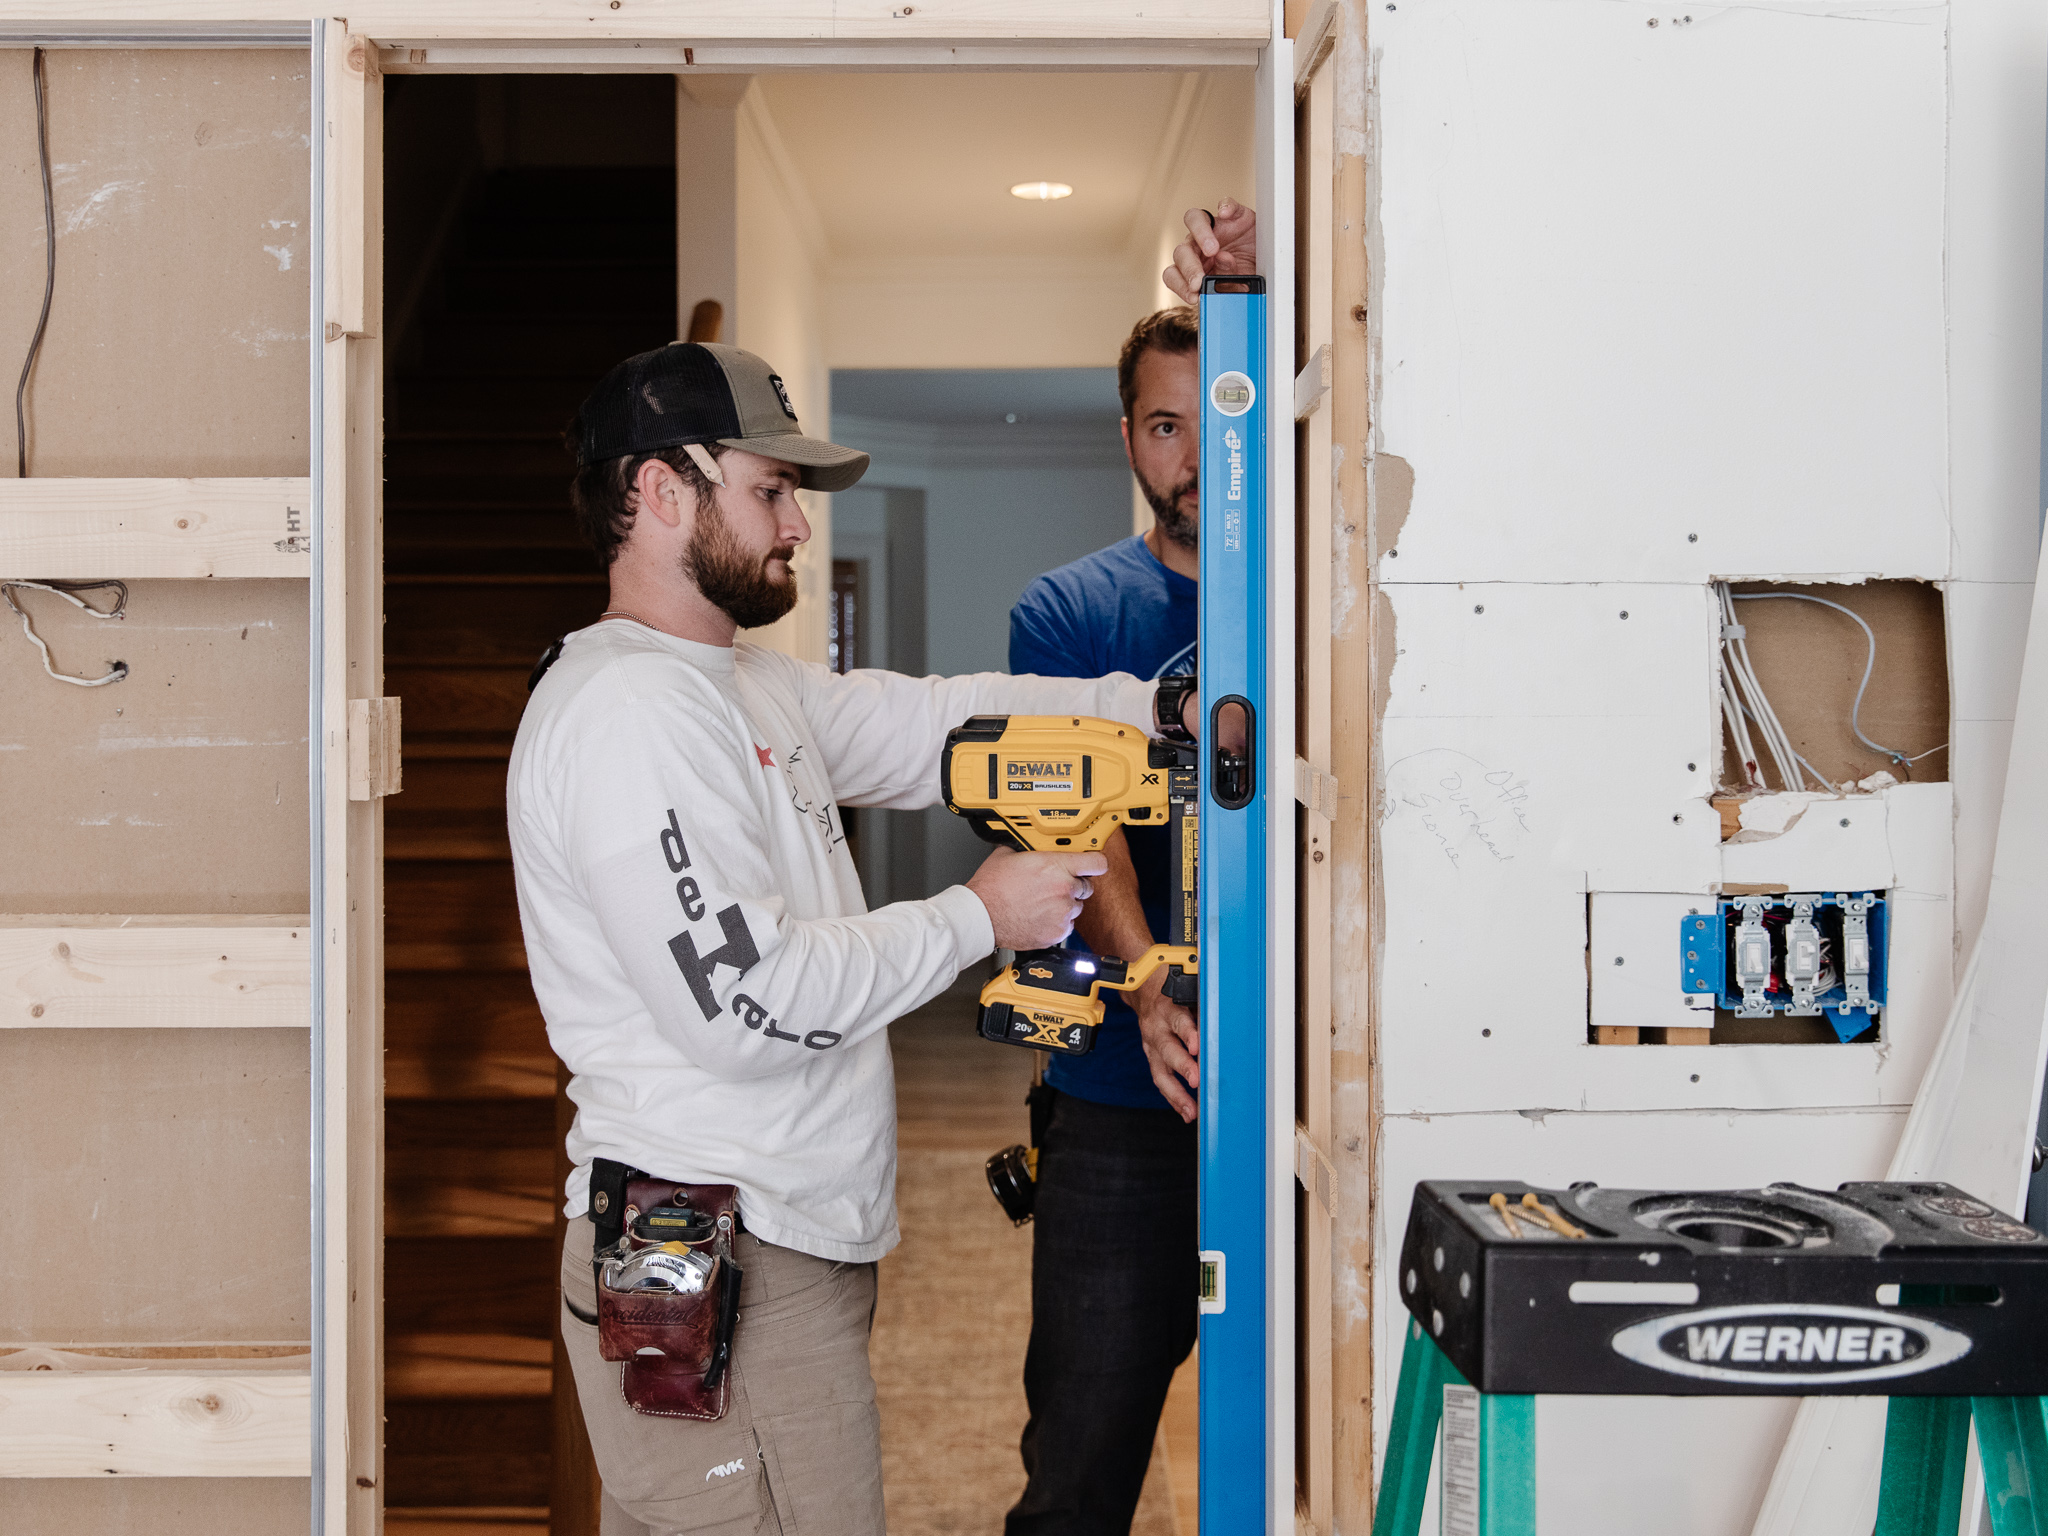
Another lucky thing for us is that there was no electrical running through this section of the wall. Only a lone thermostat wire that we could easily route through the pocket door framing.
Even with the main header above, for the sake of redundancy we constructed another header to replace the one taken out above the door, and extended it to span both the doorway and pocket door frame, leaving space for the custom transom window we had made by Transoms Direct, which is a local place here but they can ship as well.
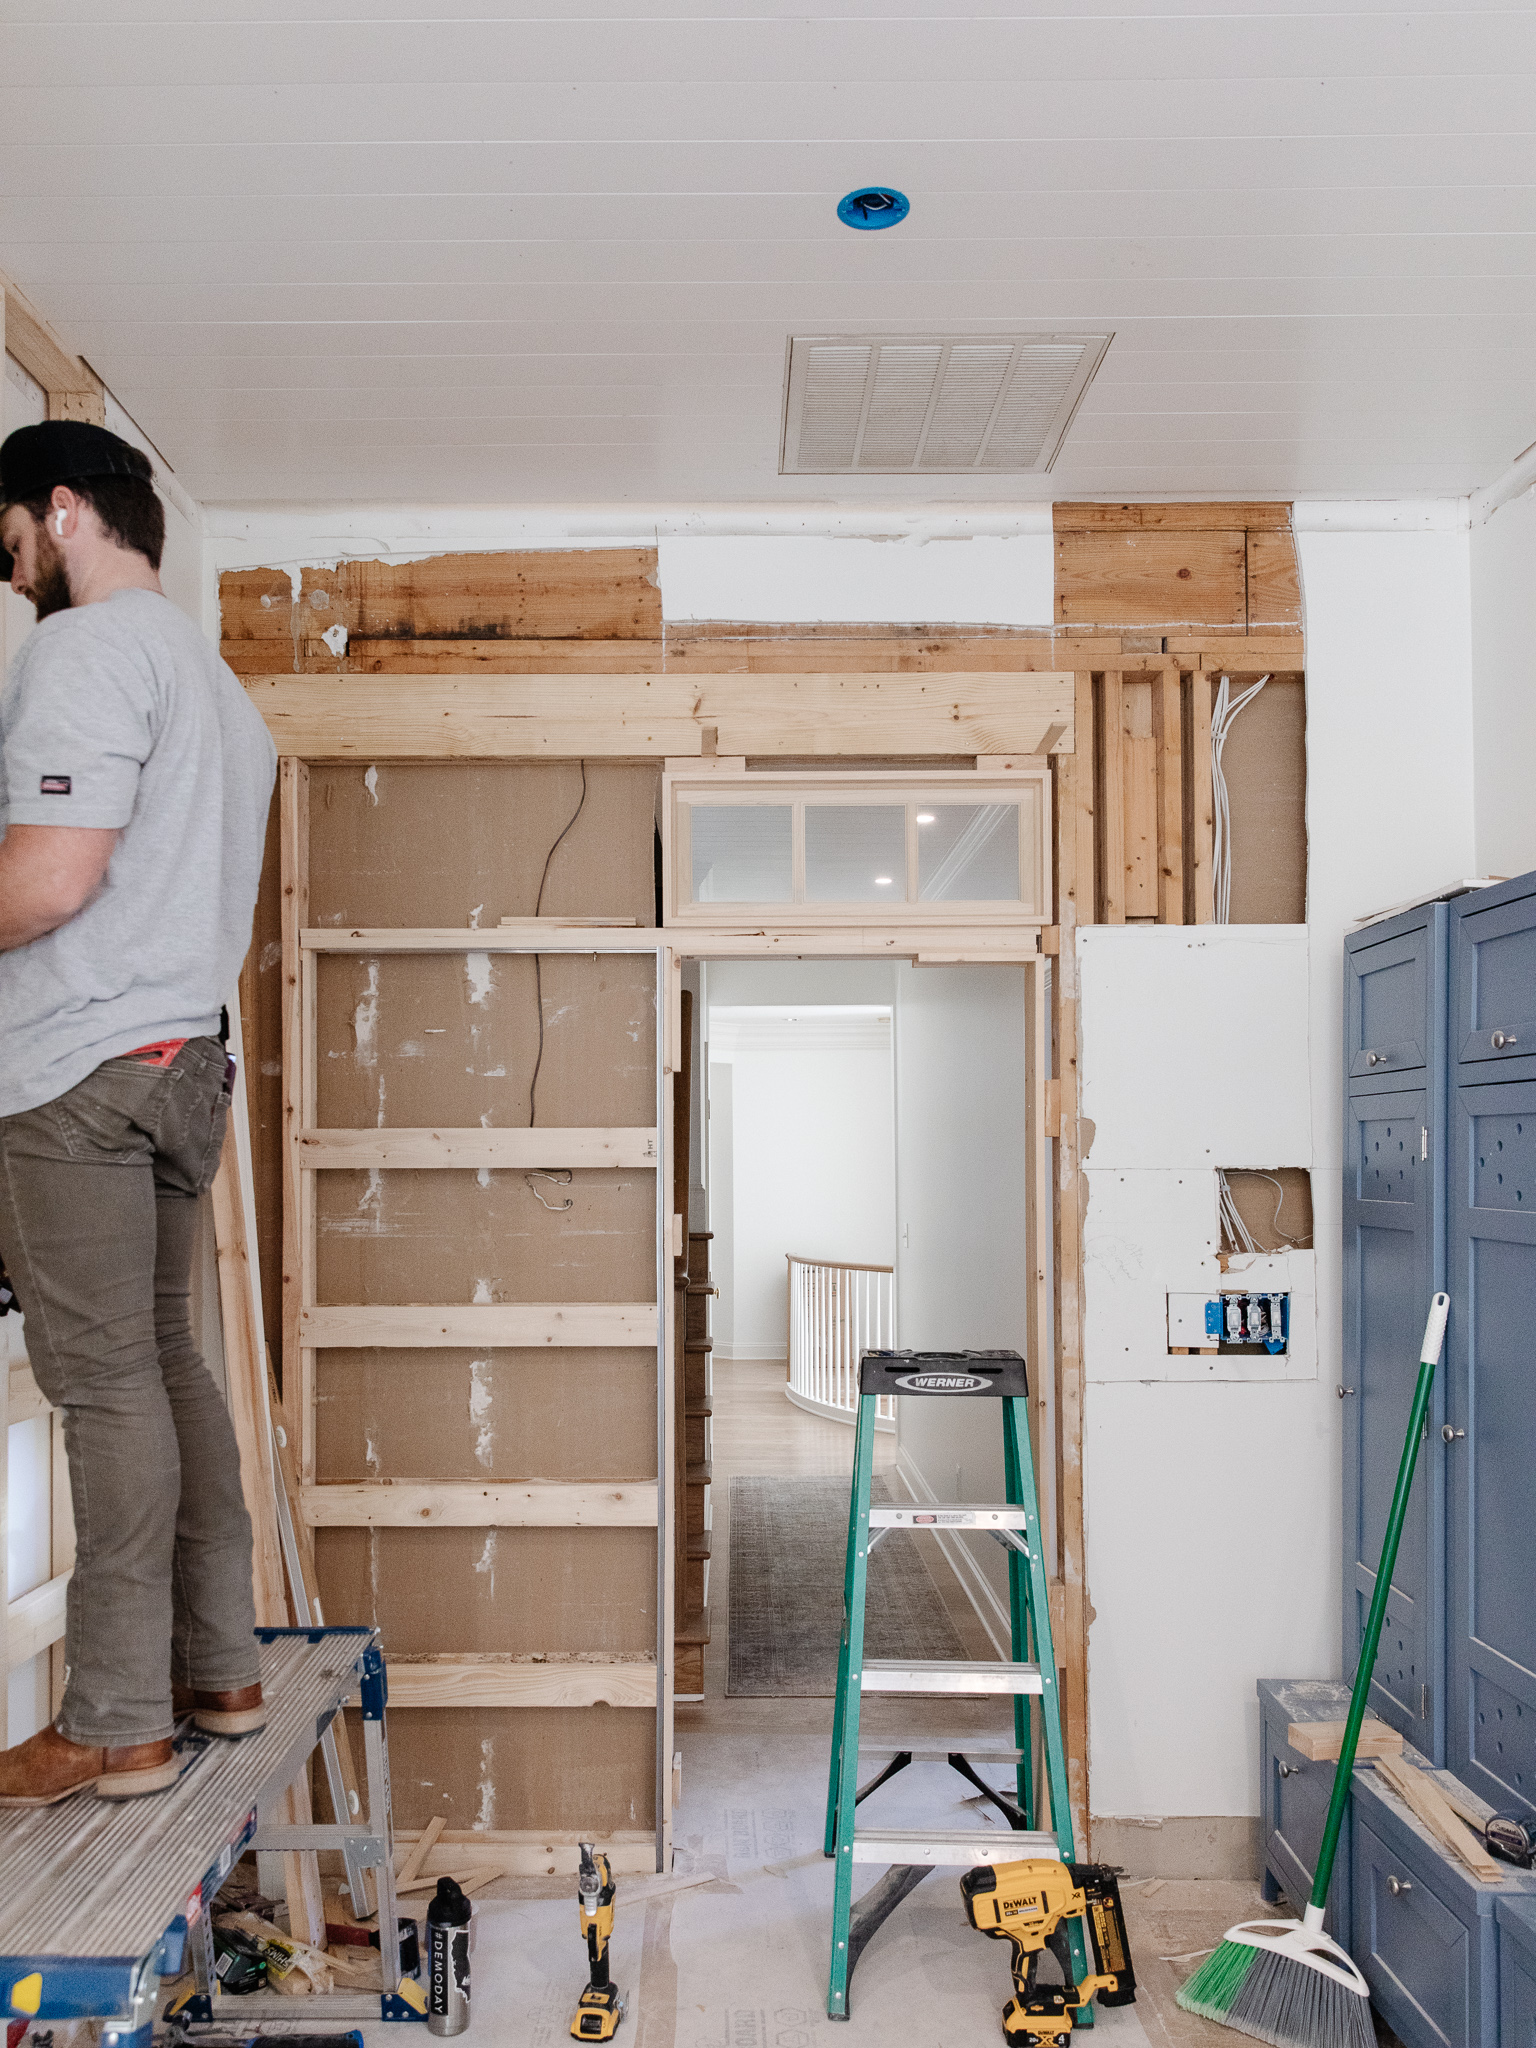
Note – the photos don’t show it, but we also framed out the open section above the pocket door frame and below the header before closing it up. Also, once this framing was in place, we screwed the drywall on the other side into the new framing.
Setting doors and windows isn’t hard, but does need to be pretty exact. Everything gets shimmed to make it plumb, level, and squared. It’s a lot of measuring, checking with the level, and adjusting; especially when adding your door jamb material.
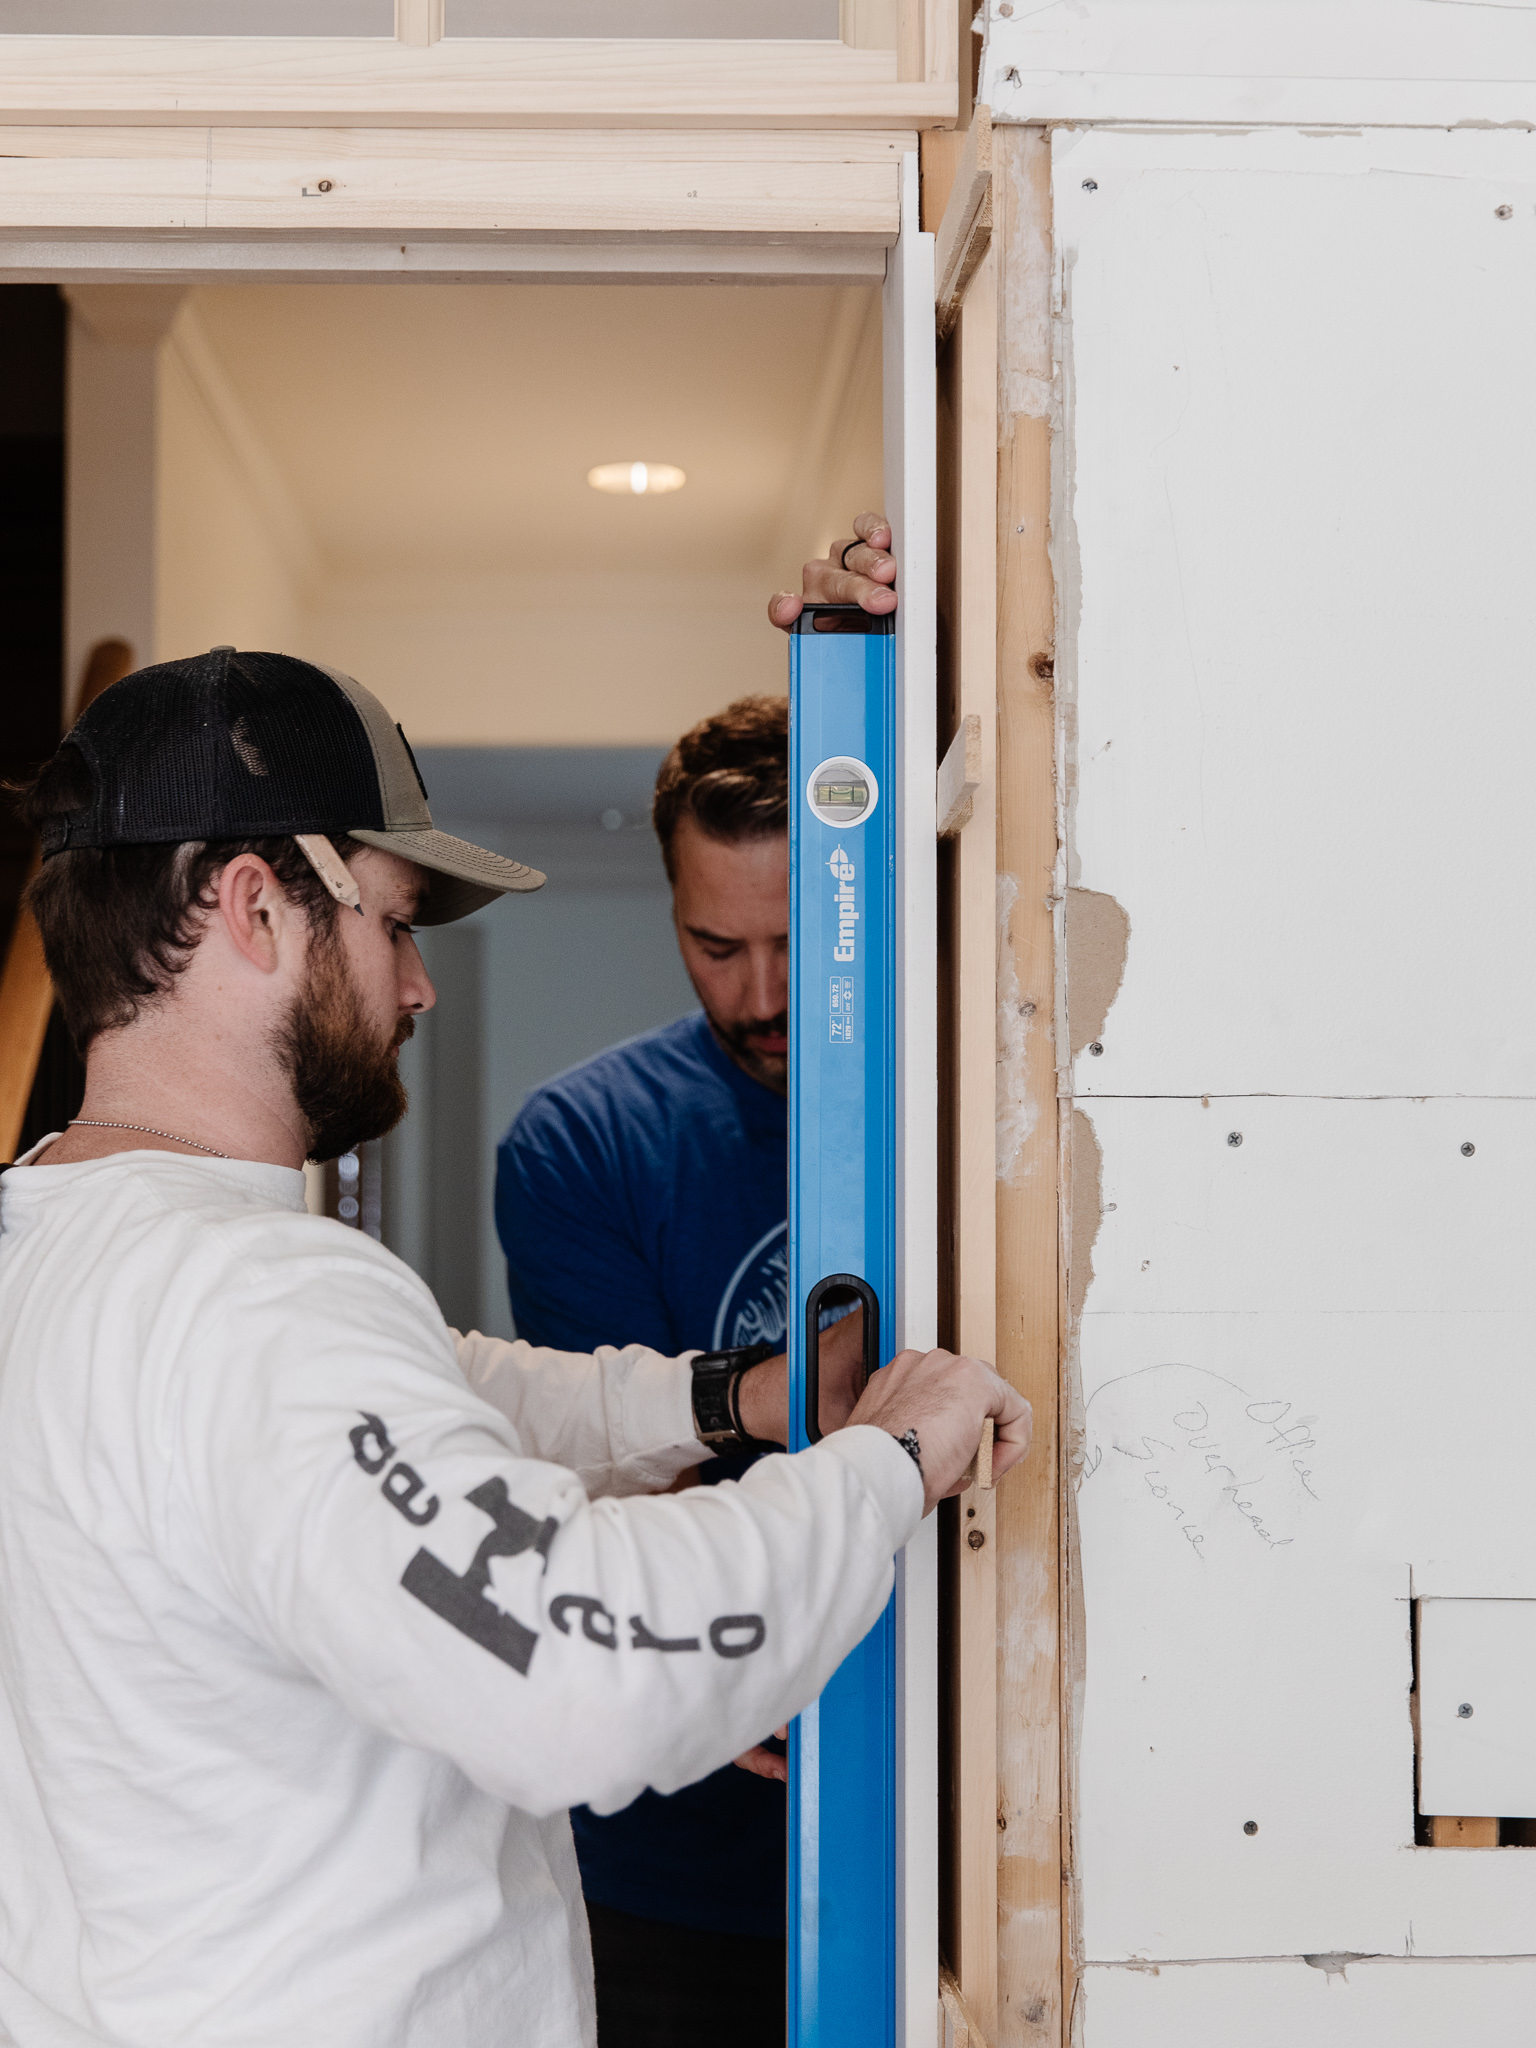
Pocket door jambs are particularly important, because there’s no piece of trim there to cover any gaps present, like there is with a swinging door. When the door closes, it has to sit completely flat against the whole door jamb. When you nail your door jamb in place, be sure to shoot the nails straight through your shims so everything stays in place.
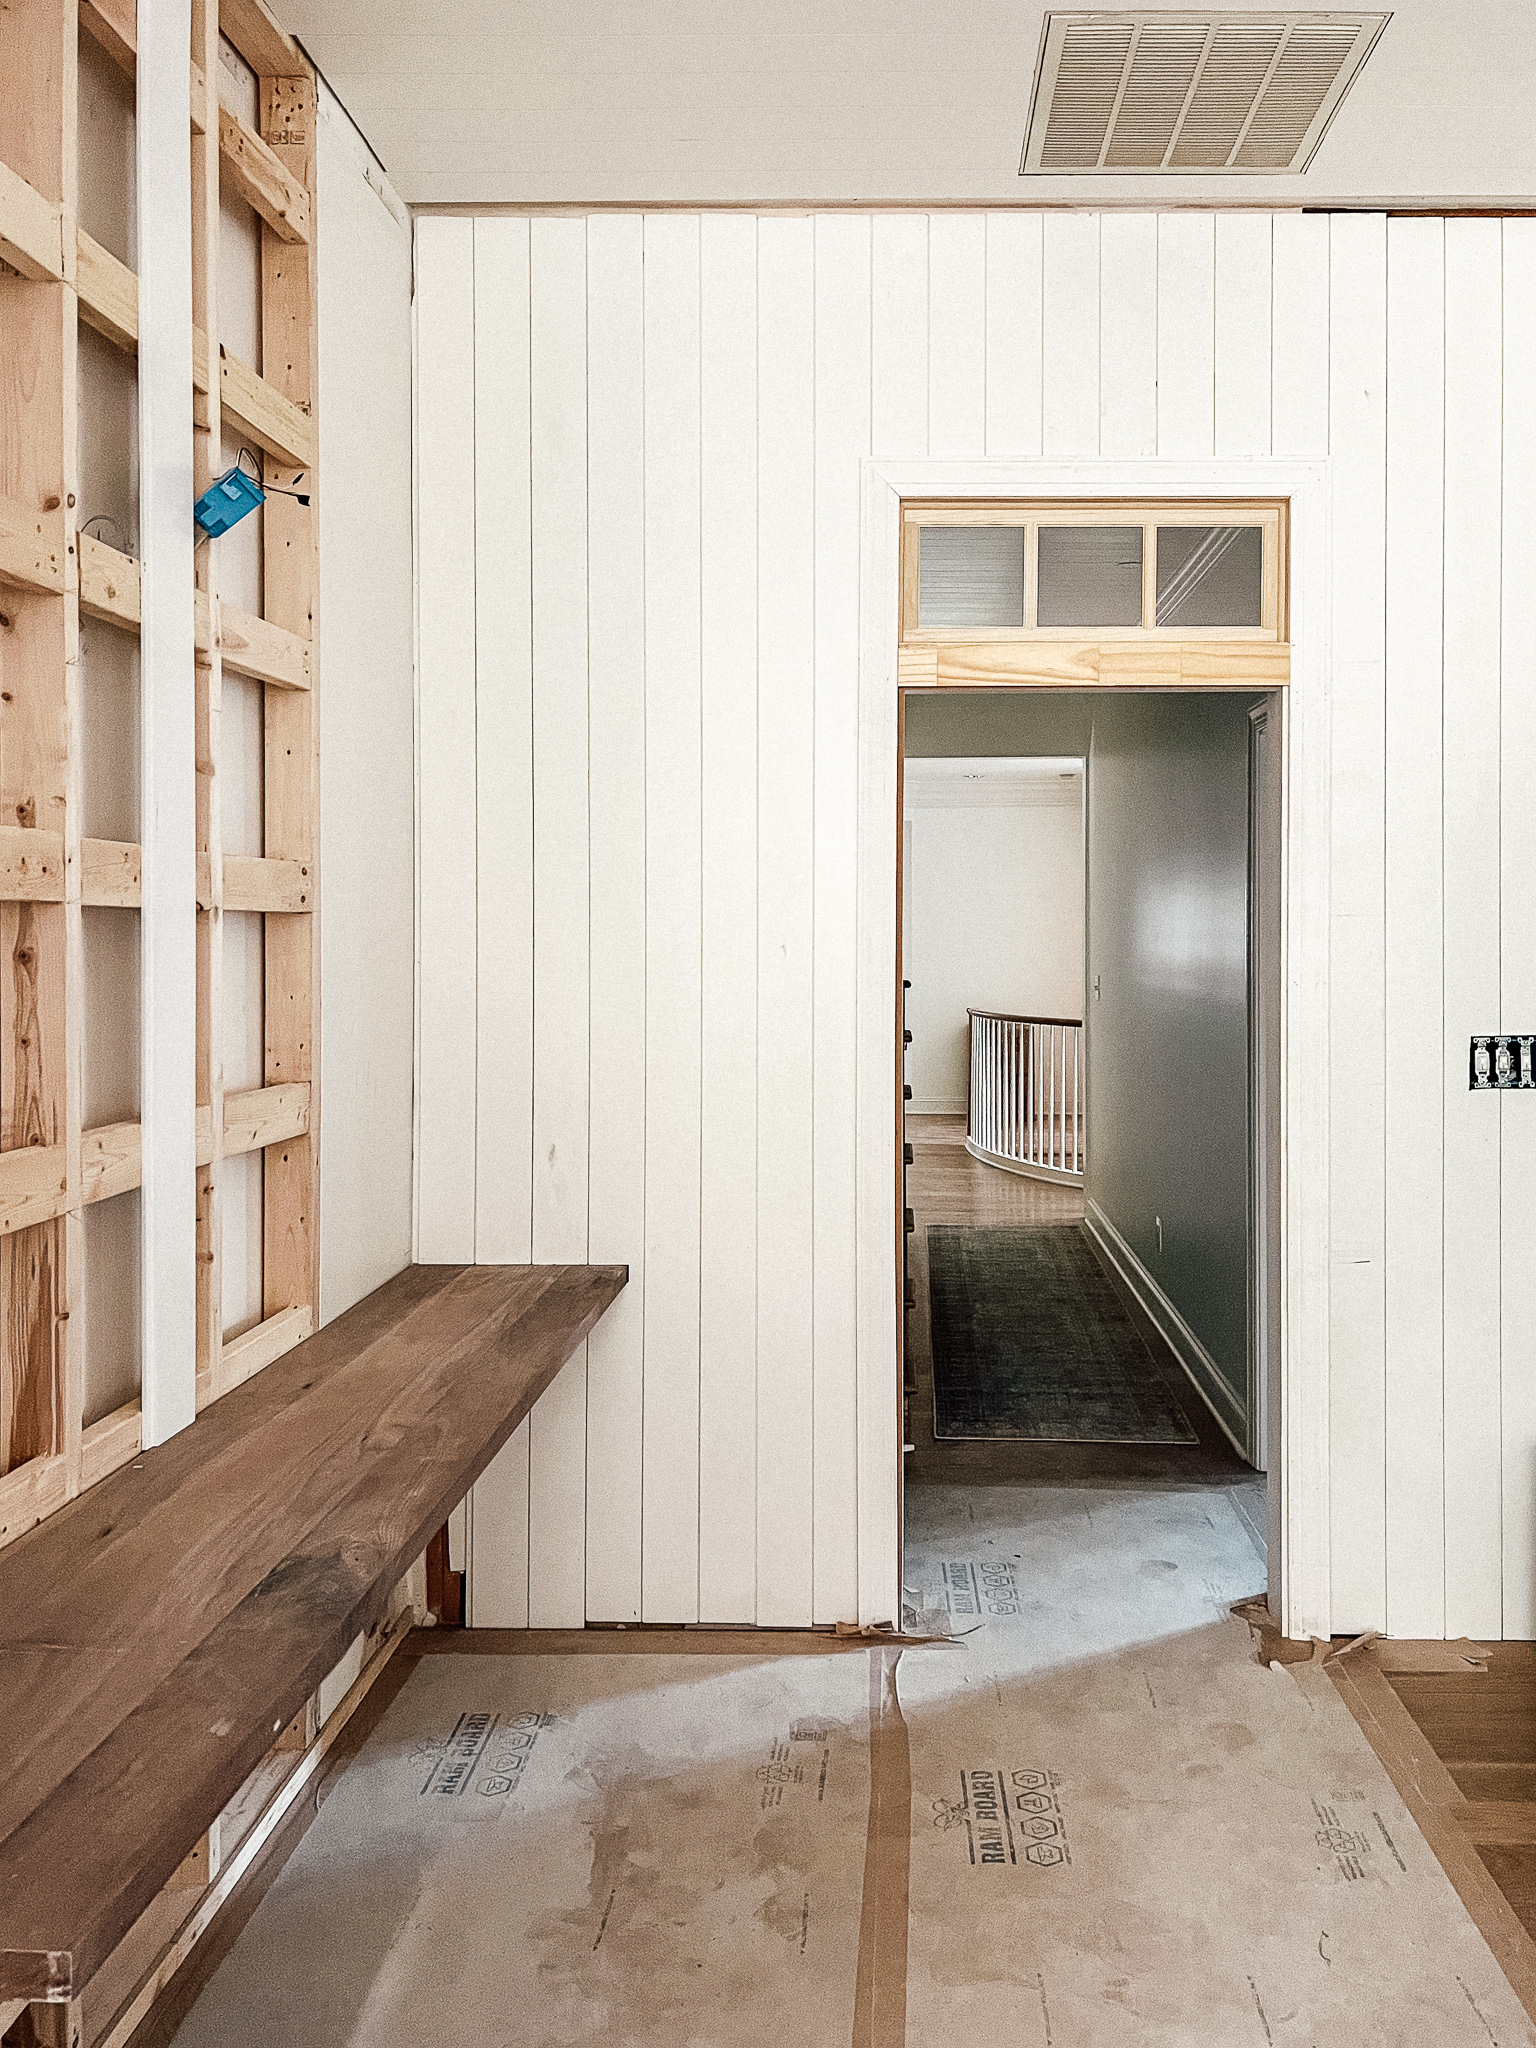
Since our plan was to cover this whole wall with vertical paneling, we only needed to add sheetrock to create a level surface (read: it didn’t have to be pretty). We used a level against the wall to ensure that, once the trim went on around the transom and door, everything would sit nice and tight and we wouldn’t have any gaps.
You can also see a sneak peek of the desktop for the girls. this was placed first so the paneling could go around it and give it a custom, built-in finish (which we’ll show once it actually is finished).
As with many projects, this one ended up being a bit more work than anticipated, but still we lucked out with so many aspects of it – the main header carrying the load, no electrical, not having to redo the sheetrock on the other side of the wall. We really love how the transom now shares light into that hall, even with the door closed, and there’s no swinging door bumping our girls as they do their homework. Definitely the right move, and we can’t wait to share this finished corner with you.
Previous Post
Next Post


Semihandmade
Our wood grain Shaker cabinet fronts were designed for busy, high-traffic homes like ours. Clad with durable textured thermofoils, this line is compatible with Sektion, Akurum, Godmorgon, and Besta cabinets from IKEA. It's the perfect, practical way to add the warmth of wood to all the rooms of your home.
Collaborations
learn more

next
Loloi
We have teamed up with Loloi to create a line of rugs that are as affordable as they are beautiful. This collection houses a great mix of traditional and modern rugs, in cottage-y colorways, as well as vintage-inspired beauties that you’ll want to roll out in every room.
Collaborations
learn more

next
STUGA
We partnered with Stuga on a line of hardwood floors — The Ingrid is really livable, and the color is very neutral. It doesn’t lean warm or cool, it’s that just right in-between. We have really loved putting it everywhere in our house. It’s the best jumping-off point for design, no matter your interior style. In addition to being beautiful, Ingrid is really durable — we have three kids, and we always have a home construction project going on. Ingrid stands up to it all.
Collaborations
learn more

next

SHop all
What We're Right Now
What We're Right Now
Looking for our favorite things? A place to shop our home room by room, or just catch up on what Julia's wearing / loving right now? Browse the CLJ shop.
Loving


Portfolio


Design
Befores, afters, mood boards, plans, failures, wins. We’ve done a lot of projects, and they’re all here.
BROWSE BY CATEGORY
let's break this thing up
We have a long-standing relationship with DIY, and love rolling our sleeves up and making it happen.
Projects
Even when you don’t want to rip down a wall, you can make that space in your home better. Right now.
read more
read more
read more
02
01
03
looking for inspiration?
A reader recently asked me if I’m starting to fully embrace traditional style and whether we still consider our house to be a “modern Colonial” and why. It was a really great question and so timely — I had really just been thinking about my approach to this home and how my style has changed […]


SEARCH THE BLOG
We've been doing this since 2009 and we've posted a whopping 24145+ blog posts and counting. You might need a little help searching, huh?
looking for something?
find stuff like:
")
Can We Send You Our Love Letter?
Another way for us to stay in touch! Joining our weekly newsletter gives you access to exclusive content, never-before-seen photos, your questions answered, and our favorite DIYs. Sign up below!
Follow Along on Instagram
Welcome to our online community where we've posted home, DIY, style, renovations, and family since '09. Renovating our #cljmoderncottage in Idaho and headed for new adventures in Raleigh, NC. #cljfam #cljtransformations
@chrislovesjulia


Links
Get Around
Make yourself right at home
Portfolio
Design
Casual Friday
Projects
Lifestyle
Gift Guides
All Posts
Shop
Love where you live.
Social
RivrLinks
Links
Get Around
Make yourself right at home
Portfolio
Design
Casual Friday
Projects
Lifestyle
Gift Guides
All Posts
Shop
Love where you live.
Social
RivrLinks
What do you think?