


This post is part of a paid partnership with Lowe’s.
Our garage has been a bit neglected over the past few years. It has served as a catch-all for everything project related, with random clean times here and there where we were actually able to park our cars inside it. But now that we’ve finished almost all of our home projects, we’re turning our attention to the garage.
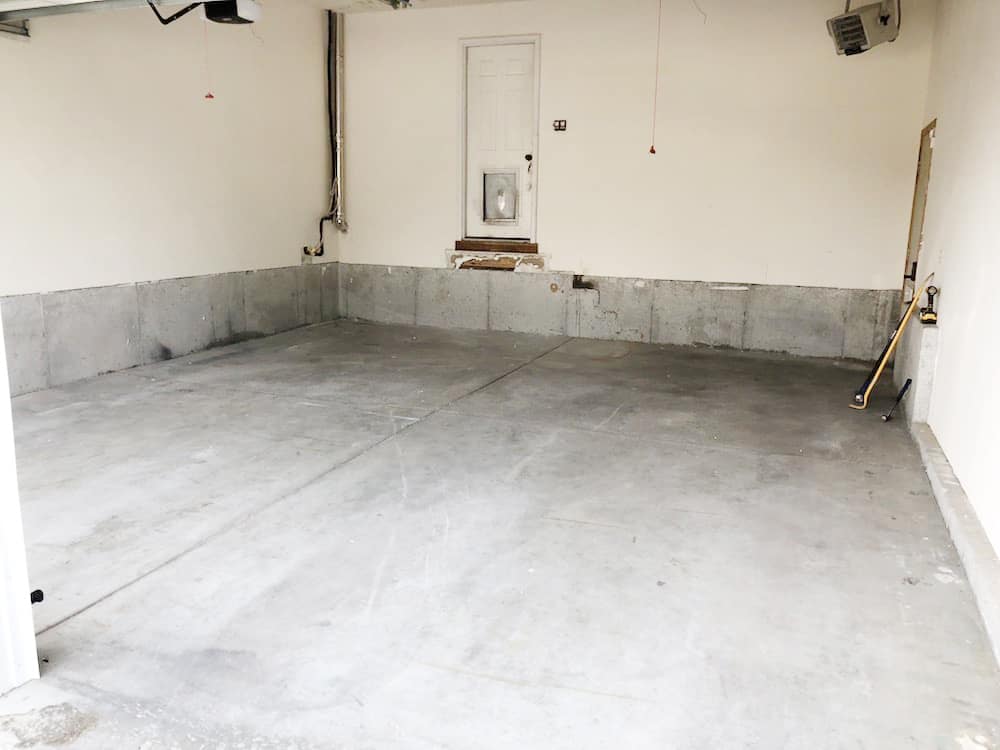
The stairs leading from the house were in pretty rough shape, so we ripped those out before starting this project. Since they needed replacing anyway, it was good to get them out of the way so we could epoxy the entire surface. We’ll outline the steps in this post, as well as provide a full list of materials used at the bottom. If you’d like, you can also watch the full process in this video:
1. Scrape & wash
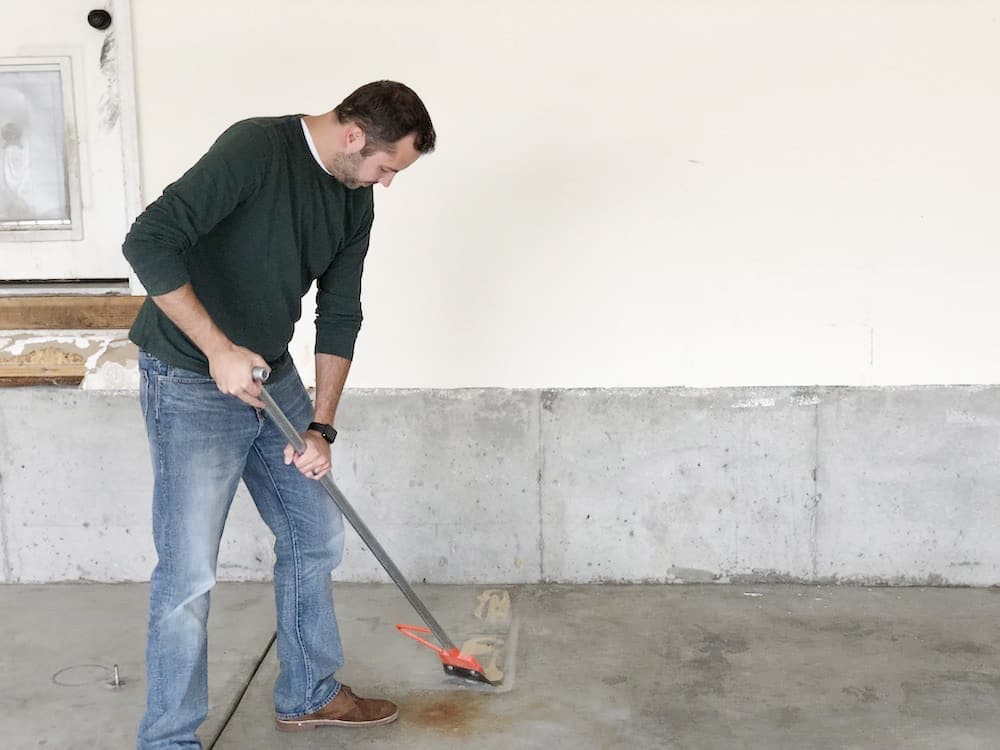
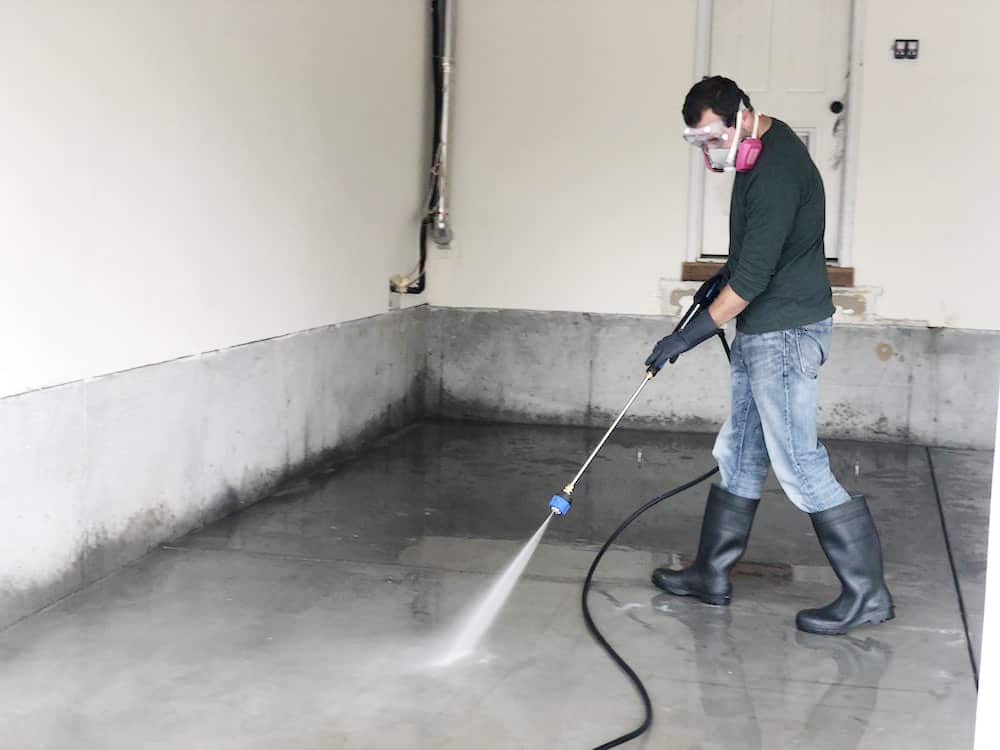
Using a floor scraper, scrape away all of the paint, glue, tape or other stuck on things that you can. You want the floor to be as clean as possible to ensure good adhesion of the epoxy, so take your time on this and do it right. Once you’ve scraped up everything, use a pressure washer (or just a hose if you don’t have a pressure washer) to wash everything out of the garage.
2. Degrease & wash
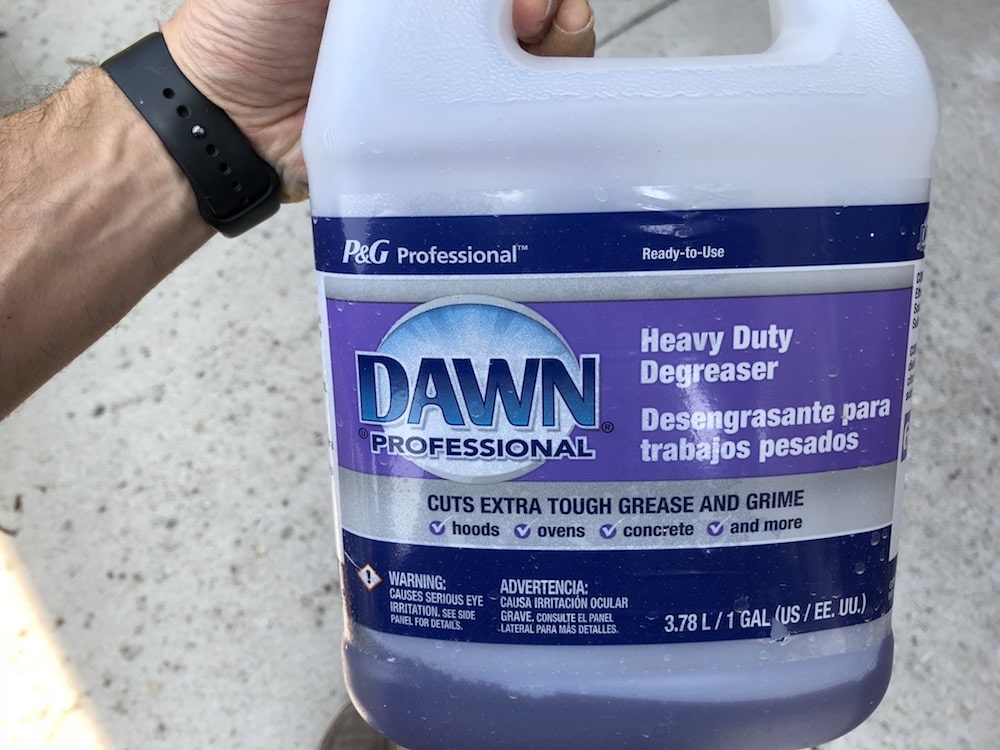
While the floor is wet, you can see areas where any oils or grease repel the water. Spray some heavy duty degreaser on those spots and scrub with a stiff bristle floor scrubber. Rinse again with the pressure washer.
3. Etch & wash
If you buy an epoxy floor kit, most of them come with the floor etching mix. Follow the instructions to create the solution and sprinkle on the garage floor using a plastic garden watering can (not metal!), working in small sections.
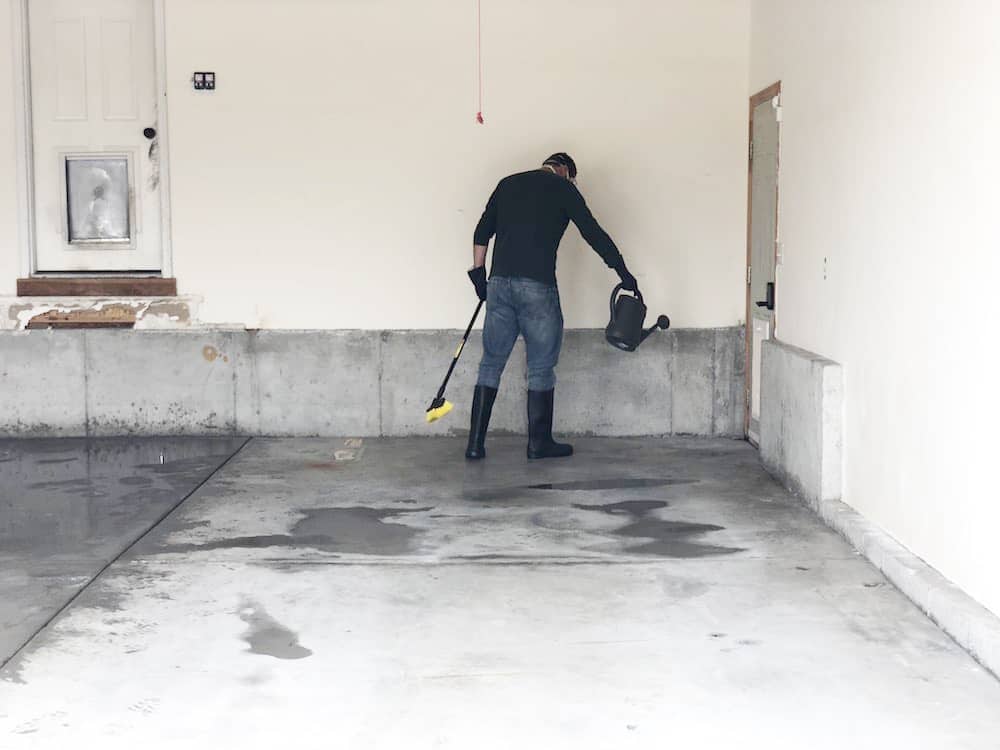
NOTE: though the acid mix is generally mild, there can still be fumes as the etch reacts with the concrete. Maintain proper ventilation and, if needed, use eye protection and a proper mask.
Scrub the etch around the floor with the stiff, nylon bristle floor scrubber. You’ll see the liquid start to appear muddy, which means it is breaking up the finish of the concrete, making it more porous. That’s exactly what you want.
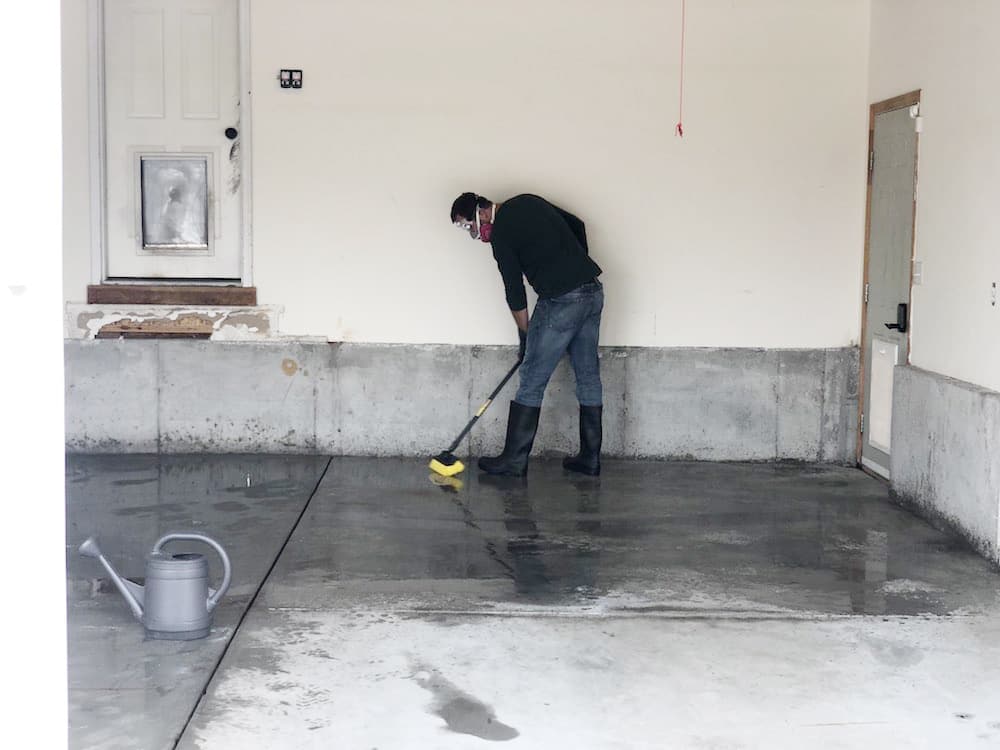
Once the section has been scrubbed well, rinse it off with the pressure washer and move onto the next section.
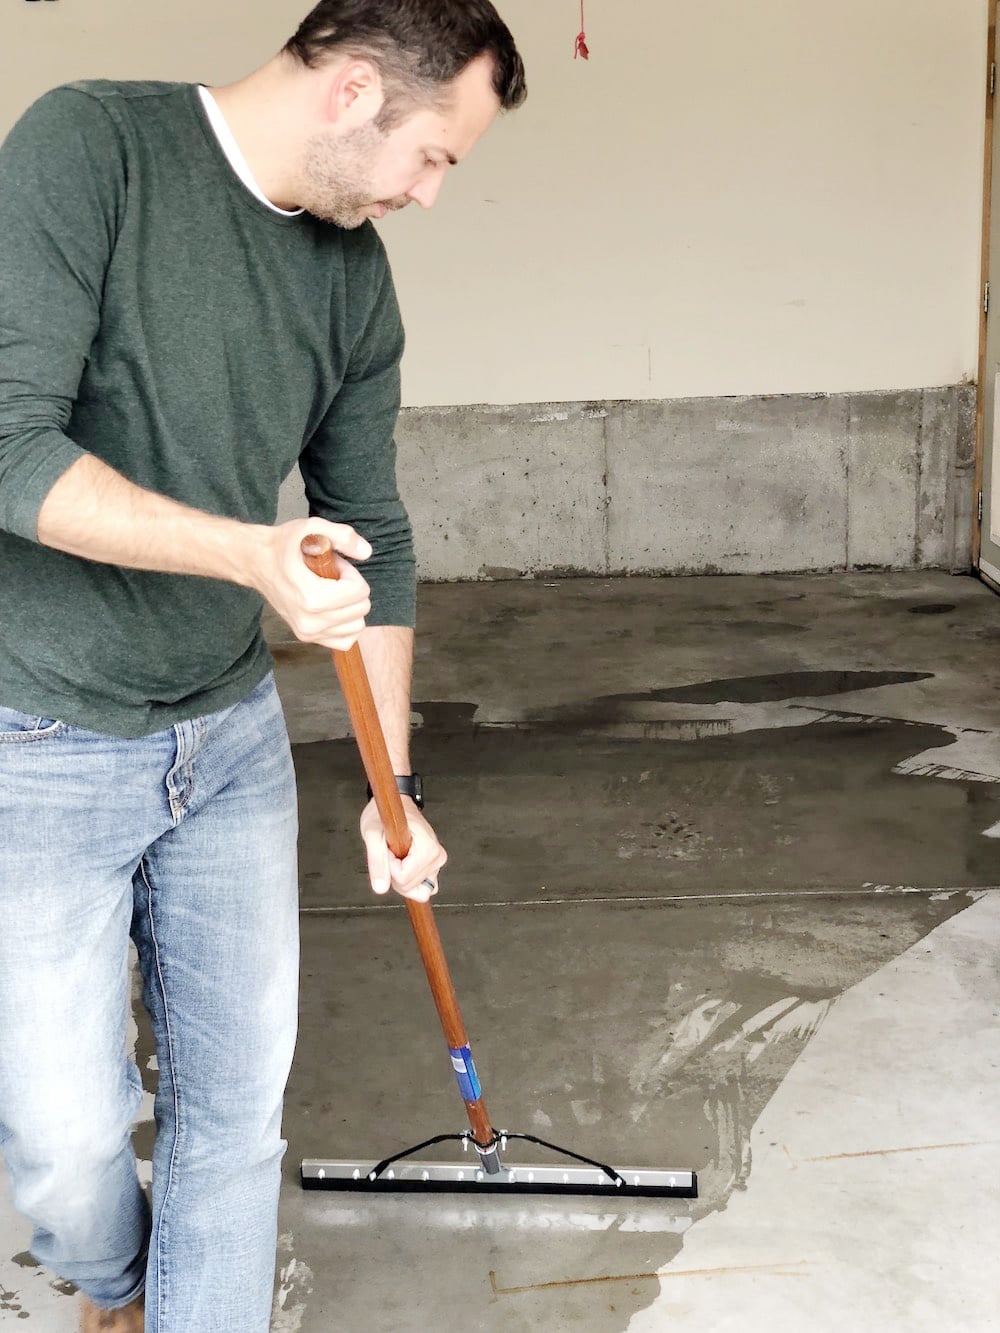
Once completed, use a floor squeegee to move all of the pooling water out of the garage, and allow to dry completely. This may take several hours, depending on weather and other factors.
4. Fill gaps

Using an expandable, self-leveling caulk, fill the gaps between concrete slabs. It doesn’t need to be flush with the face of the concrete, you’re just wanting to close up areas of expansion and minimize imperfections. If your concrete has large cracks and gaps, you may consider a self-leveling concrete mix to pour over the surface. Whatever you do, allow it to cure at least over night.
5. Tape off walls & mix the epoxy
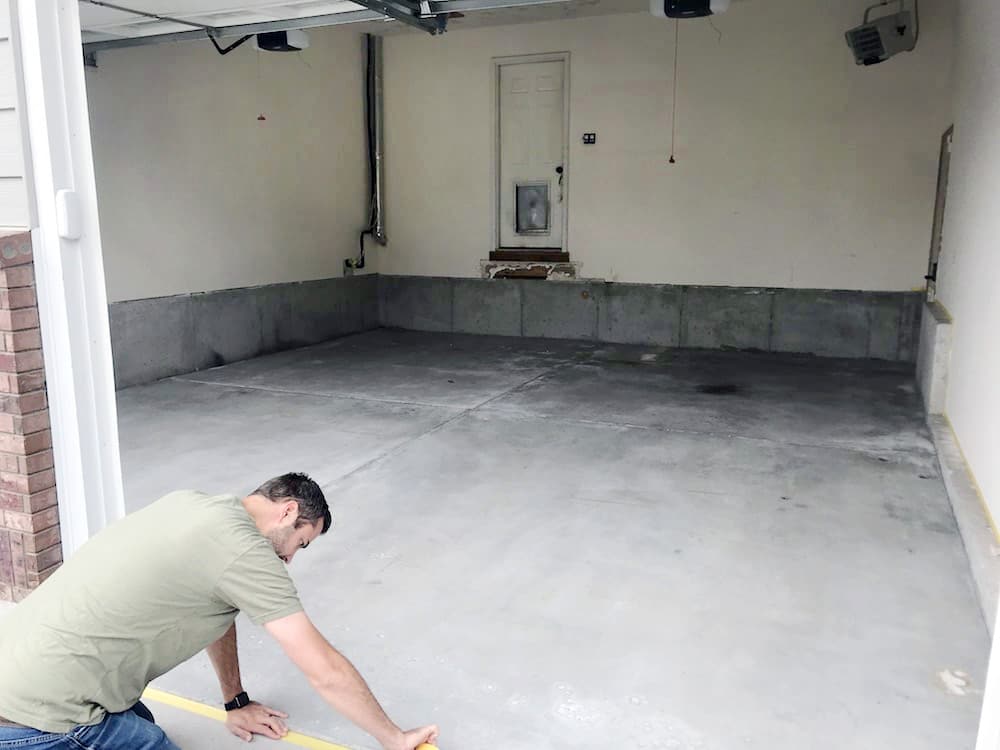
Once the epoxy is mixed, you have 2 hours to use it. And 30 minutes of those two hours you have to let the epoxy rest before use, so you really only have 90 minutes of working time. Taping off the edges allows you to paint quicker and not waste time.
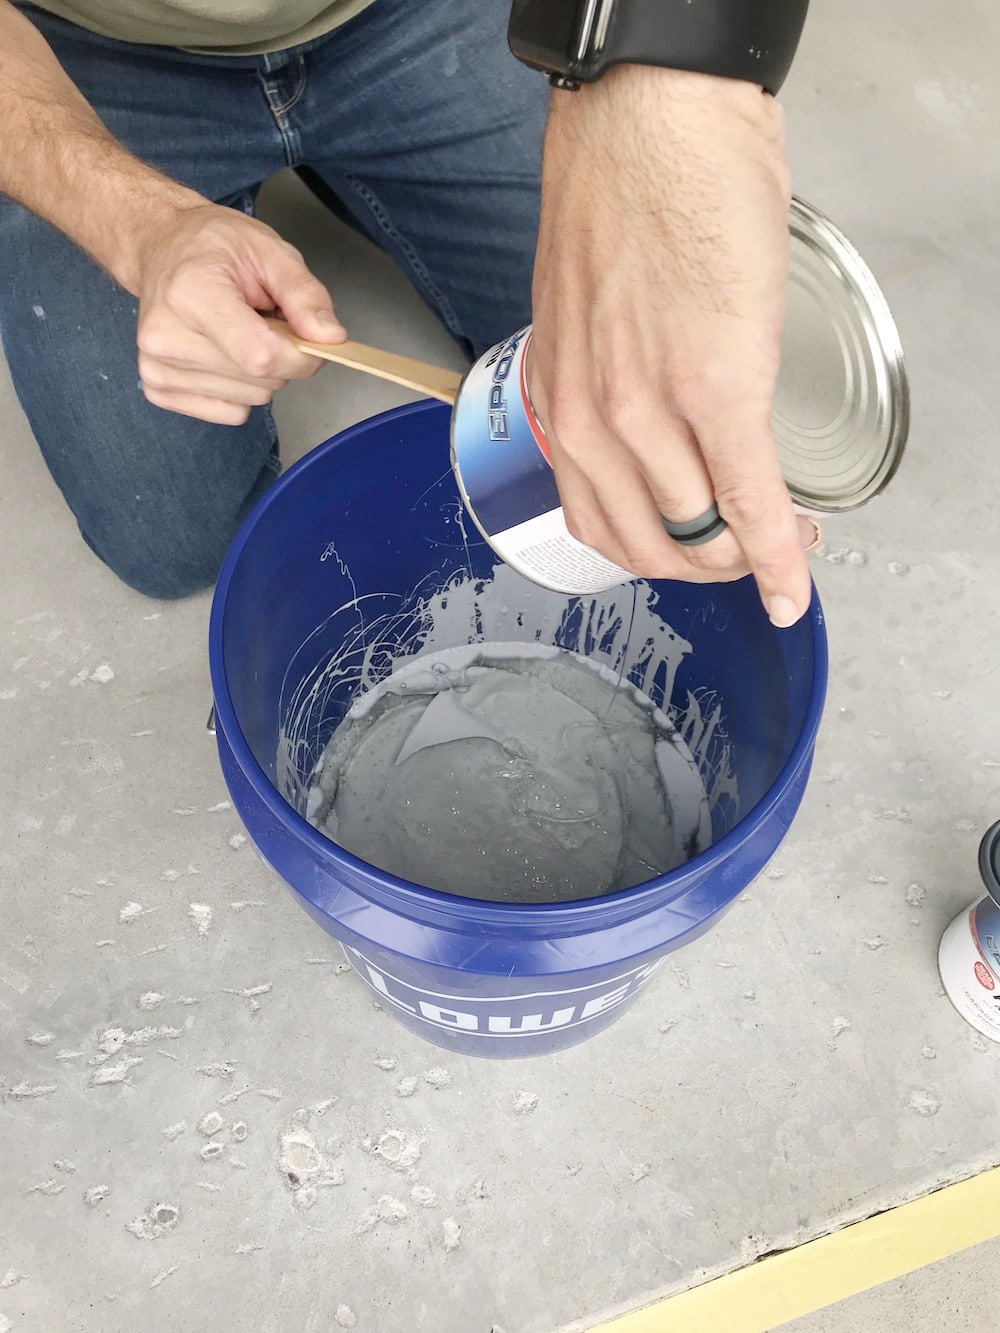
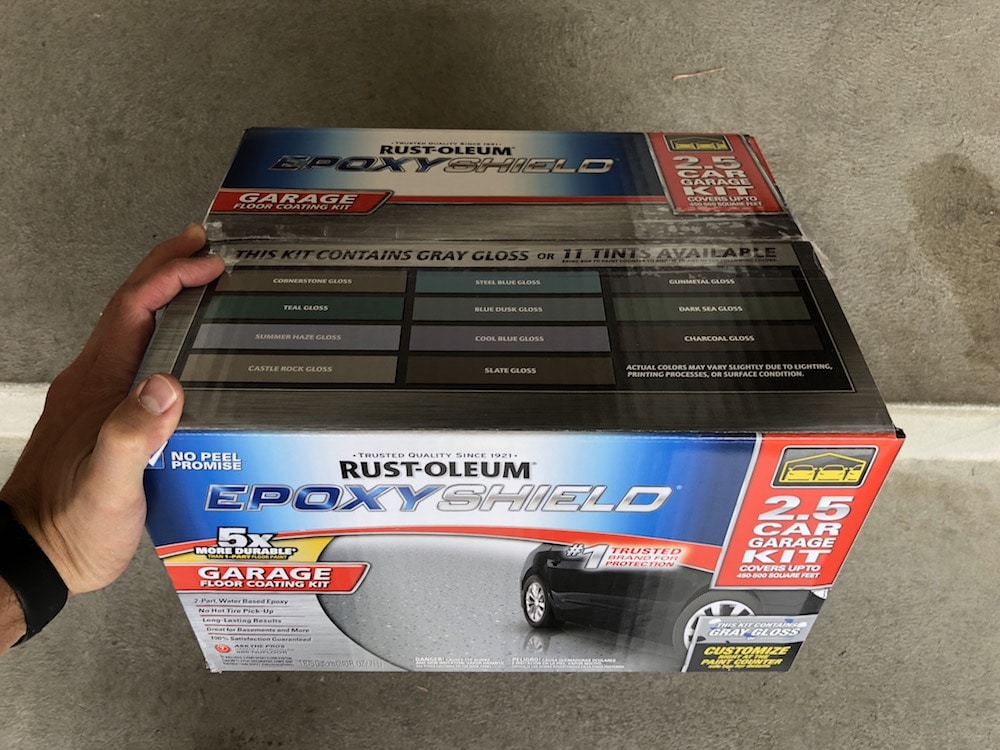
The kit comes with a Part A can and a Part B can (or two cans of each when using a 2.5 car garage kit). Mix the two parts together and allow to sit for the required amount of time. We had this kit mixed in the available Castle Rock Gloss color.
6. Apply the epoxy

Once the epoxy has set, immediately get to work! Start by brushing along the edges and in the corners, as you will not be able to reach these areas once the floor is rolled (you have to stay off the floors for 24 hours). Once the edging is done, roll the epoxy onto the main areas.
7. Allow to cure
Curing time varies, but you should plan to not walk on the floors for 24 hours, and don’t drive on them for 72. Some epoxies are longer, so be sure to read the instructions.
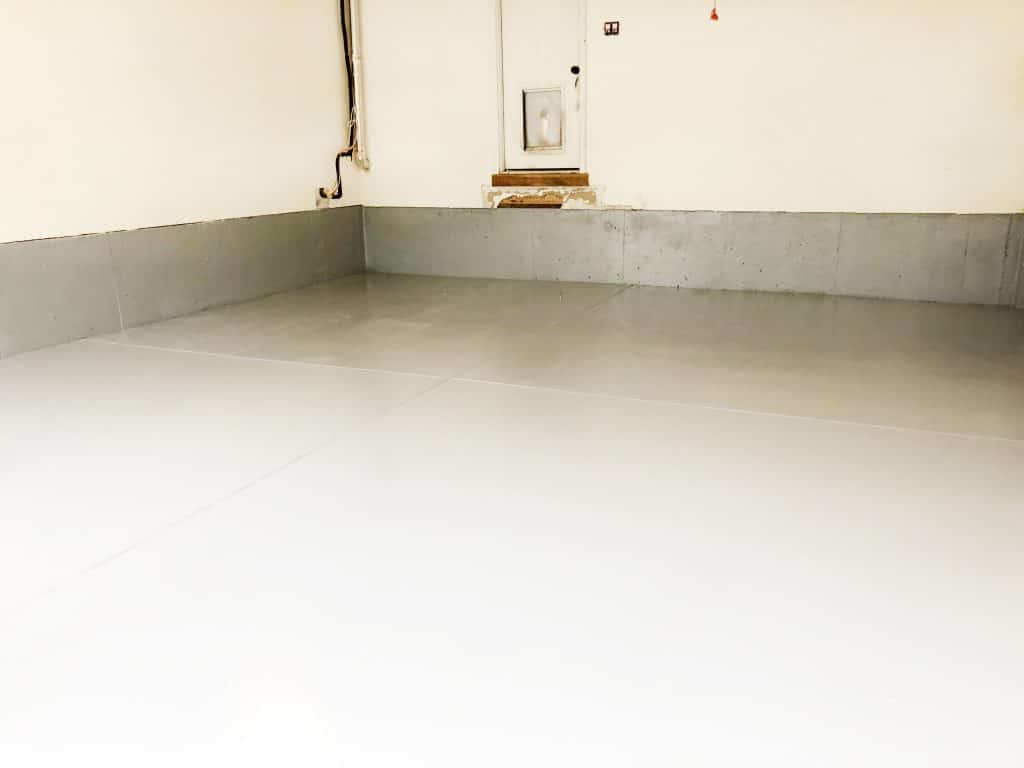
All-in-all, this project took 2 days (plus a day of clearing out the garage). The success of the floor all depends on the cleaning, degreasing, and etching work done on the first day, so definitely be sure to put in the work and do that part right. For us, we honestly couldn’t be happier with how fresh the floor looks now, and we can’t wait to tackle all of the organization in here as well over the coming weeks.
Materials used for this project:
| Floor Epoxy Kit | Floor Scraper | Pressure Washer |
|---|---|---|
| Degreaser | Floor Scrubber | Watering Can |
| Rubber Boots | Rubber Gloves | Goggles |
| Safety Mask | Self-Leveling Caulk | Tape |
| Paint Brush | Paint Rollers | Paint Extension Pole |
Leave a Reply
What do you think?


Semihandmade
Our wood grain Shaker cabinet fronts were designed for busy, high-traffic homes like ours. Clad with durable textured thermofoils, this line is compatible with Sektion, Akurum, Godmorgon, and Besta cabinets from IKEA. It's the perfect, practical way to add the warmth of wood to all the rooms of your home.
Collaborations
learn more

next
Loloi
We have teamed up with Loloi to create a line of rugs that are as affordable as they are beautiful. This collection houses a great mix of traditional and modern rugs, in cottage-y colorways, as well as vintage-inspired beauties that you’ll want to roll out in every room.
Collaborations
learn more

next
STUGA
We partnered with Stuga on a line of hardwood floors — The Ingrid is really livable, and the color is very neutral. It doesn’t lean warm or cool, it’s that just right in-between. We have really loved putting it everywhere in our house. It’s the best jumping-off point for design, no matter your interior style. In addition to being beautiful, Ingrid is really durable — we have three kids, and we always have a home construction project going on. Ingrid stands up to it all.
Collaborations
learn more

next


SHop all
What We're Right Now
What We're Right Now
Looking for our favorite things? A place to shop our home room by room, or just catch up on what Julia's wearing / loving right now? Browse the CLJ shop.
Loving


Portfolio


Design
Befores, afters, mood boards, plans, failures, wins. We’ve done a lot of projects, and they’re all here.
BROWSE BY CATEGORY
let's break this thing up
We have a long-standing relationship with DIY, and love rolling our sleeves up and making it happen.
Projects
Even when you don’t want to rip down a wall, you can make that space in your home better. Right now.
read more
read more
read more
02
01
03
looking for inspiration?
A reader recently asked me if I’m starting to fully embrace traditional style and whether we still consider our house to be a “modern Colonial” and why. It was a really great question and so timely — I had really just been thinking about my approach to this home and how my style has changed […]


SEARCH THE BLOG
We've been doing this since 2009 and we've posted a whopping 24145+ blog posts and counting. You might need a little help searching, huh?
looking for something?
find stuff like:
")
Can We Send You Our Love Letter?
Another way for us to stay in touch! Joining our weekly newsletter gives you access to exclusive content, never-before-seen photos, your questions answered, and our favorite DIYs. Sign up below!
Follow Along on Instagram
Welcome to our online community where we've posted home, DIY, style, renovations, and family since '09. Renovating our #cljmoderncottage in Idaho and headed for new adventures in Raleigh, NC. #cljfam #cljtransformations
@chrislovesjulia


Links
Get Around
Make yourself right at home
Portfolio
Design
Casual Friday
Projects
Lifestyle
Gift Guides
All Posts
Shop
Love where you live.
Social
RivrLinks
Links
Get Around
Make yourself right at home
Portfolio
Design
Casual Friday
Projects
Lifestyle
Gift Guides
All Posts
Shop
Love where you live.
Social
RivrLinks
I’m seeing more and more people start to incorporate the degreasing step, especially on DIY jobs. I think it’s a great idea and well worth it in the end. Good job!
Hey Chris, thanks for the great tutorial. I followed it step by step and feeling pretty good about the prep work, however, I was speaking with someone who use to do epoxy flooring professionally and he said that caulking (with the heat in Southern California) will dry up eventually and pop up through your epoxy floor. Do you know if this would be an issue with the DAP product? Do you think I should just go for laying down the epoxy or should I remove the caulking? PS: My parents live in Idaho–beautiful place to live.
Hey Phillip! It may definitely be more of an issue in the intense heat of California, but I don’t know that I could speak to that. It’s holding up great in our Idaho garage!
This is really attention-grabbing, You’re an overly
professional blogger. I have joined your rss feed and sit up for in search of extra of your magnificent post.
Also, I’ve shared your web site in my social networks
Hi! Love your blog! Question…..can I reapply over a previous treatment like this? The coating was already there when I bought the house and they didn’t do a very good job and it looks bad. Was thinking of redoing it but not sure if I should or could. Thanks.
The epoxy is only as good as what you put it over, so if the current floor is peeling up then that means anything you put over top of it will also peel up. If you’re wanting to do it again, I would hire someone to come sand blast the floor and give you a fresh start.
This looks great! Weird question, but do you think that prep kit would be suitable for recovering gross old laminate kitchen counters?
They actually have countertop epoxy. We used it in our last house!
Been wanting to do this but what do you do with all the things in the garage?
We moved all of our stuff to the side of our house and covered it with a tarp for rain.
Be wary if you live in an area that uses salt for the roads in Winter. We’ve found that the areas where snow/ice/salt melt and drip from our cars has significantly damaged the epoxy floor while other areas still look new. We did the epoxy floor 4 years ago and each year it looks worse. We wish we hadn’t done it and had instead found a different product that could stand up to the harsh winters.
this is perfect timing with the weather!!! The last thing i want to do is do this in dead hot summer. looks fab!
We also DIY’d our garage floor with epoxy but we chose to add the paint chips. Readers, learn from our mistake! If you add the chips, after the paint dries you must use a large metal scraper to remove the chips that didn’t attach all the way and then you will have to do a seal coat. Our chips catch dirt and junk and make our garage dirtier and it makes me sad!
Our garage leads to the paved driveway. Will the etching residue wreck that when rinsed out of the driveway?
It shouldn’t. If there are concerns, it doesn’t hurt to shoot an email to Rustoleum support.
Rent a 7 inch grinder with vac attachment and mechanically prep the garage floor. Acid etching is outdated.
In other posts, you share information on how much a project costs – can you share your all in cost for the epoxy floor (Supplies and tools, etc.)? Thank you!
The cost really depends on what tools you do and do not have. But the epoxy kit only cost $114, the degreaser was $16, and we used about 10 tubes of the self-leveling caulk at $8 a piece.
I am loving the look of sealed concrete (preferably with a matte finish). We are looking to replicate it when finishing our basement. Since it would be inside the home, is this something you think is still a DIY or time to call the pros?
I think inside a home would be just fine, but you want to double check the kit you buy to ensure it’s meant for indoor use.
I love how you guys manage to keep coming up with such relevant content regarding home projects, even as you say you’re close to feeling “done” with the house. Garages/basements, landscaping, outdoor play spaces – I just want to thank you for what must take a lot of time and thought.
I just bought a lot and have a couple questions. 1. Was the 2.5 kit enough to do your garage? Did you have any leftover? 2. Did you use the chips? When do I throw those on?
It was enough, and there was a little left over. We also opted not to use the chips, but you would toss those on as you paint the floor. Do a little section, toss some on, then do the next section, toss on, etc..
Thanks so much for this tutorial! I’ve was that it can be really slippery on rainy days without the chips (though I definitely prefer no chips for looks). Have you done any tests to see how slippery it is with wet shoes?
Not yet but we’ll keep ya posted!
We’ve been hesitant to do this project because I loathe the look of the chips and didn’t know you could do it without it. Does the surface feel super slippery without them????
Haven’t used it much, but we’ve heard that can happen. If it’s an issue we’ll keep everyone updated!
Looks great! Like with most jobs, so much of the critical work is in the prep.
Given how much work it was to do this, I’m curious what the overall purpose or benefit of epoxy coating the floor is? I see on the box that you could pick different colors – is that it’s main appeal? Or does the epoxy serve some other purpose as well?
The real purpose is cleaning. Since it’s non-porous, it doesn’t take stains in the same way concrete does, and it can easily be cleaned with a garden hose or pressure washer.
Does this seal the concrete against letting moisture thru? I know if you live in a very humid place moisture can get thru the porous cinder blocks and your more prone to mold.
Yes it helps seals it against moisture.