


Major spoiler alert! Because the home gym is just a quick phase one, it’s nearly finished. It’s been painted a couple fresh coats of white flour (bye, bye burnt orange), the ceiling fan is hung, and we’re well on our way to being finished. Promise you’ll get a closer look at that pretty ceiling fan and the rest of the room soon but it’s already feeling dramatically brighter and airy in here. But today we’re talking about how we added picture frame trim to a frameless mirror.
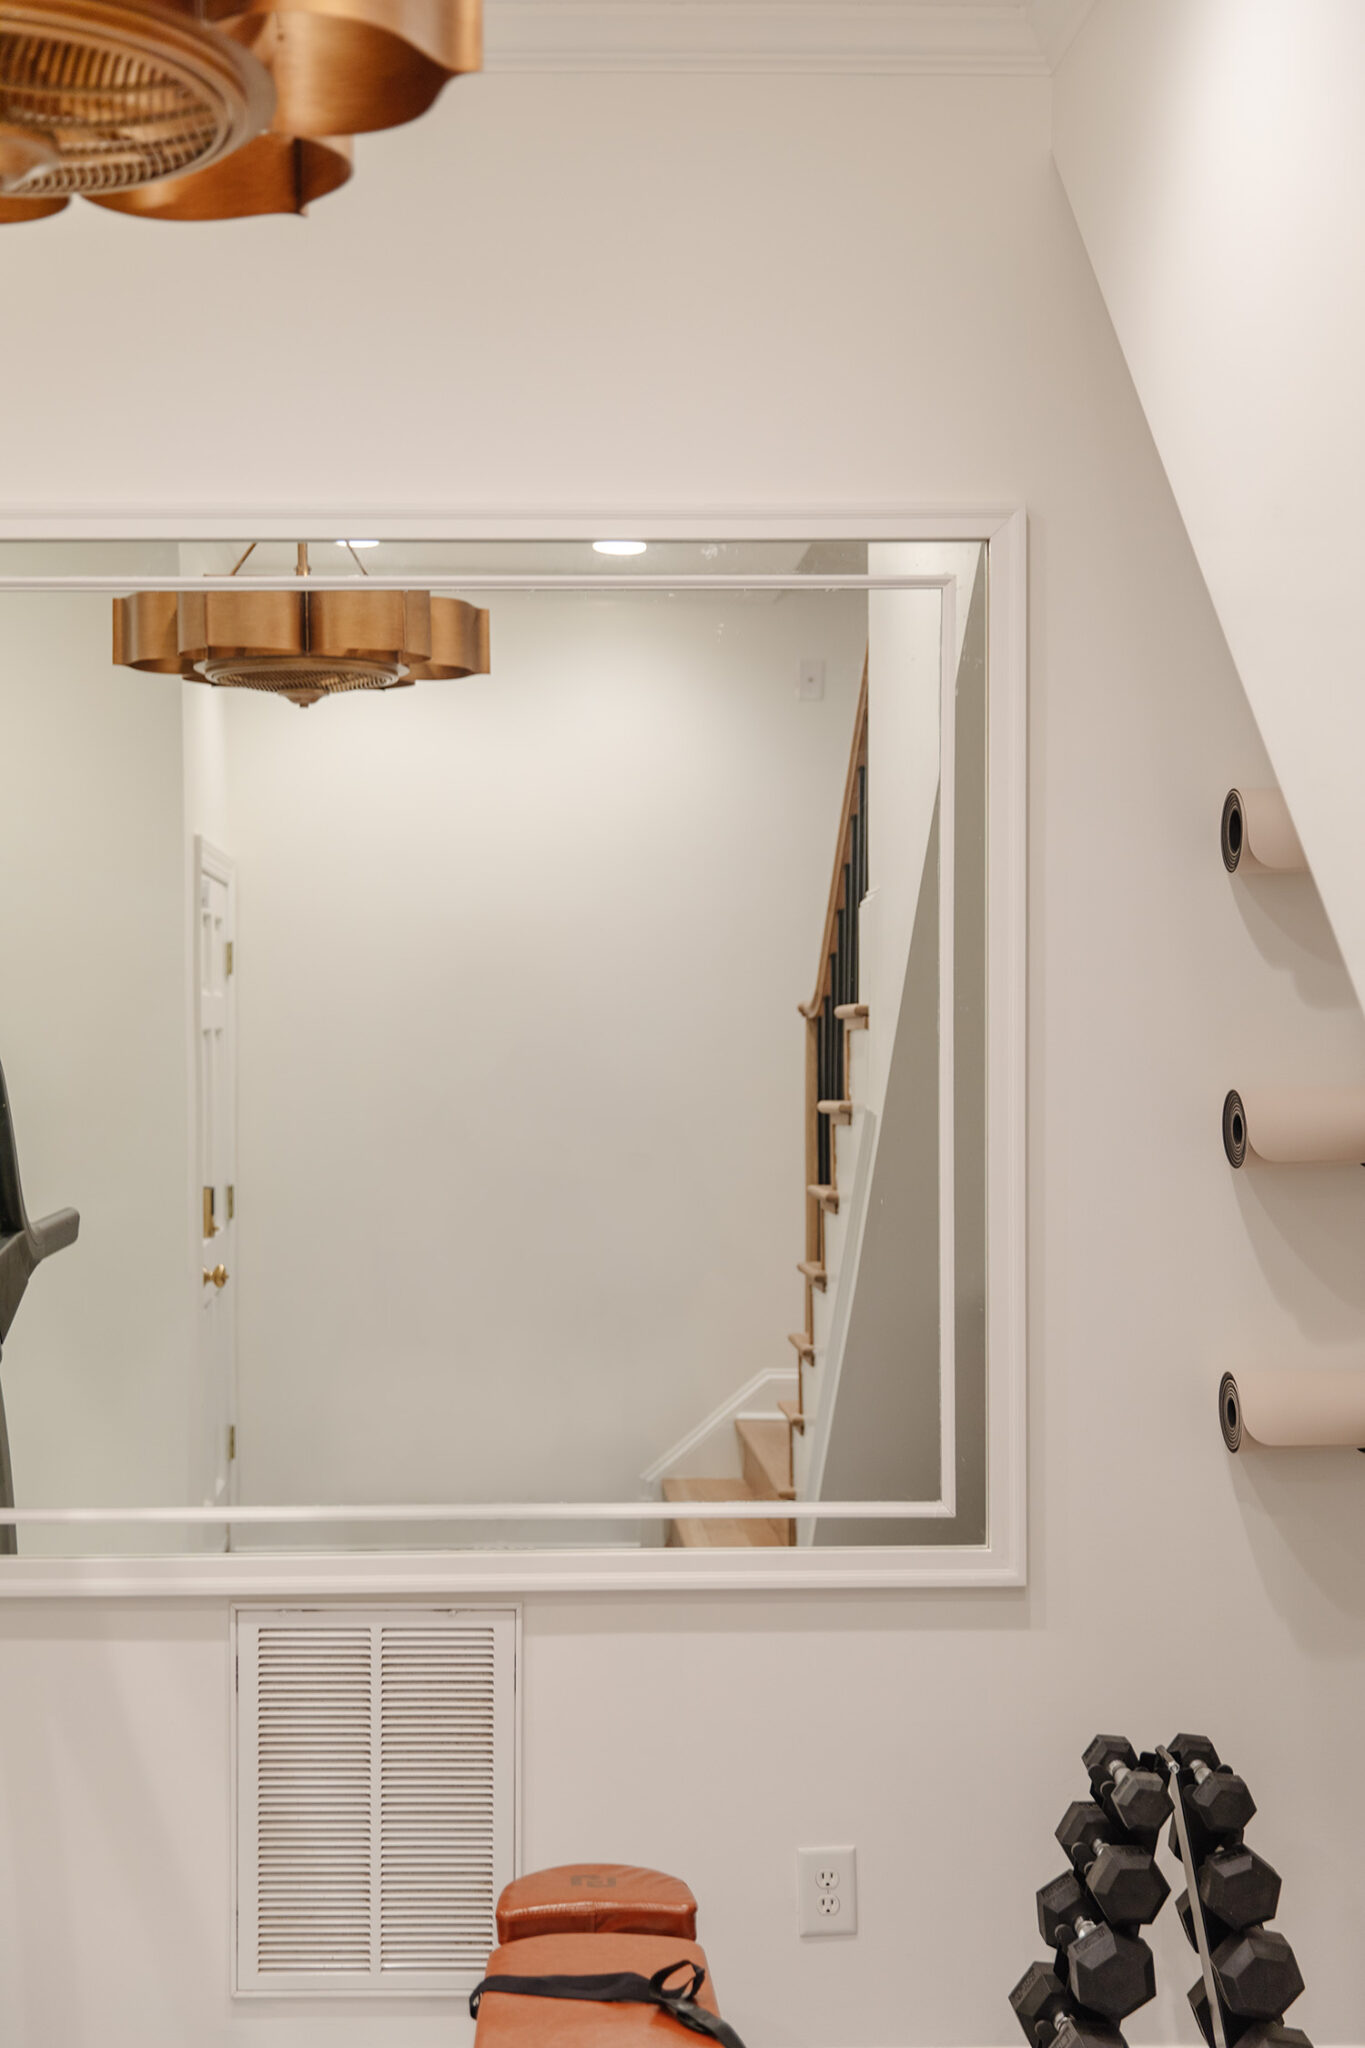
The home gym already had these two, large frameless mirrors on the wall (see the before here) and we didn’t see any reason to get rid of them but we wanted to make them look a little less “builder grade.” Framing them out felt like a nice touch but I wanted to take it even further and add some detailing on the glass! Here’s how we got this custom look on a regular old mirror.
Materials + Tools

Silicone to attach inner border
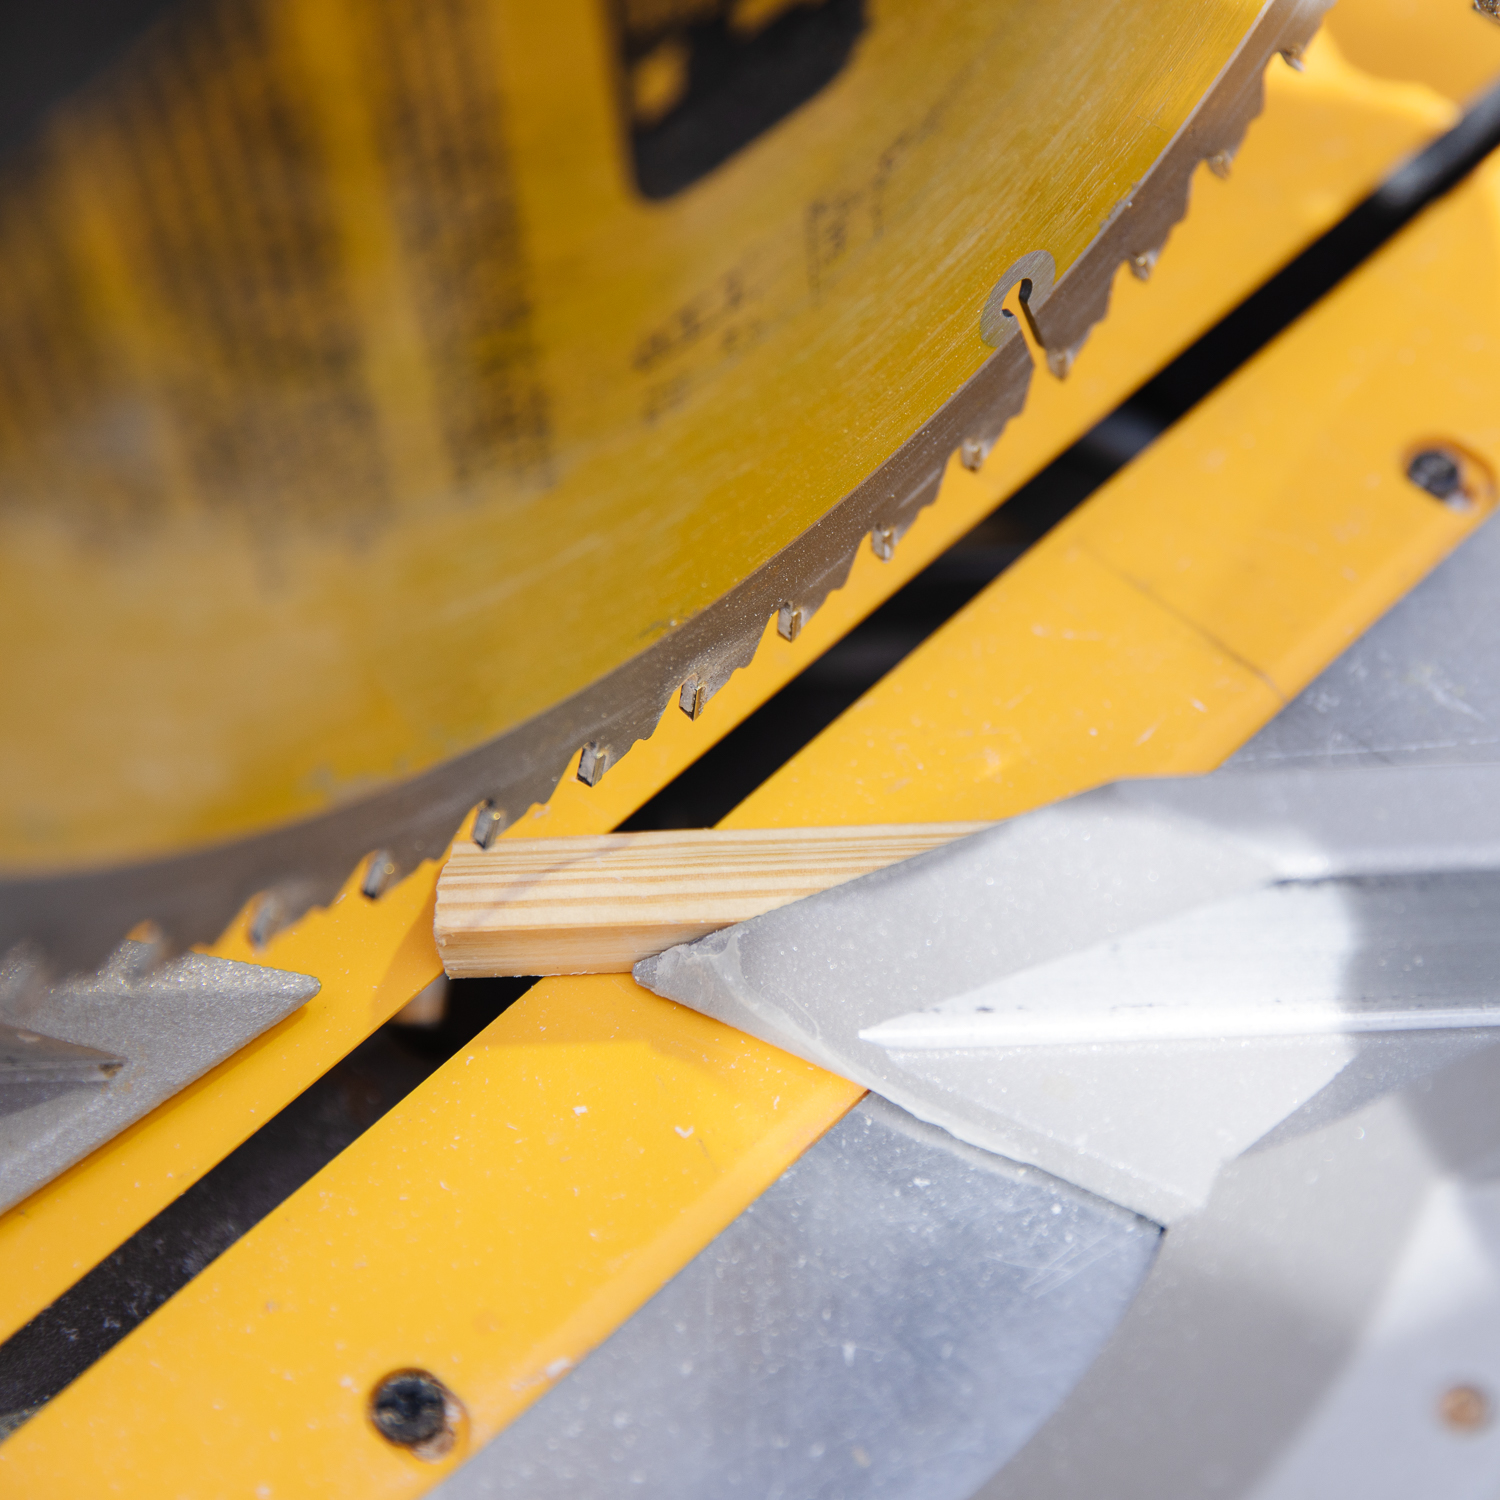
Make the cuts!
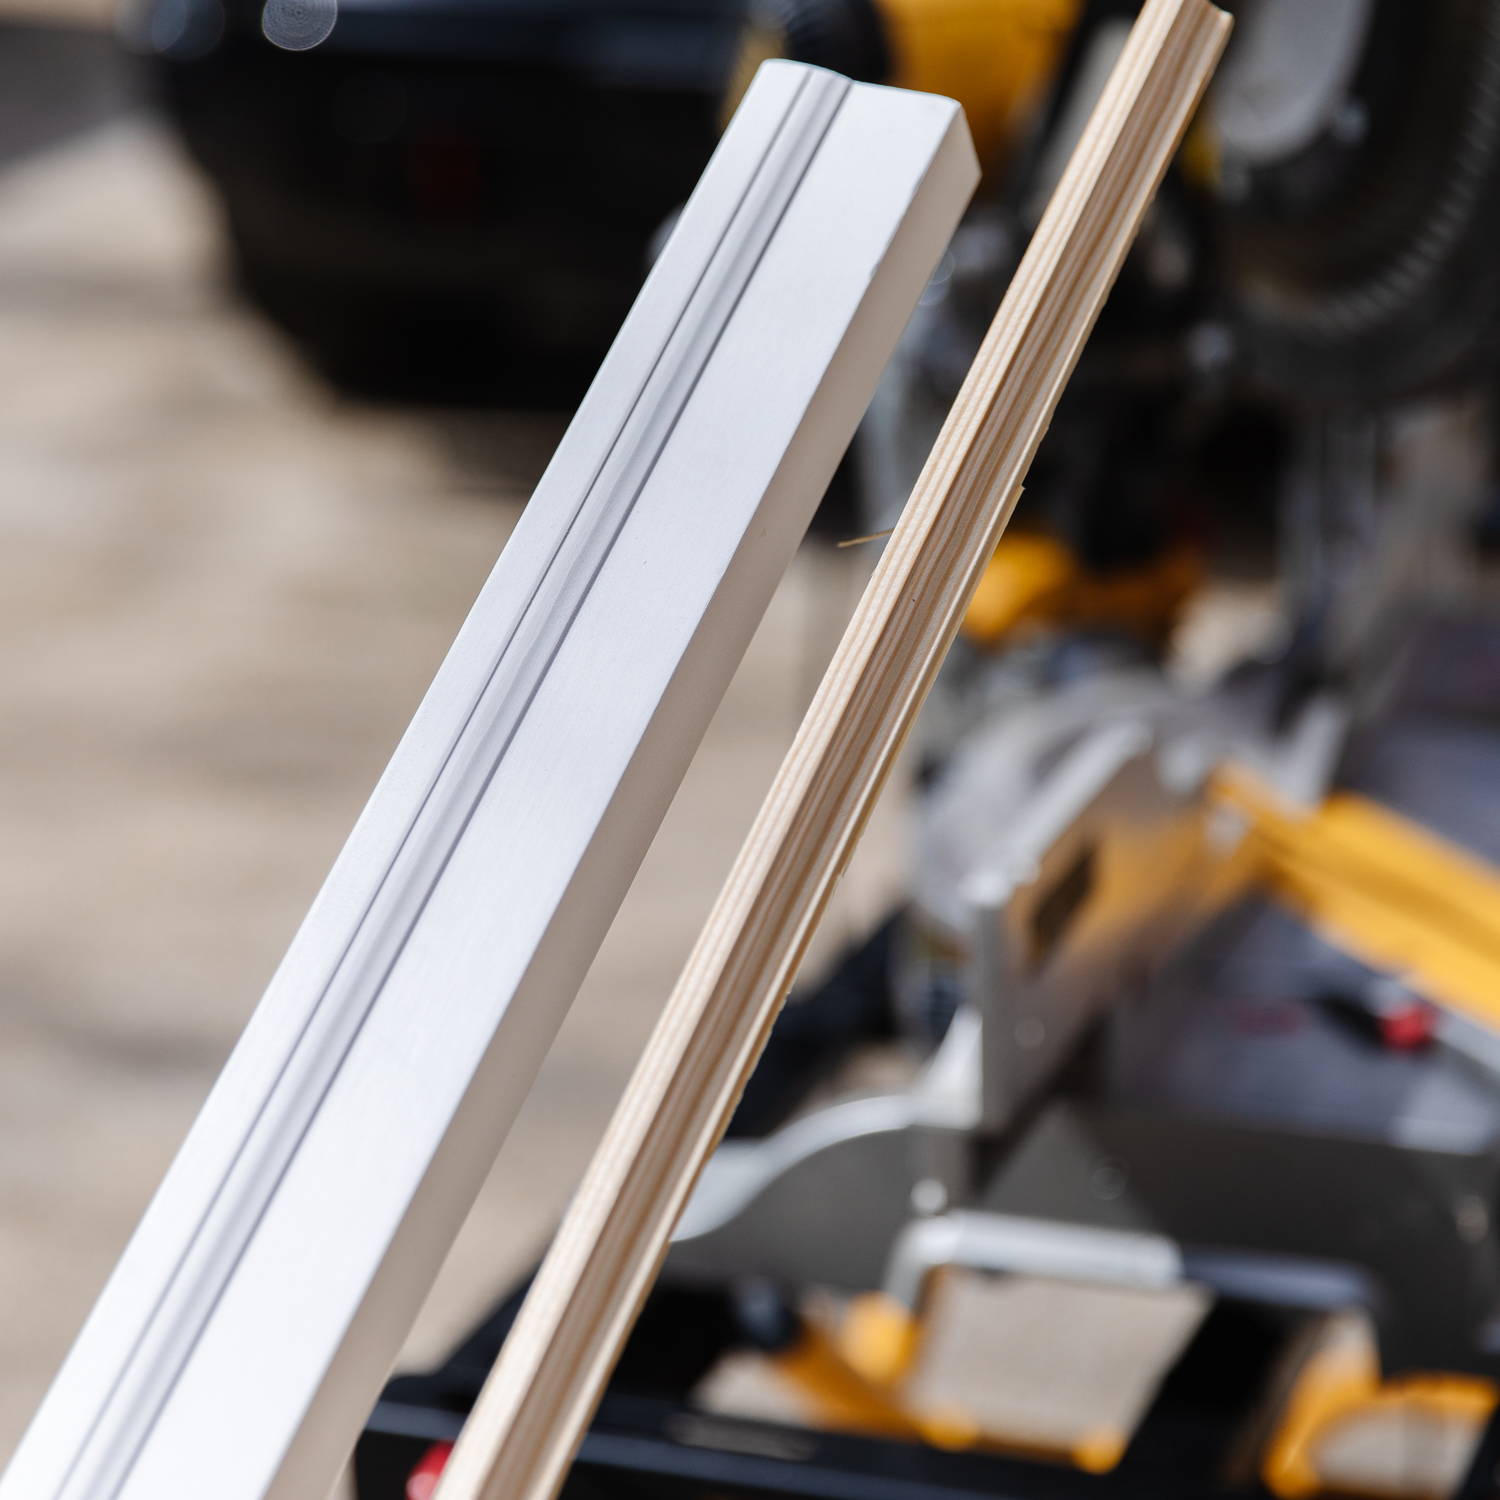
Starting with the outer frame, determine how much you want the trim to overlap the mirror. We decided to measure all 4 sides of the mirror and added about 2″ to each side to get the measurement for our 4 cuts. We wanted the frame to be flush with the wall, but also overlap on the mirror front. Next we mitered all the ends at a 45° angle so that they can join together like a picture frame.

To keep the frame flush with the wall, we had to notch out where it would it could overlap the mirror. Looking at the side profile of the trim, here’s a visual of the two cuts we made to keep it overlapping the mirror. Definitely measure how much you’ll have to cut in based on how much mirror overlap, and how far forward the mirror comes off the wall.

Next, we made our cuts for the smaller trim on the face of the mirror based on how much of a space we wanted between the trim. Our gap is about 2″. Next, you’ll make the same 45° mitered cuts for the joints.
Paint the trim
Because we didn’t want to have to tape off the mirror to paint the trim, we painted all the pieces before install using our favorite paint brush. For this trim we used the same eggshell finish as the walls.
Time for install
Starting with the outer frame, use a brad nailer to nail it into place (careful not to hit the mirror). Easy enough! For the inside piece of trim we used silicone and taped it in place while it dried. There’s going to be a bit of residue that leaks onto the mirror and for that we just scraped it off with a razor blade!

After the trim was in place, we caulked the seams and nail holes, touched up some paint and that’s it!

I can’t wait to show you the rest of this space!
Other Posts About the Home Gym
Leave a Reply
What do you think?


Semihandmade
Our wood grain Shaker cabinet fronts were designed for busy, high-traffic homes like ours. Clad with durable textured thermofoils, this line is compatible with Sektion, Akurum, Godmorgon, and Besta cabinets from IKEA. It's the perfect, practical way to add the warmth of wood to all the rooms of your home.
Collaborations
learn more

next
Loloi
We have teamed up with Loloi to create a line of rugs that are as affordable as they are beautiful. This collection houses a great mix of traditional and modern rugs, in cottage-y colorways, as well as vintage-inspired beauties that you’ll want to roll out in every room.
Collaborations
learn more

next
STUGA
We partnered with Stuga on a line of hardwood floors — The Ingrid is really livable, and the color is very neutral. It doesn’t lean warm or cool, it’s that just right in-between. We have really loved putting it everywhere in our house. It’s the best jumping-off point for design, no matter your interior style. In addition to being beautiful, Ingrid is really durable — we have three kids, and we always have a home construction project going on. Ingrid stands up to it all.
Collaborations
learn more

next


SHop all
What We're Right Now
What We're Right Now
Looking for our favorite things? A place to shop our home room by room, or just catch up on what Julia's wearing / loving right now? Browse the CLJ shop.
Loving


Portfolio


Design
Befores, afters, mood boards, plans, failures, wins. We’ve done a lot of projects, and they’re all here.
BROWSE BY CATEGORY
let's break this thing up
We have a long-standing relationship with DIY, and love rolling our sleeves up and making it happen.
Projects
Even when you don’t want to rip down a wall, you can make that space in your home better. Right now.
read more
read more
read more
02
01
03
looking for inspiration?
A reader recently asked me if I’m starting to fully embrace traditional style and whether we still consider our house to be a “modern Colonial” and why. It was a really great question and so timely — I had really just been thinking about my approach to this home and how my style has changed […]


SEARCH THE BLOG
We've been doing this since 2009 and we've posted a whopping 24145+ blog posts and counting. You might need a little help searching, huh?
looking for something?
find stuff like:
")
Can We Send You Our Love Letter?
Another way for us to stay in touch! Joining our weekly newsletter gives you access to exclusive content, never-before-seen photos, your questions answered, and our favorite DIYs. Sign up below!
Follow Along on Instagram
Welcome to our online community where we've posted home, DIY, style, renovations, and family since '09. Renovating our #cljmoderncottage in Idaho and headed for new adventures in Raleigh, NC. #cljfam #cljtransformations
@chrislovesjulia


Links
Get Around
Make yourself right at home
Portfolio
Design
Casual Friday
Projects
Lifestyle
Gift Guides
All Posts
Shop
Love where you live.
Social
RivrLinks
Links
Get Around
Make yourself right at home
Portfolio
Design
Casual Friday
Projects
Lifestyle
Gift Guides
All Posts
Shop
Love where you live.
Social
RivrLinks
Love the extra detail on the frame! Looks so custom! We framed our bathroom mirrors but didn’t think about extra inset trim 🤔 One thing I would suggest is to paint the backside of the trim too so the bit that’s reflected in the mirror is the same color.
Looks great! Can’t wait until you post links for those mat holders on the wall!
We did this a few years ago to fancy up a builder grade bathroom mirror–makes such a difference! Though we initially forgot to paint the underside of the edge pieces and had to take it apart and redo. When placed on the mirror they reflect the (unpainted) underside color due to the reflection. Bit of a pain to undo it after the fact, but makes a big differencein the finished product by having the underside the same color as the exterior.
Love the fan! I would love to know what you think after you’ve lived with it a bit. Mainly, is it quiet (no weird rattles or anything)?. I’m considering it for a bedroom and that’s a definite splurge but oh my gosh is it cute!
I did this to my builder grade bathroom mirror. The finishing touch was caulking the frame at the mirror so there was no peek through.
Cheap, quick and great result.
I love how it looks. My little detailed/OCD self would be bugged by the image of the beautiful ceiling fan in the mirror is cut off by the trim. By the way that ceiling fan is really beautiful.
Wow! It’s coming along so fast! Did you have a particular inspiration for the trim you added on top of the mirror itself? I don’t think I’ve ever seen anything like that.
Hi Julia. I have been reading your blog almost-daily now for the past year or so but never commented until now. The fan for the gym (I have never seen anything like it!) is what put me over the edge into the “I must say something” zone: You have the most exquisite taste! I simply love seeing how your selections come together to make a room. I have taken the time to look back at your prior homes and designs, and it’s fascinating to track the evolution of your personal style. My favorite style of yours, I think, is where you are now. Your finished rooms look lived-in, polished, and intentional — but never stuffy. Anyway I just wanted to tell you how much I admire your creativity and enjoy the content you share. Have a great day!
I’d love to see the full layout of that house! So many cool stairways to here and there…..I’m imagining a Hogwart’s situation. And I do love a framed mirror. We did this to some of the large frameless mirrors in our older home. I ended up hiring a company because we aren’t quite jigsaw/mitre saw competent. But it is such an excellent update.
Looks beautiful! What saw did you use to make the notches for the mirror? Thanks!
We just used a table saw!
Looks great! Though I suggest painting the mirror trim black to go with the upcoming checkered floor. I also think it’ll elevate the mirrors even more above the builder grade feel.
Looks great! Can’t wait to see more of that fan. How did you make the notch on the back of the outer molding? I can’t think of a way to do that with a miter saw. The only thing coming to mind do that is with a table mounted router.
Table saw did the trick!