


A couple weeks ago we introduced one of our new room projects to you–a dedicated home office/studio–and this weekend, after a lot of planning and a trip to Ikea last weekend to pick up desk supplies, we finally got cracking on it.
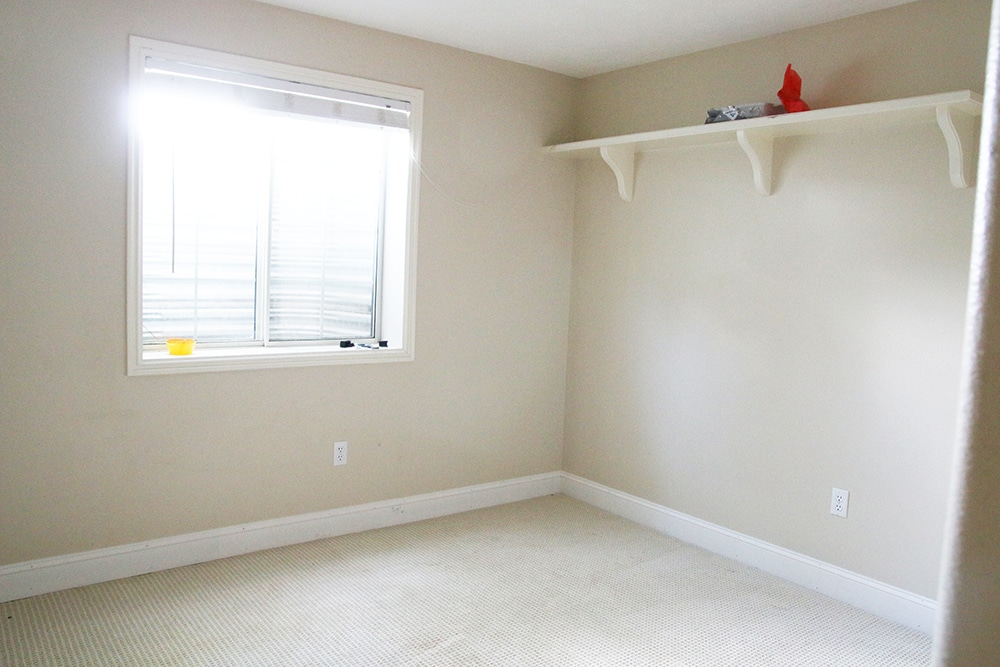
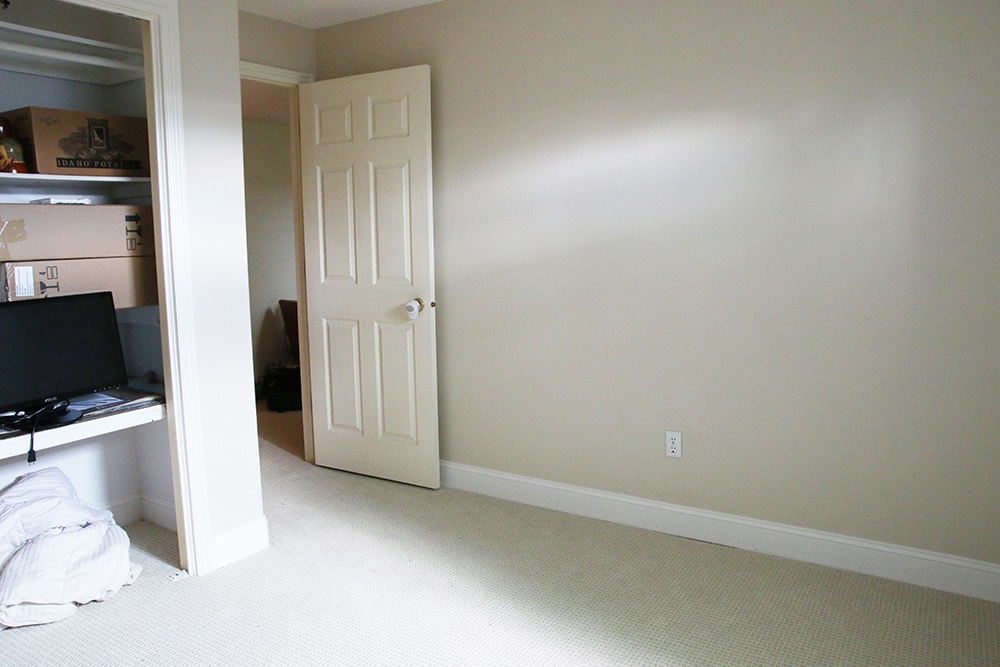
It’s a pretty vanilla room to start with, and although it’s in the basement, it gets a good amount of sunshine throughout the day. When we were planning the furniture, our desk, lighting and the walls–it was the walls that kept stumping me. Would an interesting paint color be enough to turn it from vanilla into something more “us”? It didn’t seem so. Then, we turned to wallpaper–which I definitely loved the idea of. But it would have been pretty pricey and this small of a room couldn’t get by with just an accent wall. So, we decided to apply a wainscoting to all the walls.
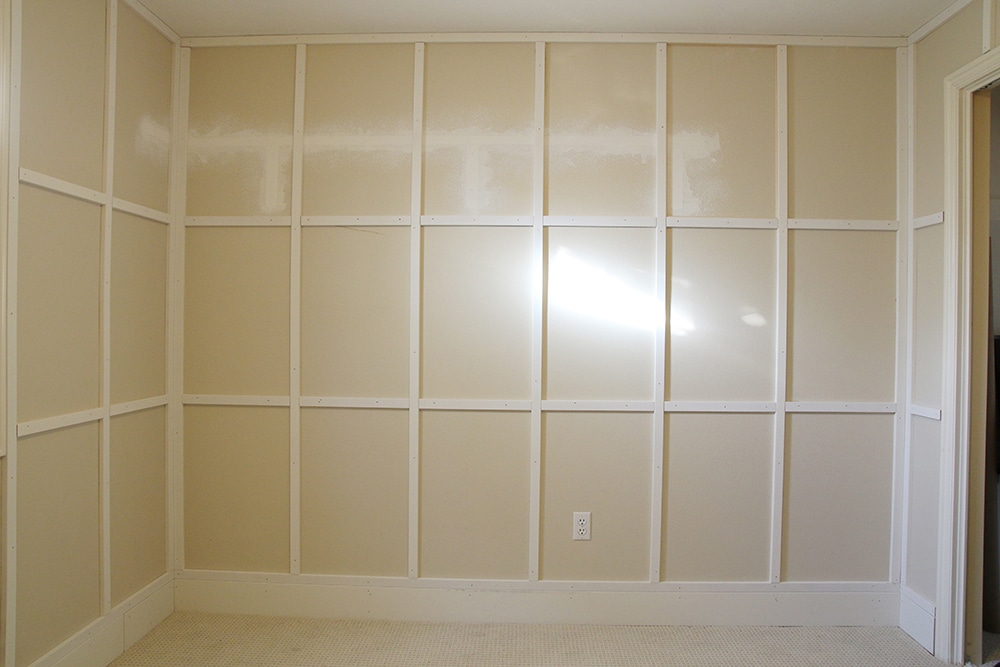
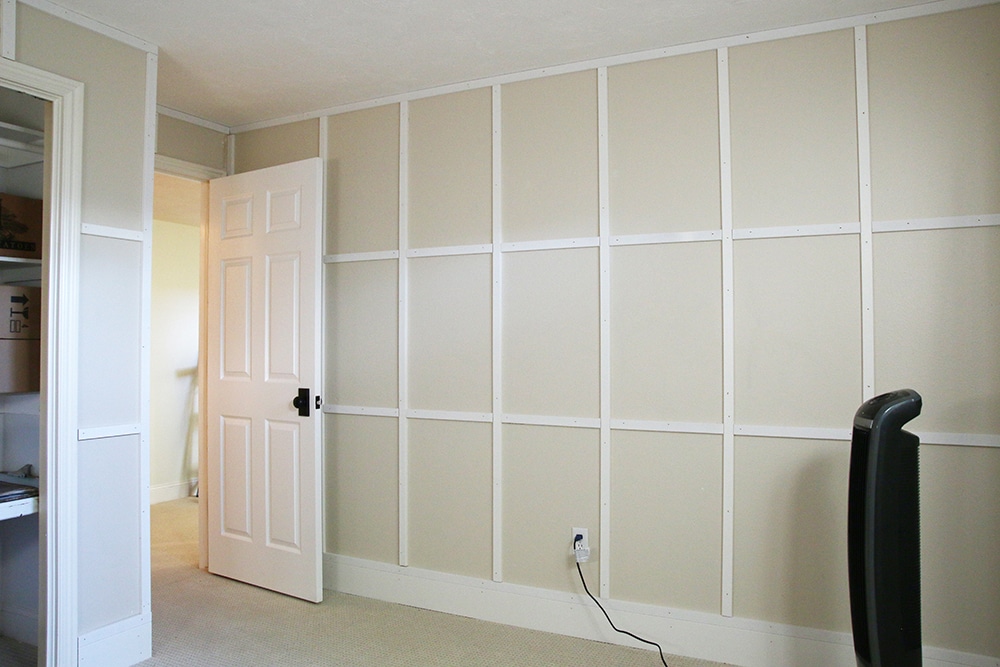
We still have a lot of work to do before it’s done, but this is how far we got on Saturday (a long 10 hour day) and it’s already added so much dimension and interest to the room.
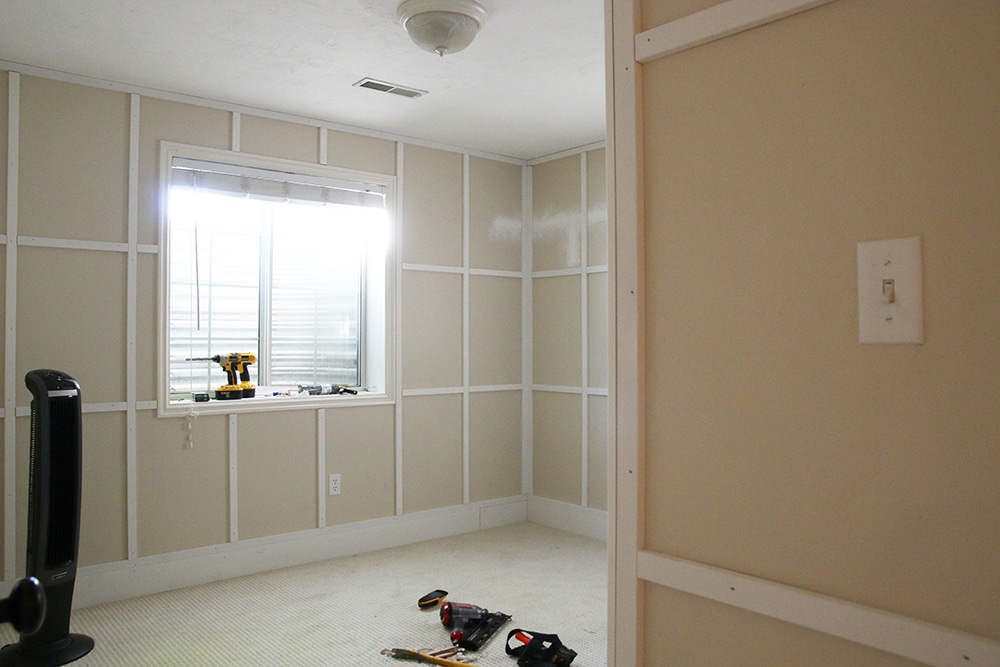
We’re using 1 1/2″ MDF trim boards, to not overwhelm the room, attached with liquid nails and a nail gun. But before we could start trimming it out, we removed the baseboards and added filler MDF for the trim to sit on top of and we’ll add the baseboards back on right before we paint.
Chris started by adding the top and bottom trim pieces near the floor and ceiling, then attached all the verticals and lastly the horizontals. However, the trim is not complete yet. We’re going back in and adding molding to the inside of each panel.
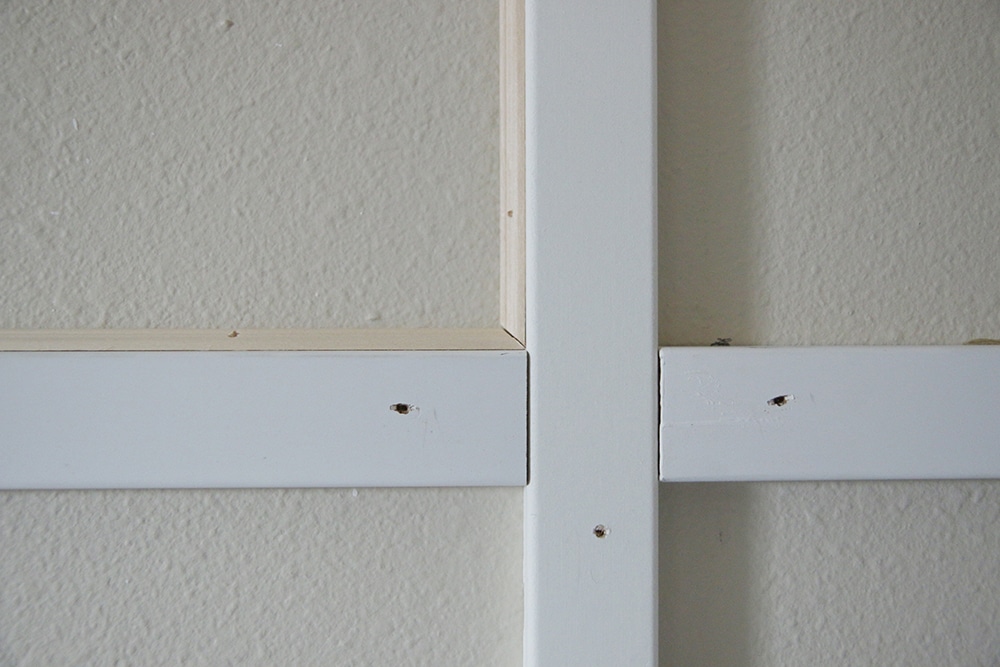
We picked up this “Raw Colonial Moulding” from Lowe’s for the inside and trimmed out one section to see how it looks before calling it a day.
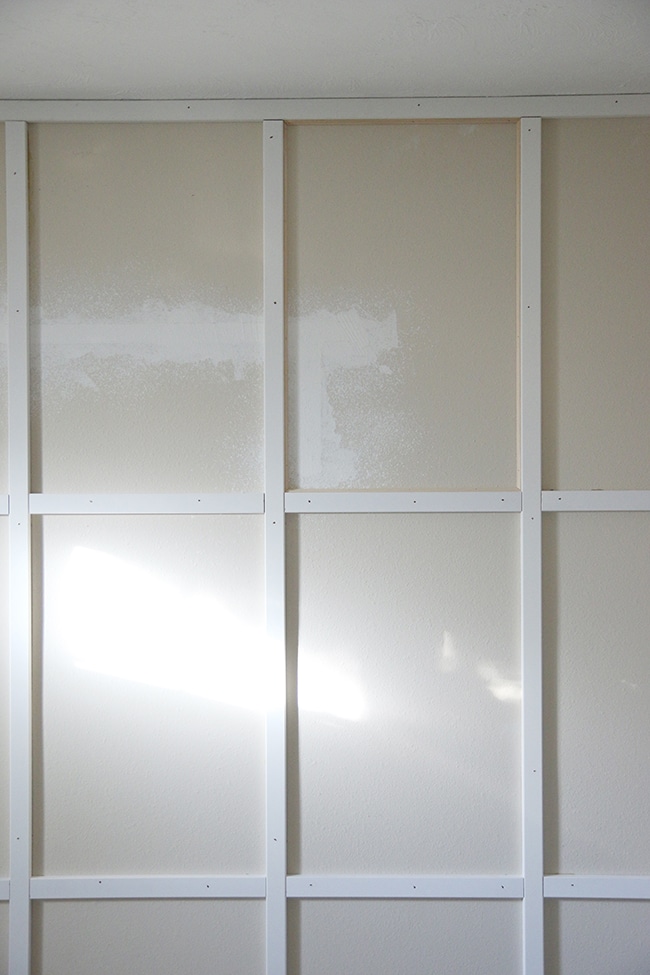
I think it will add something very special and a much more finished look, but I’m not sure the inside moulding is beefy enough–or maybe its just that the wood tone is too close to the wall color. Verdict is still out.
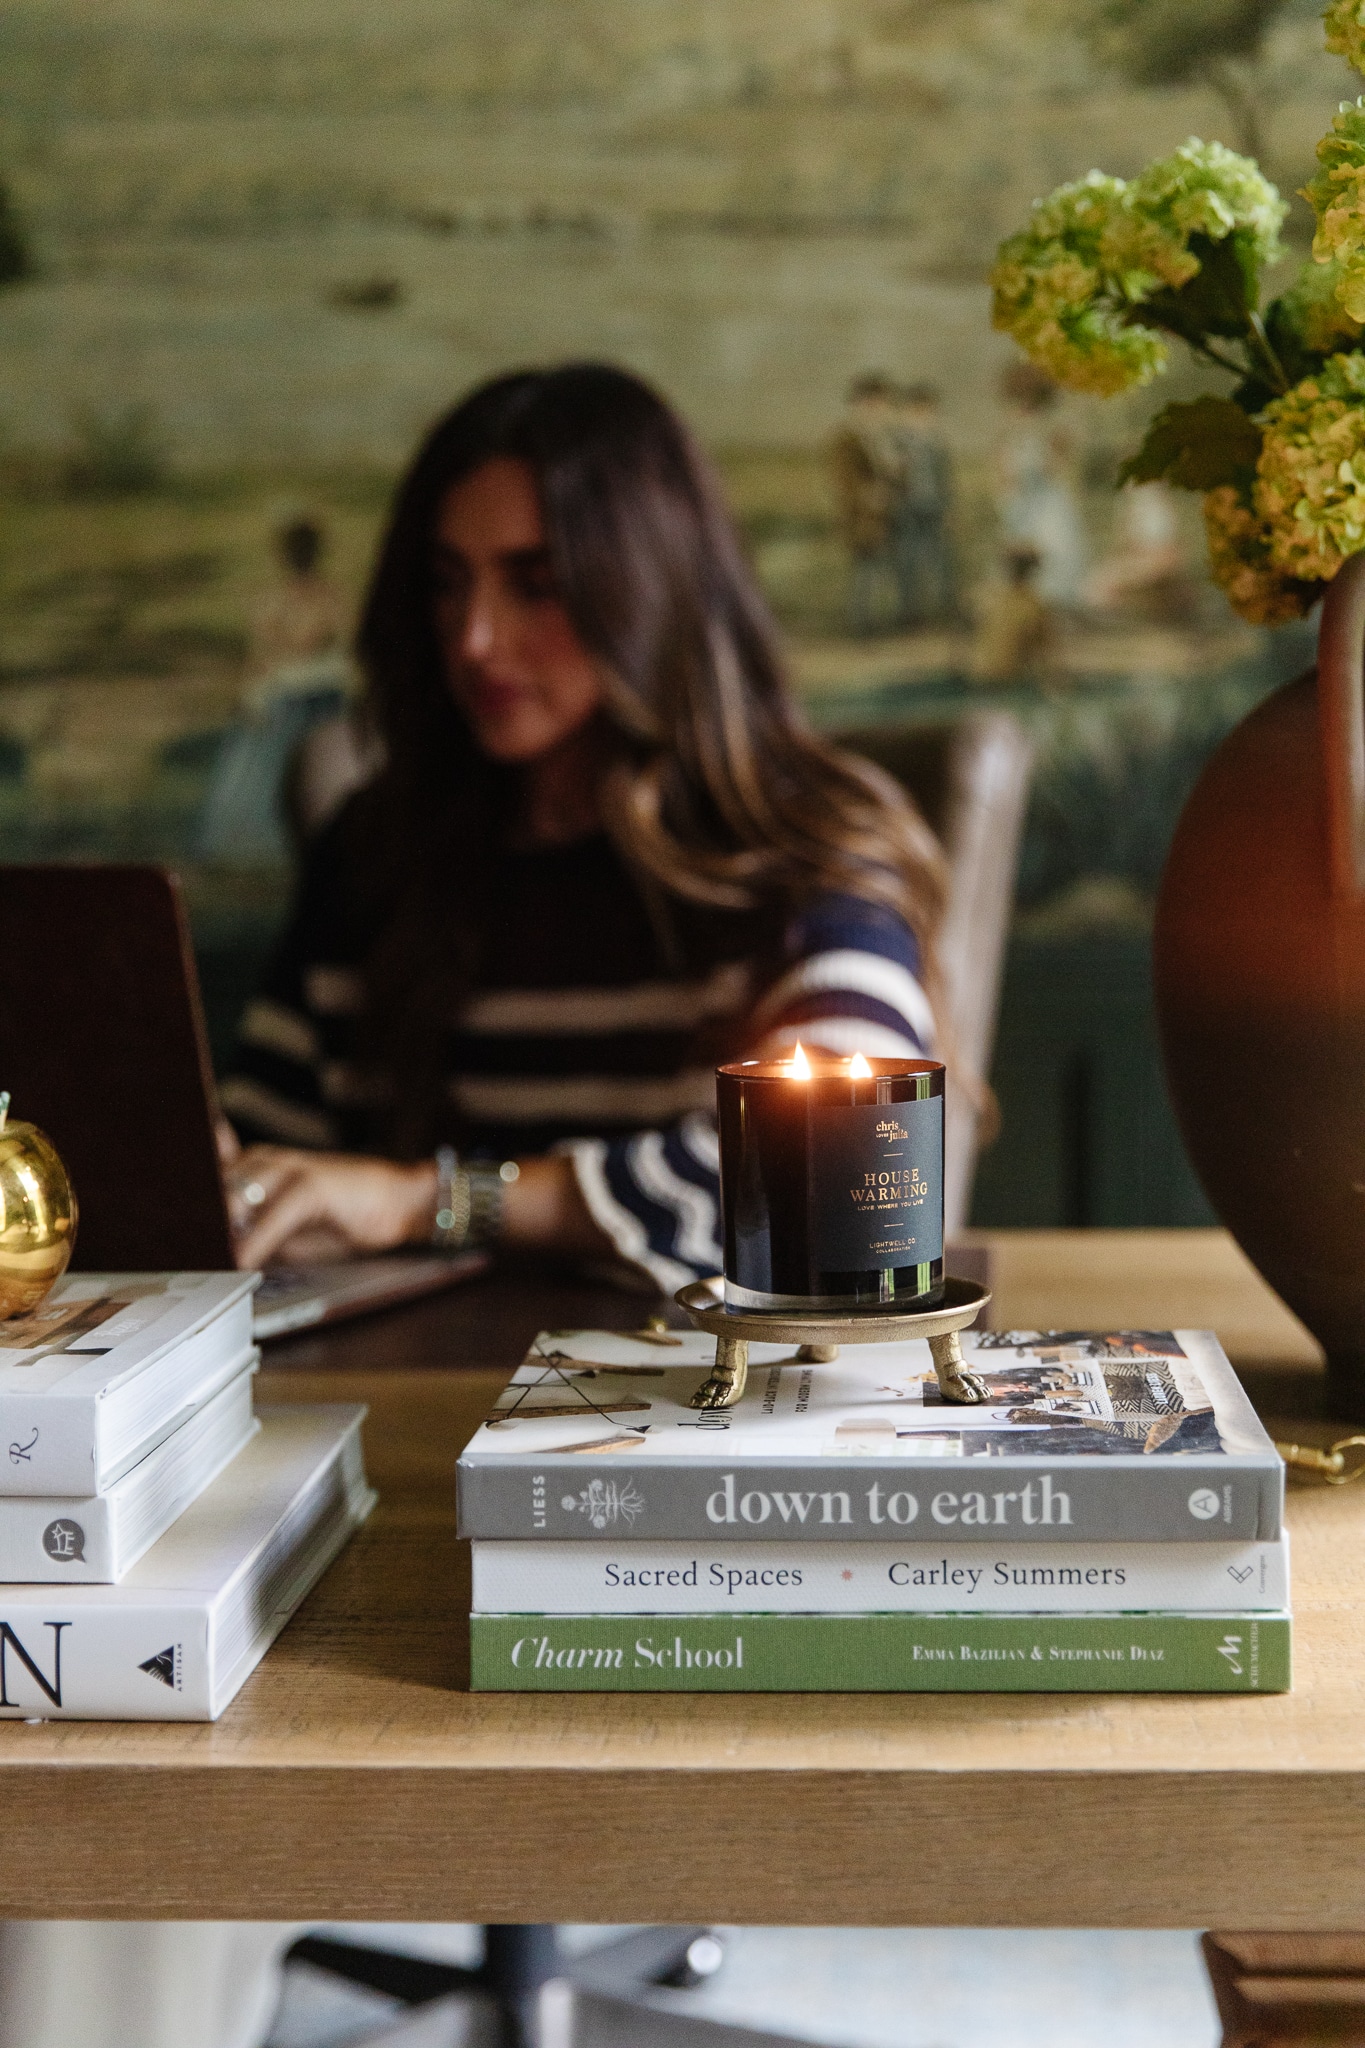
Once we get the inside moulding on, we’ll reattach the baseboards, caulk until we can’t caulk anymore, and then give it all a coat of paint. I’m thinking a warm gray-green–similar to this space we’re pulling a lot of inspiration from. Anxious to see it all come together!
Leave a Reply
What do you think?


Semihandmade
Our wood grain Shaker cabinet fronts were designed for busy, high-traffic homes like ours. Clad with durable textured thermofoils, this line is compatible with Sektion, Akurum, Godmorgon, and Besta cabinets from IKEA. It's the perfect, practical way to add the warmth of wood to all the rooms of your home.
Collaborations
learn more

next
Loloi
We have teamed up with Loloi to create a line of rugs that are as affordable as they are beautiful. This collection houses a great mix of traditional and modern rugs, in cottage-y colorways, as well as vintage-inspired beauties that you’ll want to roll out in every room.
Collaborations
learn more

next
STUGA
We partnered with Stuga on a line of hardwood floors — The Ingrid is really livable, and the color is very neutral. It doesn’t lean warm or cool, it’s that just right in-between. We have really loved putting it everywhere in our house. It’s the best jumping-off point for design, no matter your interior style. In addition to being beautiful, Ingrid is really durable — we have three kids, and we always have a home construction project going on. Ingrid stands up to it all.
Collaborations
learn more

next
SHop all
What We're Right Now
What We're Right Now
Looking for our favorite things? A place to shop our home room by room, or just catch up on what Julia's wearing / loving right now? Browse the CLJ shop.
Loving


Portfolio


Design
Befores, afters, mood boards, plans, failures, wins. We’ve done a lot of projects, and they’re all here.
BROWSE BY CATEGORY
let's break this thing up
We have a long-standing relationship with DIY, and love rolling our sleeves up and making it happen.
Projects
Even when you don’t want to rip down a wall, you can make that space in your home better. Right now.
read more
read more
read more
02
01
03
looking for inspiration?
A reader recently asked me if I’m starting to fully embrace traditional style and whether we still consider our house to be a “modern Colonial” and why. It was a really great question and so timely — I had really just been thinking about my approach to this home and how my style has changed […]


SEARCH THE BLOG
We've been doing this since 2009 and we've posted a whopping 24145+ blog posts and counting. You might need a little help searching, huh?
looking for something?
find stuff like:
")
Can We Send You Our Love Letter?
Another way for us to stay in touch! Joining our weekly newsletter gives you access to exclusive content, never-before-seen photos, your questions answered, and our favorite DIYs. Sign up below!
Follow Along on Instagram
Welcome to our online community where we've posted home, DIY, style, renovations, and family since '09. Renovating our #cljmoderncottage in Idaho and headed for new adventures in Raleigh, NC. #cljfam #cljtransformations
@chrislovesjulia


Links
Get Around
Make yourself right at home
Portfolio
Design
Casual Friday
Projects
Lifestyle
Gift Guides
All Posts
Shop
Love where you live.
Social
RivrLinks
Links
Get Around
Make yourself right at home
Portfolio
Design
Casual Friday
Projects
Lifestyle
Gift Guides
All Posts
Shop
Love where you live.
Social
RivrLinks
Hey Julia! Wondering if you can tell me how big each rectangle is? We have an offcentered window we are trying to work around. Any tips, tricks?
What did you do to address the overhang where the mdf boards meet the baseboard or door trim?
We removed the baseboard and added it on top. The door trim and window trim stuck out enough.
Julia, which nail gun and compressor did you use?
We used a Kobalt air compressor with a Hitachi brad nailer, both from Lowe’s. The compressor we have is actually no longer on their site, but this one is pretty close. And the nail gun is this one.
Can’t wait to see the final product! This reminded me that we need to finally post our shaker panel project.
Gosh that’s going to look so good painted (it already looks good!)! How nice to have natural light in a basement!
Wow, that looks like lots of work…makes my arms hurt.
What did you do on the inside and outside corners? Did you miter the vertical pieces?
I love this. But what prevents me from trying it is uneven floors & ceiling. How do you handle it? Or hasn’t it been an issue?
Our walls aren’t perfectly square, the ceiling differs by 1/4″ from one corner to another on one wall and 3/8″ on another. So we made sure our baseboard was perfectly level. Then we made all of our measurements from that, cutting some vertical pieces ever so slightly longer than another. There’s slight differences, but not noticeable this way. Also, caulk is your friend.
I love the effect but just a comment, I don’t believe this is wainscoting. Wainscoting is applying paneling to the walls, usually below a chair rail. I don’t know what i would call this…it’s almost like a coffered effect but on walls instead of ceiling. In any case, very creative! It definitely gives people an option for architectural interest in an accessible way.
You could consider the paint color that Dana @housetweaking used on the trundle bed post today – gorgeous!
Love Mabrey’s bed! So pretty! I think we’re going with Farrow & Ball’s Pigeon. :)
Oh my goodness, what a project! It looks amazing and I can’t wait to see the finished product! I can’t even imagine how exhausting this project has to be – so much caulk!
Ohhhhh I have wanted to do something like this to the stair wall that visible in our kitchen!!! I can’t wait to see how this turns out!
We just completed something similar in a large bathroom, and the caulking was insane- but so worth it! I can’t wait to see what you do next. One note regarding the inner trim, one of the things that makes the inspiration photo look so great is that the inner trim slightly extends past the main trim. This casts that beautiful shadow line for each box, showing off the great detail!
Farrow and Ball, Manor House Grey :). Love the new dimension the room has taken definitely not vanilla!
We’re thinking their Pigeon color!
I have done this to my half bathroom but then the textured walls between the molding started to look unfinished to me. Now I am thinking about going back and adding thin plywood between to get the complete smooth wood and a higher end look. Have you considered this or does the texture from your walls not bother you? I guess in a bigger room the cost might make it prohibitive?
I have found with flat paint, the texture doesn’t really show
I vote for beefier and more detail like your inspiration photo. And technically this is panelling, not “wainscoting”.
Everything you have done in your home is beautiful. Could you blog a bit about what do Faye and Greta do while you are working on an in home project. How do you keep young children entertained while trying to accomplish work at home.
This particular project was 95% Chris while I tended the girls on Saturday. That’s generally how our projects go. And then during Faye’s nap, I jump in and there’s a big blitz for 2-3 hours. Sometimes, if it is a two person project, we wait until after they go to bed, or hire a sitter for a few hours so we can both focus.
#wainscotingonfleek
Personally, I’d like something a wee bit thicker but paint the inside trim to see if you’re happy with the “beefiness” before you trim out all those squares! ??
Ps–the wainscoting is ??
What a great idea to add interest to a smaller room! Just started reading your blog after stumbling across your Podcast (recommended by Young House Love Has a Blog)! Yall are awesome!
Thanks so much, Hayley!