


Last week when I was hanging all the new art in our bedroom, my sister Patty was over chatting and serving as a make-shift photographer for this post. While watching me do my thing, she kept saying, “You have to come do this at my house! I want a gallery wall at my house next.” And I couldn’t help but say to her the same thing I say to all of you–you can totally do this.
So here is my fool-proof method for anyone that’s not very confident about hanging up pictures or terrified of putting a hole in your wall. Which, by the way, I fully support putting lots of holes in your walls. Hanging photos or art, even if you don’t like it the first time, will bring you so much joy. But this way, you aren’t going to make any unwanted holes. ;)

1. My secret is wrapping paper. It’s large enough to fit big pieces of art and cheap, too! Trace each piece you’d like to hang on wrapping paper. The stuff you can get at the Dollar Store is perfectly thin so you can slide scissors quickly through it. Don’t be afraid to line up subsequent frames on the previous frame’s outline–less cutting!
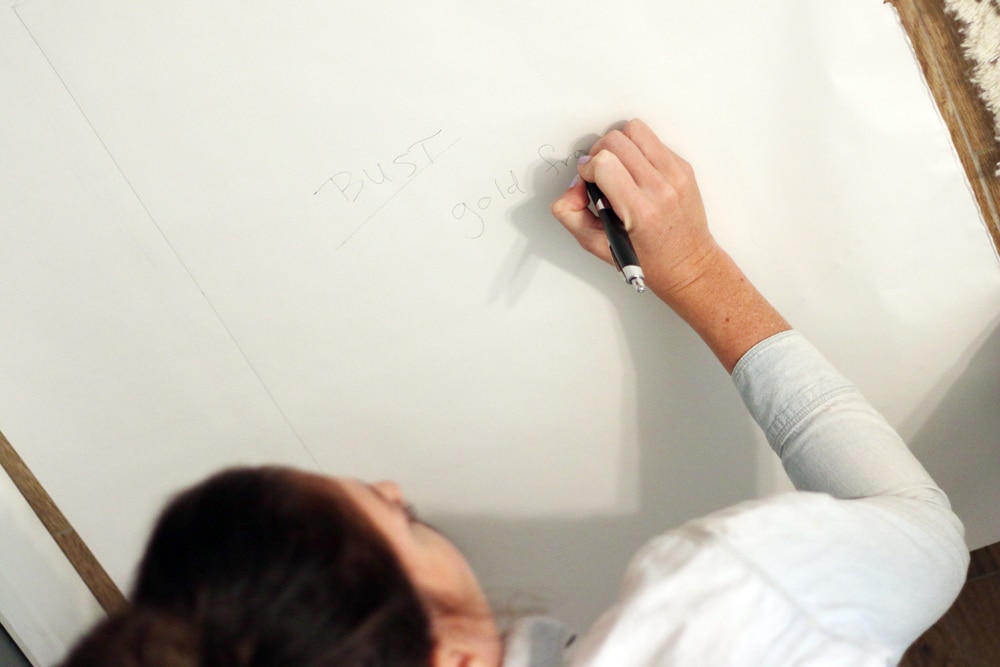
I also like to label the tracing right away in the orientation it will be hung, as well as, include what the frame color is if you have multiple colors you’re working with. This will come into play next.
2. Use tape or sticky tack to hang up all your templates. I like to start with a large piece and work out, but don’t feel committed to your first (or second, or fourth!) arrangement. Just keep moving them until you feel happy with the shapes and balance in front of you.
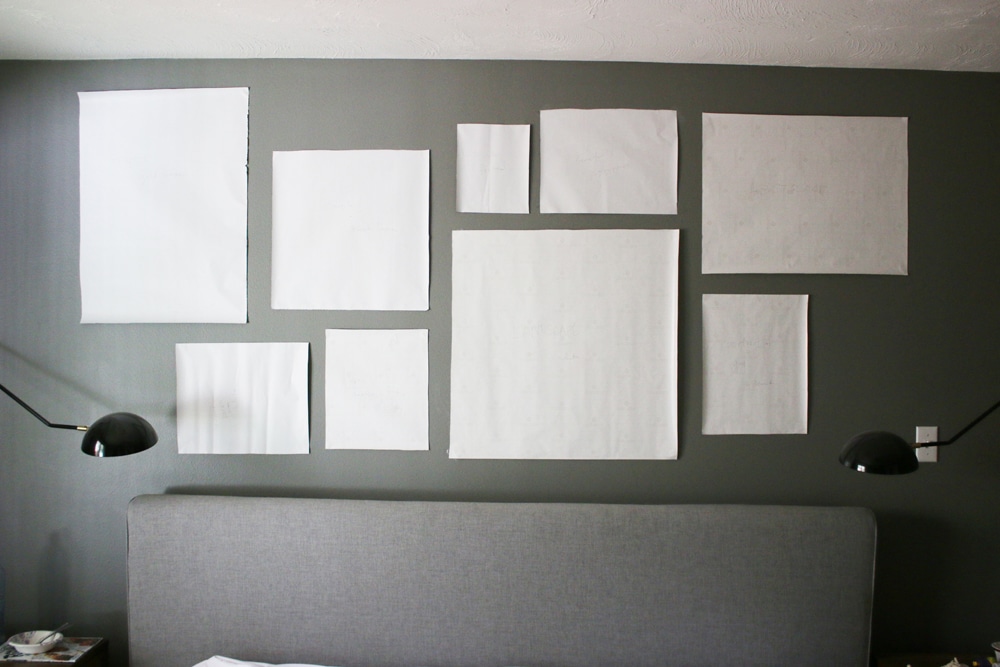
A couple things you might want to look for in this stage: Do you have a balance of horizontals and verticals? Do you have your frame colors balanced out (this is why I like to write the frame color on the template) so you have a little bit of gold or white, etc. throughout? Are all of your abstracts/portraits/botanicals/etc. all in one spot? Try placing them on opposite sides of the arrangement instead. Play with repeating patterns, like two small pictures next to each other.
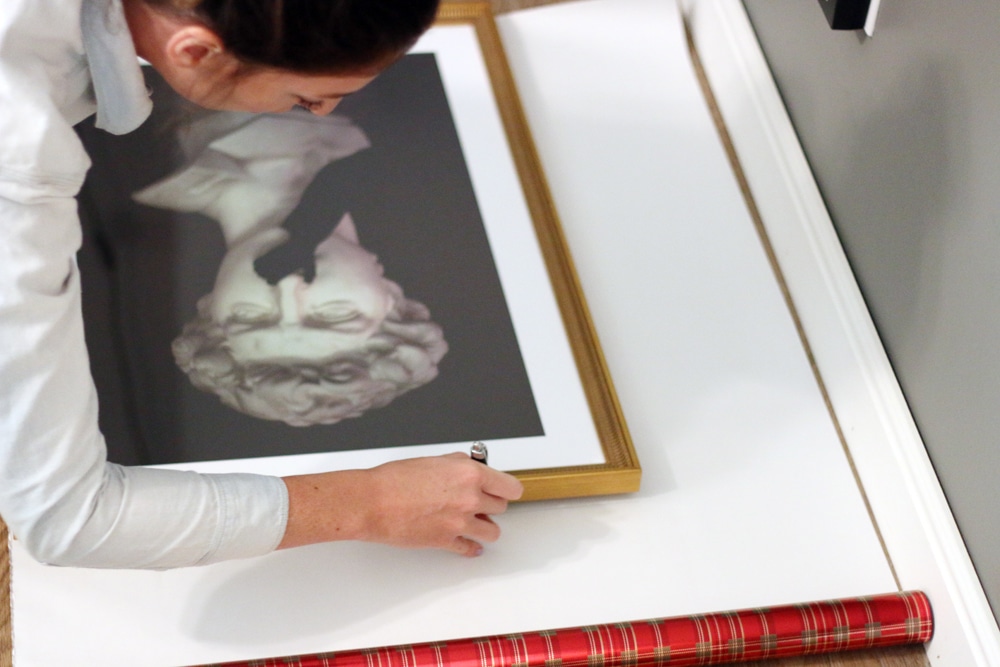
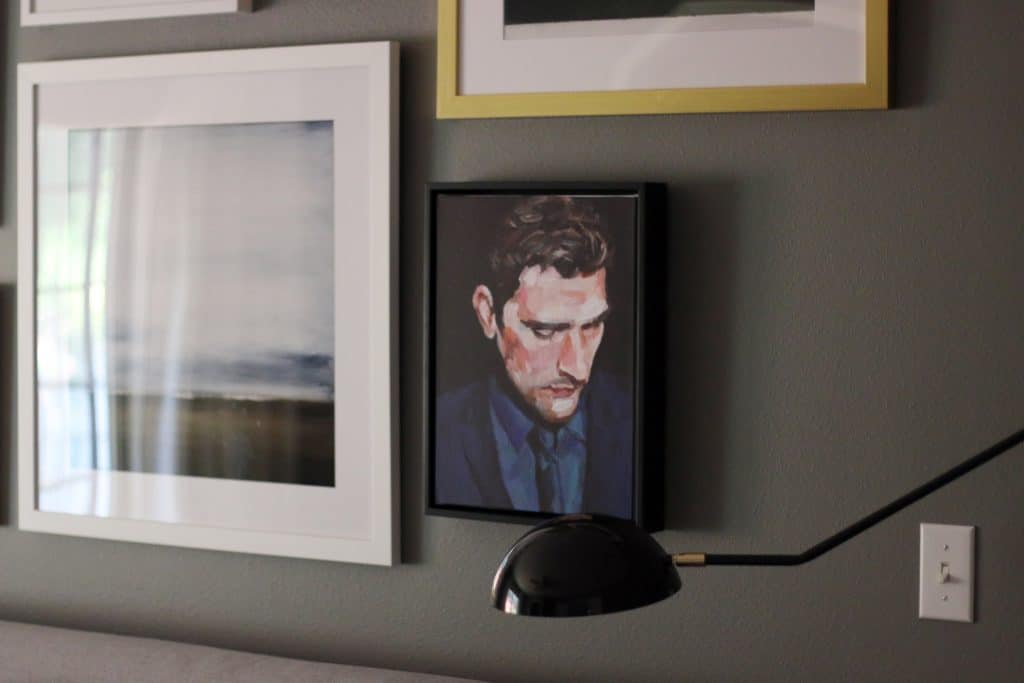
3. Once you have the templates exactly where you want them, it’s time to hang your pictures! We use Framebridge for a lot of the art and photos in our home, including 7 out of the 9 pieces in our bedroom. I just can’t get enough of the service. Sometimes I’ll upload a photo straight from my instagram and I’ll have it framed beautifully the next week! Or, for these, I chose all the frames and mats on their website and they sent boxes and tubes with a pre-paid shipping label for us to send in the art to be framed. They custom framed the pieces, with professional backing and a wire hanging mechanism and shipped them back with a nice hand-written thank you note. It just makes you FEEL good, you know? It’s great for odd sized art or photos, or if you just want a really great looking, quality frame. Framebridge also includes picture hangers for every piece they frame, which makes this step a lot easier.
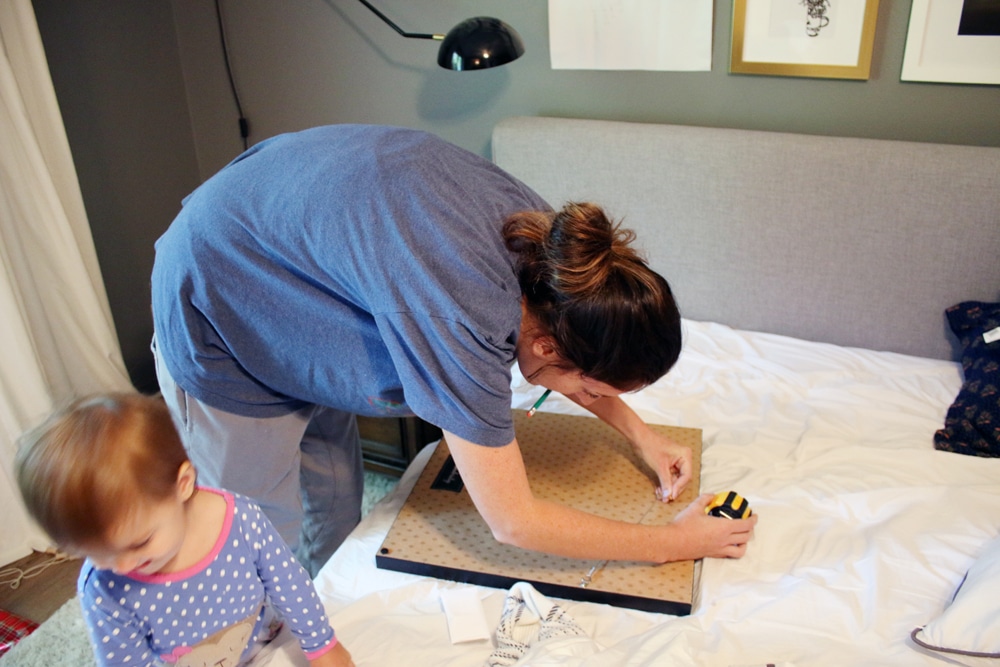
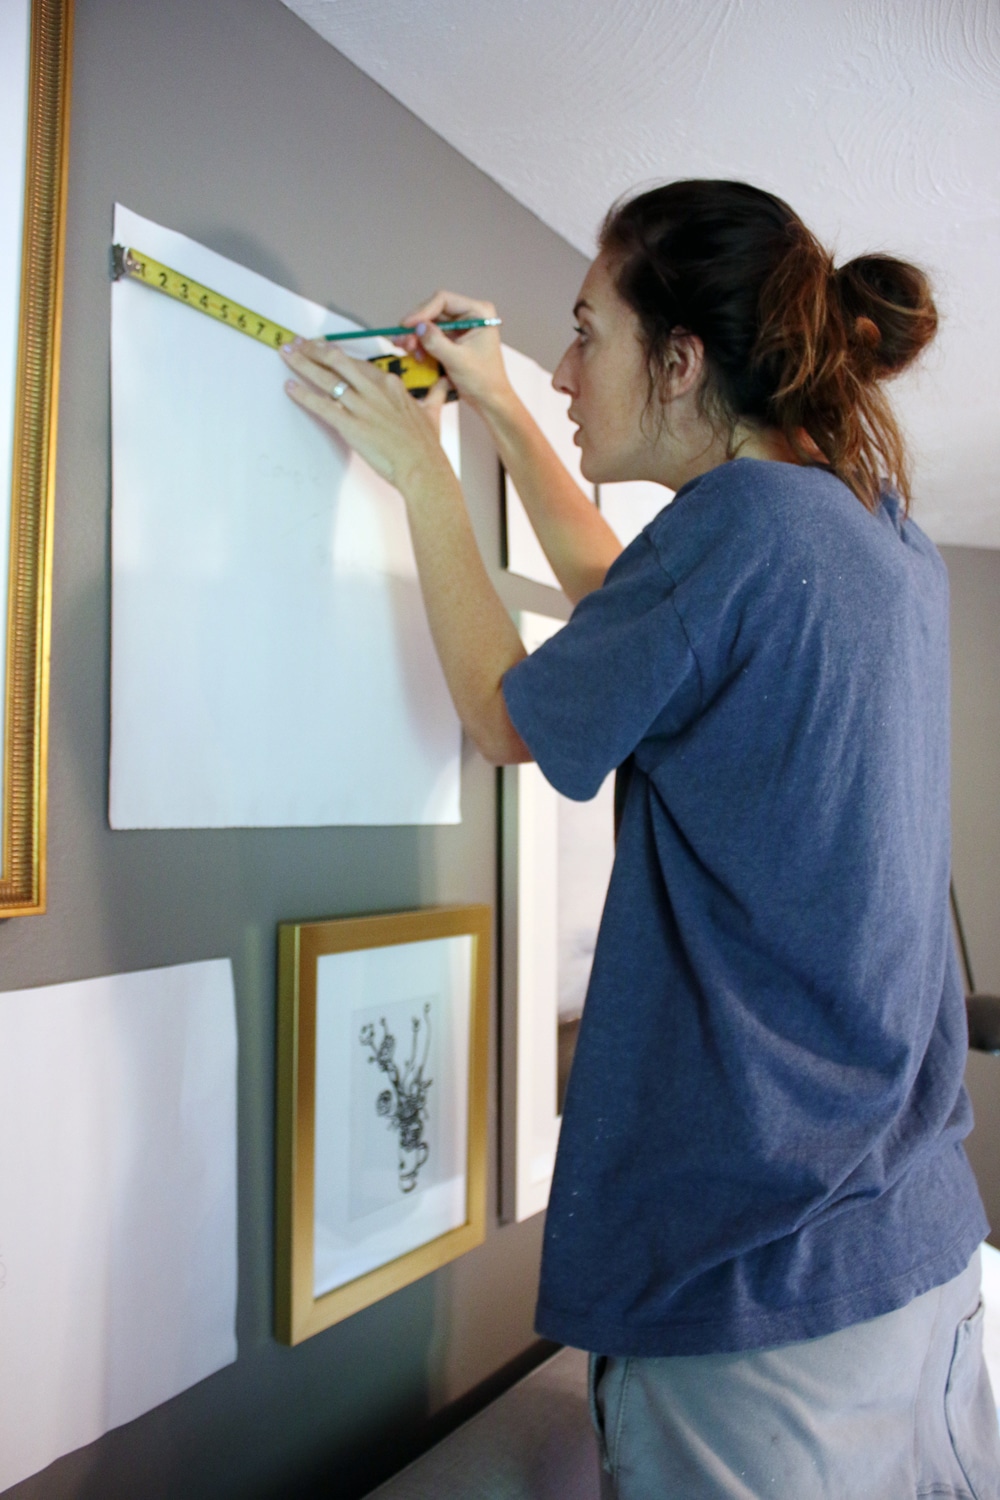
To measure where my hanger needs to go, I pull the wire up on the back of each frame:
#real life
And then, I measure that same distance down on my paper template still on the wall:
Once I have it marked, I poke a little hole with the nail (enough to make an impression in the wall), take the paper down and hammer in my picture hanger.
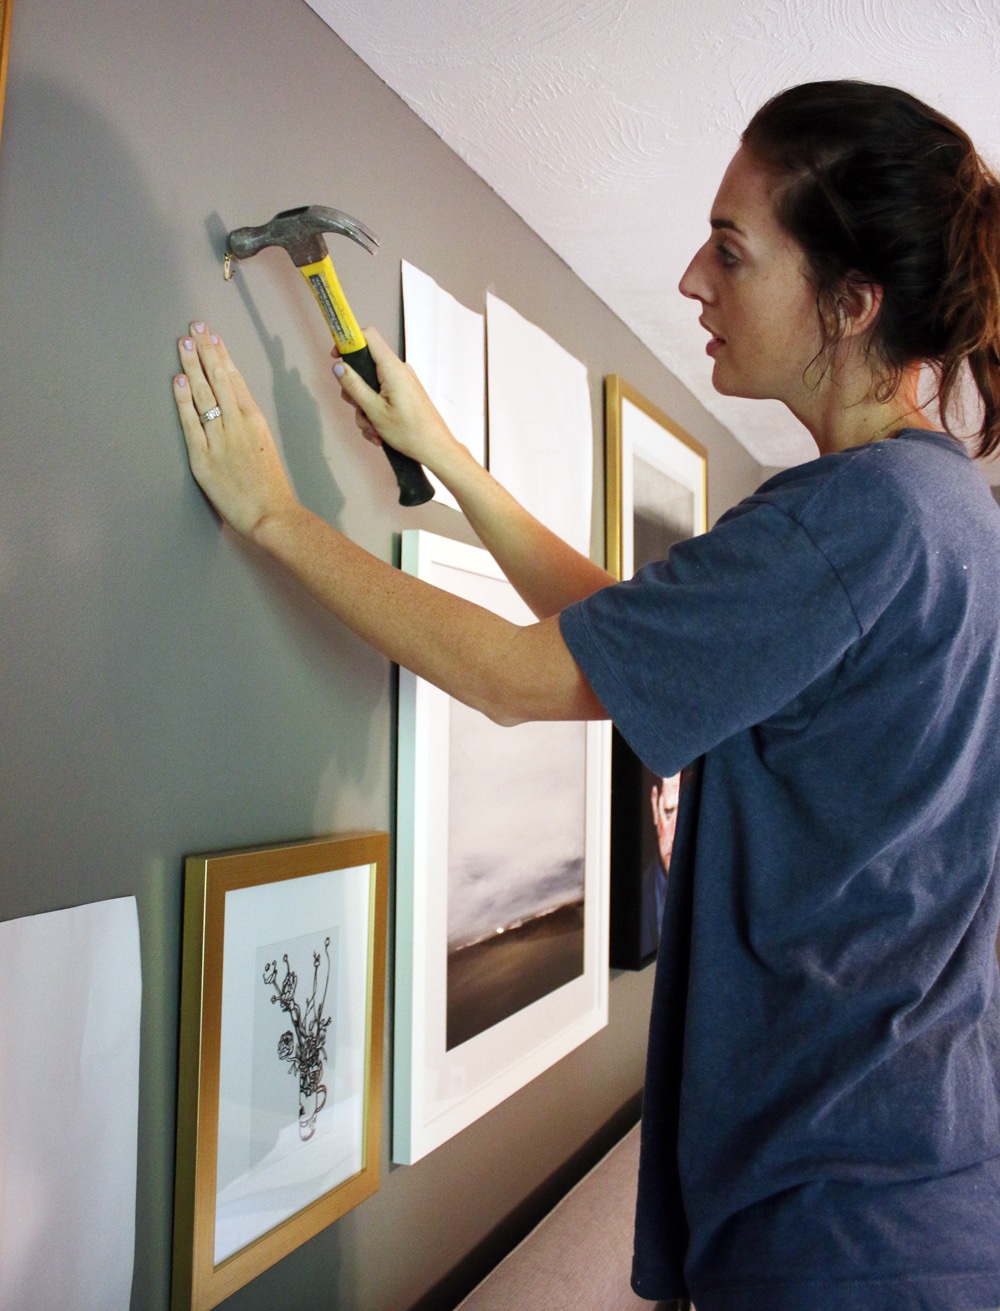
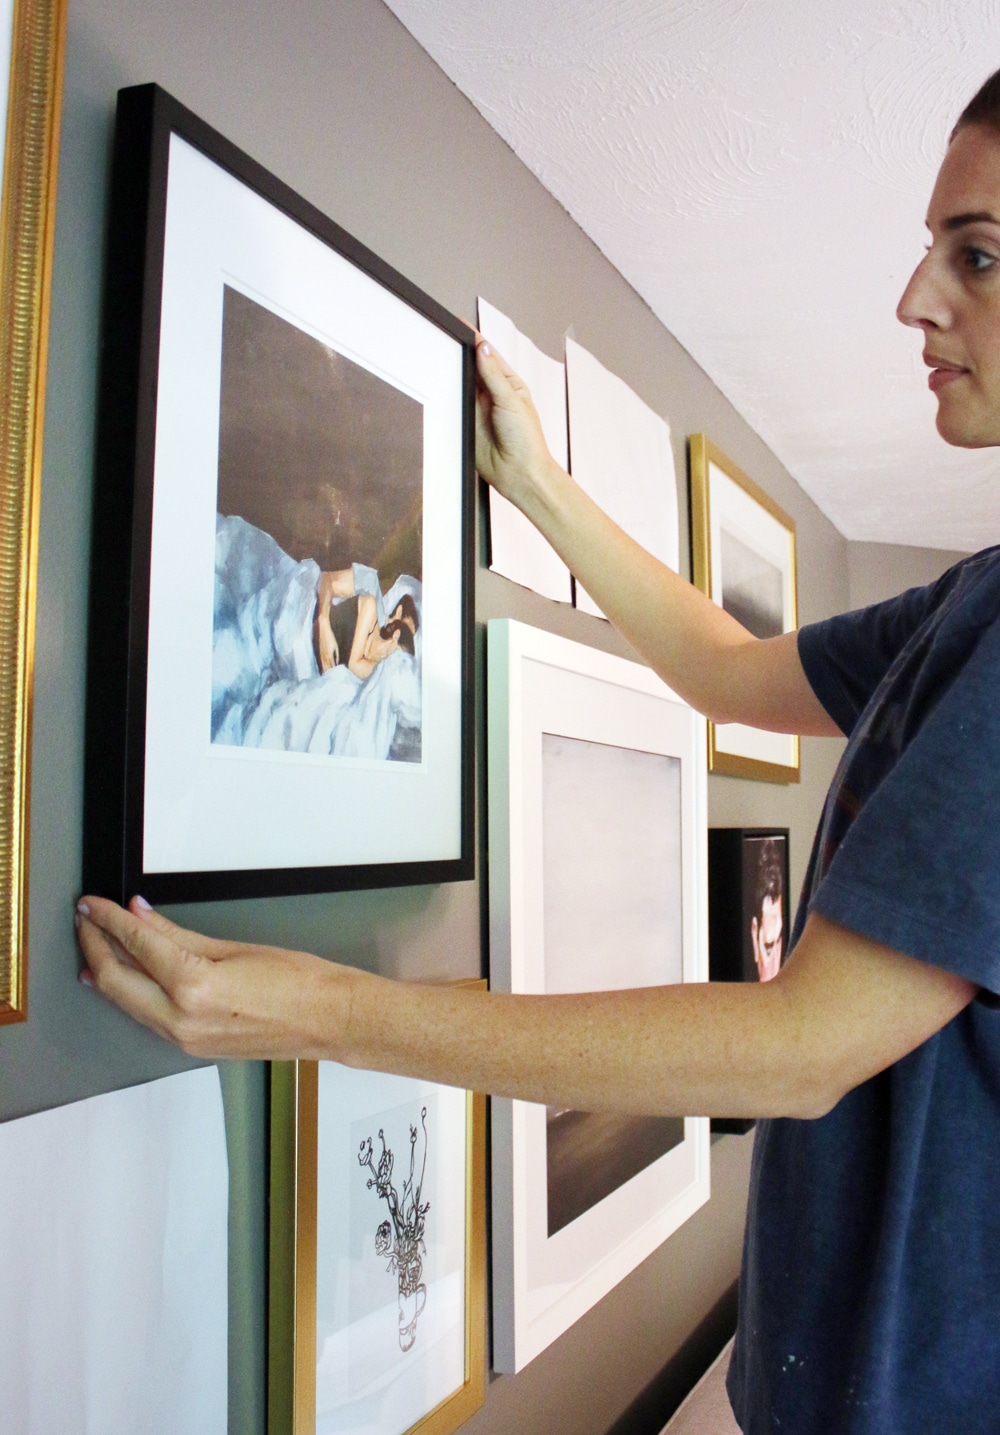
And the picture will be exactly where your template was–every time! Continue until your whole wall is hung.
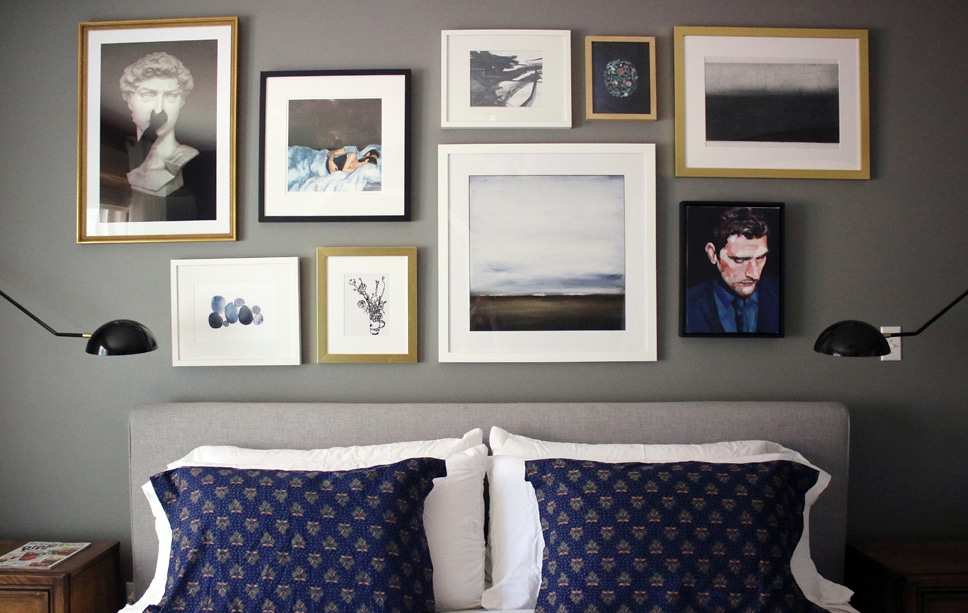
In case you’re curious, for this wall, I used Framebridge’s Mercer Slim, Carson (twice), Irvine (with a white mat with a black core–favorite!), Georgetown, Irvine Slim, and their newest Heathrow canvas floater frame. So excited they now frame canvases!
I hope this gives you some tips for hanging your next gallery wall! And if you still need help, I guess I’ll be right over…with a roll of wrapping paper. ;)
Leave a Reply
What do you think?
Previous Post
Next Post


Semihandmade
Our wood grain Shaker cabinet fronts were designed for busy, high-traffic homes like ours. Clad with durable textured thermofoils, this line is compatible with Sektion, Akurum, Godmorgon, and Besta cabinets from IKEA. It's the perfect, practical way to add the warmth of wood to all the rooms of your home.
Collaborations
learn more

next
Loloi
We have teamed up with Loloi to create a line of rugs that are as affordable as they are beautiful. This collection houses a great mix of traditional and modern rugs, in cottage-y colorways, as well as vintage-inspired beauties that you’ll want to roll out in every room.
Collaborations
learn more

next
STUGA
We partnered with Stuga on a line of hardwood floors — The Ingrid is really livable, and the color is very neutral. It doesn’t lean warm or cool, it’s that just right in-between. We have really loved putting it everywhere in our house. It’s the best jumping-off point for design, no matter your interior style. In addition to being beautiful, Ingrid is really durable — we have three kids, and we always have a home construction project going on. Ingrid stands up to it all.
Collaborations
learn more

next


SHop all
What We're Right Now
What We're Right Now
Looking for our favorite things? A place to shop our home room by room, or just catch up on what Julia's wearing / loving right now? Browse the CLJ shop.
Loving


Portfolio


Design
Befores, afters, mood boards, plans, failures, wins. We’ve done a lot of projects, and they’re all here.
BROWSE BY CATEGORY
let's break this thing up
We have a long-standing relationship with DIY, and love rolling our sleeves up and making it happen.
Projects
Even when you don’t want to rip down a wall, you can make that space in your home better. Right now.
read more
read more
read more
02
01
03
looking for inspiration?
A reader recently asked me if I’m starting to fully embrace traditional style and whether we still consider our house to be a “modern Colonial” and why. It was a really great question and so timely — I had really just been thinking about my approach to this home and how my style has changed […]


SEARCH THE BLOG
We've been doing this since 2009 and we've posted a whopping 24145+ blog posts and counting. You might need a little help searching, huh?
looking for something?
find stuff like:
")
Can We Send You Our Love Letter?
Another way for us to stay in touch! Joining our weekly newsletter gives you access to exclusive content, never-before-seen photos, your questions answered, and our favorite DIYs. Sign up below!
Follow Along on Instagram
Welcome to our online community where we've posted home, DIY, style, renovations, and family since '09. Renovating our #cljmoderncottage in Idaho and headed for new adventures in Raleigh, NC. #cljfam #cljtransformations
@chrislovesjulia


Links
Get Around
Make yourself right at home
Portfolio
Design
Casual Friday
Projects
Lifestyle
Gift Guides
All Posts
Shop
Love where you live.
Social
RivrLinks
Links
Get Around
Make yourself right at home
Portfolio
Design
Casual Friday
Projects
Lifestyle
Gift Guides
All Posts
Shop
Love where you live.
Social
RivrLinks
Love the blue pattern cushions; where did you get them from?
Urban Outfitters.
Looks great — if you’re using picture hangers, isn’t the little hook lower than the nail, and if you measured from the nail isn’t everything hung a little south of where you planned? Just trying to figure out the logistics…
Where did you get your bed frame? :)
West Elm!
I’ve never heard of Framebridge. What a great service! Thanks!
It looks so good! I did a big one using the same method, except I start by laying out the frames on the floor below the wall to get the full visual with color and everything. Then I label the wrapping paper and finalize the spacing on the wall. So satisfying when they turn out great!
ps, your kitchen reno is the most exciting thing ever!
ah! thanks! we think it’s pretty exciting, too. :)
Your bedroom is super stylish with this wall. I have no idea that the method is so easy. Must-try!
This is how I do it too! I do pre mark the nail holes while I’m tracing though. Such an easy method. :)
I use this exact same method!! It makes gallery wall-ing so easy.
silly question, what kind of nails are you using?
I just sent out a print of mine to get framed using this service…I am waiting patiently and very excited.
They send nails, too! Royal treatment for sure.
I also use wrapping paper – the kind with the grid on the back works great. If you’re pictures aren’t too large, you can just roll out a long sheet of the wrapping paper, position everything (using the gridlines makes it easy), trace and then hang the whole sheet of paper up on the wall. I also measure where the nail holes should be and mark that on my paper, too.
Have you heard Emily HEnderson’s prediction about gallery walls bring on the way out and leaning picture ledges taking their place? What are your thoughts?
We have both in our house. In our living room we have a huge picture ledge and in here we have a gallery. I just believe in doing what you love and not worrying about trends. Plus, having a picture ledge in every room would get a little redundant. There’s room for it all.
Brilliant! I’ve always laid out the pictures on the ground until I’m satisfied but can’t get it right when I transfer them to the wall. So I have many, many holes. I am in the middle of planning a big gallery wall and am going to use this awesome idea. Thank you for sharing!
Wallpaper=genius! I have a bad habit of just eyeing it.