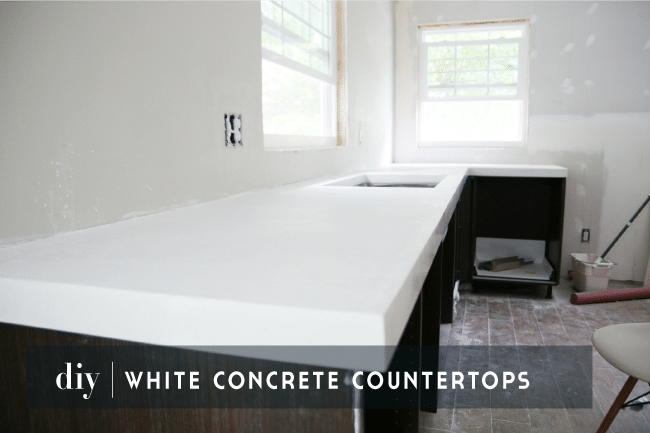
Ever since we came in contact with the Pugmire’s concrete countertops in their kitchen, we have had it in the back of our minds for ours–except in white to contrast our dark cabinets. We love to mix traditional and modern with an industrial edge in our home and white concrete countertops around the perimeter of the kitchen (with a walnut island top) not only sounded like a fun project to do and share, but we hoped it would add a bit of modern character to the kitchen. There are a few different kinds of concrete countertops floating around blog land, but for ours, we poured them in place using white countertop concrete mix and squared edge counterforms from Z Counterforms. Last Saturday, with the help of our friend Preston (musician, DIY master, concrete worker extraordinaire), we DIYed our countertops and today I’m here to spill all the details, the results and a few lessons we learned.
PREP
The prep work is the most important part of DIYing concrete countertops. We started out by screwing in 5/8″ CDX plywood from underneath our cabinets. Although our countertops turned out awesome, if we were doing it again, we would definitely use Durock cement boards in place of the plywood. While plywood is an acceptable base, we learned that Durock absorbs liquid, while plywood repels it. This concrete mix was more fluid and we had quite a mess on our hands at one point. Like I said, it all turned out great in the end, so all is well that ends well, but after talking to the guys at Z Counterform, Durock would have eliminated a lot of the excess liquid.

Once the plywood was set, we started attaching the forms. Preston is the one who told us about Z Counterforms because he had worked with them before, had great results and they are geared to DIYers and professionals alike. The backside of the countertop had a simple 90 degree straight edge form:

While the form for the front edges had a dip in it so it would go slightly down in front of the cabinets appearing to be a full 2 1/4″ thick. They had all sorts of fancy profiles for countertops, but we like the simple square edge.


Since we were planning on an undermount sink and pouring concrete in place, this is the time to undermount the sink! It felt a little backwards at first, but we cut the hole for the sink and siliconed and braced it in place.


To protect the sink from getting mounds of poured concrete in it, we used the sink template to cut out a form in 2″ blueboard styrofoam. We wrapped the edges in packing tape to promote the smoothest finish on the sink edge, marked where the top of the concrete would sit and siliconed that to the sink (came right off after the concrete dried!). We did a similar process for the faucet hole.


This is where you are going to want to silicone every crack where the concrete could leak out. Where the counterform meets plywood, all seams (from the outside)–we also duct taped the outside corners as an extra precaution, and where the counterform meets the wall in the back. We thought we did this pretty well, but we missed a few spots where the wall meets the form and had some leaks to clean up during the pouring process. We’d definitely spend more time on this part doing it again.
The last part of the prep was rolling out fiber glass mesh (equivalent to rebar in large concrete projects) we picked up from Z Counterform, too. It keeps the concrete from cracking and reinforces the counters.

Once we had it rolled out and cut, we attached what are called “Z clips“. They get screwed into the plywood and hold the mesh up and in place.


We laid out rosin paper on the floors and covered all the cabinet fronts, too, after the above photo was taken. And we were finally ready to start pouring the countertops!
MIXING AND POURING THE COUNTERTOPS
As I mentioned earlier, we used a countertop specific mix from Z Counterform–this one! The directions are right on the bag, but there is a little wiggle room in how much water you add to the mix.

Because we used plywood, instead of Durock, we settled on about 2.5 quarts per 50 lbs of concrete mix. We ended up using 14 bags of countertop mix for our perimeter countertops (about 35 sq feet).

The day started out with both Chris and Preston mixing, but after the first couple batches, Preston settled inside working on leveling the concrete while Chris kept mixing. In retrospect, we should have rented a mud mixer from the hardware store. Even these heavy duty drills were struggling to keep up and Chris’s shoulder was feeling it, too. Note: Rent a mud mixer!

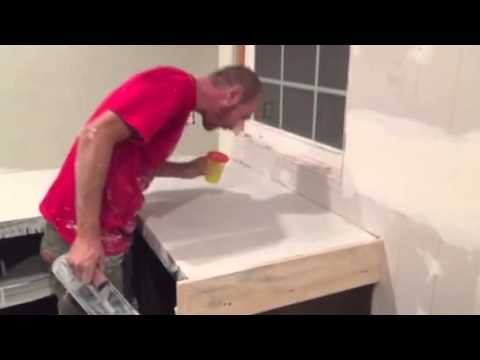
After a bag was mixed up, it was poured onto the countertop:

And worked into the mesh with a magnesium float.

When there was enough concrete in place, Preston would level it first with a screed. This was one Chris made in a couple minutes using a scrap piece of wood and two handles that came on a pallet we got.

And then moved to the magnesium float:

While the concrete was still very wet, we took a palm sander (with no sandpaper on it) to the sides of the form and turned it on. This helped settle out any bubbles forming in the concrete.

And finally, once things started setting up, a more flexible zinc trowel was used, which Preston explains a little more about in this short video that was shot during the final step right before we called it a night:
REMOVING THE FORMS AND SANDING
We finished that final step above on Saturday night. Monday night, we had the Pugmires over for dinner and to remove the edge forms. The back forms stay in place and will never be seen once we put in the backsplash. Z Counterforms are designed to bend and snap off–it’s the coolest and scariest part. Before removing the edge, we sanded over the form so we could pry it back a bit.

I took a 15 second video showing how easy it was to remove the forms.
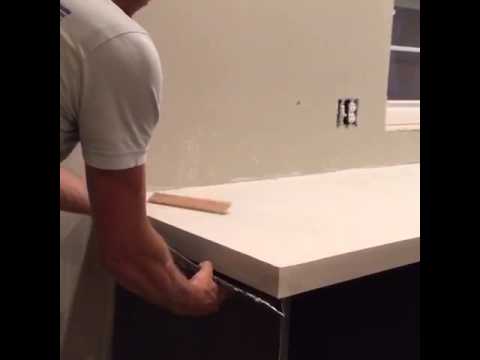
The edges and underneath the counters are so, so smooth since they were up against the forms. The tops were pretty smooth thanks to all of the effort Preston put in during the first 5-6 hours after pouring, but still got sanded down after the forms were snapped off. We got this sanding block from Z Counterform and it has 3 different diamond sanders with velcro on the back (printed with the grit). We started with a 150 grit and went up to a 300 for a velvety smooth finish.


We couldn’t be happier with the results! The concrete is cool to the touch, like stone. It looks very organic with spots speckled with “pepper” and others swooshed with white. It’s smooth and thick, giving us a great overall counter + cabinet height.


The cost breakdown (not including sealer) is:
The concrete mix: $29 a bag x 14 bags= $406
Square Edging: $180
Fiberglass Mesh: $50
Z Clips: $20
Z Gem Pad (Diamond sanders): $60
Magnesium Float: $26
Zinc Trowel: $39
Screed: (DIYed)
Plywood: $45
Silicone: $15
Blueboard for sink: $15
TOTAL: $856
The last step is sealing it. We did a ton of research on sealers and invested in one that promises the utmost protection–fingers crossed! We are going to wait a full week, allowing it to cure completely, before doing that. So, I’ll share those details next week. We’re so glad we branched out a bit and tried something new to us. We love, love, love them. Is it something you would ever try?
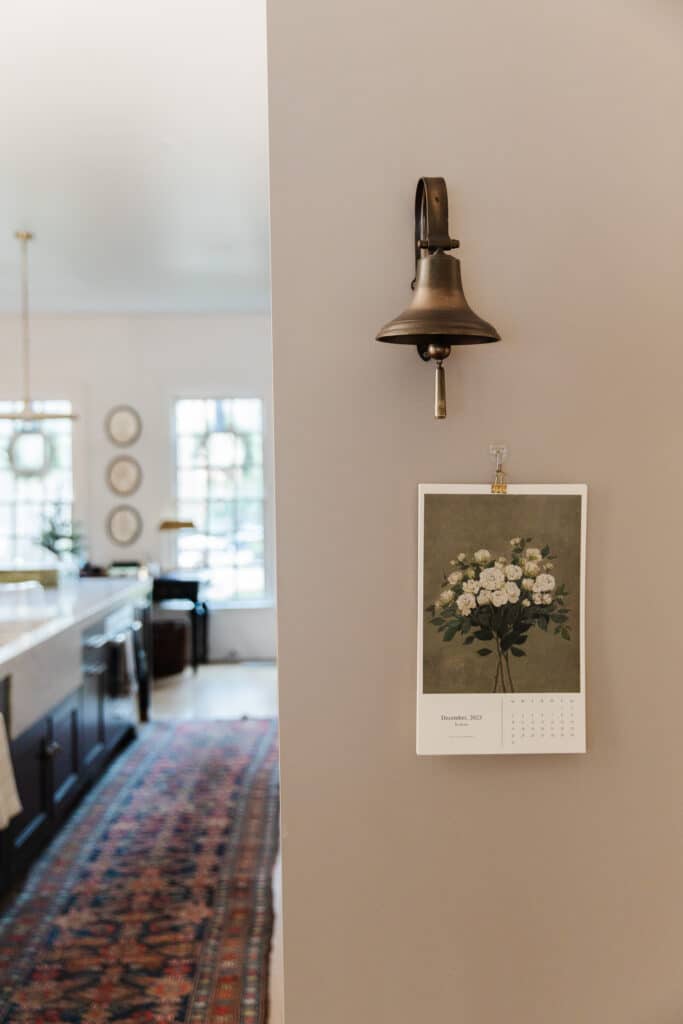
SEE HOW THE COUNTERTOPS LOOK IN OUR FINISHED KITCHEN HERE.
UPDATE: Woot! I just got an email from Z Counterform and they’d like to offer all of our readers 15% off all products for the next 3 months using code CLJ015. Go get em, guys!
After all that work, we wanted to make sure our countertops would last. See how we finished and sealed the countertops in this follow-up post!


I am using your experience as motivation and a guide to pour counters for my kitchen that I am currently renovating. I am nervous about the sink and faucet aspect though. ???? What sealer did you end up going with?
We are looking to do concrete countertops in our kitchen, and I’m so excited! But I would like to do some possible veining, so it’s white with some gray in it. Do you think this is possible?
Hi! I see it’s been 5 years. How have they held up? Have you liked them? Any regrets or things you would do differently?
Payne. Ha
A lot of people have commented on the discrepancy in color between their “white” and the author’s “white”. I think the author’s unintentionally forgot to mention they added TITANIUM DIOXIDE pigment powder to their mix. That is the only way to get a white as bright as they did. I’m also noticing they’re reluctant to just disclose the name of the sealer they used and eventually started directing people to another blog about resealing. Just saying.
Your counters look great!! My hubs and and I are looking into doing the same. Did you not need to use the bright white tint? They look very white with just the white concrete mix! :)
What sealer did you end up going with?