With the built-ins done, we only had one thing left to trim out–the rest of the room was in dire need of baseboards. The is a photo snapped right after our carpet went in:
And now, with the addition of baseboards (and the built-ins, and
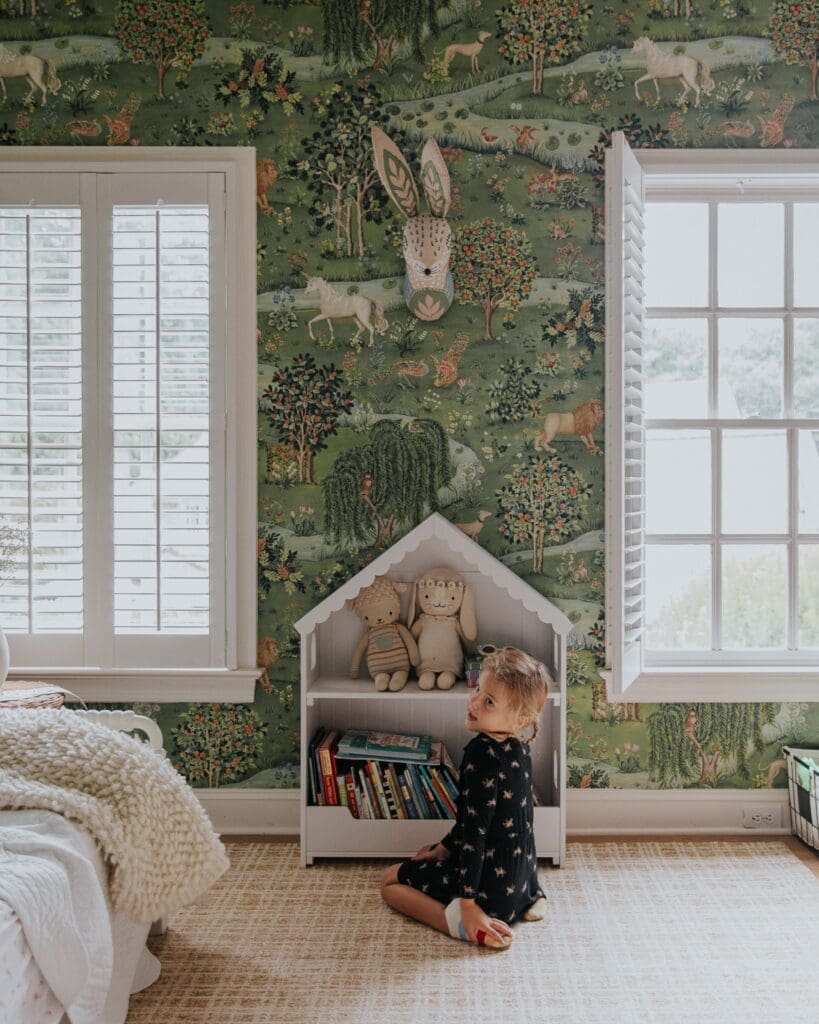
the window, and a few things I have started to gather for the built-ins):
We used a full-sized Billy for this custom bookcase and cut all of the shelves and top and base down to fit the platform perfectly. With bookcases trimmed out on either side of the doors, it gives a higher-end feeling we think.
And here’s a similar angle of a few weeks back:
The baseboards really soften the whole room. As for how we ended up with the ones we did? We used t
he same baseboards we fell in love with in our guest room. 5 1/2″ tall with very simple lines. We special ordered them through our local True Value at 90 cents a linear foot. The baseboards come in 16 foot lengths and we got one extra to trim out our new window once we hang blinds and curtains, so the total was $72, but we have a $10 off coupon which puts us at $62 to add baseboards for the entire room. I should mention, the thick trim at the bottom of the bookcases is also factored in to this amount since we actually used the same baseboard for that.
As for the timetable for installing our floor moldings, we got them done in two evenings. The first evening I painted all of the baseboards outside under our carport:
This went quick! The boards come pre-primed so I just rolled two coats of paint (Glidden’s Crisp Linen White which is a smidge brighter than the Parchment White we used on the built-ins) on and let them dry for a good two hours. Then Chris worked his magic with a table saw and after 3.5 not-so-fun hours of measuring, mitering edges and installing with our nail gun–we had them in.
Night two, which was last night, we caulked the seams and corners and spackled mini nail holes and then tackled paint touch ups. Chris and I both agree, trim work isn’t so fun. It is tedious–but it has an amazing pay off that keeps us motivated.
Now that the baseboards are in, it is finally time–FINALLY time–to get our decorating on. Let the games begin. Come back tomorrow for some styled bookcases *fingers crossed.*


Aw, thanks everybody!
Lexy, IIIIIII am inviting you over. :)
Girl, we’re on the same wave length.
I keeping that pretty silver tray Uncle Victor gave you as a wedding gift could play a part on these built ins.
That’s it. You’re going to be my “go-to” when we build a house. I can’t believe how good this looks! Actually, I CAN, because it’s YOU, but still… The baseboards finish it. That room looks so classy I can’t wait to see it in person. Yes, I’m inviting myself over. ;)