This is the official “House Tour” before picture of our laundry room. It was taken before I got my new camera with a wider lense, so you can’t really see the whole room–but all you are missing are stacks of boxes on the left side of the room.

Here’s a wider semi-before shot. This photo was taken after we cleared out the boxes and those grimy blue carpets. By the time this picture was taken, we had already changed the light fixture and the toilet seat:

And here’s how our laundry room looks today:
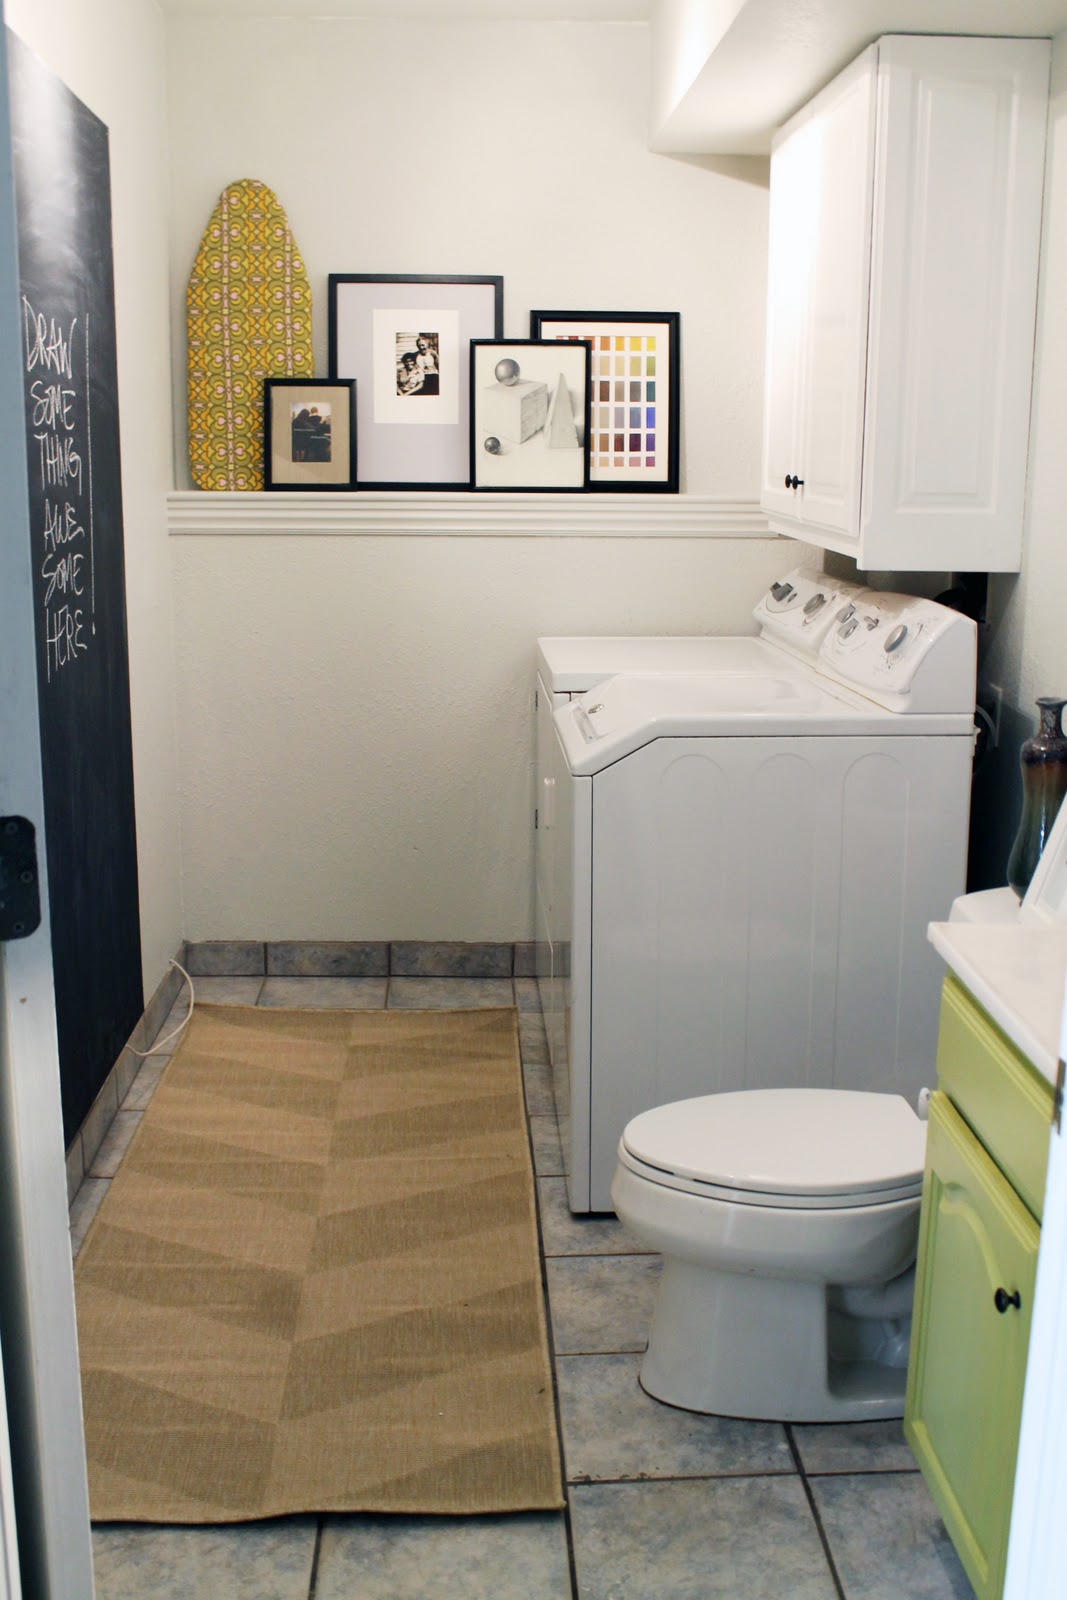
I can’t call it an “after” because we still can’t wait to tackle those floors and tweak a few other things, but we are loving the mini-makeover and the extra bathroom we gained (we never even used this bathroom in its “before” stages. bleh!). Removing the wallpaper border and painting the room did wonders, you can read about that here. Originally we had planned to move the washer and dryer to the back wall, but with the hookups on the right, and after moving them back and forth 3 times, we decided to keep them put and add a cabinet above to conceal the hookups and add storage to the room.

Unfortunately, our cabinet that we removed from our kitchen when we added open shelving was too tall for the space, so we headed to the ReStore and found this really nice, sturdy, then honey-colored cabinet. We loved the luxe look of the finished side and I knew I could put some white paint on it and new knobs and it would work perfectly and look awesome. Not cheap ($40), but definitely a huge improvement to our laundry room so we were happy forking out the cash…well, actually, we used a gift card. :)

The weird shelf adjacent to the laundry (we have a lot of these jolting walls and shelves in our home) we used as an art ledge. The three pieces on the right are all originals by me. The small on the left is the back of our wedding announcement and I also leaned our little ironing board up on the shelf, too. If you haven’t heard, the board got a new look and I couldn’t help displaying it. I LOVE how it ties in with the rest of the room. Plus, it’s Amy Butler fabric–that stuff has got to be seen.
On the left wall in the room is a giant chalkboard (3’x5.5′) that Chris made for me. I am going to be doing monthly chalkboard drawings (you will see October’s tomorrow) so this is the only time the board will look like this. I love the idea of revolving artwork. I hate messy chalkboards. Love art. Hate dustiness. Can’t wait to show you my oversized drawing every month.

Opposite the room, I ORBed a towel rack (to match all the hardware in the room and the mirror) that we had on hand and hung a single charcoal towel (that really needs to be ironed, egads!) to keep things clean and crisp looking.

On top of the toilet is where my magazine art landed and a vase that I had that happened to match this room perfectly. Score.

I already told you about painting the vanity, and changing out the mirrors, but if you you missed it, you can read that here.
Because the laundry, toilet and sink are all lined up, we were left with a galley type room, ripe for a runner. We cannot WAIT to redo these floors, but that wasn’t in the time frame (our party is mañana!) or the budget right now. So, I found a natural runner at Ikea for $25 to disguise the floor without calling attention to it. Here’s hoping it flattens out in the next 24 hours.
That’s all she wrote for now. One last look at where we came from.
Before:
After:
Psst! Paula, from Compelled to Craft, is letting a lucky reader choose one of her 91covers for their ironing board. Click here to enter if you haven’t already.
Looks so fresh and clean now. And I love the ReStore cabinet.
We have been using that toilet all week without a problem. Our toilet is pretty sturdy I guess. Haha. That being said, if the vase that I got at Ross 3 years ago, or the $2 frame from Ikea fell–it wouldn’t be the end of the world. Not nearly. :)
Wow, I love that chalkboard wall! My other favorite detail was the mini ironing board. How perfect! I’ve wanted to place things on the back of the toilet before too, but I’m scared it’s not stable enough…Like when someone sits down? To have a vase behind it? Awkward topic, but just wondering if you had the same doubts
Gasp! It is perfect!!! I’m always afraid to put things on top of the toilet, but you have totally inspired me. Doing it.
I seriously cannot WAIT to see what drawing you’re going to do! Something for the party??? Or fallish? Or super artsy??? OOoooooo! So excited!!
ooo I dig the green cabinets!