
And this is how it looks now:
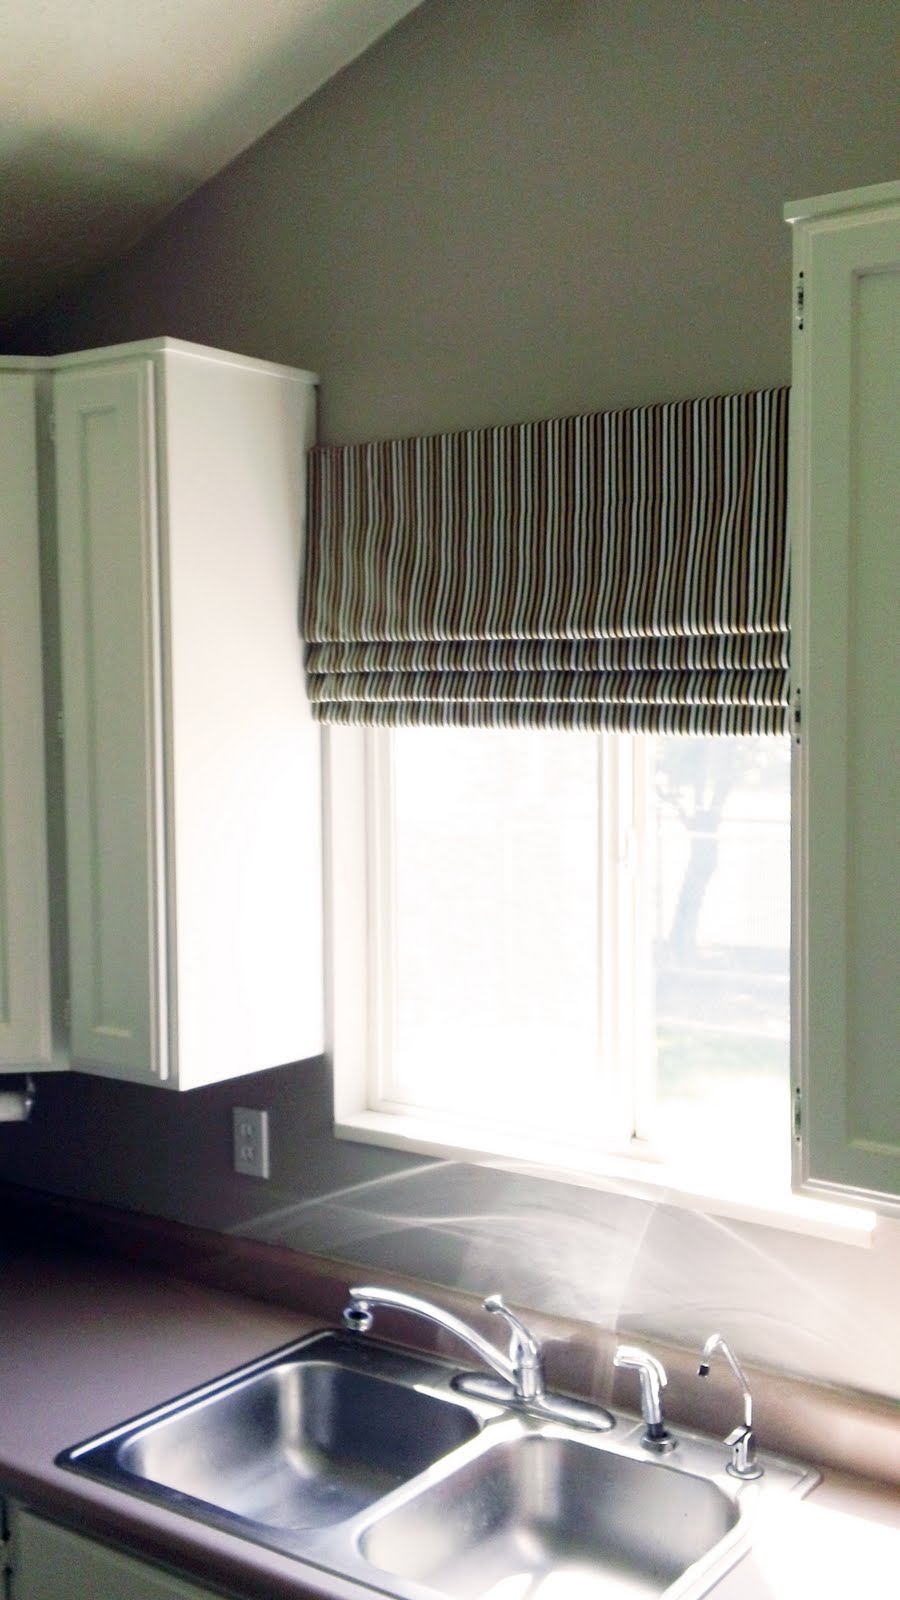
I surprised myself with the fabric I fell in love with. It’s quite neutral, but the stripes were so eye-catching I couldn’t pass it up. The tutorial I followed is found here. Although, I didn’t add any fancy ribbon trim and I didn’t add the blackout fabric. Luckily, my fabric was thick and had a very dark backing so I didn’t need the extra layer.

I also hung the shade a few inches higher than the window to cheat things up a bit. I am so happy with the way it turned out. Honestly, I was so worried I wasn’t going to be able to pull it off, but my friend Meagan’s advice was perfect: Take your time and sew slow. So, I didn’t rush. I really thought about what I was doing and I worked hard to keep my stripes lined up. There were moments of frustration where I had to pull out the seam ripper, but all in all–definite improvement and learning experience.
The cost breakdown:
1.5 yards of fabric–$13.48
4 wooden dowels–$3.96
Mounting wood–$4.19 (You can get the same thing at a big box store for less than a buck, but I went to my neighborhood hardware store for this after realizing we didn’t have any scrap wood left and all they had was solid wood for over $4…eh well)
3 extra long screws--.48
Total: $22.11
Uhh…a quote for custom roman shades can run in the hundreds of dollars. Can I get a woot?!


That’s so great! I’ll definitely need to try this one out! :) Thanks for the lil lesson.
Woman, you are amazing!
I was so glad Chris was with me at the store so that he could okay my choice. I have some other BIG ideas for adding color, but there is always a possibility of making another roman shade. We’ll see.
IT. LOOKS. AMAZING!!!!!!!
I will also admit, surprised you picked such a neutral after talking about getting a fun punch of color! But I totally love this!!!! And now that you know how to make a roman shade, maybe think about swapping it out in the spring or summer for a brighter color! I am so happy it all worked out for you. And…ahem…taking your husband to the fabric store!! GASP! My mom got me a gift card to Joann’s and Ryan already knows he’s totally NOT invited :-)
great work! stripes can be tricky – you did an awesome job.
i have to get to trying one of these.
cheryl xox.