Uncategorized

How to make your NEW favorite Dining Room Fixture.

May 20, 2011

We believe we should all love where we live.

We’re a couple of homebodies, working to uncover the home our home wants to be. And we’re so happy to have you here. 

Portfolio

Projects

Design

We're Chris + Julia

read more

What we're                   right now

Loving

browse the shop

Befores, afters, mood boards, plans, failures, wins. We’ve done a lot of projects, and they’re all here. 

We have a long-standing relationship with DIY, and love rolling our sleeves up and making it happen. 

Even when you don’t want to rip down a wall, you can make that space in your home better. Right now.

browse all

browse all

browse all

02

01

03

Popular Posts

1.

2.

3.

Top Categories

Dreams come true when you DIY.  One of my very first pins on my Pinterest account was this light fixture.  I fell in love and wanted it for our dining room.  

I started tracing back the sources until I found where it was from and how much it was.  The company that makes it is Design Within Reach and it is sold for $2,140.00!!   Yowzas.  I sat on the idea for a week and studied the picture.  Chris and I decided that we could definitely try making it ourselves and save a few thou.  I don’t mean to ruin the ending–but we succeeded.  :)  Here’s how we did it.  
Our glue-y substance that held this whole thing together was a mix of Mod Podge, water, and a few tablespoons of corn starch.  Mix it until it is a smooth, thin, milk texture.  We also used 2 spools of crochet thread (2000 yds of it total).  This thin thread was key in making an identical light to Design Within Reach‘s.  Next, you will need some petroleum jelly and lastly, a big ball.  We got this 48 incher at Big 5 Sporting Goods for $4.99.  I’ve seen the same one at Kmart and Target, or you can use whichever size suits you and your space.  Oh, and you are DEFINITELY gonna want a tarp.  The whole thing gets pretty messy, but it’s worth it. 
Once you have your ball suspended over a tarp, rub it down with that jelly.  This is imperative to make sure when you are all finished, the ball will still come loose.  Also, trace a circle with a good sized bowl on the ball to allow easy light-bulb-changing access down the road.  
Get wrapping.  This is absolutely a two person job activity and we would switch off while watching episodes of Seinfeld and Dancing with the Stars (there’s a first time for everything I guess).  One person would feed the string into the glue mixture and the other person would wrap the string.  Repeat.  Over and over. 

We put about 2 1/2 hours into it the first night and used one spool (1000 yds) of the thread.  We thought it looked good and we were done, but in the morning we weren’t convinced the string was as dense as our “dream fixture.” 
So, the next night, we put another hour into it (we were definitely more efficient now that we had a rhythm down) and finished off nearly ALL of the second spool and we were feeling good about the string coverage.  
Our plan was to just deflate the ball the next day after things were nice and hard, but it was taking too long, so we just sliced a hole in it after remembering it only cost us $5 and it now had petroleum jelly all over it.  We were THRILLED to see how easily the ball separated from the string.  That was the moment we realized it was woorrrrkkiiinnnggg.
Our next task was hanging our new fixture.  With our vaulted ceilings and an off-centered existing fixture–we knew that there was more work ahead of us.  
Is there a more terrible sight?  A bad, plastic chandelier, made worse by being off-center.
We purchased the Hemma cord set from IKEA for $3.99 and Chris cut, stripped and separated it to make it a ceiling mount cord, instead of a plug cord.  We also found a big round light bulb that resembled the one in our inspiration picture for $4.99 and snagged that, too. 
The two items picture below we found at Home Depot (a rubber stopper and 3-hole cover kit) we used inside the fixture at the very top to keep the bulb in the center of our sphere.
Chris drilled a hole in the rubber stopper and wedged it in the center hole (we plugged the other two holes) and fed the wire through the stopper.
We fixed the slightly off-centered placement of the light by fastening the wire to the center and then covering everything up with a 16″ ceiling mount.
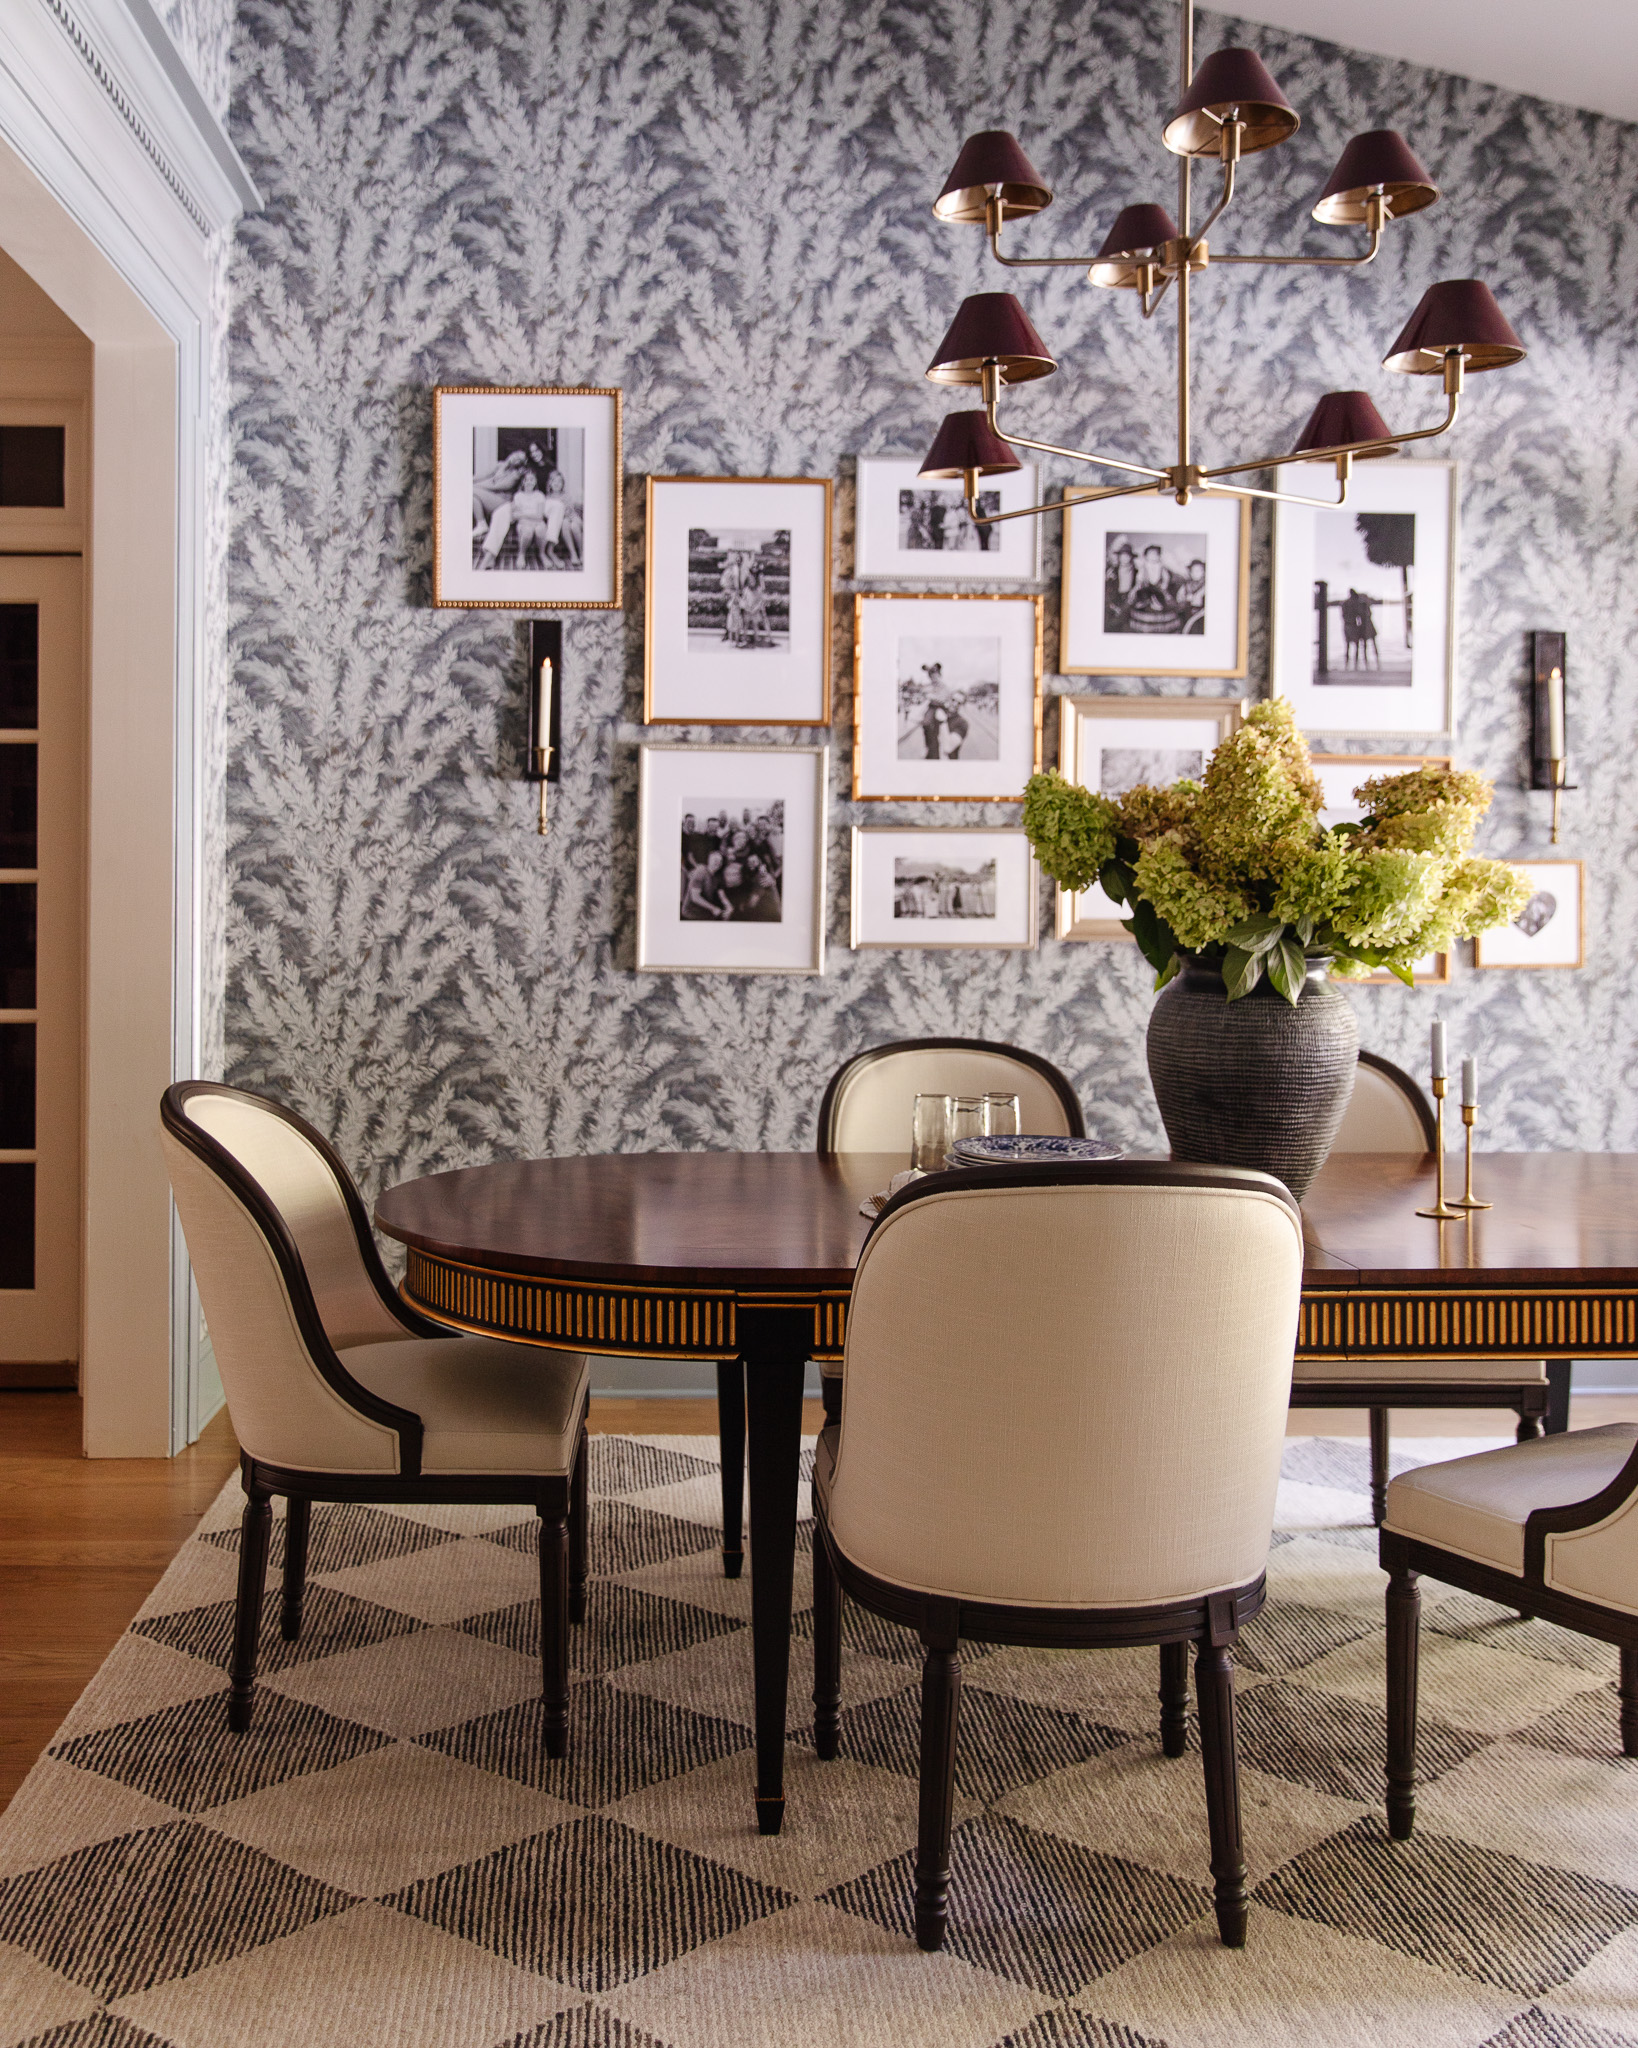
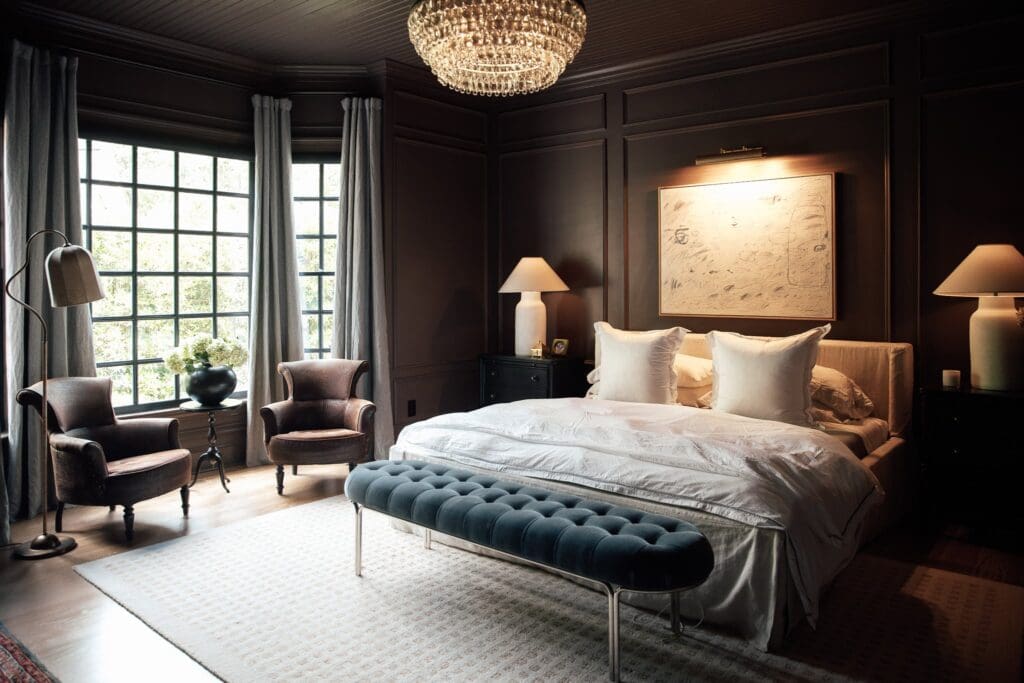
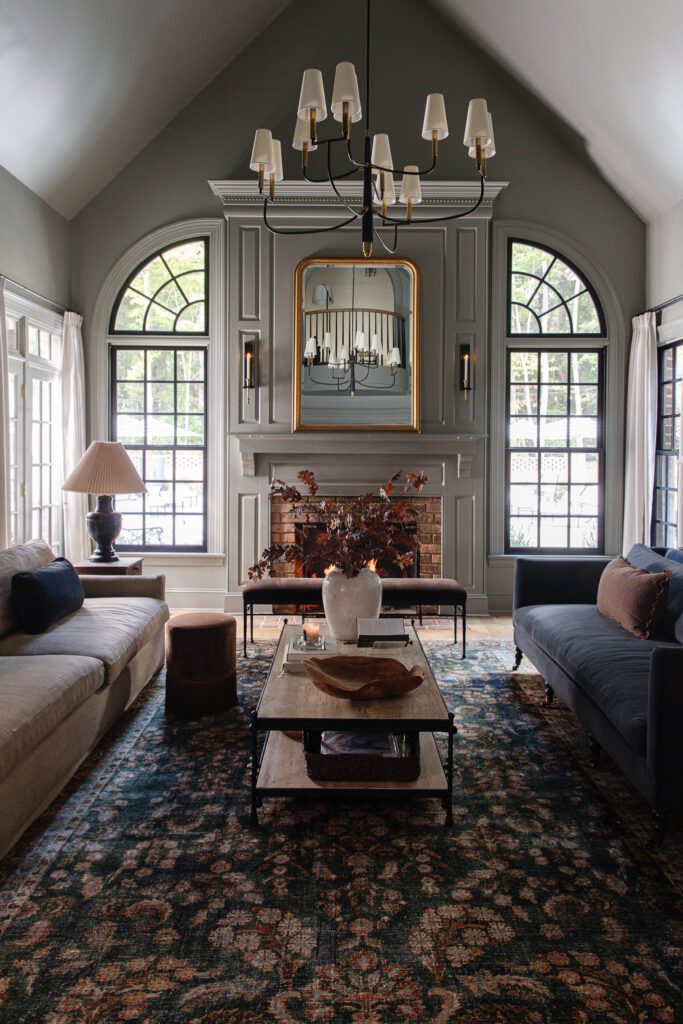
Now, for an overflow of pictures of our new light:

 We have plans to switch out our white blinds for bamboo ones for warmth and to give the light a contrasting backdrop.  But for now, we can’t stop looking at it.  It is so rewarding to make something and love it.   We love it even more knowing that we spent less than $30 and saved over $2100 AND got rid of our ugly chandy.  So, yeah.  We’re all smiles over here.

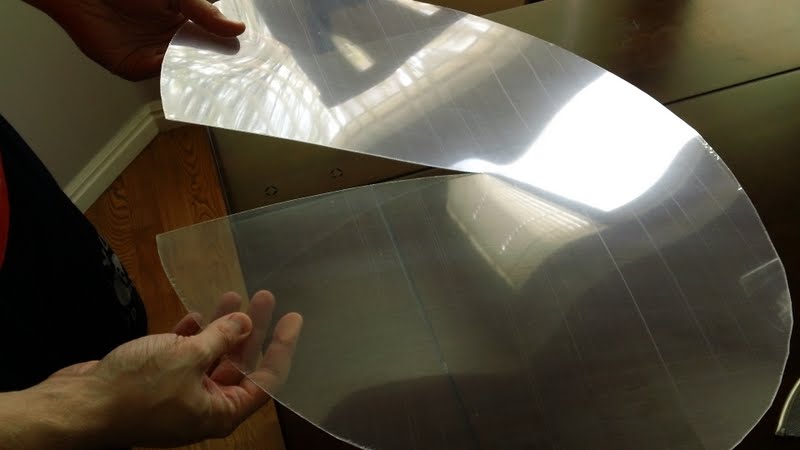
Update:  To reinforce the round shape of the light (it’s a lot of stress for just string), we added some thin acetate we found at Hobby Lobby for $5.  We cut it into a circle and cut a straight line into the center.  Drilled a small hole in the center and fit it in the top of the light.  You can’t see it at all, but it is doing its job, FOR SURE.

Leave a Reply

Your email address will not be published. Required fields are marked *

This site uses Akismet to reduce spam. Learn how your comment data is processed.

What do you think?

  1. Fefe says:

    Did you all have any excess glue on the yarn once the fixture was removed from the ball? If so, how did you remove the glue? I created this light fixture but I am having a time removing the excess glue. Please advise.

  2. Just saw this and I love the idea! I will try this with colored string.

  3. Carolyn says:

    That. Is. Awesome.

  4. Robyn says:

    Ok, so how did you get the acetate in it after you were done with it? Just fold it through the bulb access?

  5. UKMUMINUS says:

    Love it. I made some christmas baubles a couple of years ago, using this exact same method, I used balloons to adhere the string to, and made different sizes. They look like snowballs and look really modern and contemporary on a christmas tree with coloured lights.

  6. Carolyn says:

    That. Is. Awesome.

  7. Julia says:

    Robyn–

    Exactly right!

  8. Robyn says:

    Ok, so how did you get the acetate in it after you were done with it? Just fold it through the bulb access?

  9. Just discovered your blog and this is AMAZING! My husband and I just bought a house that we’ve been fixing up and I’ve been looking everywhere for a new light for our entry way! Might have to give this a try!

  10. Julia says:

    Anonymous-

    We sliced the ball from the hole we left on the top on the side to change the light bulb. Then once the air was all out, we pulled it through. It was easy!

    Sophie-

    The bulb that we bought (http://www.ikea.com/us/en/catalog/products/70040371) is a very low burning, energy efficient bulb so it doesn’t get very hot. And it is in the very center of the 48″ globe so there is PLENTY of room on either side. We have had it for a couple weeks now and there is no sign of anything heating up. Because there is so much airflow throughout the whole thing, I don’t think it would ever be a problem.

    Hope this helps!
    Jules

  11. Sophie says:

    Hi,

    Looks amazing – well done!
    I would love to try this but am worried about it getting too hot and catching fire or melting or something.
    How often do you have your light on and how long have you had it for now?

    Thanks!

  12. Anonymous says:

    I might be a little dense, but can’t figure out exactly how the ball came out of the light fixture. Did you pop it or let the air out? Or did you just wiggle it out through the light bulb opening at the top?

  13. Banuca says:

    Thanks a lot for your beautiful sharing… This is a different technic, using a ball instead of baloon :) I’ll share this technic at my blog with your link…..

  14. christina. says:

    this is amazing!! i so want to do it now!!! what a great team project for husband and wife…now to convince my own husband that our new house needs one of these!!

    http://christinaprindle.blogspot.com/

  15. Julia says:

    Katherine-

    Not dumb at all, I should have been more specific in the placement. It is near the top on the back side. You can faintly see it in the pictures through the light. It looks like a tear drop shape.

    Hope it helps!
    -Julia

  16. Katherine says:

    This might be a dumb question…but where did you put the hole for lightbulb changing? I don’t see it in the final pictures, which is a good thing, but if I attempt to make this I figure I should know!

  17. Miya says:

    Beautiful! Really well done, I’m off to have a go at this light fitting.

  18. Julia says:

    Cassie-

    I don’t see why it wouldn’t work with twine. I would recommend less water in the glue mixture if you do attempt it with twine because thicker string will need more substantial glue–maybe even try tacky glue with a little water. Love to see it if you try it out!

    –Julia

  19. Cassie says:

    Lovely! I’m wondering if it would work with a thicker material like twine for an earthy look.. whattya think?

  20. OK, that is jaw-droppingly awesome. You are amazing!!

  21. It looks so beautiful all lit up! I saw a similar project once upon a time on Crafty Nest, and wanted to try it out, but I think yours is even better. I love the SIZE. I need one!

  22. That is fantastic! You did a fantastic job. I too love the Moooi light, but not the price. The string/glue combo just wasn’t in my timeline or patience, so I made a wood veneer version: http://ourhumbleabowed.wordpress.com/2011/03/24/chunky-wood-moooi-random/ Not quite the same, but far quicker and less messy. Love yours, though!!!

  23. Julie. You are part inventor part creator part sister. Well, all sister. My favorite is with the light on. It’s fanTAStic.

  24. I knew it!! I love this project! It turned out amazing.

  25. this fills me with hope! the most amazing thing ever, great job!!

  26. Oh my gosh. You guys are brilliant!!!!! Wow, way to work together and think things through. This is so awesome!!!
    xoxo
    Cat@BudgetBlonde

  27. Mrs. G says:

    I’m in awe! I was actually thinking – ohhh, I don’t know about that… something about it is off. But your version – ah-maze-balls! I think because your inspiration photo had so much going on, but I like your finished photo with the clean table underneath. Definitely a good job!!

    Btw – I clicked over from a comment that you made on younghouselove. Do you have an RSS feed? I’m not seeing it. I don’t want to forget your blog!

  28. Linda says:

    That’s amazing!!!! It looks awesome!!

  29. DoublClik says:

    The last 2 are the best, with the light on its just a sight to see, and the window light coming in with your dining room table there, really shows the craftmanship of the fixture. Well done Jules!

  30. Lily says:

    Ok, this DIY was seriously amazing. Thanks for this!!

  31. i love. also i don’t know if you knew this but you won one of the prizes on my giveaway last week. if you don’t want it i totally get it, i just wanted to give you a heads up.

  32. Natalie says:

    WHATEVER, you are one amazing girl, I love it!!!

  33. Wow! You two impress me more and more. :) Nicely done.

  34. julia, i’m checking out your blog for the first time {thanks to meagan winning your giveaway!} and i am obsessed!!! you are one talented lady! that chandelier is amazing.

    i have some decorating questions for my living room…if you feel like taking a look at some pics and offering advice, i am all ears :)

  35. Meagan says:

    you guys can’t be stopped!

    That thing is GORGEOUS.

    I think I need to start my own pininterest. It seems like it is the THANG to do. It is GORGEOUS!. I’m gonna go stare at it again ;-)

all the latest

We believe we should all love where we live.

We’re a couple of homebodies, working to uncover the home our home wants to be. And we’re so happy to have you here. 

HI! We're Chris + Julia

read more

Load More

Reader Faves

SHop all

What We're                     Right Now

What We're                 Right Now

Looking for our favorite things? A place to shop our home room by room, or just catch up on what Julia's wearing / loving right now? Browse the CLJ shop. 

Loving

looking for inspiration? 

A reader recently asked me if I’m starting to fully embrace traditional style and whether we still consider our house to be a “modern Colonial” and why. It was a really great question and so timely — I had really just been thinking about my approach to this home and how my style has changed […]

Can We Send You Our Love Letter?

Another way for us to stay in touch! Joining our weekly newsletter gives you access to exclusive content, never-before-seen photos, your questions answered, and our favorite DIYs. Sign up below!

Follow Along on Instagram

Welcome to our online community where we've posted home, DIY, style, renovations, and family since '09. Renovating our #cljmoderncottage in Idaho and headed for new adventures in Raleigh, NC. #cljfam #cljtransformations

@chrislovesjulia